
Adorn your look with Crochet HEADBAND Pattern that gives a soft comfortable fit and a stylish touch perfect for daily wear gifts and cozy outfits.
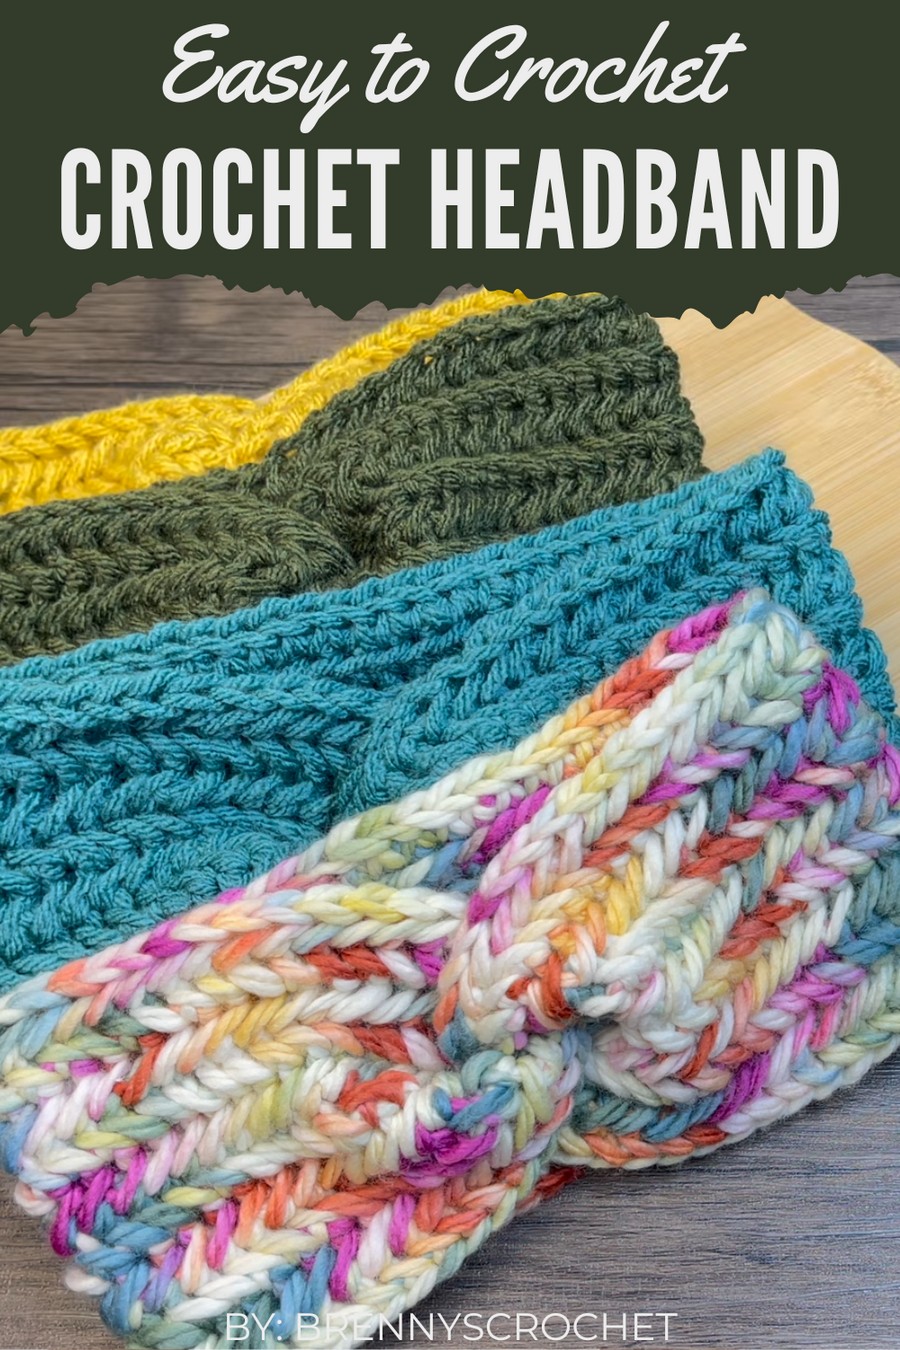
Add a touch of charm to your everyday style with this beautiful headband that’s both practical and stylish. Featuring soft textures and a unique handmade look, it’s perfect for keeping your hair in place while enhancing your overall outfit. Whether you’re staying cozy on chilly days or adding a chic flair to casual outings or special occasions, this headband fits every moment perfectly.
Chic Crochet Headband Pattern for Cozy Fashion
Its versatility allows you to customize with endless colors to match your personality and mood. Simple yet stunning, it’s a timeless accessory that combines comfort with beauty, making it a must-have for any wardrobe.
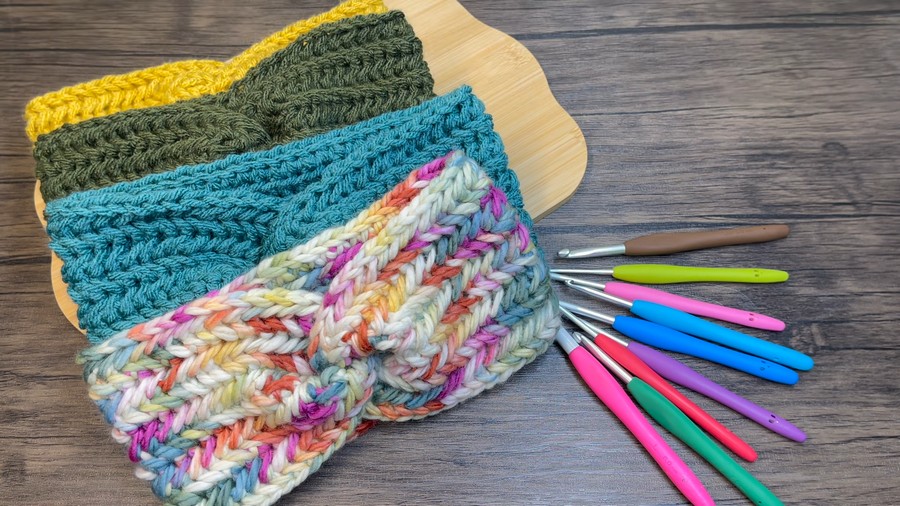
This step-by-step crochet tutorial explains how to create a stylish headband or turban. This versatile project is perfect for cozy accessories in neutral colors or bright, vibrant tones, catering to all preferences.
Below you’ll find a detailed pattern, materials list, helpful tips, customization options, and variations.
Skill Level
Beginner to Intermediate
This project is beginner-friendly but introduces textured repeating stitches that may require attention to positioning hooks correctly.
Materials Needed
Yarn:
- Category #5 Bulky Yarn: Approximately 50-100 grams. The sample headband uses soft acrylic, but any yarn with some stretch is ideal.
- Tip: You can also use a lighter or variegated yarn for variation. Adjust hook size accordingly.
Hook:
- 6 mm crochet hook (adjust if using thinner or thicker yarns).
Additional Supplies:
- Tapestry Needle – For sewing the ends together and weaving in ends.
- Scissors – For cutting yarn cleanly.
- Measuring Tape – For precise adjustments to size.
Key Abbreviations (US Crochet Terminology)
| Abbreviation | Meaning |
|---|---|
| ch | Chain stitch |
| sc | Single crochet |
| sl st | Slip stitch |
| st(s) | Stitch(es) |
| rep | Repeat |
Special Notes
- Repeat Rows: The pattern alternates between two rows—one row worked on the right side and another on the reverse side.
- Tension: Work the stitches slightly loose to showcase the pattern and make the fabric flexible for a comfortable headband fit.
- Reversibility: The stitch creates a reversible pattern, so no need for distinct front/back sides when wearing.
Step-by-Step Instructions
Foundation Chain
- Determine the Size:
- The sample is designed to fit a 54 cm (21-inch) head circumference. Measure your head or the recipient’s head circumference and adjust the foundation chain accordingly.
- The chain length should be slightly shorter than the head circumference for stretch.
- Initial Chain:
- Ch 65 or the number of chains equivalent to 54 cm (21 inches). Ensure the chain is not too tight while stitching.
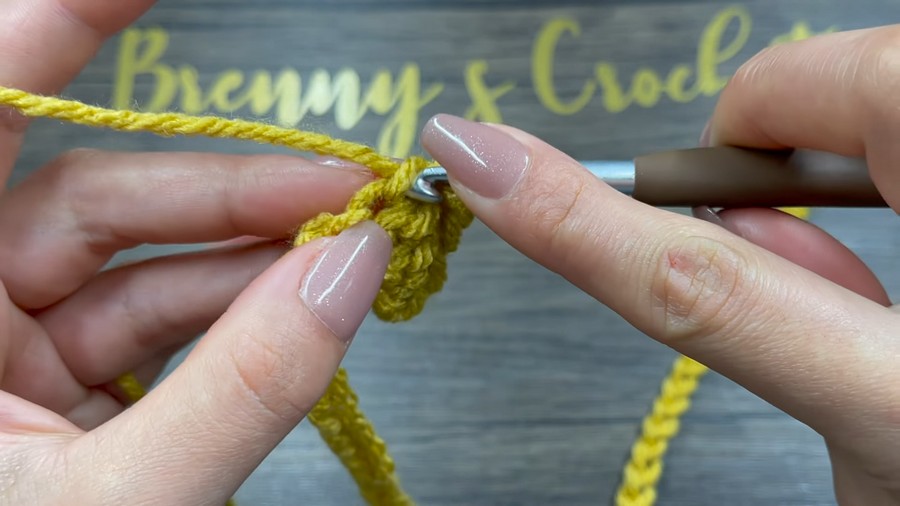
Round 1 (Right Side - Forward Stitch)
- Locate Back Loops:
- Turn the foundation chain over and locate the back loops of each chain. These back loops are the loops on the reverse side of the chain.
- Start Low Stitch:
- Insert your hook into the second back loop from the hook.
- Sc: Yarn over, pull through, yarn over, and pull through both loops on the hook. (This creates your first sc.)
- Work the Textured Stitch:
- Insert hook into the side of the previous sc (just below the two top loops, into the vertical strand). Do not yarn over yet.
- Insert hook into the next back loop of the foundation chain. Now you have three loops on your hook.
- Yarn over, pull through only the first loop. (Leaves three loops on the hook.)
- Yarn over and pull through all three loops on the hook to complete this variation of a modified extended sc.
- Repeat Across:
- Repeat the above textured stitch (insert hook into the side, then next back loop) until you reach the last chain in the row.
- Work 1 sc in the final chain to secure the edge.
- Finish Round:
- Ch 1 and turn the work to begin Round 2.
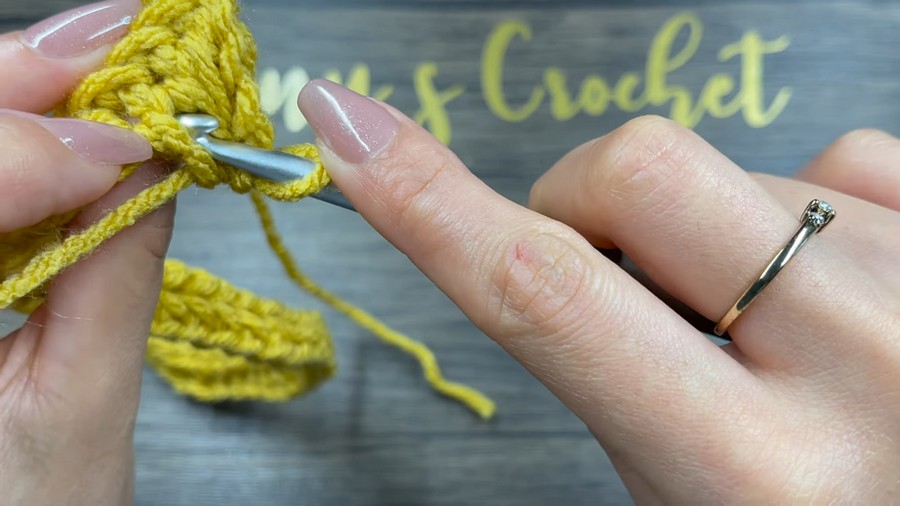
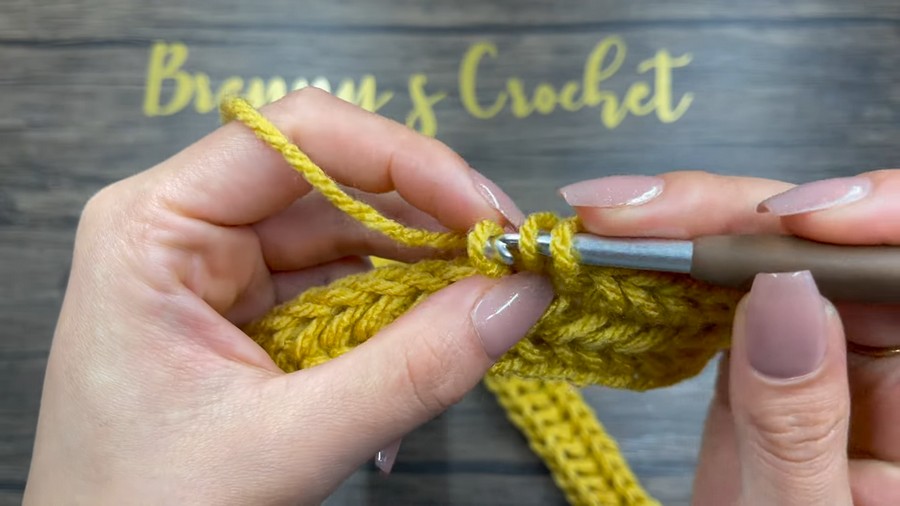
Round 2 (Reverse Side - Back to Front Method)
- Start First Stitch:
- Skip the turning chain. Insert your hook from back to front into the first chain.
- Yarn over, pull up a loop, yarn over, and pull through both loops to complete 1 sc.
- Work the Textured Stitches:
- Insert the hook into the vertical strand of the previous stitch.
- Then insert the hook into the next base chain, working from back to front.
- Yarn over, pull through the base chain, leaving three loops on your hook.
- Yarn over and pull through all three loops to complete the stitch.
- Continue:
- Repeat this exact motion across the row, taking care to insert the hook into the correct stitches from back to front.
- Finish Round 2:
- When you reach the end, ch 1 to turn, and prepare for the next round.
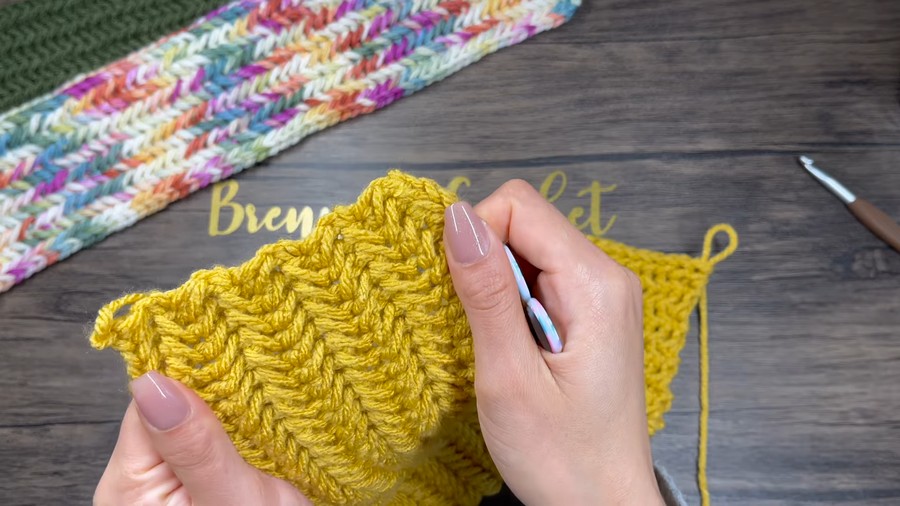
Remaining Rows
- Repeat Rows:
- Odd Rows: Work as Round 1 (Right Side).
- Even Rows: Work as Round 2 (Reverse Side).
- Width:
- Continue alternating Rounds 1 and 2 until your headband reaches the desired width. For the sample, 10 rows were worked, resulting in a width of 11-12 cm (4-4.7 inches).
- Finish the Last Row:
- End with a Reverse Side (Round 2) for a neat texture and symmetry.
Fasten Off
- After completing the last stitch of the final row:
- Ch 1, cut the yarn, leaving a long tail for sewing.
- Pull the loop taut to secure.
Assembly
- Align Ends:
- Flip the headband to the right side. Align both ends of the headband so the stitches face each other.
- Twisting for Turban Effect:
- Lay the ends flat. Fold one end in half to form a “U” shape. Insert the other end into the fold, aligning the edges for a crisscross pattern.
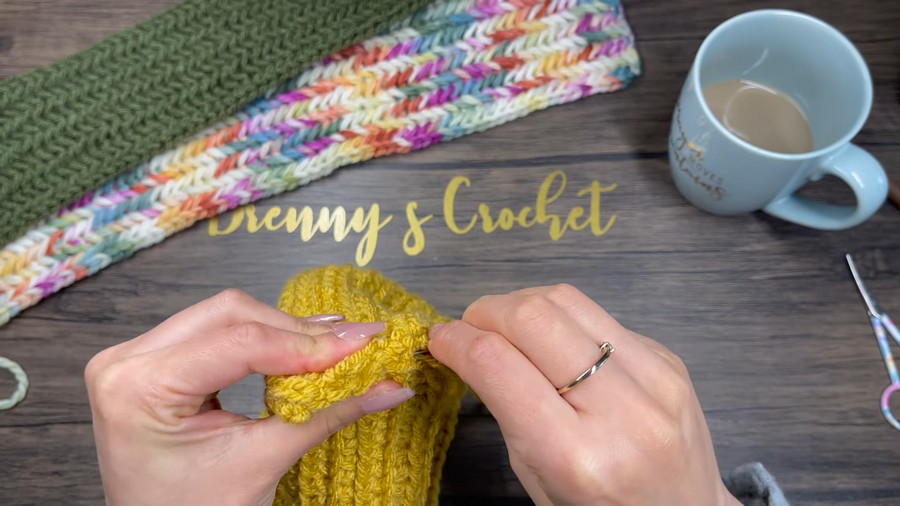
- Sewing:
- Thread the long tail into your tapestry needle.
- Sew through all four layers of the folded ends using small, tight stitches.
- Sew back and forth a few times to secure thoroughly.
- Finishing:
- Tie a knot, but leave the tails long enough to weave into the headband. Hide the strands in the headband fabric for a clean finish.
Pattern Variations
Colors:
- Use variegated yarn for a multicolored effect.
- Combine multiple colors by switching yarn at the start of each row.
- Pastel tones give a soft, subtle look, while brighter tones make the headband bold and trendy.
Sizes:
- Smaller Size: Decrease the foundation chain to fit a smaller head circumference.
- Wider or Thinner Headband: Simply add or reduce the number of rows following the repeat sequence.
Tips for Success
- Practice the Stitch: If you struggle with the textured stitch, start with a small swatch before beginning the full headband.
- Avoid Tightness: Loose tension is the key to achieving uniform texture and flexibility. Keep loops relatively loose, especially while learning the stitch.
- Adjust Length: Measure your foundation chain against your head size to ensure a snug yet comfortable fit.
- Take Breaks: If the stitch feels tricky at first, take a short break and return. Starting fresh can help you focus.
Conclusion
Congratulations on completing your crochet headband or turban! This chic, textured design is perfect for personal use, gifting, or even selling. Its versatility allows you to experiment with colors, sizes, and yarn types, ensuring each piece is unique and reflective of your style.
Additional Remarks
- Perfect for Gifting: Adjust colors for holidays, events, or personal tastes to create a thoughtful handmade gift.
- Beyond a Headband: This stitch can also be used to create scarves, cowls, or other crochet projects using the same method.



