
Bring Crochet Alien Toy Pattern to life and make an adorable cosmic friend that adds playful charm to gifts home decor and fun collections.
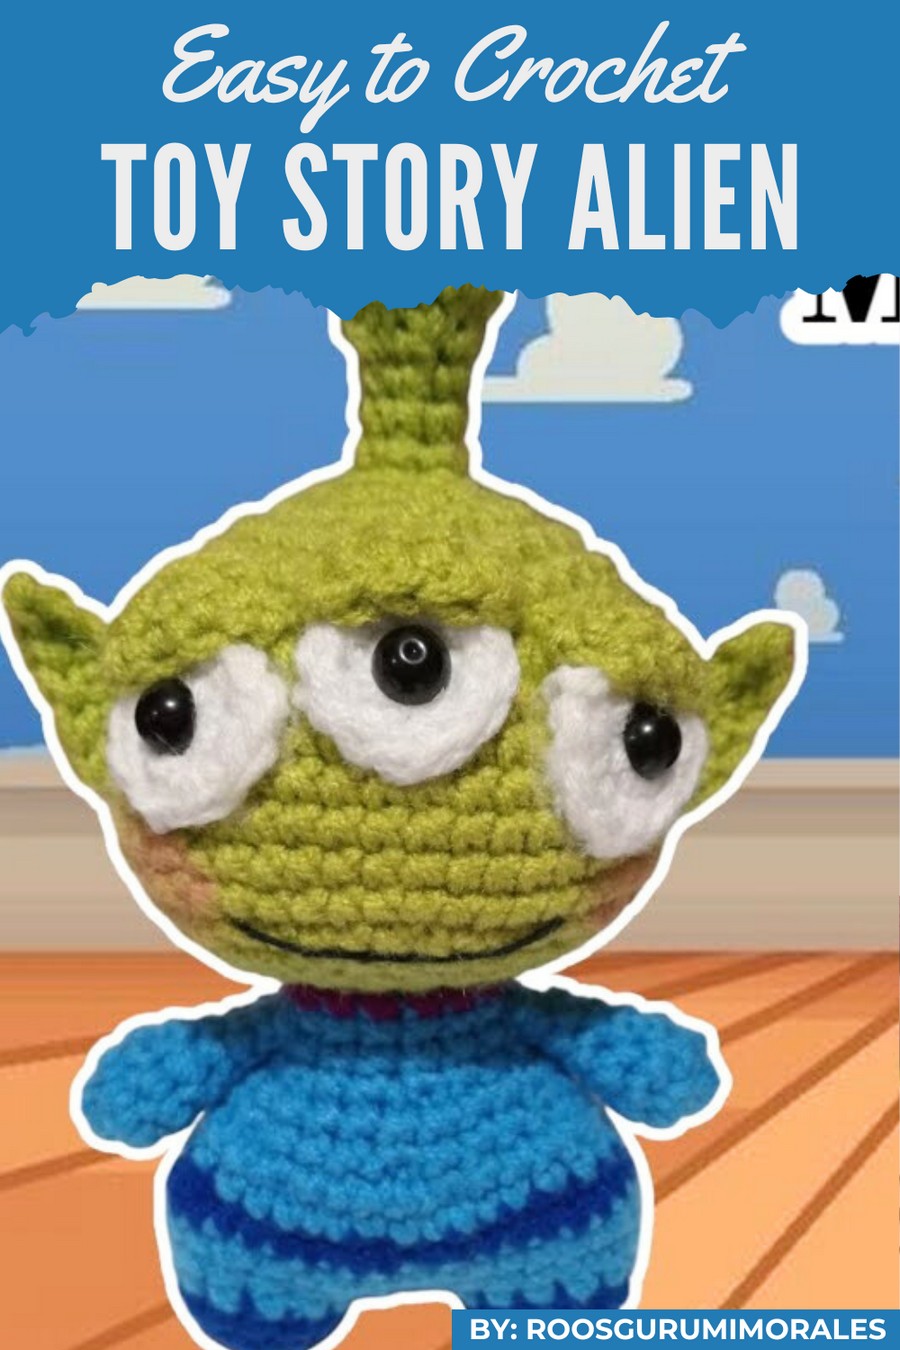
Many toys try to be cute, but few are as quirky and fun as this little creation that instantly brings a smile. The Crochet Alien Toy pattern shows a tiny, soft alien with bright green yarn, big round eyes, and tiny arms that make it look playful and friendly.
Croche Alien Toy Pattern That’s Perfect for Desks & Shelves
It works perfectly as a small companion for kids, a fun decoration for shelves, a cheerful charm for bags or keys, or a handmade gift that surprises anyone. Its most special features are its imaginative alien shape, soft texture, and small size, making it unique, durable, and perfect for adding a touch of fun anywhere.
This Toy Story Alien Amigurumi pattern is designed for intermediate to advanced crocheters. With its adorable three-eyed face, signature antenna, and detailed features, crocheting this Martian will be both rewarding and fun.
Follow this step-by-step guide below to create your own charming little alien character.
Materials List
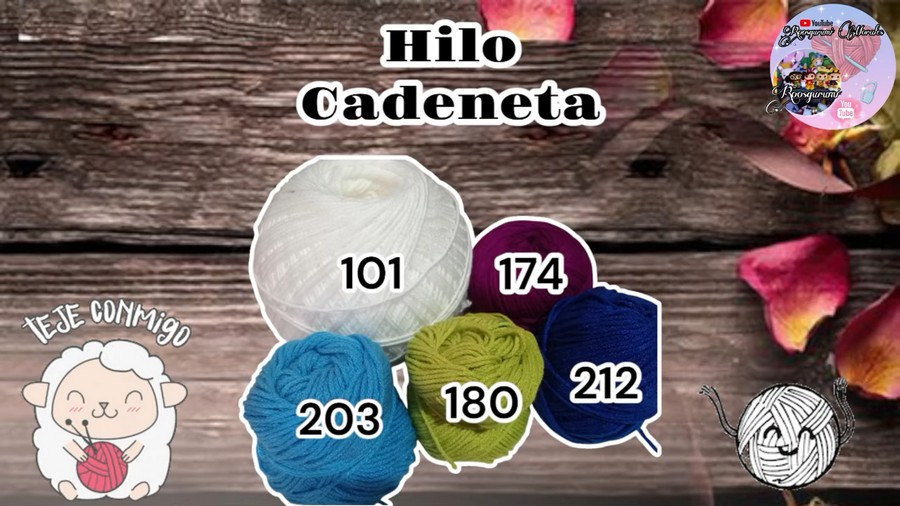
Yarns:
- Green Yarn: For head, ears, antenna, and part of the arms.
- Blue Yarn (light): For feet and body.
- Blue Yarn (dark): For stripe detailing on the uniform.
- Purple Yarn: For neckline detailing.
- White Yarn: For eyes.
- Black Yarn: For mouth embroidery.
Hook Size:
- 2.5mm crochet hook (or matching hook size based on your yarn type).
Other Materials:
- Fiberfill Stuffing: To give shape to the head, body, and antenna.
- Safety Eyes: Three 8mm eyes for the signature alien design. (Optional: Use felt or embroider eyes if preferred.)
- Tapestry Needle: For sewing pieces together.
- Hot Glue Gun (optional): To attach eyes securely.
- Stitch Markers: Useful for tracking rounds.
Skill Level
Intermediate to Advanced
This project involves working in continuous rounds, color changes, shaping (increases and decreases), and detailed assembly.
Key Abbreviations (US Crochet Terms)
- sc: Single Crochet
- inc: Increase (2 sc in one stitch)
- dec: Decrease (single crochet 2 stitches together)
- sl st: Slip Stitch
- ch: Chain
- hdc: Half Double Crochet
- st: Stitch
- BLO: Back Loop Only
Special Notes
- Continuous Rounds: Unless otherwise stated, rounds will be worked continuously without joining or chaining up. Use stitch markers to mark the start/end of a round.
- Stuff as You Go: Stuff parts like the antenna, head, and body as you crochet to avoid difficulty filling narrow openings later.
- Color Changes: Switch colors at the final “pull-through” of the last stitch in the previous round to create smooth transitions.
Detailed Step-by-Step Instructions
Part 1: Antenna
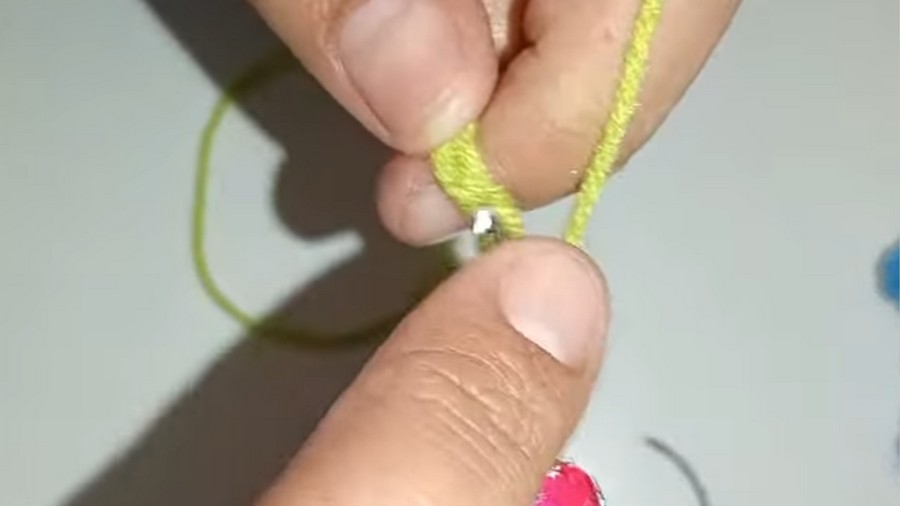
- Round 1: With green yarn, create a magic ring of 6 sc. (6 stitches)
- Round 2: Inc in each st around (6 increases). (12 stitches)
- Round 3: 1 sc in every st around. (12 stitches)
- Round 4: Dec in each st around (6 decreases). (6 stitches)
- Stuff lightly and shape the antenna.
- Rounds 5-7: 1 sc in each st around (for 3 rounds). (6 stitches)
Part 2: Head
- Round 8: Inc in each st around (12 stitches).
- Round 9: 1 sc, inc around. (18 stitches)
- Round 10: 2 sc, inc around. (24 stitches)
- Round 11: 3 sc, inc around. (30 stitches)
- Round 12: 4 sc, inc around. (36 stitches)
- Round 13: 1 sc in each st around. (36 stitches)
- Round 14: 5 sc, inc around. (42 stitches)
- Rounds 15-16: 1 sc in each st around. (42 stitches)
- Attach the antenna at the top center of the head.
- Round 17: 9 sc, inc x3, 18 sc, inc x3, 9 sc. (48 stitches)
- Rounds 18-20: 1 sc in each st around. (48 stitches)
Part 3: Decrease for Head
- Round 21: 5 sc, dec around. (42 stitches)
- Round 22: 4 sc, dec around. (36 stitches)
- Round 23: 3 sc, dec around. (30 stitches)
- Round 24: 2 sc, dec around. (24 stitches)
- Round 25: 1 sc, dec around. (18 stitches)
- Insert safety eyes between rounds 9-12, with 4 stitches between each eye.
- Stuff firmly.
- Close the head using decreases.
Part 4: Body
- Round 1: Start with a magic ring of 6 sc in light blue. (6 stitches)
- Round 2: Inc in each st around. (12 stitches)
- Round 3: 1 sc in each st around. (12 stitches)
- Repeat for the second leg, but do not tie off the second leg.
- Joining: Chain 3, Work 12 sc in first leg, 3 sc across the chain, 12 sc in second leg, 3 sc on other side of chain. (30 stitches)
- Round 5: 4 sc, inc around. (36 stitches)
- Round 6: 5 sc, inc around. (42 stitches)
- Round 7: Change to dark blue yarn. 1 sc in every st around.
- Round 8: Switch back to light blue. 5 sc, dec around. (36 stitches)
- Round 9: 4 sc, dec around. (30 stitches)
- Round 10: 3 sc, dec around. (24 stitches)
- Round 11: 1 sc in every st around. (24 stitches)
- Attach the purple neckline detail using slip stitches.
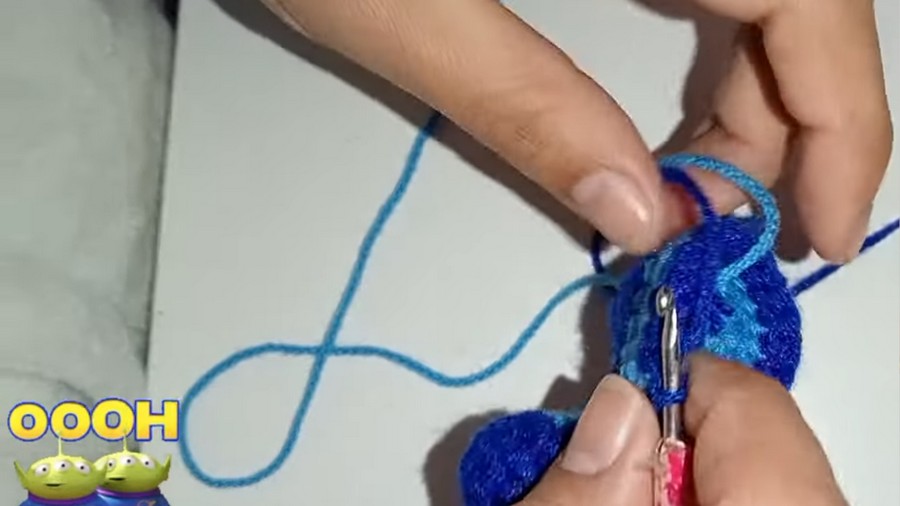
Part 5: Arms (Make 2)
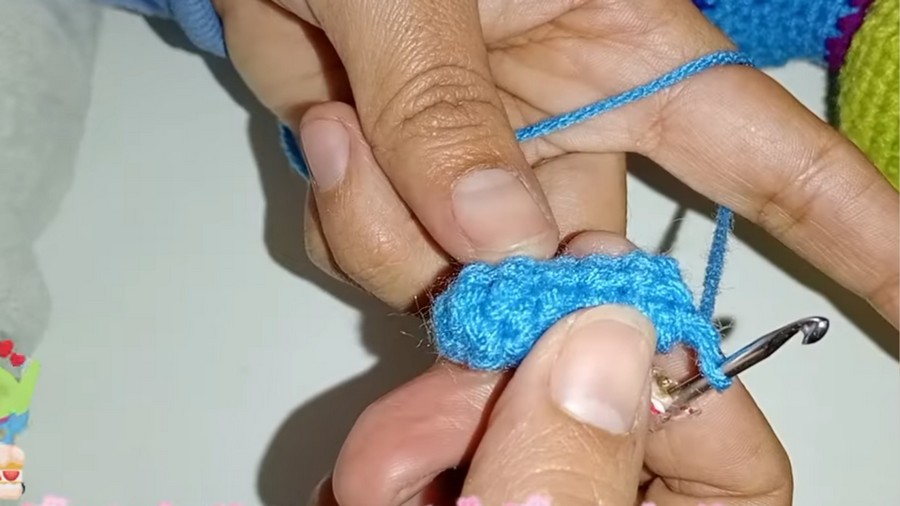
- Round 1: Magic ring of 6 sc in green yarn. (6 stitches)
- Round 2: 1 sc, inc around. (9 stitches)
- Round 3: 1 sc in each st around. (9 stitches)
- Round 4: Dec in every 3rd stitch. (6 stitches)
- Stuff lightly.
- Rounds 5-6: 1 sc in each st around.
- Close the ends with 3 sc across both sides. Leave a tail for sewing and attach to the body directly below the purple neckline detail.
Part 6: Ears (Make 2)
- Chain 7.
- Row 1: Work back along the chain: sl st, sc, 2 hdc, 2 dc. Cut yarn and attach the ears at the sides of the head near the safety eyes.
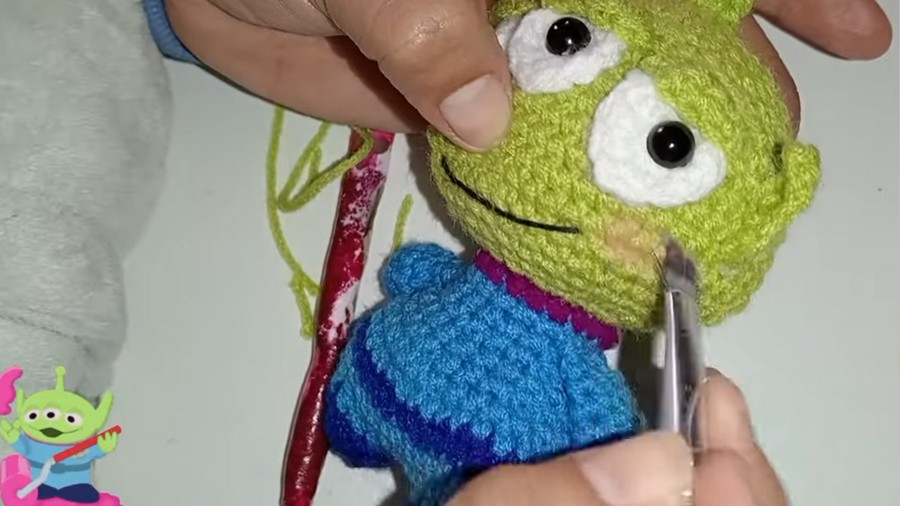
Part 7: Eyes and Eyelids
- Eyelids:
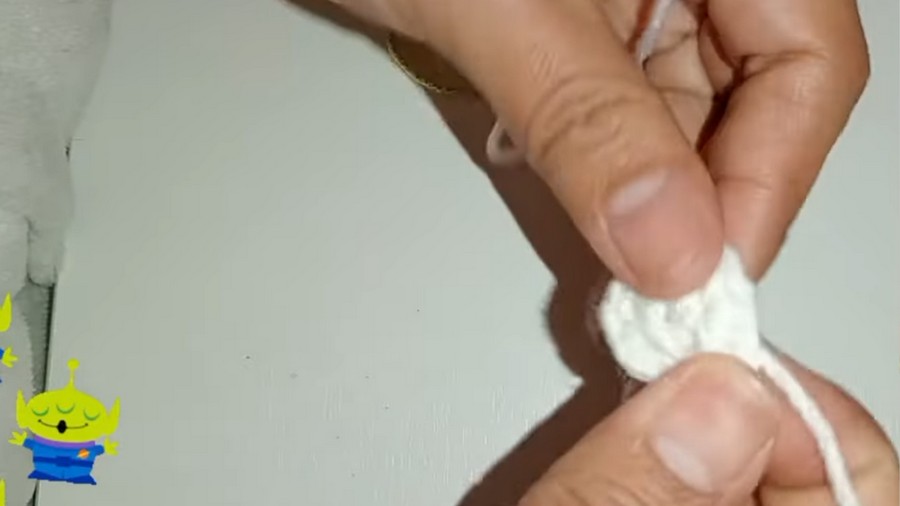
- Chain 6 and work back into the chain with 1 dec, 3 sc, and slip stitch to align over the eyes.
Secure all parts carefully using thread or glue.
Conclusion
This Toy Story Alien Amigurumi will measure approximately 6-7 inches (15-18 cm), depending on the yarn used. The three-eyed design, smiley face, and antenna combine to create a delightful character for fans of Toy Story.
Pattern Corrections
- Stitch Count Consistency: Ensure proper counting between increases/decreases to keep shaping accurate.
- Safety Eyes Placement: Position eyes evenly to create symmetry.
Tips
- Stuff parts firmly to maintain structure but avoid overstuffing to prevent distortion.
- Use stitch markers to prevent losing track while working continuous rounds.
- Customize eyelid colors or facial expressions for personality.



