
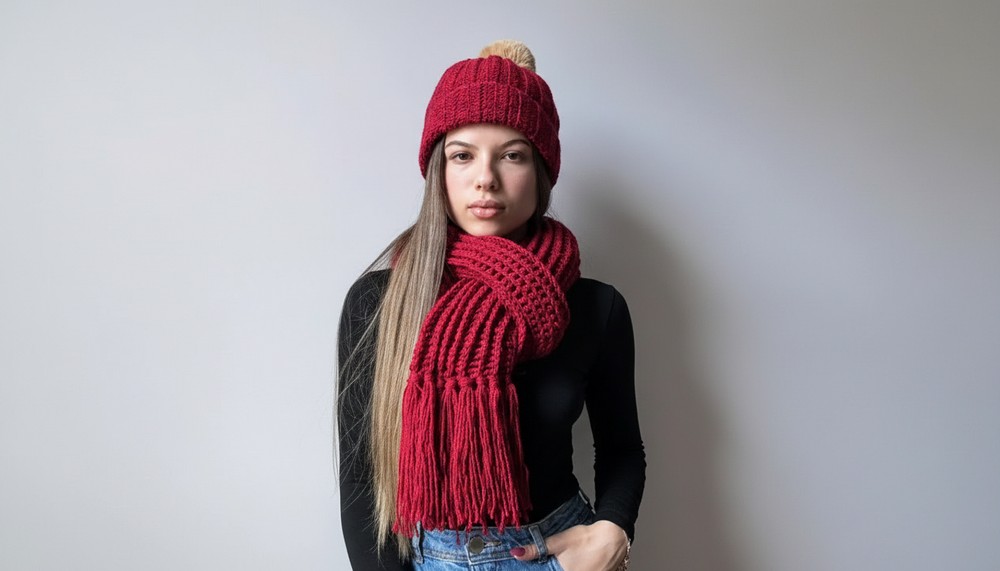
Wrap yourself in warmth and style with a cozy crochet scarf and hat set that’s perfect for chilly days and adds a touch of charm to any outfit.
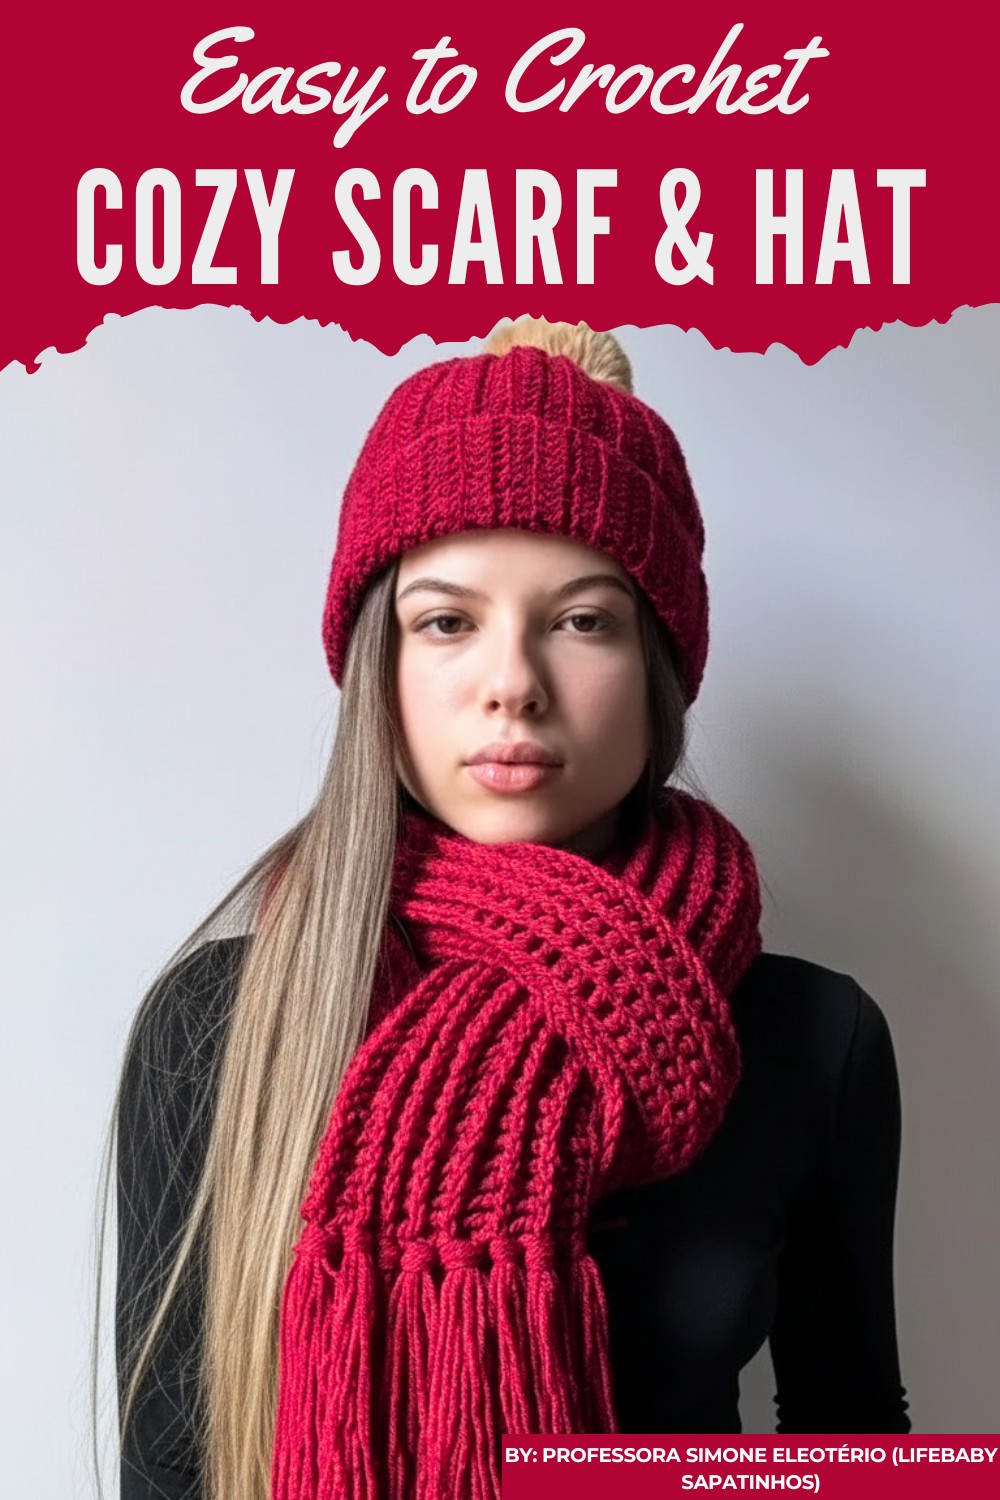
Nothing beats the charm of handmade accessories to keep you warm and stylish all year round! Crochet scarf & hat patterns are not only practical but also beautiful, as they allow you to create cozy, personalized pieces that suit your taste.
Cute and Cozy Matching Crochet Scarf & Hat Combos
This pattern is perfect for beginners and experienced crocheters alike and can easily be customized with vibrant yarn colors, unique textures, and special stitches to make your designs extra special. A matching scarf and hat set adds a snug and classy touch to your outfits while being perfect for gifting to loved ones.
Materials and Tools
Yarn
- Neptune Yarn by Círculo: Comes in skeins of 301 meters with Tex 332. You will need 3 skeins to complete both the hat and the scarf.
- You may substitute Neptune yarn with similar alternatives:
- Hobby Baby yarn
- Candy Baby yarn
- Batik yarn
- Double-stranded thinner yarns (if using such adjustments, ensure the yarn combination matches Tex 332 thickness).
Crochet Hooks
- Hat: 4.5 mm crochet hook.
- Scarf: 7 mm crochet hook (you may use 6 mm–8 mm for a more flexible fabric).
Additional Supplies
- A pompom (pre-made furry pompom or handmade from yarn).
- Tapestry needle for seaming and weaving in ends.
- Scissors.
- Liquid silicone glue or fabric glue for securing details like the pompom or fringe.
Pattern Stitch Key (US Terminology)
- Ch: Chain
- Sl st: Slip Stitch
- SC: Single Crochet
- HDC: Half Double Crochet
- DC: Double Crochet
- FPtr: Front Post Treble Crochet
Project Overview
- Hat Size: One size fits most adults (approx. 26 cm wide when folded, ~52–53 cm circumference when sewn).
- Scarf Dimensions: Length of 160 cm – 170 cm (63" – 67"). Adjustable with starting foundation chain.
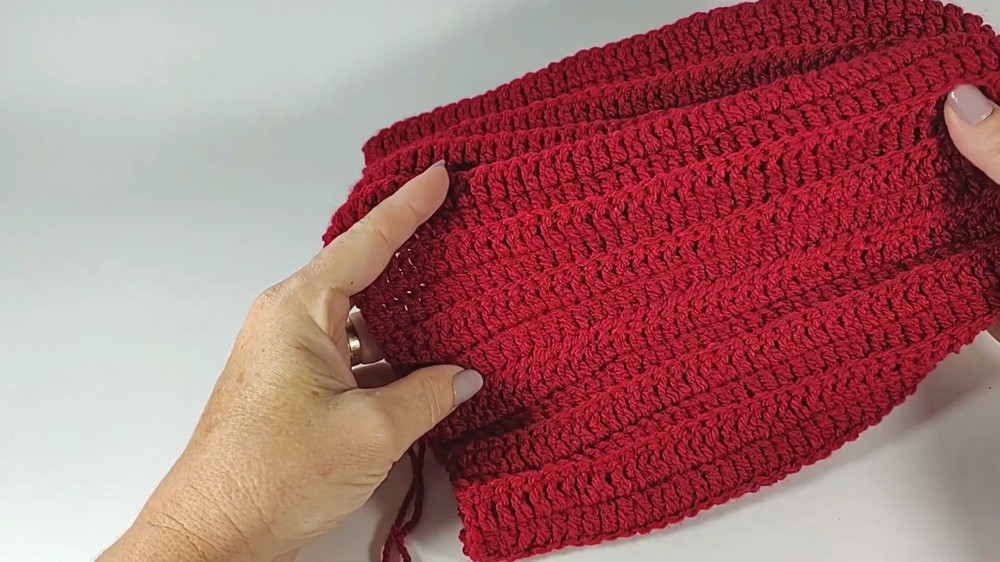
- Texture: Alternating raised stitch pattern creates a modern, dimensional look.
Hat Pattern Instructions
Step 1: Hat Base
- Foundation Chain:
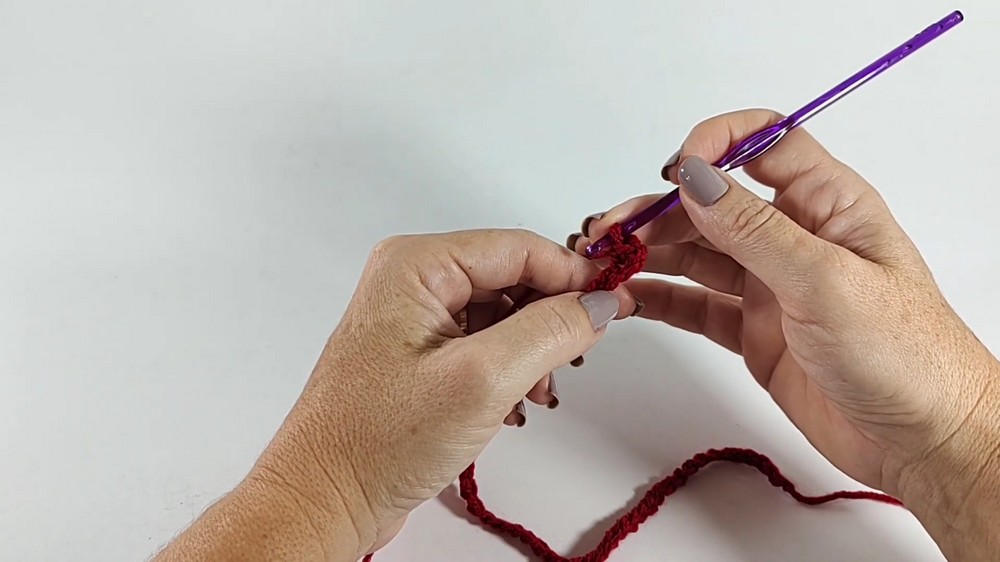
- Ch 48, ensuring the chain remains loose to maintain elasticity if stretched.
- Skip the first chain, and working into the back loops of the chain creates a cleaner edge.
- Row 1:
- SC in the second chain from the hook. SC again into the next 2 chains (3 SC total).
- Work 3 HDC into the next 3 chains.
- For the rest of the row, work 1 DC into each chain until you reach the end.
- Turn your work.
- Row 2:
- Ch 3 (counts as the first DC). Work 1 DC in each stitch until the last 6 stitches of the row.
- Switch to HDC for 3 stitches, then SC into the last 3 stitches.
- Turn your work.
- Row 3 Onward (Textured Pattern):
- Follow an alternating texture repeat:
- Where there are SC, work SC into the back loop only.
- Where there are HDC, work HDC into the back loop only.
- Where there are DC, continue working DC in the back loop.
- Maintain this pattern for 26 rows or until the piece measures approximately 26 cm (10 inches) in width.
- Follow an alternating texture repeat:
Step 2: Assembly
- Shape the Hat:
- Fold the fabric in half (lengthwise).
- Use a tapestry needle to seam the side edges together with a whip stitch or mattress stitch. Leave the short edges (top and bottom) open.
- Close the Top:
- Using the remaining yarn tail, weave through the last row’s loosened loops using the tapestry needle.
- Pull tightly into a circle to bring the top together.
- Secure with a few stitches, reinforcing the top closure.
Step 3: Pompom Attachment
- If using a premade pompom:
- Thread the tapestry needle with the pompom’s attachment strands.
- Sew the pompom to the hat’s top center, reinforcing by threading back and forth multiple times. Tie securely.
- If using a yarn pompom:
- Make a pompom using leftover yarn; tie it into place as described above.
- Secure with tiny drops of silicone glue for a polished finish.
Scarf Pattern Instructions
Step 1: Scarf Base
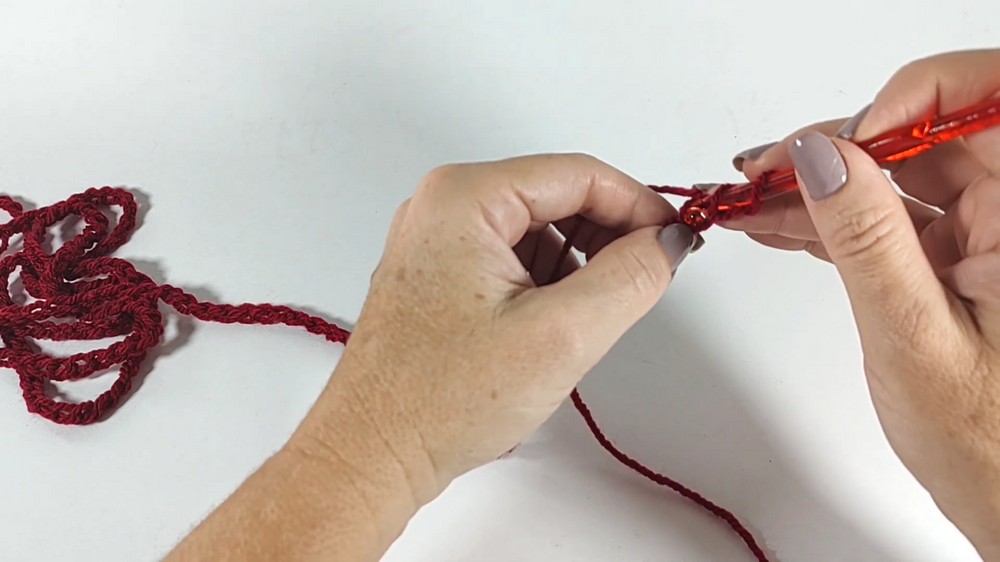
- Foundation Chain:
- Ch a long chain measuring 160–170 cm (63"–67"). No need to count exact stitches as long as your chains measure the desired length.
- Skip the first chain and SC into the next chain.
- Row 1:
- Work 1 HDC into each loop of the foundation chain, keeping tension even.
- Turn your work.
- Row 2: Begin Front Post Relief Pattern:
- Ch 2 (counts as first HDC stitch).
- Work FPtr (Front Post Treble Crochet) for each stitch across the row for a beautifully textured ribbing effect.
- Repeat Front Post Stitches Across 19 Rows:
- Maintain the relief pattern throughout the scarf’s length, creating a raised texture.
- To finish the scarf ends, work one final row in HDC for a cleaner edge.
Step 2: Adding Fringe (Optional)
- Prepare Fringe Pieces:
- Wrap the yarn around an object (like an 18 cm board or book) multiple times to create fringe strands.
- Cut the loops to create even-length strands ready for application.
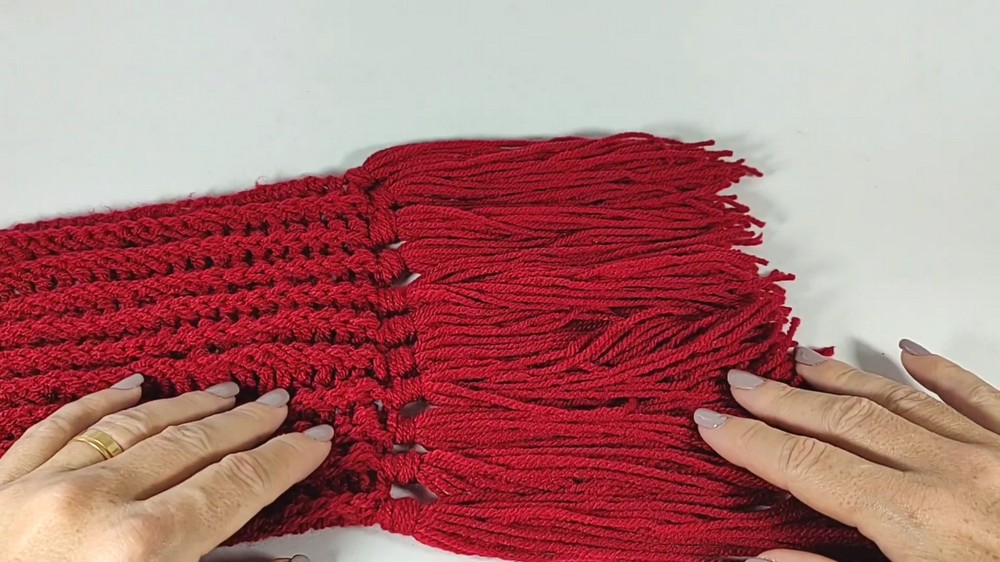
- Apply Fringe:
- Fold 4–6 strands in half. Use a crochet hook to pull the loop of the folded strands through the scarf’s edge stitches.
- Pull the loose ends through the loop to secure the fringes with a knot.
- Repeat evenly across both edges of the scarf.
- Trim Finish:
- Use scissors to trim the fringe for a clean, uniform appearance.
Tips for Success
- Tension Control: Keep your chains loose, particularly at the start, to maintain flexibility in both the hat and scarf.
- Yarn Substitutions: While Neptune yarn is recommended for drape, substitute with similarly thick, soft yarns to achieve a similar effect.
- Styling Tips: This elegant set pairs beautifully with casual or formal outfits, making it a wonderful gift or wardrobe addition.
Customization Ideas
- Adjust Sizing:
- For a child’s size, reduce the width and length of the scarf foundation chain.
- Adjust the number of hat rows for different head sizes.
- Color Variation:
- Use multiple colors for a striped or two-toned scarf and hat design. Neutral or pastel colors work best for a chic result.
- Accessorize:
- Swap the fur pompom with a tassel or crochet embellishment for added creativity.
Conclusion and Final Remarks
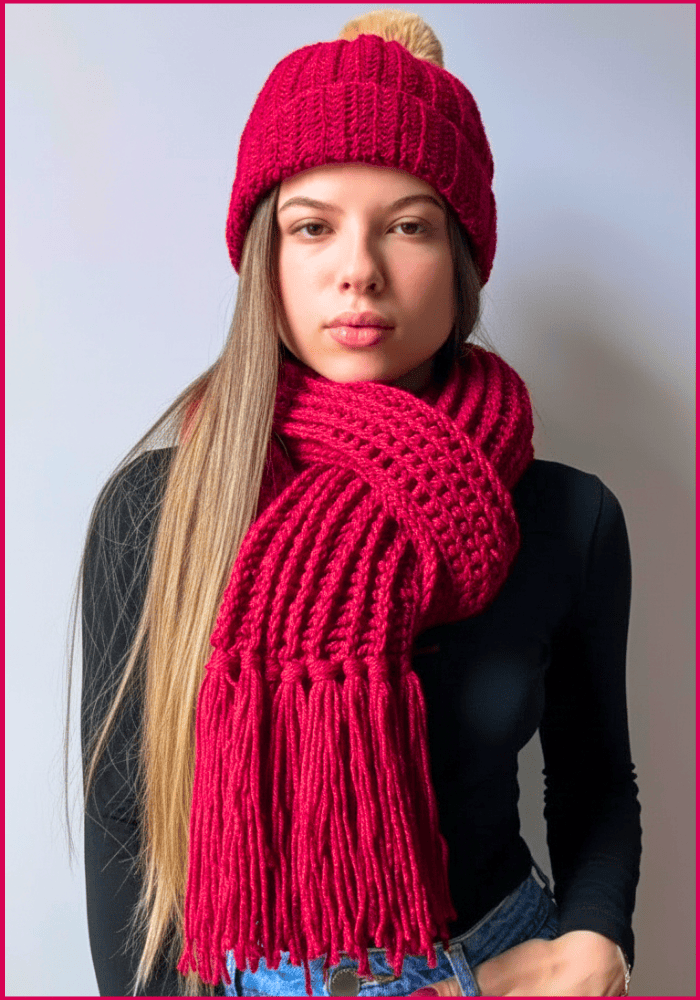
This stylish crocheted hat and scarf set, complete with elegant raised texture and optional fringes or pompom embellishment, is as functional as it is beautiful. Its drape, flexibility, and visual appeal make it a favorite project for beginners and experienced crocheters alike. Whether accessorized for a fashion statement or crafted as a heartwarming gift, this set showcases both your creativity and crochet skills.



