
Experience the softness and charm of Crochet Puff Stitch Granny Square perfect for cozy blankets pillows home decor projects or heartfelt handmade gifts.
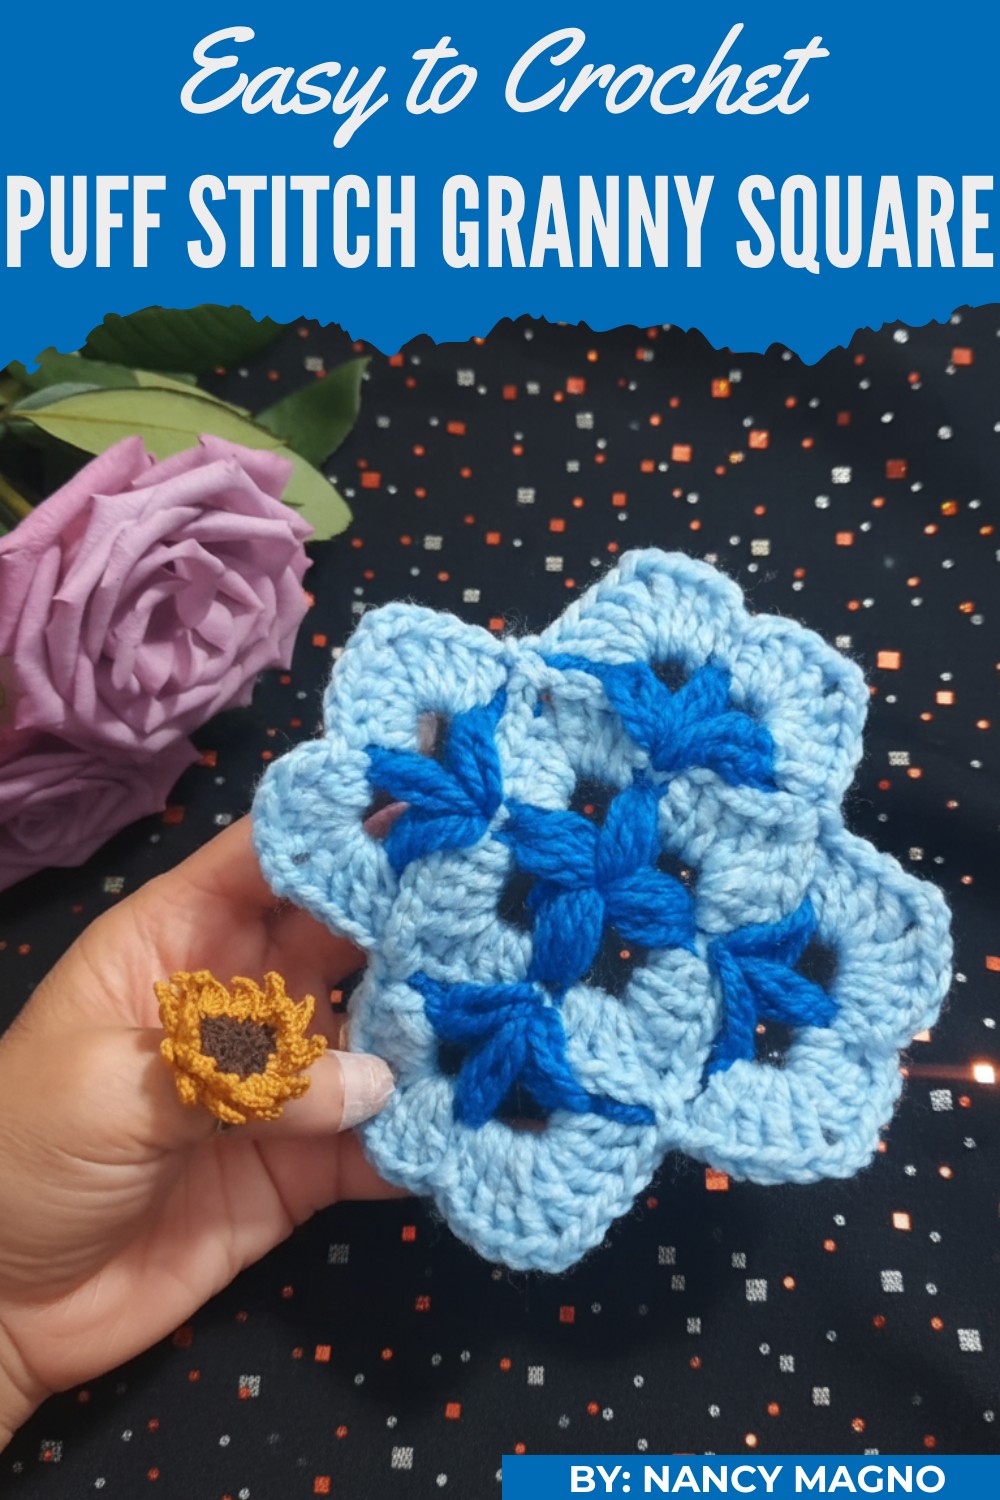
Beautiful, soft, and full of texture, this design is perfect for adding charm and elegance to your crochet projects. The Crochet Puff Stitch Granny Square pattern stands out with its unique puffed texture, giving it a cozy and eye-catching appearance that adds depth to any piece. These squares are versatile and can be used to make blankets, cushions, bags, scarves, or even a stylish cardigan.
Enchanting Crochet Puff Stitch Granny Square for Cozy Creations
Its puff stitch design adds a pop of dimension, creating a soft, fluffy look that feels warm and inviting. The beauty of this pattern lies in how simple yet intricate it appears, making it perfect for both beginners and experienced crocheters.
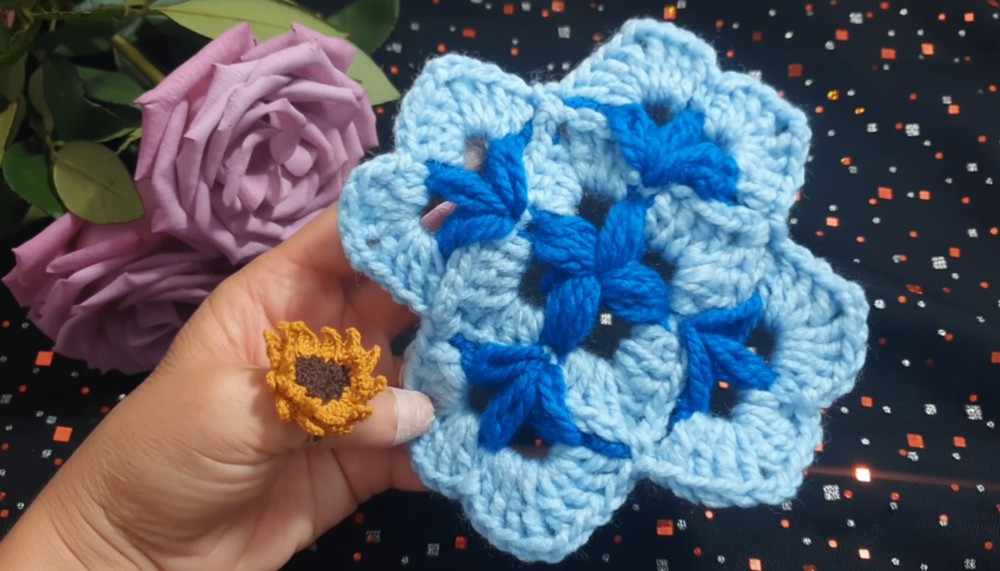
The combination of classic granny square and playful puff stitches makes this pattern unique, adding personality to your work. Whether in solid colors or blends, these squares are sure to brighten up your home and wardrobe with their timeless charm and delightful texture.
Materials Required:
- Yarn:
- Thick yarn (recommended for beginners, as stated in the transcription).
- Alternatively, you can use medium-thick or thin threads, but thinner yarn may require more work.
- Crochet Hook: Size 3.5mm (ideal for thick yarn).
- Scissors: Basic for cutting yarn.
- Yarn Needle: For weaving in loose ends after completing the project.
Instructions: Step-by-Step Guide
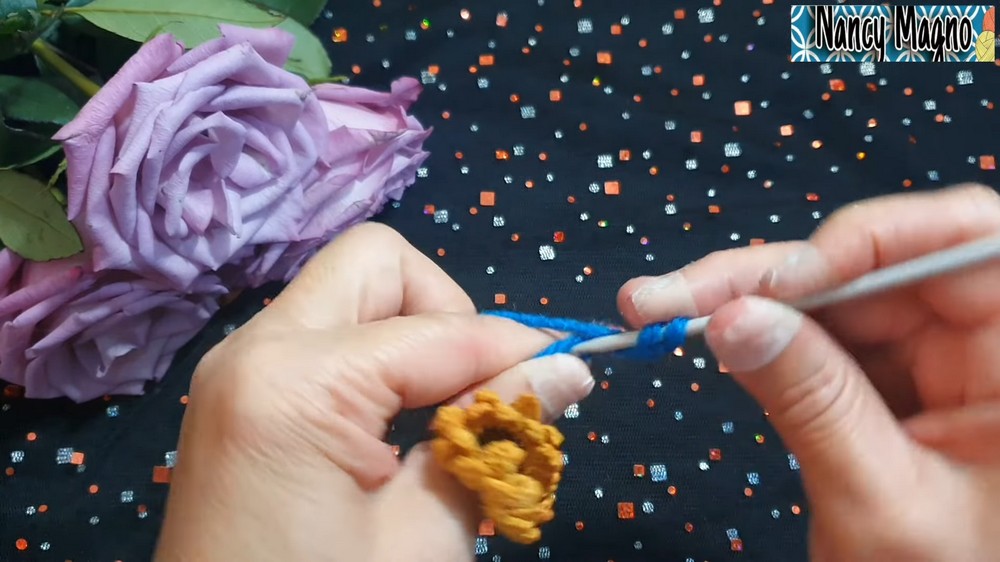
Step 1: Create a Magic Ring
- Start with a magic ring (also known as a magic circle).
- This technique creates a tight center for your Granny Square.
Step 2: Make Puff Points
- Chain 3 to begin.
- Create a puff stitch:
- Yarn over the hook, insert into the circle, pull up a loop.
- Repeat this process four times (you'll pull loops four times in total to create a puff effect).
- Once 4 loops are on your hook, pull the yarn through all of them and close the stitch securely.
- Chain 5.
- Repeat the puff stitch inside the magic circle:
- Yarn over and pull loops four times, then close the stitch.
- Chain 5.
- Continue repeating puff stitches and chaining 5 until 4 puff stitches are created in the circle. (This forms the base of the square.)
- Pull the yarn to tighten the magic circle completely, then close the round with a slip stitch on the top of the first puff stitch.
Step 3: Begin the Second Round
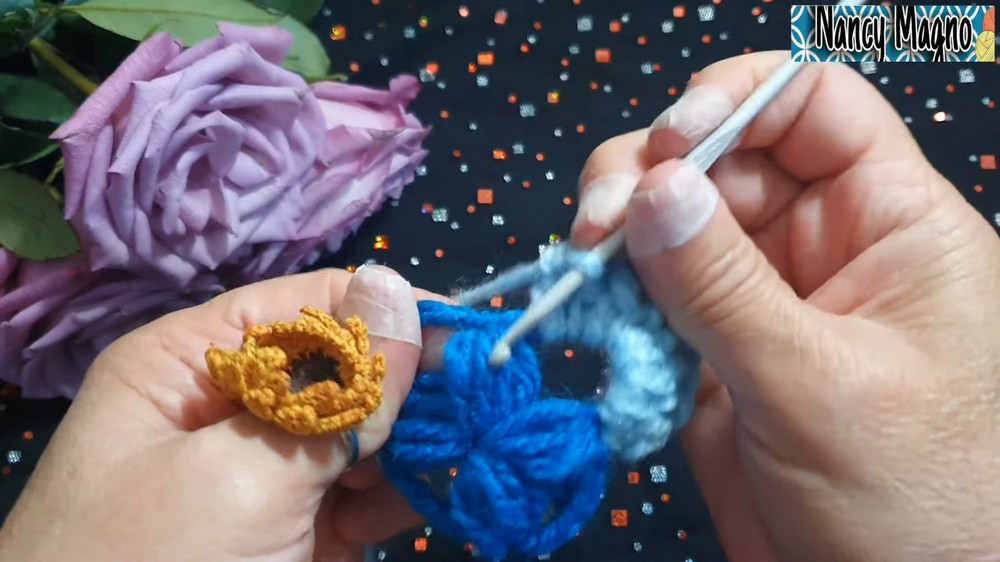
- Cut your yarn and add a new color (e.g., light blue, as specified in the transcription).
- Start with a slip stitch above one of the puff points from the first round.
- Chain 1, then begin working into the chain space:
- Work 4 double crochets into the same chain space.
- Chain 2, then work 4 double crochets again into the same space.
- Move to the next chain space of the previous round:
- Repeat the same pattern: 4 double crochets, chain 2, and 4 double crochets.
- This creates the "corner" of the square for the round.
- Between corners:
- Chain 2, single crochet into the next puff stitch space.
- Continue working this pattern around the square.
- Close the round with a slip stitch, chain 1, then cut the yarn. Make sure to weave in ends.
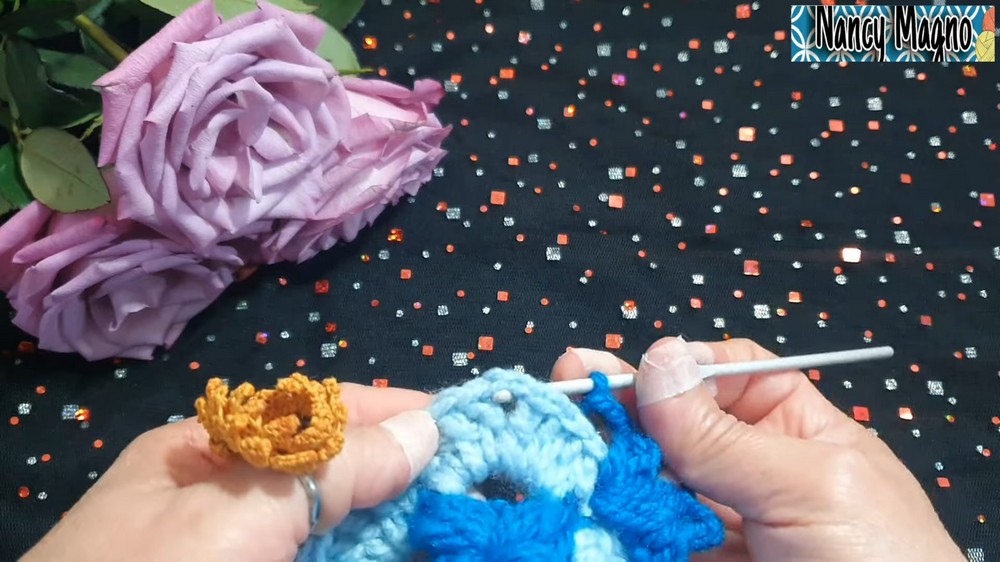
Step 4: Add Another Round
- Add a new color (dark blue, as suggested).
- Start with a slip stitch, attaching the new yarn to a corner space (created with chain-2 spaces).
- For each corner space:
- Chain 3, then create a puff stitch using 2 loops (instead of 4 loops in the first round for smaller puff points).
- Chain 3 after each puff stitch, then create another puff stitch in the same corner space.
- Repeat this for every corner.
- Between corners:
- Single crochet into each middle chain space.
- Continue this process for the rest of the round.
- Close the round with a slip stitch, then cut your yarn and weave in ends.
Step 5: Add the Final Round
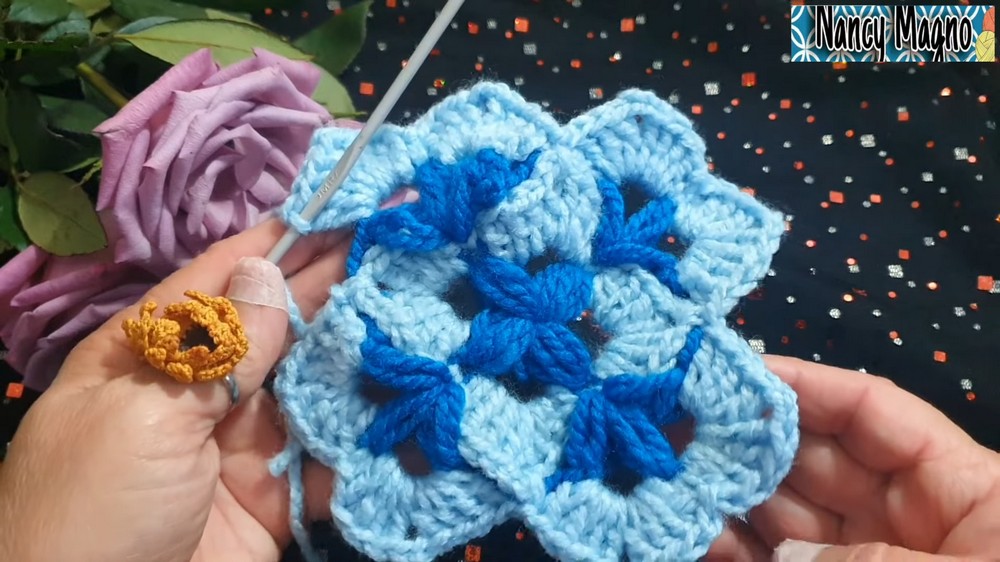
- Using a new yarn color, attach the yarn with a slip stitch to any corner space from the previous round.
- For each corner space:
- Work 4 double crochets into the chain space.
- Chain 2, then work another 4 double crochets in the same space.
- Between corners:
- Work 4 double crochets into all chain spaces (no chaining between these double crochet sections).
- Single crochet into the middle points for stabilization.
- Repeat this pattern around the square.
- Close the square with a slip stitch and weave in all loose ends.
Tips for Success:
- Practice Puff Stitches: Beginners should practice the puff stitch technique before starting to ensure confidence in pulling consistent loops.
- Magic Ring Technique: Make sure the magic ring is securely closed, as a loose center could unravel the project.
- Blocking: After completing the Granny Square, lightly wet and block it. Pin it down to shape it neatly.
- Use Stitch Markers: To avoid losing your place, use stitch markers at each corner.
Customization Ideas:
Color Variations:
- Use gradient or self-striping yarn for a seamless color transition between rounds.
- Create squares with alternating colors for each round to add vibrancy.
- Use monochrome yarns for a simple, elegant design.
Size Variations:
- Make smaller squares for coasters or embellishments by stopping after the second or third round.
- For larger squares:
- Add extra puff or double crochet rounds.
- Measure the desired size and continue crocheting until the square matches.
Additional Ideas:
- Join multiple Granny Squares to create a blanket or cushion cover.
- Add decorative edges like picot stitches or a shell border on the final round for added detail.
Important Remarks
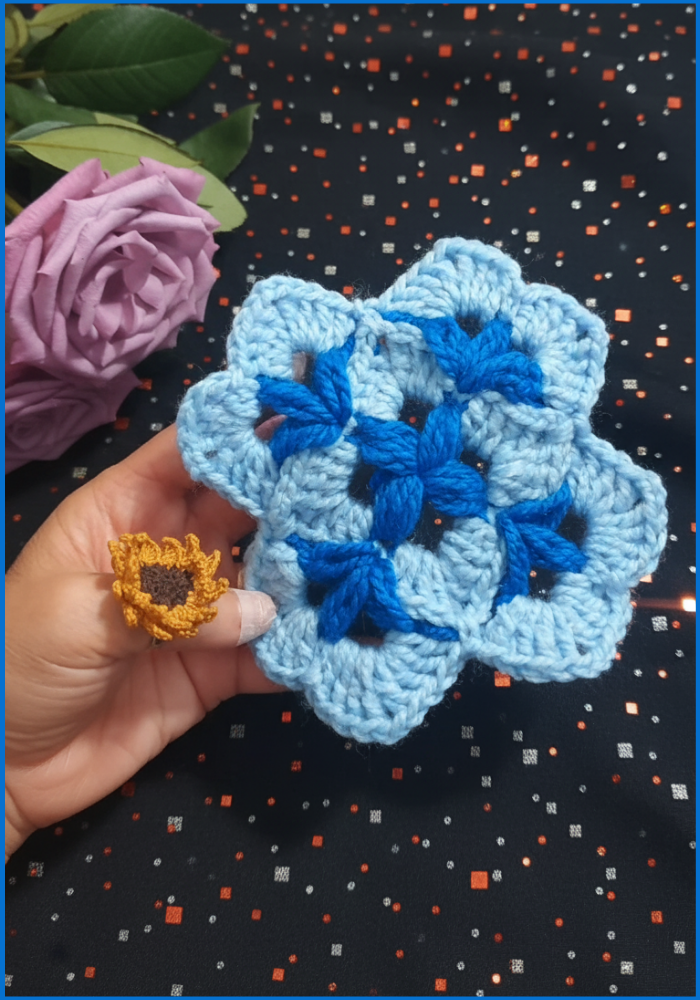
The Granny Square with Puff Stitches combines beauty and texture, making it both beginner-friendly and suitable for advanced crocheters looking to experiment with designs. The layers of puff stitches and double crochets give the square a dimensional and striking appearance. Whether used as a standalone piece or joined into larger projects, this Granny Square offers endless creative possibilities. Customize the color palette and size to suit your style and let your creativity shine. Happy crocheting!



