
Carry a cute mini accessory with Crochet Tomato Pouch Pattern that turns everyday essentials into playful fun pieces perfect for gifts bags and daily use.
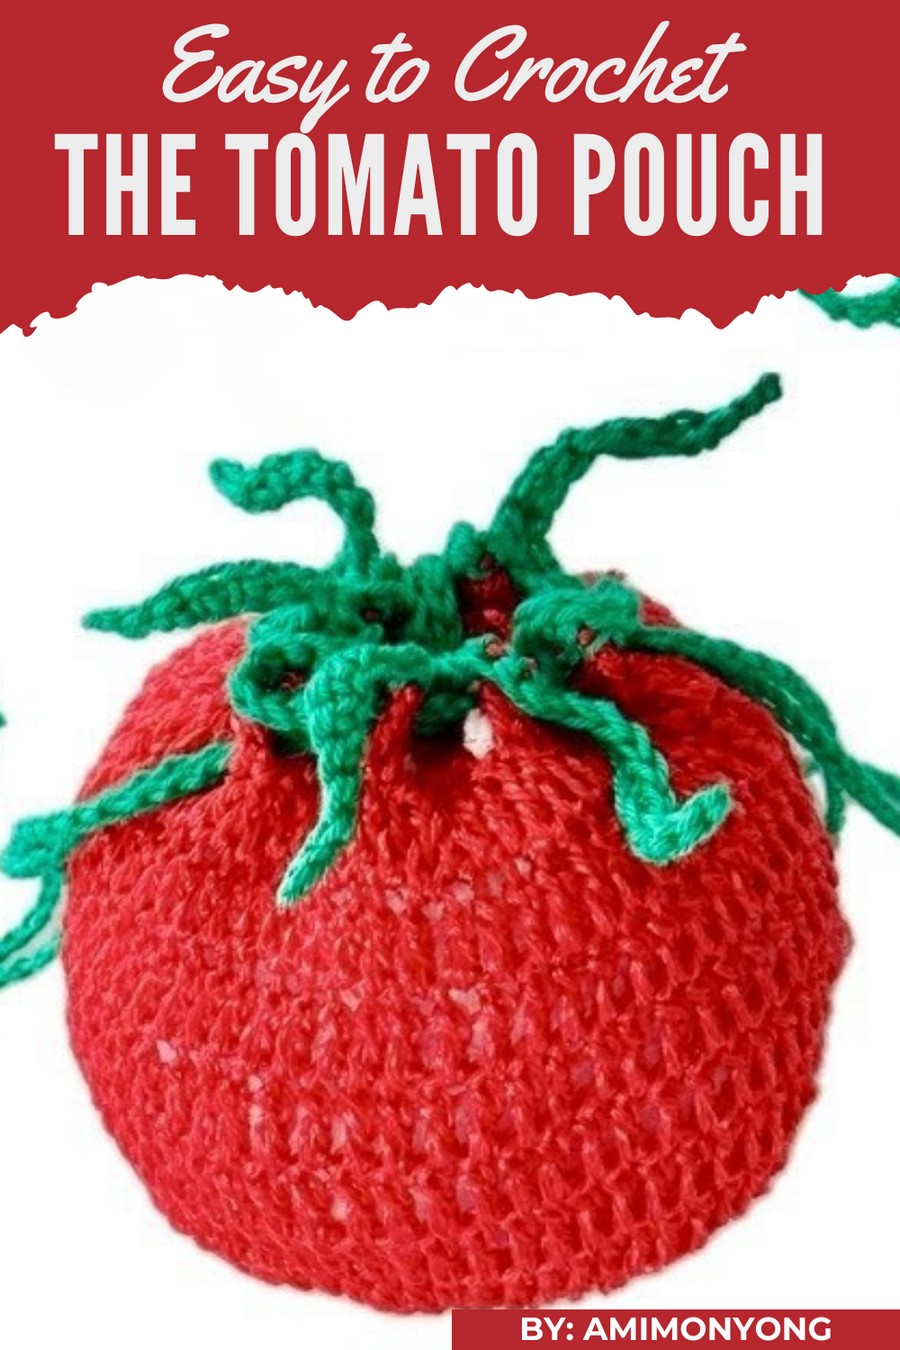
Bright, fun, and absolutely adorable, this unique pouch adds a playful touch to your daily essentials. Shaped like a charming tomato, it’s perfect for storing small items like coins, keys, or accessories while standing out with its vibrant colors and creative design.
Playful Crochet Tomato Pouch Pattern for Storage
Lightweight and easy to carry, it’s great for everyday use, gifting, or even as a decorative piece. The detailed pattern and cute appearance make it both practical and eye-catching, ideal for anyone who loves functional and fun accessories. Whether for personal use or as a thoughtful gift, this pouch brings joy and a splash of personality wherever it goes.
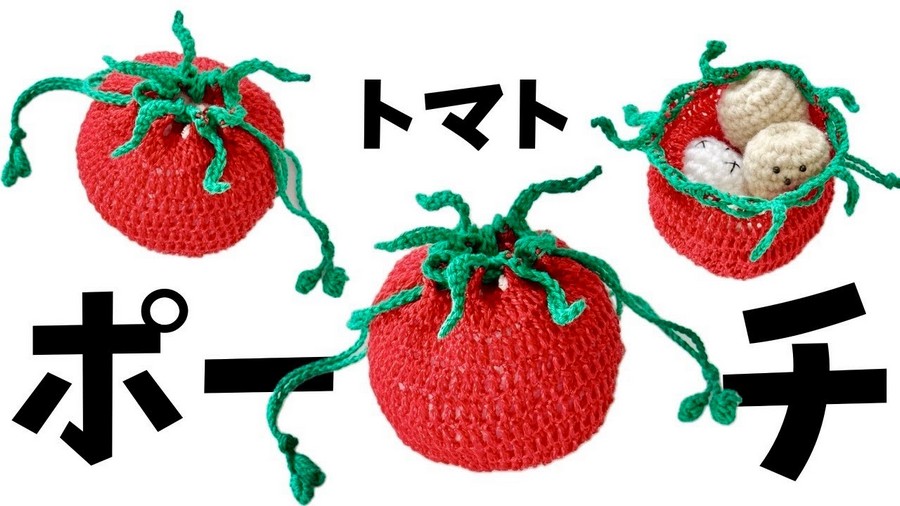
Materials and Supplies
- Yarn:
- Main Body (Tomato): Worsted-weight yarn in red.
- Leaf (Top): Worsted-weight yarn in green.
- Stem (Drawstring): Worsted-weight yarn in green.
- Tools:
- Crochet Hook: 3mm (or size suitable for your yarn).
- Tapestry Needle: For weaving in ends and assembling.
- Scissors: For cutting the yarn.
Key Abbreviations (US Terminology)
- ch: Chain.
- sc: Single Crochet.
- dc: Double Crochet.
- sl st: Slip Stitch.
- st(s): Stitch(es).
- MR: Magic Ring.
Special Notes
- Working in Rounds: Unless specified otherwise, this pattern is worked in continuous rounds. Use a stitch marker to mark the beginning of each round if needed.
- Tension: Keep your stitches tight to maintain the pouch’s sturdy shape.
Skill Level
Intermediate
This pattern involves working in the round, double crochets, increasing, decreasing, and chain stitches. Some assembly is required.
Pattern Instructions
Base and Body of the Tomato (Red Yarn)
Step 1: Create the Base
- Begin with a magic ring (MR) and work 4 chain stitches.
- Inside the magic ring, chain 4 and make one double crochet (dc).
- Repeat this process until you have 20 dc total in the first row.
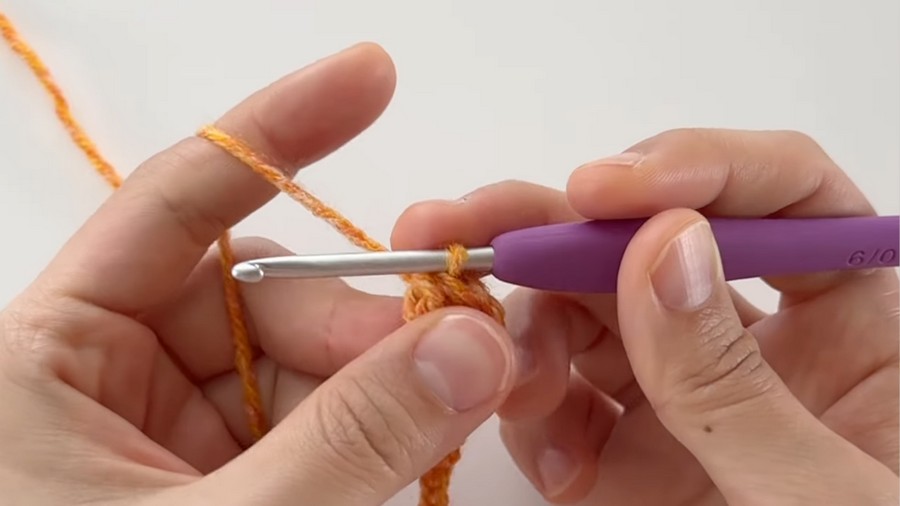
Step 2: Grow the Circle
- Work 3 ch to start the next round (this is considered the height of the first dc).
- Insert your hook into the space between the stitches of the previous round and make 1 dc, followed by another double crochet in the same stitch to increase. Repeat the sequence until the round is complete.
- Total stitches: 40 dc.
Step 3: Build the Height
- For rows 3 to 11, work 1 dc in each stitch around. Do not increase.
- Note: Always start each row by chaining 3 to match the height of the dc stitches.
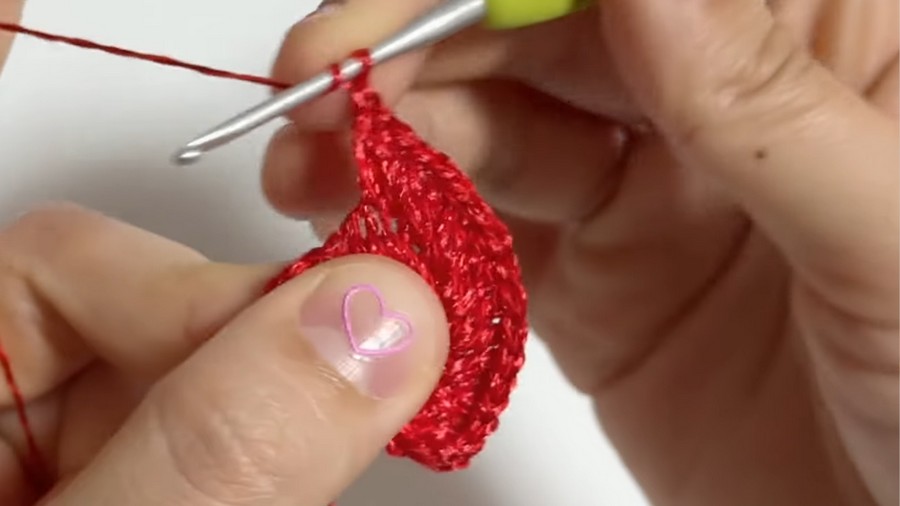
Step 4: Create the Top Hole
- For row 12, work into the back loops only (BLO):
- Work 1 dc in each stitch around to create a defined row for the top of the pouch. Do not increase or decrease the stitch count.
- Total stitches: 40 BLO dc.
Step 5: Closing and Decreasing
- For row 13, begin decreasing slightly:
- Work 3 dc, 1 decrease (dc2tog) around. Repeat until the round is complete.
- Total stitches: 30 dc.
- For row 14, work:
- 2 dc, 1 decrease (dc2tog) around. Repeat until the round ends.
- Total stitches: 24 dc.
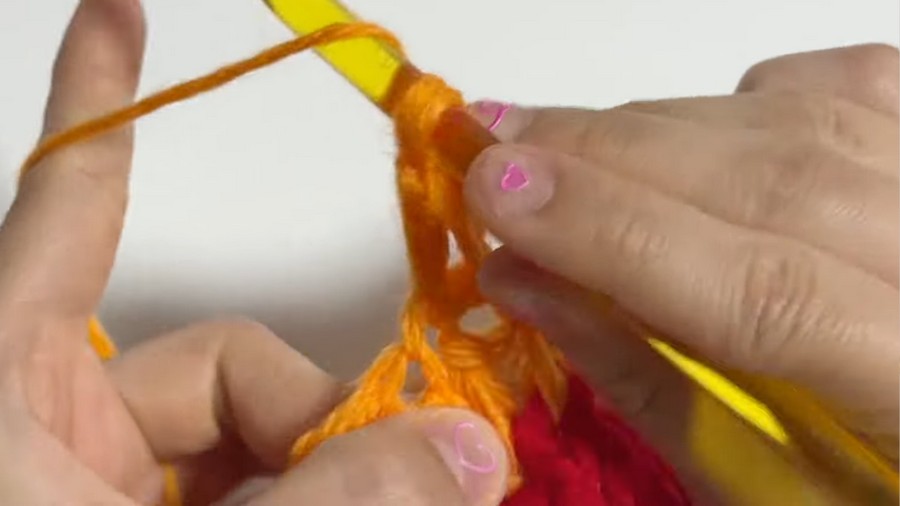
Leaf Top Section (Green Yarn)
Step 1: Attach and Begin the Leaf Base
- Switch to green yarn and join it in the BLO row at the top of the pouch.
- For each stitch:
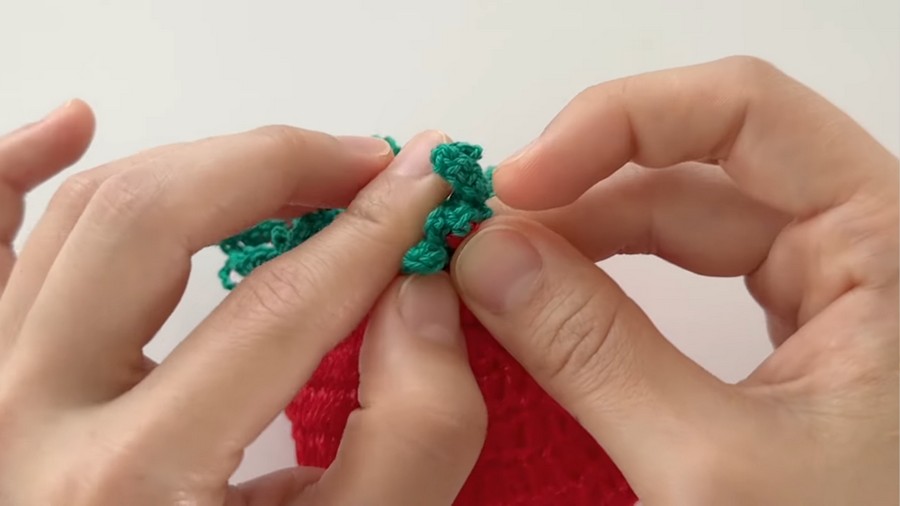
- Chain 3 and work 3 dc into the same BLO stitch, followed by a sl st into the next stitch.
- Continue this process for all the stitches around to form the leaf pattern.
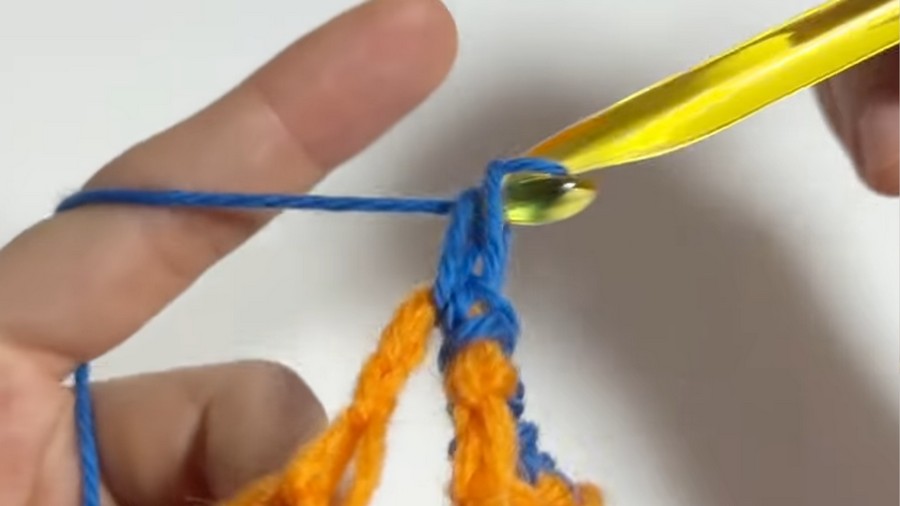
Drawstring Stem (Green Yarn)
- Create a chain of 40–50 stitches (or desired length, depending on how wide you want the pouch to close).
- To strengthen the drawstring, work a row of sc stitches across the chain.
- Cut the yarn and weave in the ends.
Assembly
- Insert the Drawstring:
- Weave the drawstring in and out of the holes created in row 12 (BLO) of the pouch. Alternate stitches evenly around the top of the pouch.
- Secure and Finish:
- Tie a knot at both ends of the drawstring to prevent it from slipping out.
Customization Ideas
- Color Variations:
- Try creating pink tomatoes for cherry tomato versions or yellow yarn for heirloom varieties.
- Use a variegated green yarn for a more dynamic leaf effect.
- Size Adjustments:
- Use thicker yarn or a larger hook to make a bigger pouch. Alternatively, use lighter weight yarn for a mini pouch.
- Details:
- Embroider seeds or tomato veins using contrasting yarn on the body of the pouch for added realism.
Tips for Success
- Consistency in Stitching: Keep your tension consistent throughout to avoid uneven body shaping.
- Plan Your Lengths: When making adjustments for size, increase or decrease the number of rows in steps 3–4 of the body.
- Finishing Touches: Use steam blocking to gently relax the leaves if they curl too much.
Conclusion
Congratulations! You’ve completed your tomato pouch—a fun, multifunctional project that’s as adorable as it is practical. Whether you’re using it to store small items or gifting it to a friend, the tomato pouch is a delightful addition to your crochet projects.
Final Look
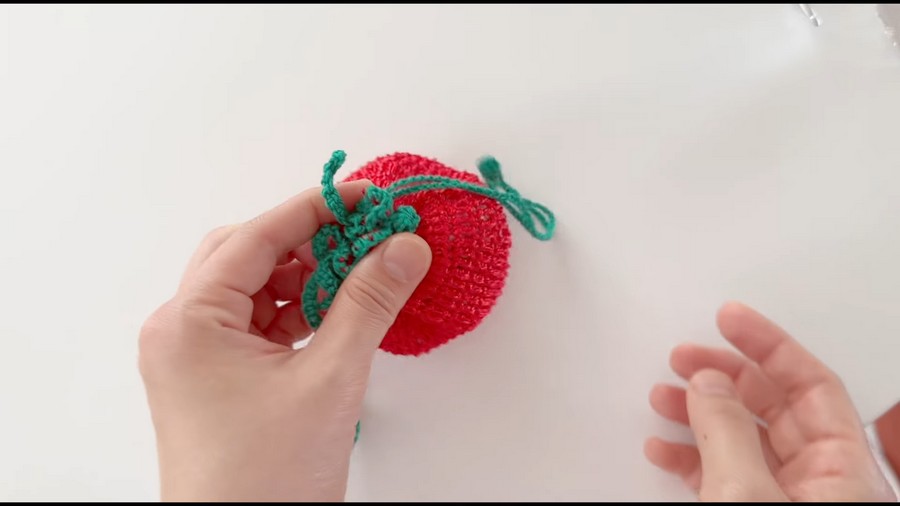
The tomato pouch should showcase its bright red body, textured green leaves at the top, and functional drawstring closure, making it look like a fresh, ripe tomato.



