
Light up your space with Crochet Candle Pattern that lets you create charming decorative candles adding warmth and style to home decor and gifts with ease.
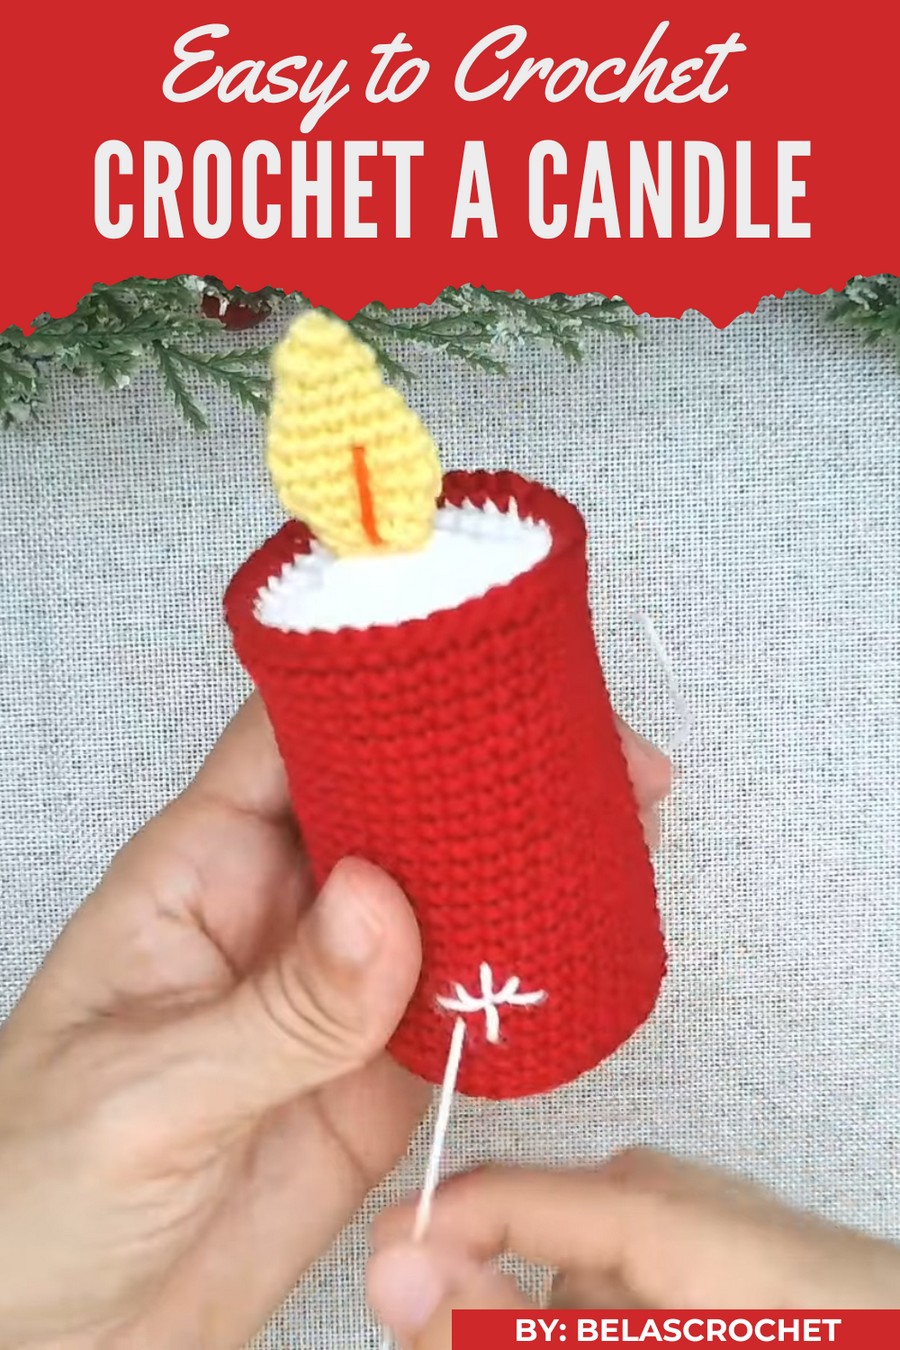
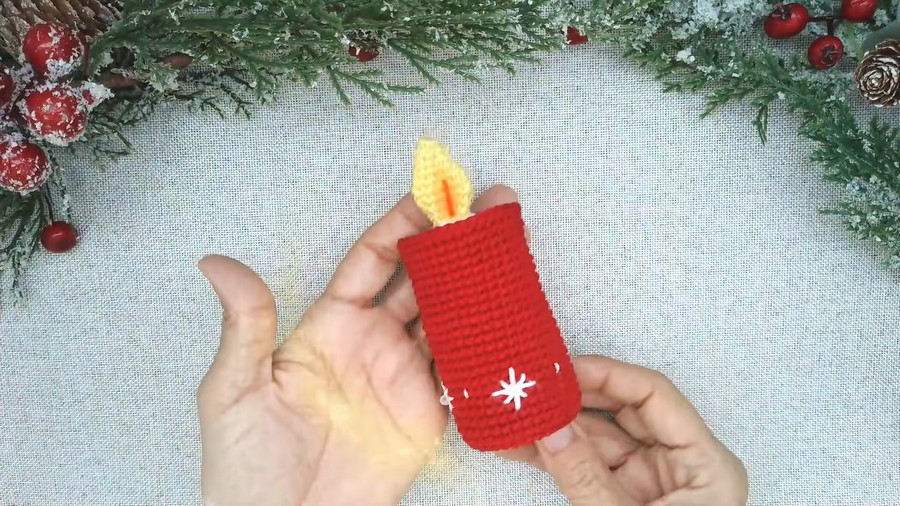
Plain candles can feel boring, but this soft handmade creation brings warmth, charm, and color in a way that lasts forever. The Crochet Candle pattern shows a small, delicate candle made with neat stitches and soft yarn, shaped like a real candle with a tiny flame on top that looks bright and cheerful.
Adorable Croche Candle Pattern to Brighten Any Room
It can decorate tables, shelves, or rooms, be part of festivals or cozy corners, and even be given as a thoughtful gift. Its most special features are its realistic candle shape, soft texture, and long-lasting design, which make it unique, safe, and perfect for adding a handmade touch of warmth and beauty anywhere.
Materials List
Required Materials
- Yarn:
- White: For the body and wax details.
- Red: For the base of the candle.
- Yellow: For the flame.
- Orange or "Mom's color": For flame detail.
- Optional: White embroidery yarn for snowflake details.
- Hook:
- 2.5mm crochet hook for all components.
- Other Supplies:
- Cardboard: For creating the candle base's internal support.
- Synthetic Cotton Filling: For stuffing inside the candle.
- Tapestry Needle: For joining parts and embroidery.
- Stitch Marker: To track rounds.
- Scissors: For cutting yarn and cardboard.
- Glue: Cold glue for attaching embellishments.
- Optional Embellishments:
- Crystals or beads: For decorating the snowflakes.
- Watercolor or blush makeup: To add subtle coloring to the flame.
Skill Level
Intermediate
This pattern includes techniques such as crocheting in continuous rounds, shaping components, decreases and increases, embroidery, and finishing details.
Key Abbreviations (US Crochet Terminology)
| Abbreviation | Meaning |
|---|---|
| ch | Chain |
| sc | Single Crochet |
| st(s) | Stitch(es) |
| inc | Increase (two sc in one stitch) |
| dec | Decrease (crochet stitches together) |
| sl st | Slip Stitch |
Special Notes
- Continuous Rounds: The body and flame are worked in continuous rounds. Use a stitch marker to mark the beginning of each new round.
- Customization: Add or adjust the height of the candle or number of snowflakes as desired.
- Embroidery Details: Embroidering snowflakes adds a festive touch but is optional.
- Flame Shape: Shaping the flame at the end will require careful stuffing and sewing.
Step-by-Step Pattern
Part 1: Candle Base
White Wax Section
- Magic Ring:
- Create a magic ring and crochet 6 sc into the ring. Pull the thread to close.
- Round 2 - Increases:
- Crochet 2 sc in each stitch around. (Total: 12 sts)
- Round 3 - Increasing Pattern:
- Crochet 1 sc, inc (repeat across the round). (Total: 18 sts)
- Round 4 - Further Increases:
- Crochet 2 sc, inc (repeat across the round). (Total: 24 sts)
- Round 5:
- Crochet 3 sc, inc (repeat across the round). (Total: 30 sts)
- Round 6:
- Crochet 4 sc, inc (repeat across the round). (Total: 36 sts)
- Finish:
- Cut the white thread short and secure.

Red Base Section
- Repeat Rounds 1–6:
- Follow the exact instructions as the wax section but using red yarn. Do not cut the thread after completing Round 6!
- Transition to Height:
- For Round 7, crochet 36 sc, working only in the back loops of each stitch.
- Build Height:
- Crochet 20 rounds of 36 sc, working normally (through both loops) in continuous rounds.
Part 2: Inner Cardboard Base
- Create a Circle:
- Using cardboard, trace and cut out a circular piece approximately the same size as the base diameter (about 36 sts wide). Trim slightly smaller to fit snugly.
- Insert:
- Place the cardboard circle inside the base to provide structural support.
Part 3: Candle Flame
Yellow Flame Section
- Magic Ring:
- Create a magic ring, crochet 6 sc into the ring, and close.
- Round 2:
- Crochet 6 sc, maintaining the same stitch count.
- Round 3 - Increase:
- Crochet 2 sc, inc (repeat across the round). (Total: 8 sts)
- Round 4 - Further Increase:
- Crochet 3 sc, inc (repeat across the round). (Total: 10 sts)
- Round 5:
- Crochet 4 sc, inc (repeat across the round). (Total: 12 sts)

Shape the Flame (Decreases)
- Decreases - Round 6:
- Crochet 5 sc, dec (repeat across). (Total: 10 sts)
- Round 7:
- Crochet 4 sc, dec (repeat across). (Total: 8 sts)
- Final Round:
- Crochet 3 sc, dec (repeat across). (Total: 6 sts)
- Finish:
- Cut the thread medium-length for sewing later.
Adding Flame Detail
- Orange Embroidery:
- Use orange yarn or blush makeup to add coloring to the tip of the flame. Add diagonal thread patterns if desired.
Part 4: Assembly
Attach Flame to Candle Body
- Stuff the Candle:
- Add cotton filling until half-full. This prevents the filling from interfering during closure.
- Sew on Flame:
- Position the flame on top of the candle and sew securely using the yellow thread and tapestry needle.
Close Candle Base
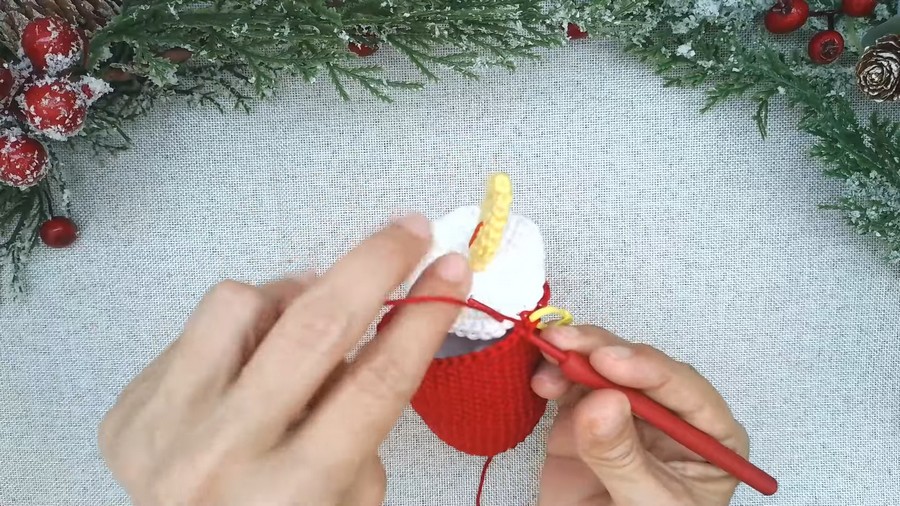
- Crochet the Red and White Sections:
- Holding the edges of red and white sections together, crochet 36 sc around to join the parts. Before fully closing, finish stuffing the candle.
- Secure and Hide Threads:
- For the final stitch, slip stitch and hide remaining ends inside the candle body.
Part 5: Embroidery Details
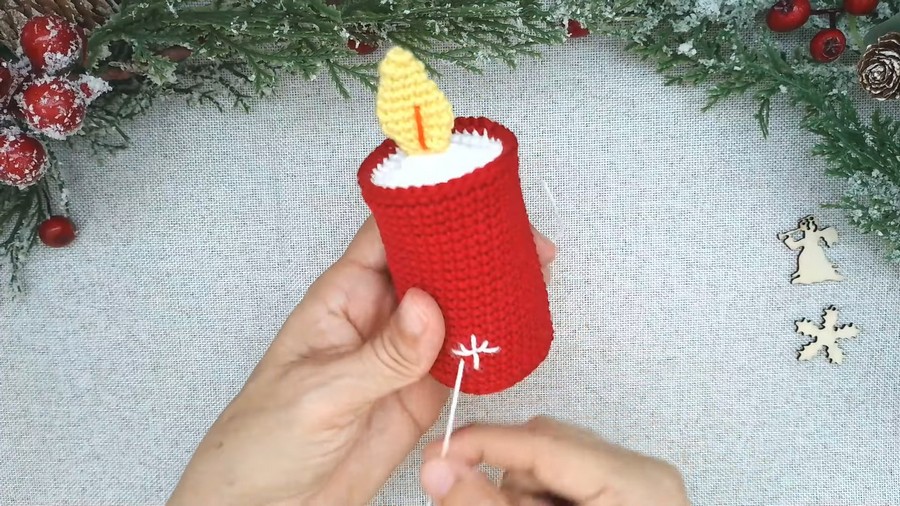
- Snowflake Embroidery:
- Using white thread, embroider simple snowflake designs around the candle base:
- Start with a central cross.
- Add diagonals for each section.
- Optionally, place crystals at the center of each snowflake with cold glue.
- Using white thread, embroider simple snowflake designs around the candle base:
- Optional Embellishments:
- Add diagonal threads or French knots between snowflakes for additional texture.
Conclusion
Your Christmas Candle Decoration is complete! This festive design, adorned with snowflakes and a realistic flame, makes a charming addition to any holiday decor. You can customize with crystals, colors, and embroidery patterns to suit your vision.
Pattern Corrections
- Flame Width: Ensure the decreases shape the flame smoothly. Adjust by adding or removing rounds to match proportions.
- Cardboard Placement: Trim the cardboard slightly smaller than the crochet diameter to avoid puckering.
Tips
- Mark Each Round: Use a stitch marker to avoid losing count when working with small rounds (especially the flame).
- Stuff Gradually: Overstuffing can distort the shape of the candle—add filling layer by layer.
- Customize Colors: Explore different base colors (gold, green, etc.) for other holiday themes.



