
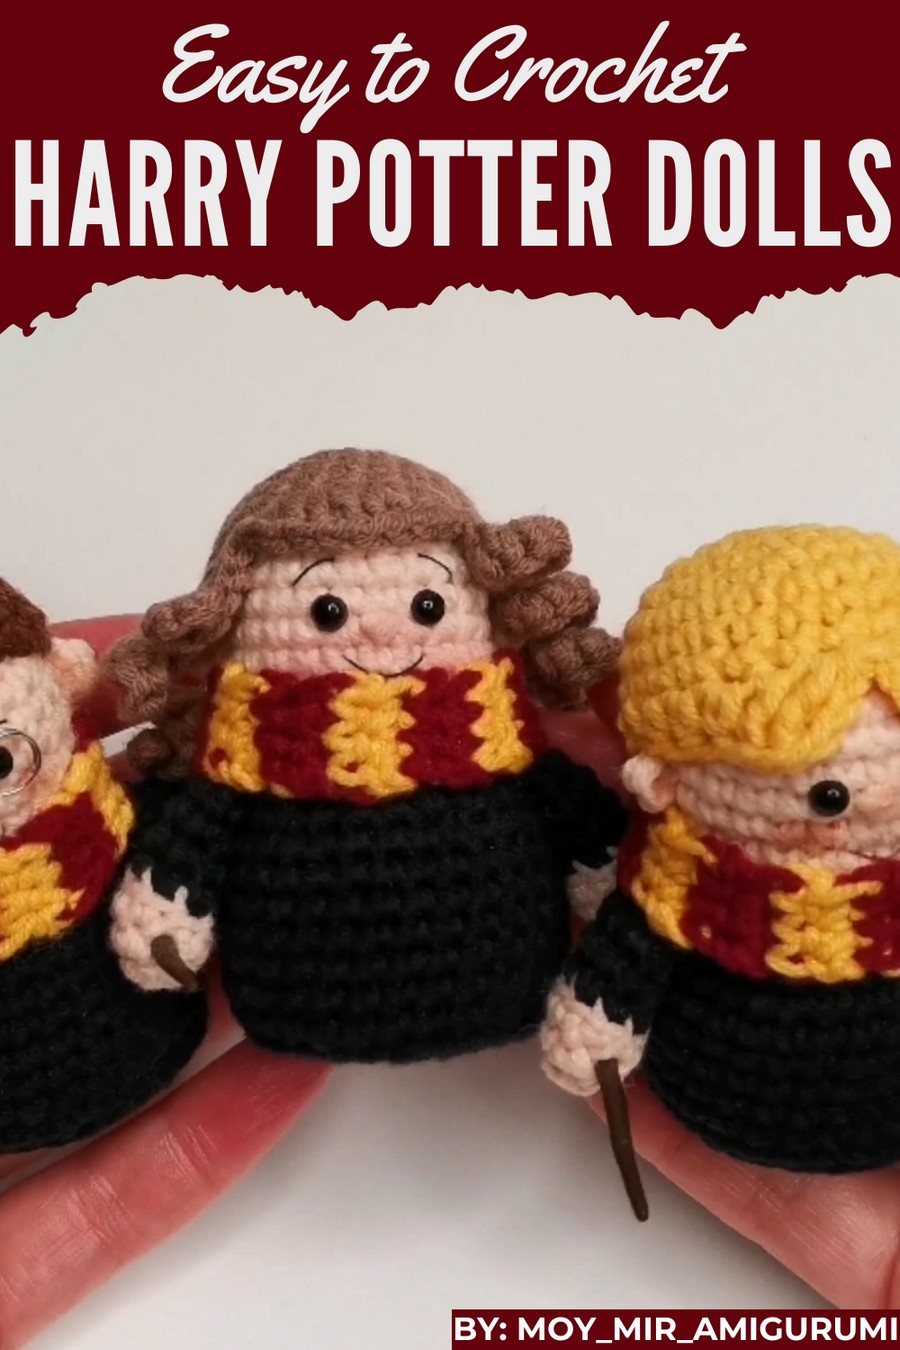
Bring the magical world to life with adorable dolls inspired by your favorite young wizard and his friends. These charming figures are designed with fine details, from tiny glasses and scarves to wands and iconic outfits, capturing the essence of each character.
Charming Crochet Harry Potter Dolls Pattern That Feels Magical
Perfect as gifts for fans, decorations for themed parties, or as playful companions for kids, they add a touch of magic to any space. With their small size and vibrant colors, they’re delightful to display on shelves, desks, or anywhere you want a bit of wizarding charm. These magical dolls are sure to spread joy and spark imaginations!
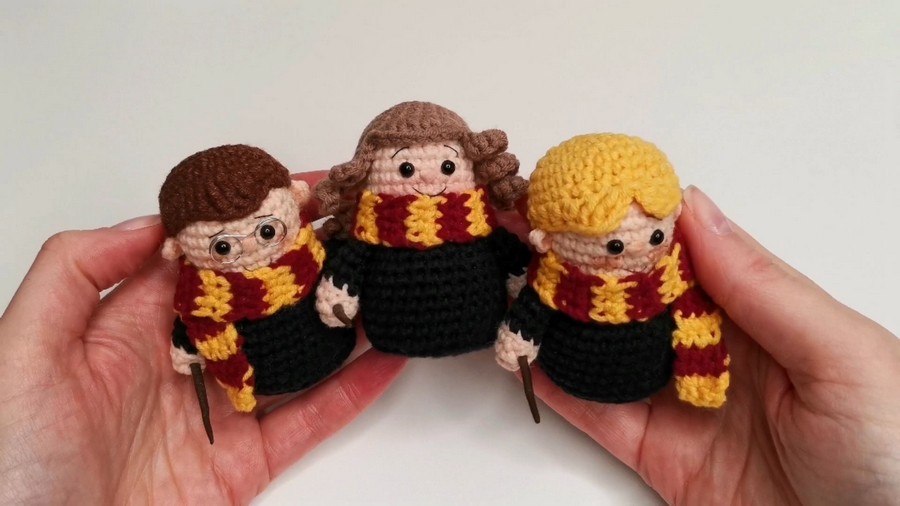
Materials Needed:
- Yarn:
- YarnArt Jeans (or similar cotton-blend yarn):
- Black: For clothes.
- Light Peach: For the head and hands.
- Brown: For Harry's hair.
- Cocoa: For Hermione's hair.
- Dark Yellow: For Ron's hair and scarf.
- Burgundy: For Ron and Hermione's scarf.
- Optional: Acrylic paint (brown) for toothpick wands (or polymer clay for sculpted wands).
- YarnArt Jeans (or similar cotton-blend yarn):
- Hook: 2 mm crochet hook.
- Eyes: 4 mm safety eyes.
- Other Supplies:
- Plastic (e.g., a strong plastic card) for backing to stabilize the figurine base.
- 0.5 mm wire for Harry’s glasses.
- 0.18 mm fishing line to sew the glasses.
- Tapestry needle for sewing pieces together.
- Scissors.
- Polyester fiberfill or any stuffing material.
- Pastels or blush to tint cheeks and ears.
Skill Level:
Intermediate to Advanced – This pattern involves creating intricate shapes, amigurumi techniques, sewing parts together, and embroidering.
Key Abbreviations (US Terminology)
- MR: Magic Ring.
- ch: Chain.
- sc: Single Crochet.
- sl st: Slip Stitch.
- inc: Increase (2 single crochets in one stitch).
- dec: Decrease (single crochet two stitches together).
- hdc: Half Double Crochet.
- dc: Double Crochet.
Special Notes for the Pattern
- Stitch Maintenance: Tighten the magic ring and securely tie knots to avoid unraveling.
- Consistency: Ensure uniform tension throughout the project for a balanced figurine shape.
- Stuffing: Stuff moderately for stability; overstuffing might distort proportions.
- Placement Tips: Use pins to position arms, hair, and details before stitching.
Step-by-Step Pattern Instructions
Arms (Make 2)
- Round 1: Make an MR, ch 1, 4 sc into the ring. (4 sts)
- Round 2: 4 inc (2 sc in each stitch). (8 sts)
- Round 3: 8 sc in the BLO (Back Loops Only). Do not crochet the last stitch completely. Change color here.
- Rounds 4-7: 8 sc in regular loops. Add filler up to Round 5. Do not overstuff.
- Finish with a sl st, tighten, and fasten off. Leave a long tail for sewing.
Body (Black Yarn for Clothes)
- Round 1: Make an MR, ch 1, 6 sc into the ring. (6 sts)
- Round 2: 6 inc (2 sc in each stitch). (12 sts)
- Round 3: 1 sc, 1 inc, repeat for 6 repeats. (18 sts)
- Round 4: 2 sc, 1 inc, repeat for 6 repeats. (24 sts)
- Round 5: 3 sc, 1 inc, repeat for 6 repeats. (30 sts)
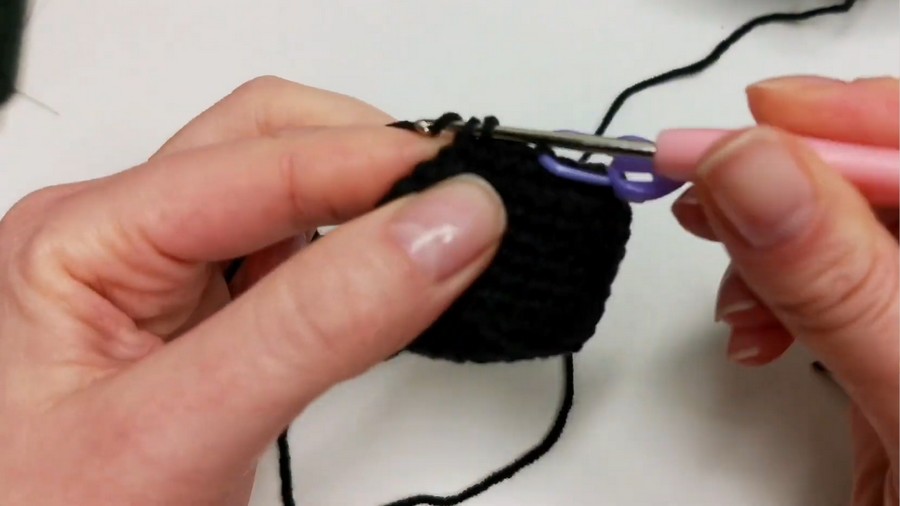
- Round 6: Work 30 sc in BLO.
- Rounds 7-12: Work 30 sc in regular loops.
- Insert the plastic circle backing into the base for stability.
- Round 13: 3 sc, 1 dec, repeat for 6 repeats. (24 sts)
Attach Arms
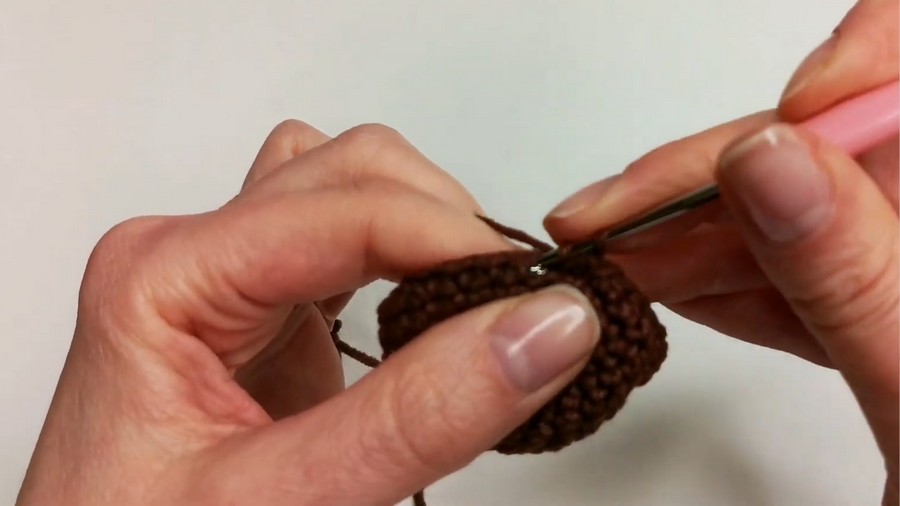
- Fold one arm in half and place it against the body.
- Line it up with the 14th row. Sew the arm to the body, grabbing both walls of the arm and body.
- Repeat for the second arm on the other side.
Head
- Round 1: Make an MR, ch 1, 6 sc into the ring. (6 sts)
- Round 2: 6 inc. (12 sc)
- Round 3: 1 sc, 1 inc, repeat 6 times. (18 sts)
- Round 4: 2 sc, 1 inc, repeat 6 times. (24 sts)
- Rounds 5-10: Work 24 sc normally.
- Round 11: 1 sc, 1 dec, repeat 6 times. (18 sts)
- Round 12: 9 dec. (9 sts)
- Use a tapestry needle to close the opening and hide the thread.
Hair (Harry, Ron, and Hermione)
The hairstyle is slightly different for each character.
General Hair Instructions
- Start by repeating steps 1–7 of the head pattern for the base of the hair.
- Add rows of curls or bangs as described in the transcription.
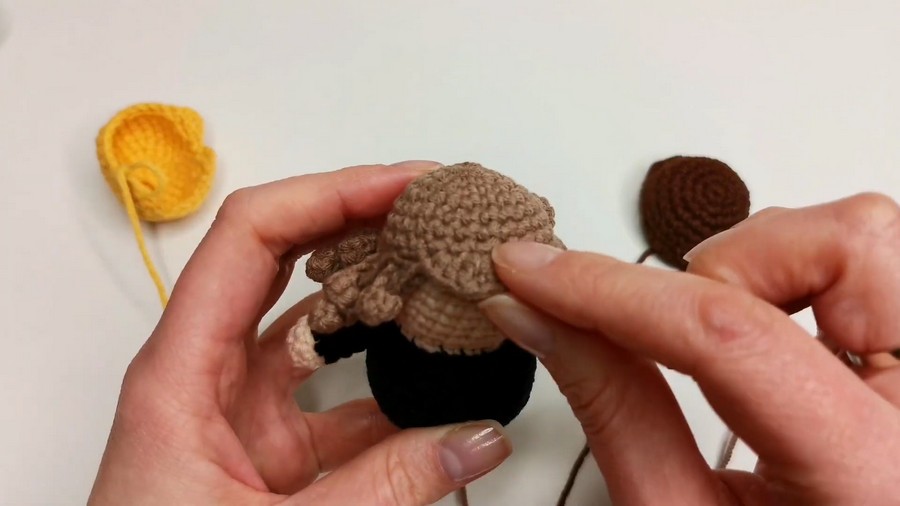
Special Features for Hairstyles
- Harry: Add small bangs in the front, shaping as directed.
- Ron: Add slight spikes for his red hair.
- Hermione: Use curls made by ch 13, sl st into second loop, and sc along chain. Make five curls total for her characteristic messy look.
Accessories
Scarf (Ron & Hermione)
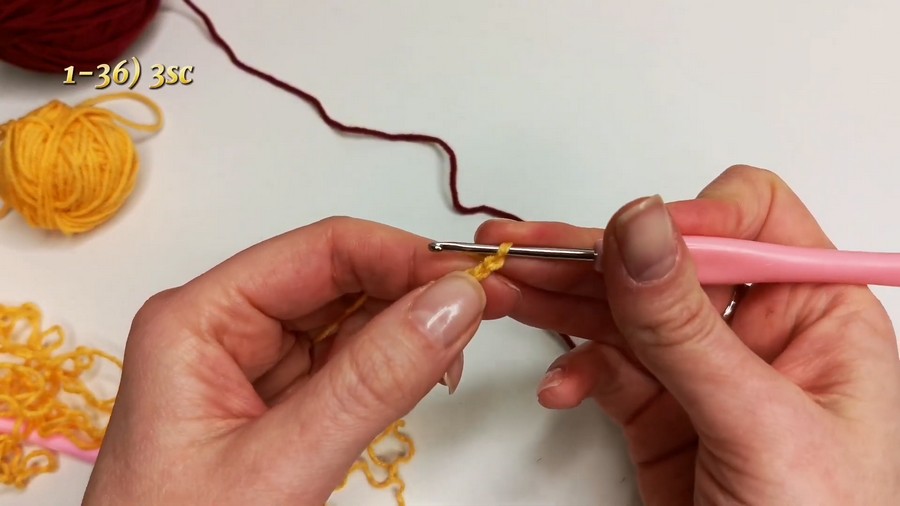
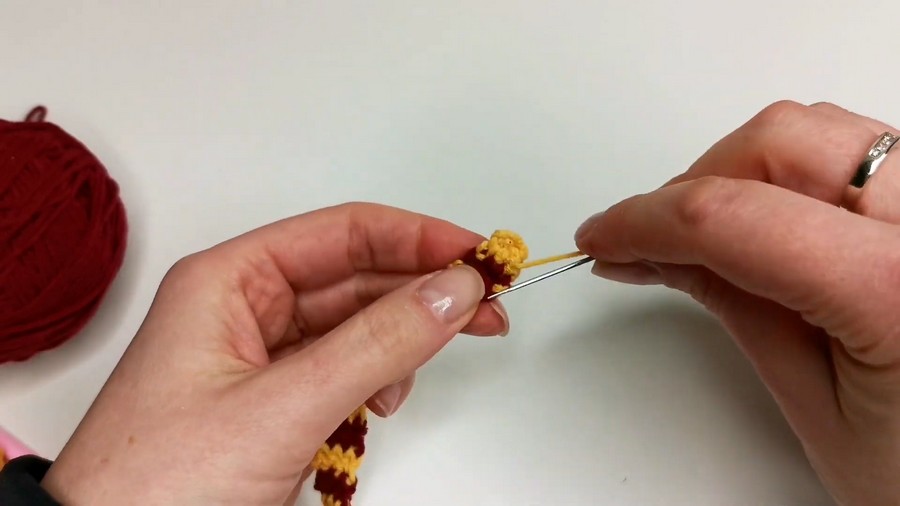
- Ch 4, work 3 sc into the second chain from the hook. Turn after every row.
- Alternate burgundy and yellow yarn, creating 36 rows with an even stripe pattern.
Assembly Instructions
- Sew Hair: Position the hairstyle onto the head. Mark ear placement with pins. Sew the hair along edges or bangs.
- Attach Ears: Use leftover tails from crocheting ears to sew them onto the head.
- Attach Eyes: Place eyes between Rows 5–6, leaving 1 cm between eyes. Secure with glue if necessary.
- Embroider Features:
- Eyebrows: Above the eyes in black (or brown for Ron).
- Freckles (Ron only): Embroider small dots on cheeks using brown thread.
- Mouth: Embroider below the nose in a slight curve.
- Blush: Use pastel or blush on cheeks and ears.
Special Features, Uses, and Tips
Special Features:
- Stable base with a plastic backing.
- Customizable hair, glasses, and scarf for personalized designs.
- Option to add wands using toothpicks or polymer clay.
Uses:
- Decorative figurines.
- Gifts for Harry Potter fans.
- Customizable display items for bookshelves or desks.
Conclusion
Congratulations! You have successfully crocheted a Harry Potter-inspired figure. Whether you made Harry, Ron, or Hermione, these charming figurines will surely delight fans and crafters alike. Customize their features and accessories for unique results!
Pattern Corrections
- For stability, ensure tight stitches in the base and head sections. Looser stitches might cause wobbling when the figure stands.
Tip:
To ensure glasses and accessories are snug, first pin them in place, then sew carefully. Double-knot thread tails inside the figurine for extra security.



