
Turn your accessories into something unique with a crochet shirt keychain that is simple, fun to try, and perfect for personal use or thoughtful gifts.
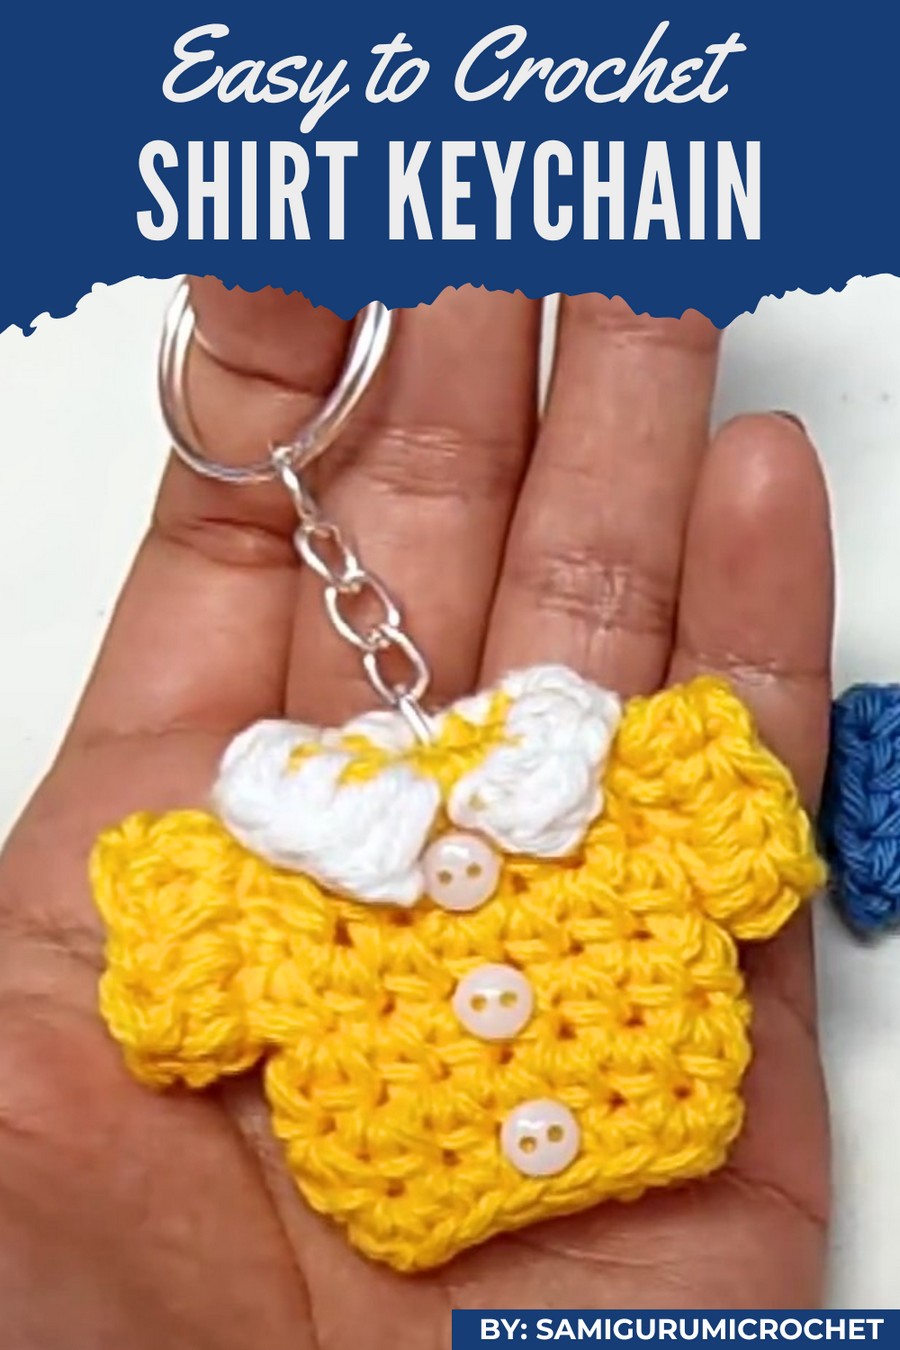
Looking for a fun and unique way to add charm to your accessories? A crochet shirt keychain pattern is the perfect idea to create something small, cute, and stylish. These tiny shirt designs are not only adorable but also practical, as they make great keychain decorations, bag charms, or thoughtful handmade gifts.
Unique Crochet Shirt Keychain Pattern for Personal Accessories
Their vibrant colors and intricate details make them stand out, turning everyday items into something special. What makes them unique is their compact size and versatility, allowing you to experiment with colors and styles. This pattern is simple to follow, making it enjoyable for both beginners and experienced crafters.
Materials List
Yarn
- Main Shirt Color: Acrylic yarn, any solid shade for the shirt base.
- Accent Color: Acrylic yarn (e.g., white for sleeves and collar).
- Bowtie Color: Contrasting color for the bowtie (optional).
- Optional: Tiny decorative buttons (to glue onto the shirt).
Hook Size
- 2.5 mm crochet hook or adjust based on the yarn weight.
Additional Supplies
- Scissors: To cut yarn.
- Tapestry Needle: For sewing pieces.
- Keyring: Standard keyring to attach the shirt keychain.
- Fabric or Silicone Glue: To attach buttons or decorations (optional).
Skill Level
- Intermediate
Key Abbreviations
- CH: Chain
- SC: Single Crochet
- HDC: Half Double Crochet
- SL ST: Slip Stitch
- Inc: Increase (adding more stitches to the same stitch)
Special Notes
- The shirt keychain consists of separate parts (sleeves, main shirt body, collar, bowtie), sewn together at the end.
- For beginners, using stitch markers can help with marking rows and sections.
- Optionally, glue tiny buttons or decorations for added charm.
Pattern Instructions
1. Shirt Sleeves
Step 1. Foundation Chain
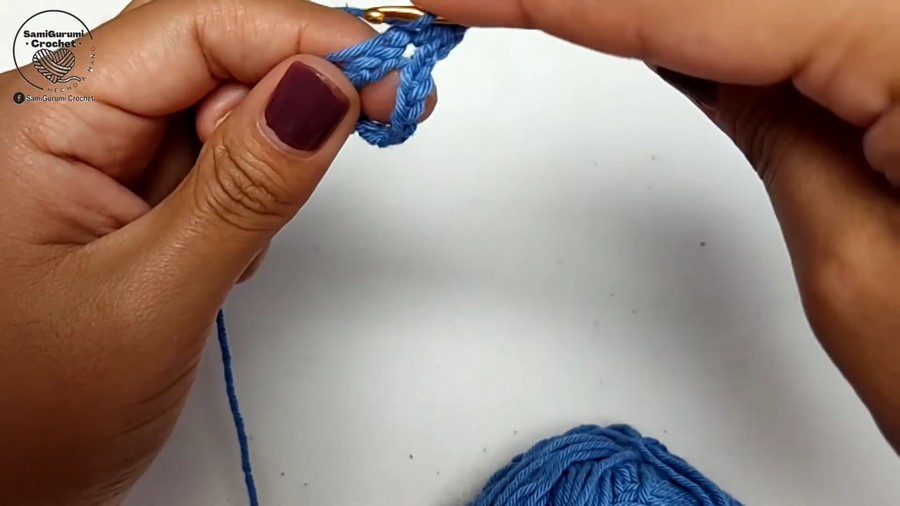
- CH 8 for the sleeve base.
- Join the chain with a SL ST into the first chain to form a loop.
Step 2. Sleeves
- Round 1: CH 1, then make HDC into each chain around. (8 HDC)
- Join with a SL ST into the first HDC to finish the round.
- Fasten Off: Leave a long tail for sewing later.
- Make Two Sleeves, using the same instructions.
2. Shirt Body
Step 1. Foundation Chain
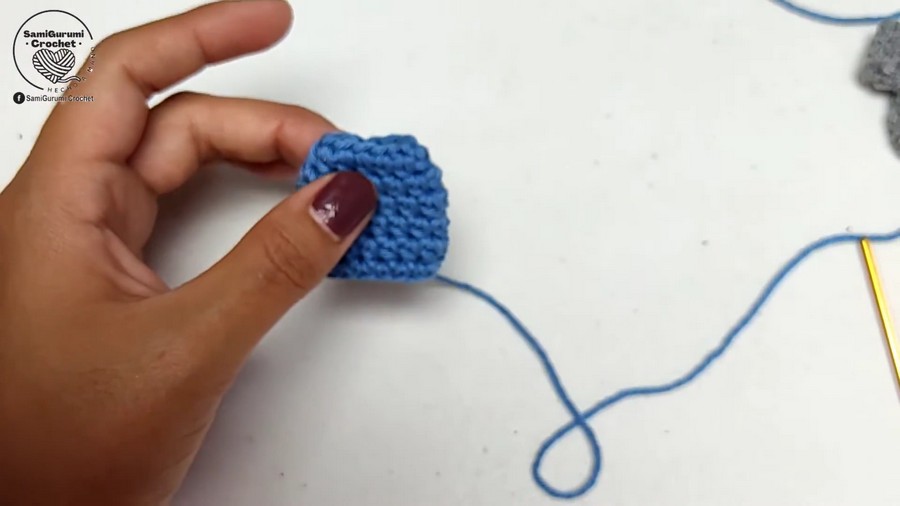
- CH 12 for the main body base.
- Join the chain with a SL ST into the first chain to form a loop.
Step 2. First Round
- Round 1: CH 1, then make HDC into each chain around. (12 HDC)
- Join with a SL ST into the first HDC.
Step 3. Increase Round
- Round 2:
- HDC in the first 2 stitches.
- Inc (2 HDC into the next stitch).
- HDC in the next 6 stitches.
- Inc into the next stitch.
- HDC in the final 2 stitches.
- Join with a SL ST into the first stitch. (14 HDC)
Step 4. Body Length
- Rounds 3-5: Work HDC in every stitch (14 HDC per round).
Step 5. Single Crochet Edge
- Round 6: CH 1, then make SC into each stitch around. (14 SC)
- Join with a SL ST and Fasten Off.
3. Collar
Step 1. Attach Collar Yarn
- Attach yarn for the collar at the center front of the shirt body (in the top circular opening).
Step 2. Collar Rows
- Row 1: CH 2, then make HDC in the next 6 stitches.
- Inc (2 HDC) at the last stitch forward for shaping.
- Fasten Off: Leave a tail for sewing the collar edges. Fold the collar forward neatly to resemble the neck section of a shirt.
4. Bowtie
Step 1. Bowtie Base
- Magic Ring: Create a magic ring and work 3 HDC into the ring.
Step 2. Shaping the Bowtie
- Turn work, CH 2, then make a DC into the second stitch.
- CH 2, then make a SL ST back into the same stitch to shape the bowtie tip.
- Fasten off: Wrap yarn tightly around the center of the bowtie to give it a gathered look. Secure with a few stitches.
5. Assembly
Step 1. Sew the Sleeves
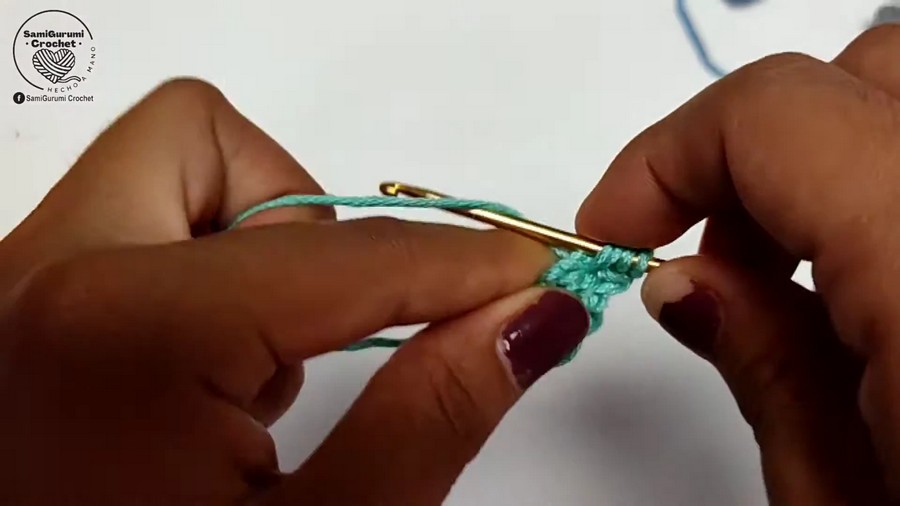
Attach each sleeve to the shirt body using a tapestry needle.
- Secure the sleeve to the sides of the body below the collar edge.
- Position them symmetrically.
Step 2. Attach Bowtie
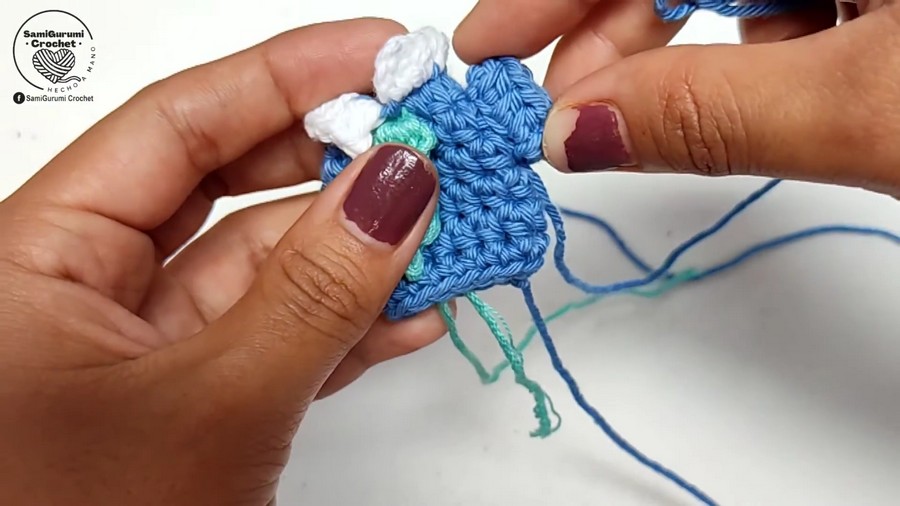
Sew the bowtie symmetrically at the base of the collar using its tail. Wrap the yarn ends around the shirt to give it a tighter hold.
Step 3. Attach Buttons (Optional)
Glue tiny buttons down the front center of the shirt, beneath the bowtie, for added detail.
Step 4. Keychain Ring
Thread a small loop of yarn through the top back of the shirt and the keyring. Tie the yarn knot securely or sew it for durability.
Tips for Success
- Tight Stitches: Keep your tension even for a neat and smooth fabric.
- Glue Efficiency: Allow glued buttons to dry with no movement to ensure long-lasting attachment.
- Customization: Experiment with different colors for the shirt, sleeves, collar, and bowtie.
Pattern Variations
Color Customization
- Classic Look: Use white yarn for the shirt, black yarn for the bowtie, and pearl-colored buttons for a formal look.
- Bright Themes: Opt for pastel or neon yarns for a cheerful version.
Size Variation
- To make the shirt bigger: Extend the foundation chain for sleeves and body, and increase the number of rounds proportionally.
- For a smaller version: Use thinner yarn and reduce foundation chains and stitches.
Conclusion
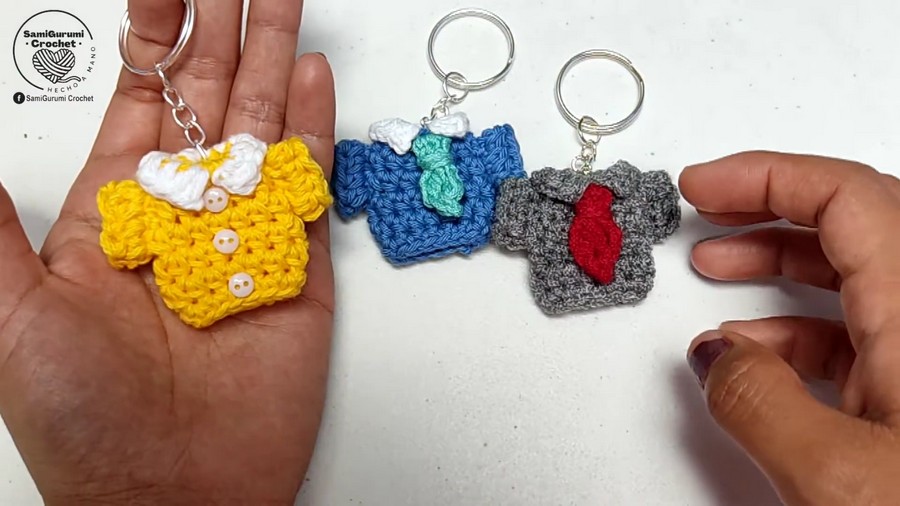
Congratulations on completing your crochet mini shirt keychain! This unique and thoughtful design makes an excellent gift for loved ones or party souvenirs. Display the finished piece proudly on a desk, bag, or keychain.
Final Look:
The mini shirt features carefully sewn sleeves, a neat collar, a stylish bowtie, and optional buttons for added flair. Experiment with color schemes or embellishments to make each piece special.



