
Learn how to crochet a lovable onion family that’s perfect for kids unique gifts or fun decorations with charming details and endless customization options.
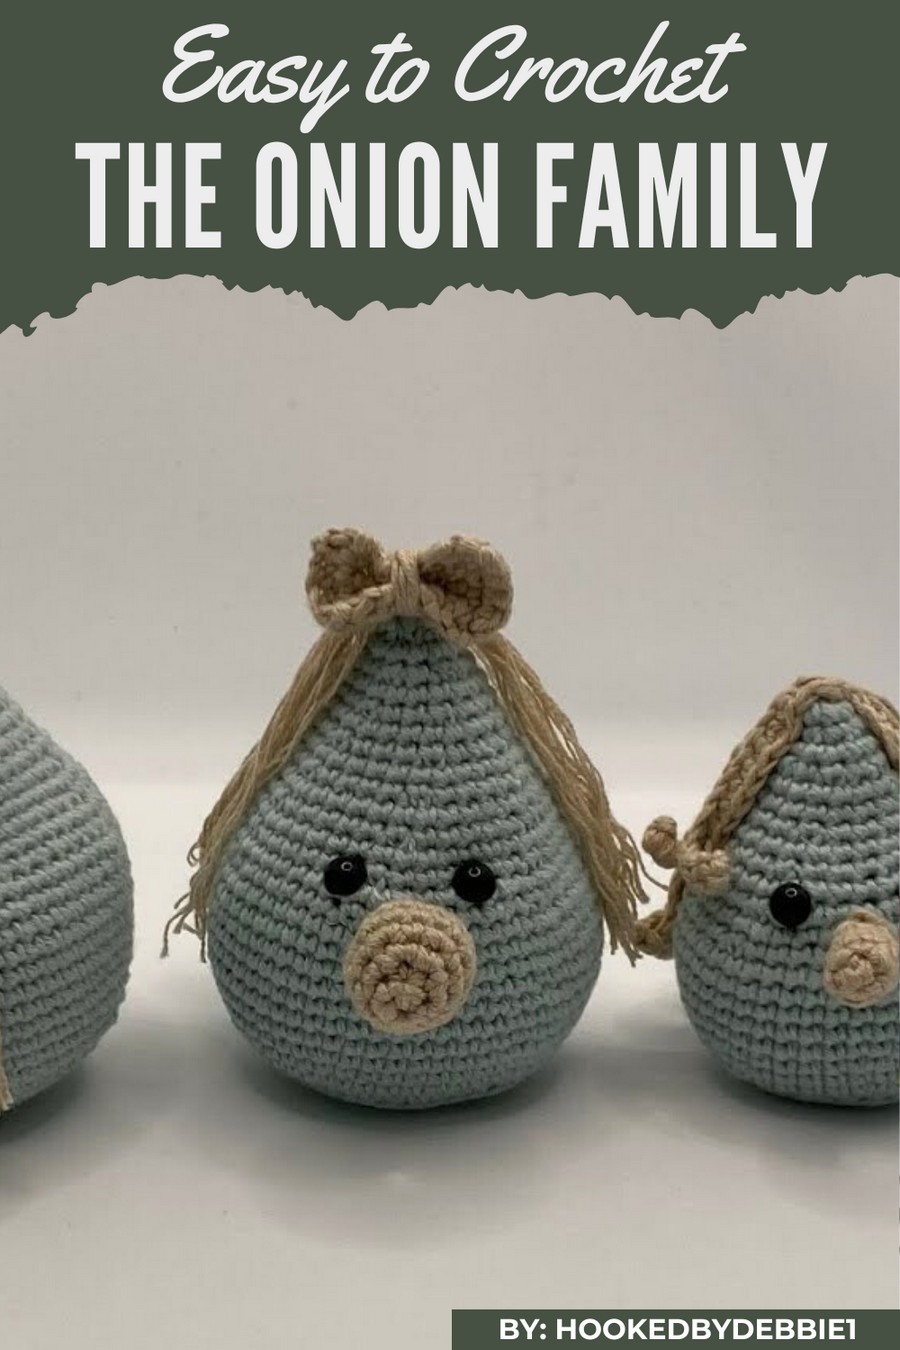
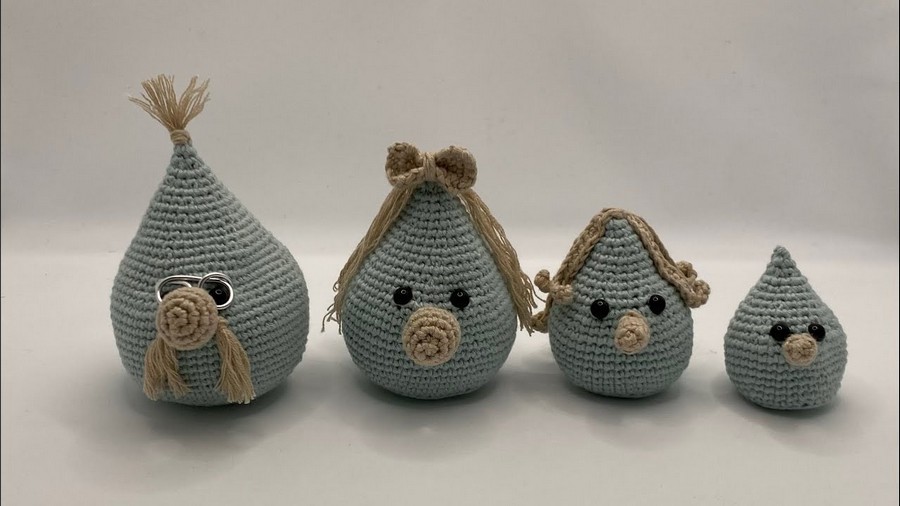
Create something truly adorable and unique with soft, handmade onions shaped like a cute little family. A crochet onion family pattern brings life to these playful characters, each with its own personality, from daddy onion with glasses and a mustache to a baby with tiny, simple features.
Crochet Onion Family That’ll Make You Smile
These onions make perfect decorations, thoughtful handmade gifts, or even fun toys for kids. Their round shapes, vibrant colors, and charming details like tufts of hair or smiling faces stand out. What makes this pattern special is its incredible versatility—you can customize each onion’s size, color, and accessories to create your own unique onion family.
Necessary Materials:
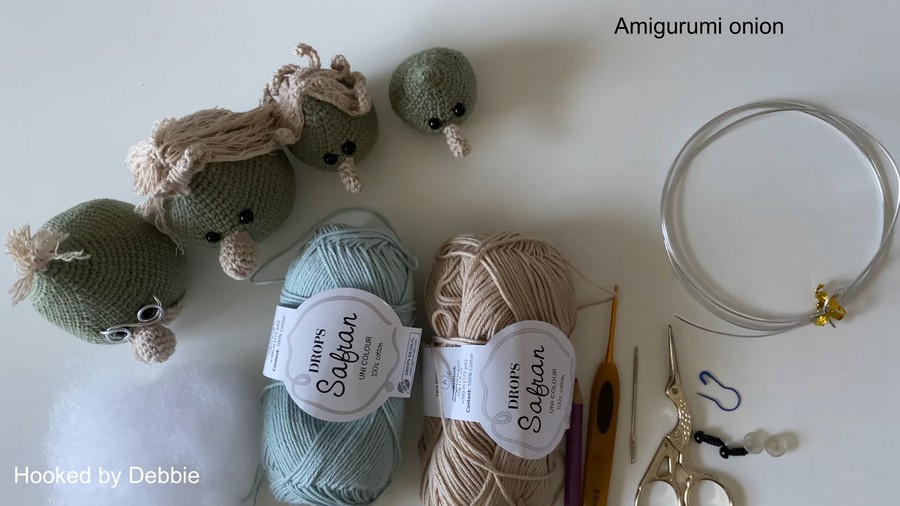
- Yarn:
- Lightweight 100% cotton yarn (soft and snag-free).
- Suggested colors:
- Body/Nose: Yellow, beige, white, or brown (represents the onion skin).
- Hair/Mustache/Roots: Light brown or orange.
- Glasses: Light gray or black (for wire).
- Optional Variations: Mix & match colors for a whimsical look.
- Crochet Hook: Size 2 mm.
- Safety Eyes: 4-6 mm (or use French knot embroidery as an alternative).
- Stuffing: Polyester fiberfill.
- Darning/Tapestry Needle: For assembly.
- Modeling Wire: Thin jewelry or craft wire (for glasses).
- Pencil: To wrap wire for shaping glasses.
- Scissors.
- Stitch Marker: To keep track of rounds.
Abbreviations (US Terminology):
- MR: Magic Ring
- SC: Single Crochet
- INC: Increase (2 SC in one stitch)
- DEC: Invisible Decrease (insert into front loops of next two stitches, pull through, and complete SC)
- CH: Chain
- ST(s): Stitch(es)
- FO: Fasten Off
Pattern Instructions
This pattern focuses on Daddy Onion, designed with a rounded body, a mustache, glasses, and tufted hair. Variations for Mommy, Child, and Baby Onions are available but follow similar principles with different sizes and details. The body, nose, and embellishments are created separately and then assembled.
1. The Nose
The nose is the first component and will be sewn to the body during assembly.
Steps for the Nose:
- Row 1: Work 5 SC into a magic ring (MR). (5 STs)
- Pull the magic ring tight and place a stitch marker to mark the start of the next round.
- Row 2: Work INC in each stitch around. (10 STs)
- Row 3: (1 SC, INC) x 5. (15 STs)
4-5. Rows 4-5: SC evenly. (15 STs)
- Row 6: (1 SC, DEC) x 5. (10 STs)
- Row 7: SC evenly. (10 STs)
- FO, leaving a long tail for sewing.
- Add a small amount of stuffing to keep its stubby shape.
2. The Body
The body is worked from the bottom up, starting with the base.
Steps for the Body:
Base and Rounds:
- Row 1: SC 6 STs into a MR. (6 STs)
- Row 2: SC INC in each ST. (12 STs)
- Row 3: (1 SC, INC) x 6. (18 STs)
- Row 4: (2 SC, INC) x 6. (24 STs)
- Row 5: (3 SC, INC) x 6. (30 STs)
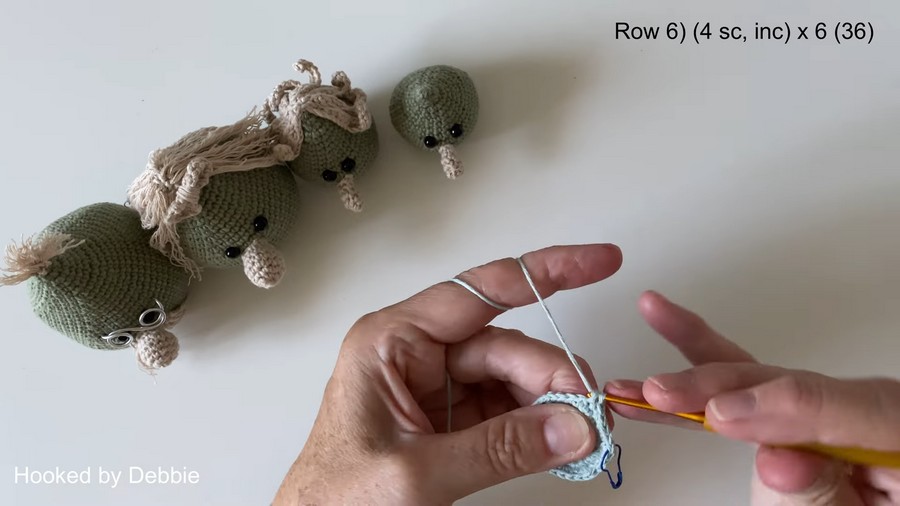
- Row 6: (4 SC, INC) x 6. (36 STs)
- Row 7: (5 SC, INC) x 6. (42 STs)
- Row 8: (6 SC, INC) x 6. (48 STs)
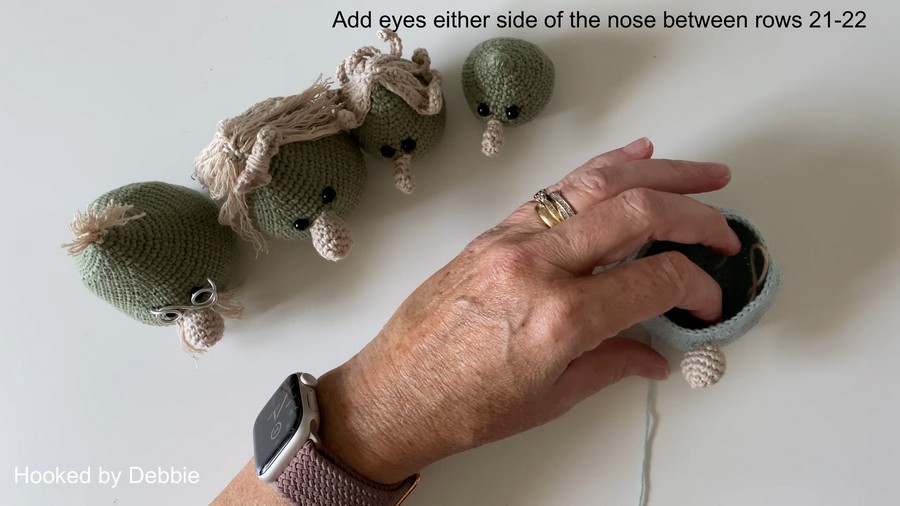
Shaping the Bottom (Flat Base):
9. Row 9: BLO (Back Loops Only) SC for the entire round. (48 STs)
Continue Increasing:
10. Row 10: (7 SC, INC) x 6. (54 STs)
Mid and Upper Body:
11. Row 11: SC evenly. (54 STs)
- Row 12: (8 SC, INC) x 6. (60 STs)
13-20. Rows 13-20: SC evenly in each round. (60 STs per round)
- This forms the rounded midsection of the body.
Start Decreasing:
21. Row 21: (8 SC, DEC) x 6. (54 STs)
- Row 22: SC evenly. (54 STs)
- Row 23: (7 SC, DEC) x 6. (48 STs)
- Row 24: SC evenly. (48 STs)
Position Nose and Eyes:
- Nose: Attach between the 21st-24th rows, ensuring symmetry.
- Safety Eyes: Position 8-10 stitches apart, between rows 21-22. Alternatively, embroider French knot eyes.
Upper Body Decreasing:
25. Row 25: (6 SC, DEC) x 6. (42 STs)
- SC evenly. (42 STs)
- (5 SC, DEC) x 6. (36 STs)
- SC evenly. (36 STs)
- (4 SC, DEC) x 6. (30 STs)
Stuff the Body Firmly: Begin stuffing, ensuring the shape remains rounded. Add more stuffing as you work to prevent deformities.
- SC round. (30 STs)
- (3 SC, DEC) x 6. (24 STs)
- SC round. (24 STs)
- (2 SC, DEC) x 6. (18 STs)
- SC round. (18 STs)
- (1 SC, DEC) x 6. (12 STs)
- SC round. (12 STs)
- Work 6 DEC around. (6 STs)
Finish Off:
- FO, leaving a long tail.
- Use the tail to sew the top closed neatly.
3. Facial Features and Hair
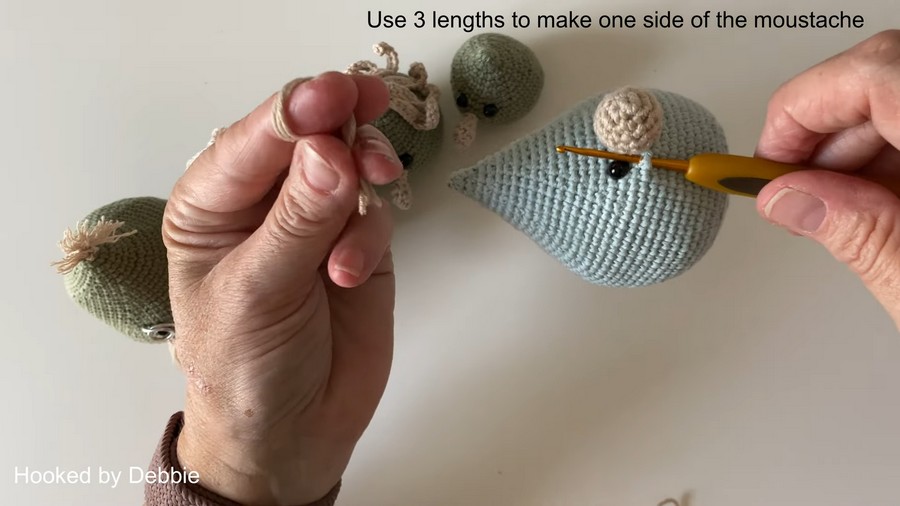
Mustache:
- Cut several strands of yarn (approx. 2 inches each).
- Fold 3 strands in half and attach to stitches below the nose using a lark’s head knot.
- Repeat on the other side of the nose.
- Split each strand for a "fluffy" texture and trim to shape.
Tufted Hair:
- Cut 5-6 strands of yarn (2–3 inches in length).
- Attach at the top of the body’s crown using a lark’s head knot.
- Separate and fluff the strands for volume. Trim to your desired shape.
4. Glasses (Wire-Made):
- Cut a length of modeling wire (~8–10 inches).
- Wrap wire tightly around a pencil to form two circular loops (the glasses’ lenses).
- Adjust the wire shape by bending it slightly for proper fit.
- Trim excess wire and insert the ends into stitches beside the eyes to hold the glasses in place.
Tips for Success:
- Use a Stitch Marker: Mark the first stitch of each row to maintain accuracy when working in continuous spirals.
- Stuffing: Stuff firmly, but don’t overstuff, to prevent gaps in the stitching.
- Embroider Small Details: French knots or small running stitches can replace safety eyes for young children.
- Wire Glasses Safety: If making for children, ensure wire ends are safely secured or avoid the glasses altogether.
Customization Ideas
- Colors:
- Experiment with vibrant onion bodies or pastel tones for a whimsical onion family.
- Size Variations:
- Use thicker yarn and a larger hook for larger onions or smaller thread for tiny onions.
- Add Accessories:
- Mommy Onion: Add a crocheted headscarf or embroidered lashes.
- Child Onion: Add a playful smile and fun hair.
- Baby Onion: Use soft pastels and simplify features.
Conclusion
The Daddy Onion amigurumi is charming, with its mustache, glasses, and tufted hair adding personality. Whether displayed alone or as part of the Onion Family, this design is whimsical and fun. Customize the colors and features for entirely unique creations.



