
Create beautiful and unique crochet flower pot pattern that brighten up your space while adding a handmade charm perfect for decor or gifting to loved ones.
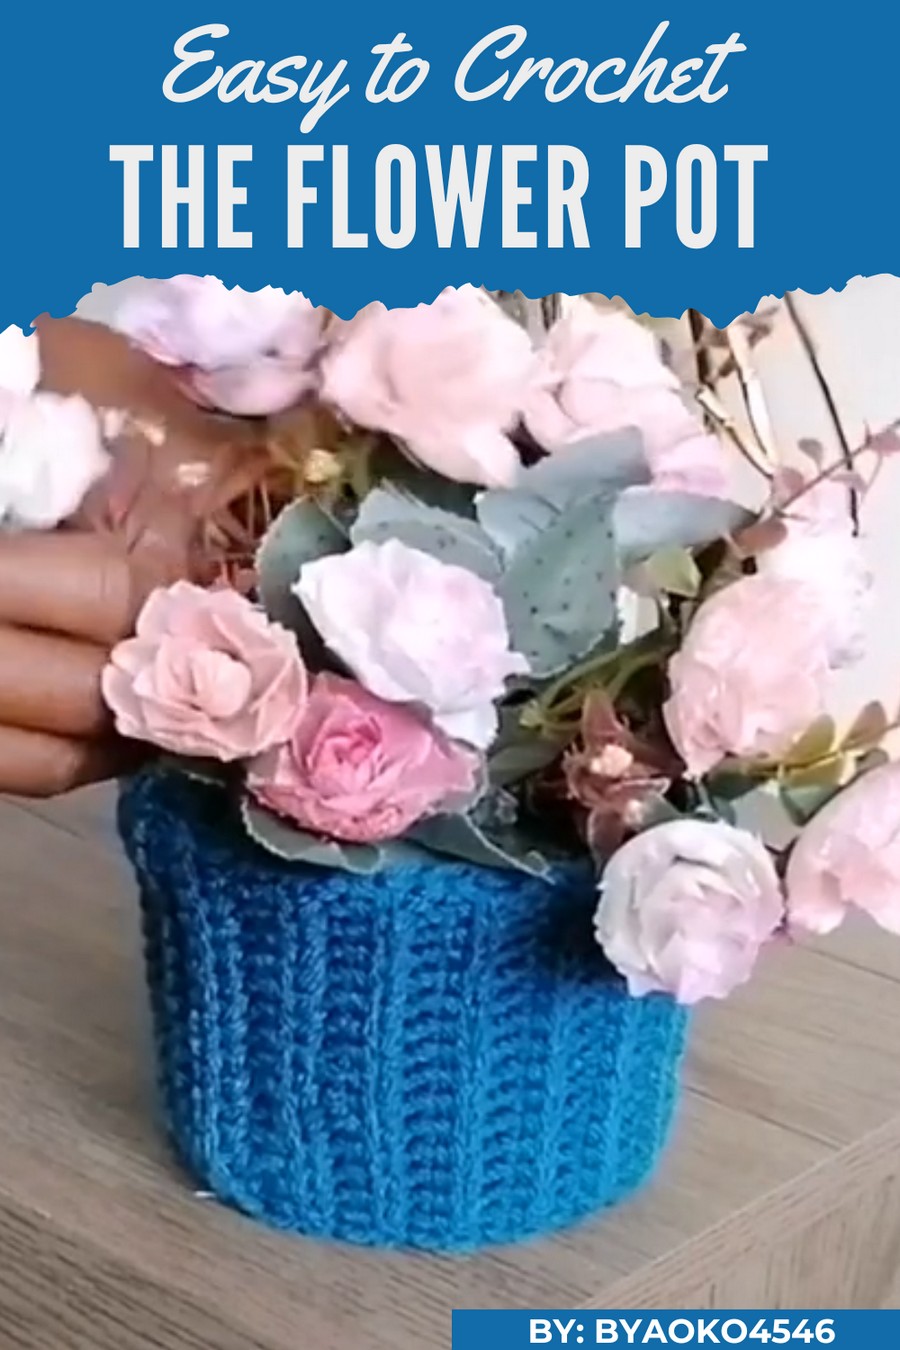
Add a touch of charm and personality to your home or workspace with this delightful Crochet Flower Pot Pattern. Perfect for decorating corners, shelves, or even gifting, this handmade creation adds warmth and character to any space. The beauty of this design lies in its intricate details, resembling a real flower pot while allowing you to infuse it with endless creativity.
Stylish Crochet Flower Pot Pattern for Every Corner
Whether it’s for holding an artificial plant, placing small items, or simply as a standalone decorative centerpiece, it’s versatile and incredibly eye-catching. Crocheted with soft materials and vibrant colors, it brings a cozy and cheerful vibe to any decor.
A key feature that makes it unique is its ability to be completely customizable in size, color, and style to suit your personal taste or match any theme. Every stitch brings a touch of artistry, allowing you to create something meaningful and beautiful with your own hands.
Materials Required
- Yarn:
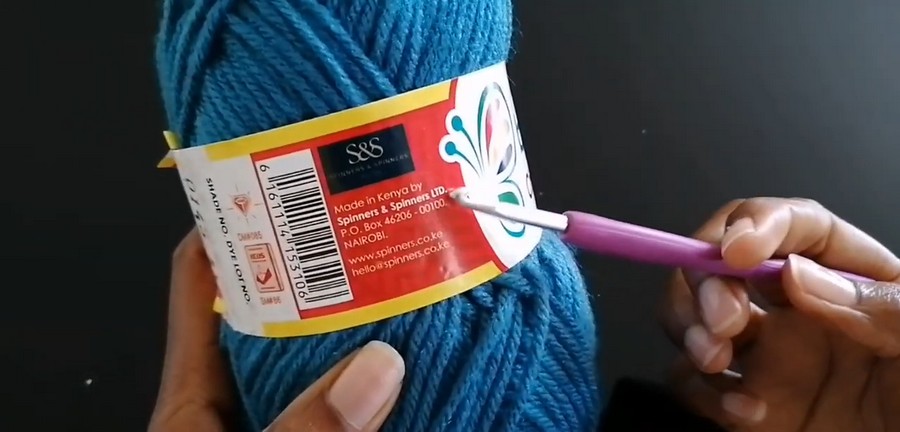
- 4-Ply Chunky Yarn (e.g., Butterfly Chunky 4-Ply Yarn, 100% acrylic).
- Approximately 100-150 grams (depending on the size of the pot).
- You can substitute with any other acrylic chunky yarn with a similar gauge.
- Crochet Hook:
- 4mm crochet hook (suitable for 4-ply chunky yarn).
- Additional Tools:
- Scissors: For cutting excess yarn.
- Yarn Needle: For weaving in ends.
- A container or tin to cover (e.g., a clean dishwashing paste tin).
- Artificial flowers: For decorative purposes.
- Pebbles or weights: To fill the tin for stability.
Skill Level
- Beginner to Intermediate: Familiarity with basic crochet techniques like slip knots, chains, single crochets (SC), and slip stitches (SL ST) is needed.
Key Abbreviations (US Crochet Terminology)
- ch: Chain
- sc: Single Crochet
- sl st: Slip Stitch
Special Notes
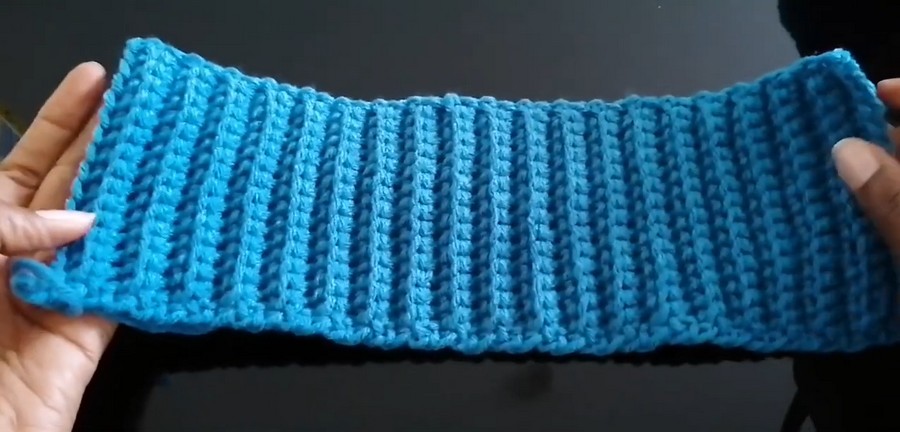
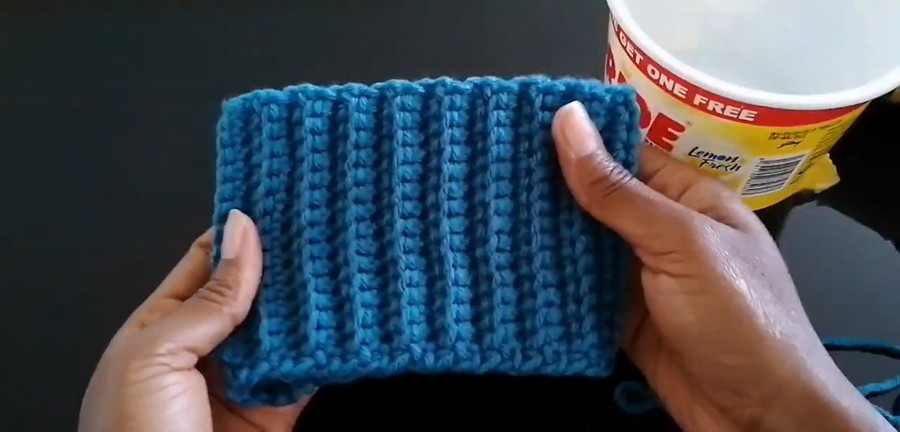
- You will work in rows to create a rectangular, ribbed fabric that wraps around your tin/container.
- The ribbed texture is achieved by working through the back loop only (BLO) for single crochet rows.
- The pattern is highly adjustable — simply measure your container and modify the starting chain length and the number of rows accordingly.
- The container must be clean and labeled-free for the best aesthetic result.
Step-by-Step Crochet Instructions
Step 1: Create the Foundation
- Make a slipknot and insert your 4mm crochet hook.
- Chain (ch) 15 (or adjust the chain length to match the height of your container).
- Ensure the starting chain length is enough to cover the height of the pot from the bottom to the top edge.
Step 2: Single Crochet into the Back Loop
- Row 1:
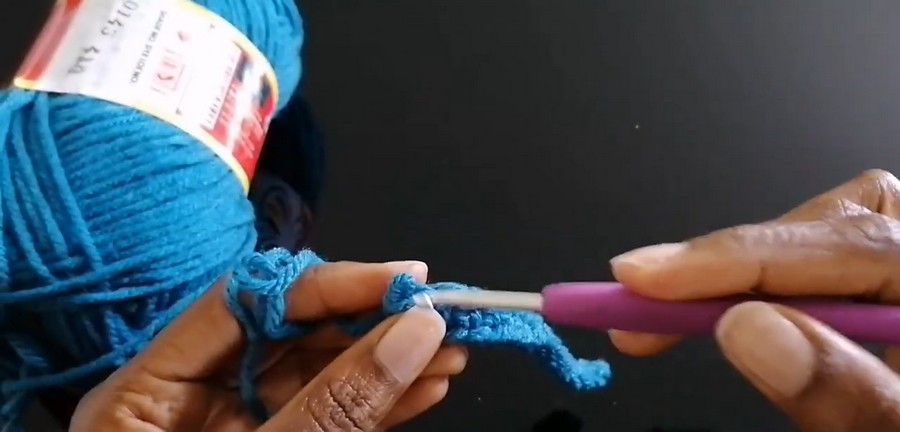
- Work 1 single crochet (sc) into each chain, through the back loop only (BLO).
- Turn your work.
- Row 2 Onwards:
- Chain 1, turn your work, and continue working sc in BLO across the row.
- The BLO technique creates the ribbing texture.
- Repeat the row until your work forms a long rectangle that can wrap around the entire circumference of your container.
- Throughout this process:
- Regularly measure the rectangle against your container to ensure it fits snugly around.
- Add or reduce rows as required.
Step 3: Join the Rectangle (Slip Stitch Seam)
- Check the size:
- Wrap the rectangle around your tin/container to confirm the fit. Make sure the edges meet without a gap or overlap.
- Slip Stitch to Join:
- Fold the rectangle into a tube shape, aligning the short edges.
- Join the edges by working slip stitches (sl st) across, stitching through both layers. This creates a seamless vertical seam.
Step 4: Finish the Project
- After completing the seam, cut off the excess yarn, leaving a small tail for finishing.
- Use your yarn needle to weave in the loose ends securely and turn your work to the right side.
Assembly: Turn Your Tin into a Flower Pot
- Prepare the container:
- Remove all branding labels and clean the tin thoroughly.
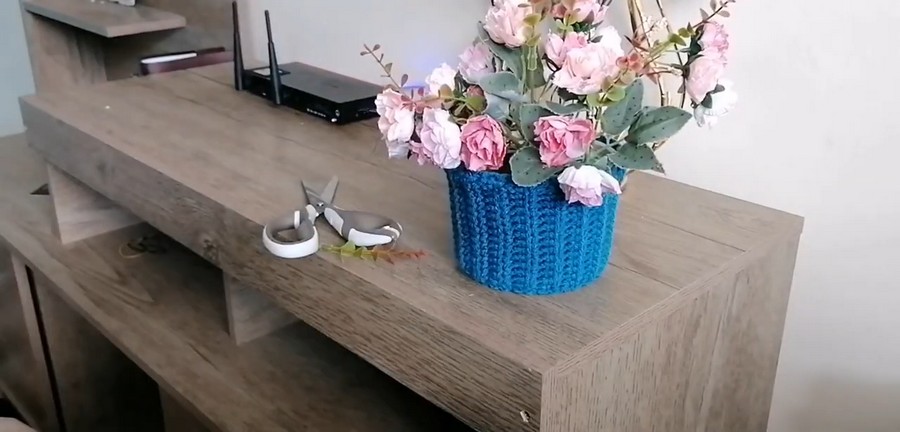
- Slide the crocheted cover over the container and adjust for a snug fit.
- Add stones, pebbles, or weights into the base of the container to keep it stable when displaying flowers.
- Insert flowers: If using artificial flowers, bend and adjust the stems to fit the container. Use the stones/pebbles to hold the arrangement securely in place.
Conclusion
Your ribbed flower pot cover is now ready! It’s a quick, budget-friendly project that transforms mundane containers into chic decorative pieces. The ribbing effect adds texture, and the snug, seamless finish gives the pot a professionally crafted appearance. This project can be tailored to suit any size or aesthetic preference.
Pattern Corrections or Adjustments
- Be sure the starting chain length matches the height of your container. If the container is taller or shorter, adjust the chain count accordingly.
- For a tighter rib texture, swap the 4mm hook with a 3.5mm hook for denser stitches.
Helpful Tips
- Adjusting Dimensions: Keep measuring your work against the container as you crochet — this ensures a perfect fit.
- BLO Consistency: If you're new to working through the back loop, stitch slowly to avoid missing loops or accidentally working through both loops.
- Customization:
- Use multicolored or variegated yarn for a vibrant, creative pot cover.
- Add decorative touches like crocheted flowers or appliqués to the ribbed fabric for extra flair.
- Clean Edges: Weaving in loose ends neatly ensures a polished, professional look.



