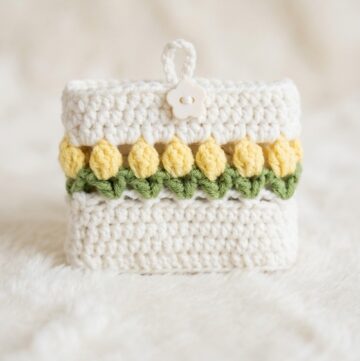
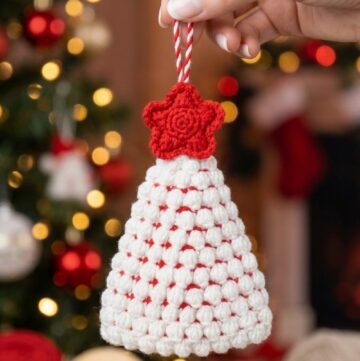
Keep your holiday decorating fresh with this Free Crochet Christmas Ornament Pattern, a handmade creation that adds character to every tree.
Creating a unique crochet ornament can bring a handmade charm to holiday decor. A Free Crochet Christmas Ornament Pattern is an excellent project for anyone looking to add warmth and personality to their Christmas tree or gift wrapping. With just a small amount of yarn and simple techniques, this ornament transforms into a delicate decoration that feels meaningful and timeless. Its lacy, snowflake like appearance brings a classic holiday vibe, beautifully complementing the soft glow of Christmas lights. This lightweight and elegant piece offers a handcrocheted texture that stands apart from store bought decorations.
Your Search Ends Here: Free Crochet Christmas Ornament Pattern Inside
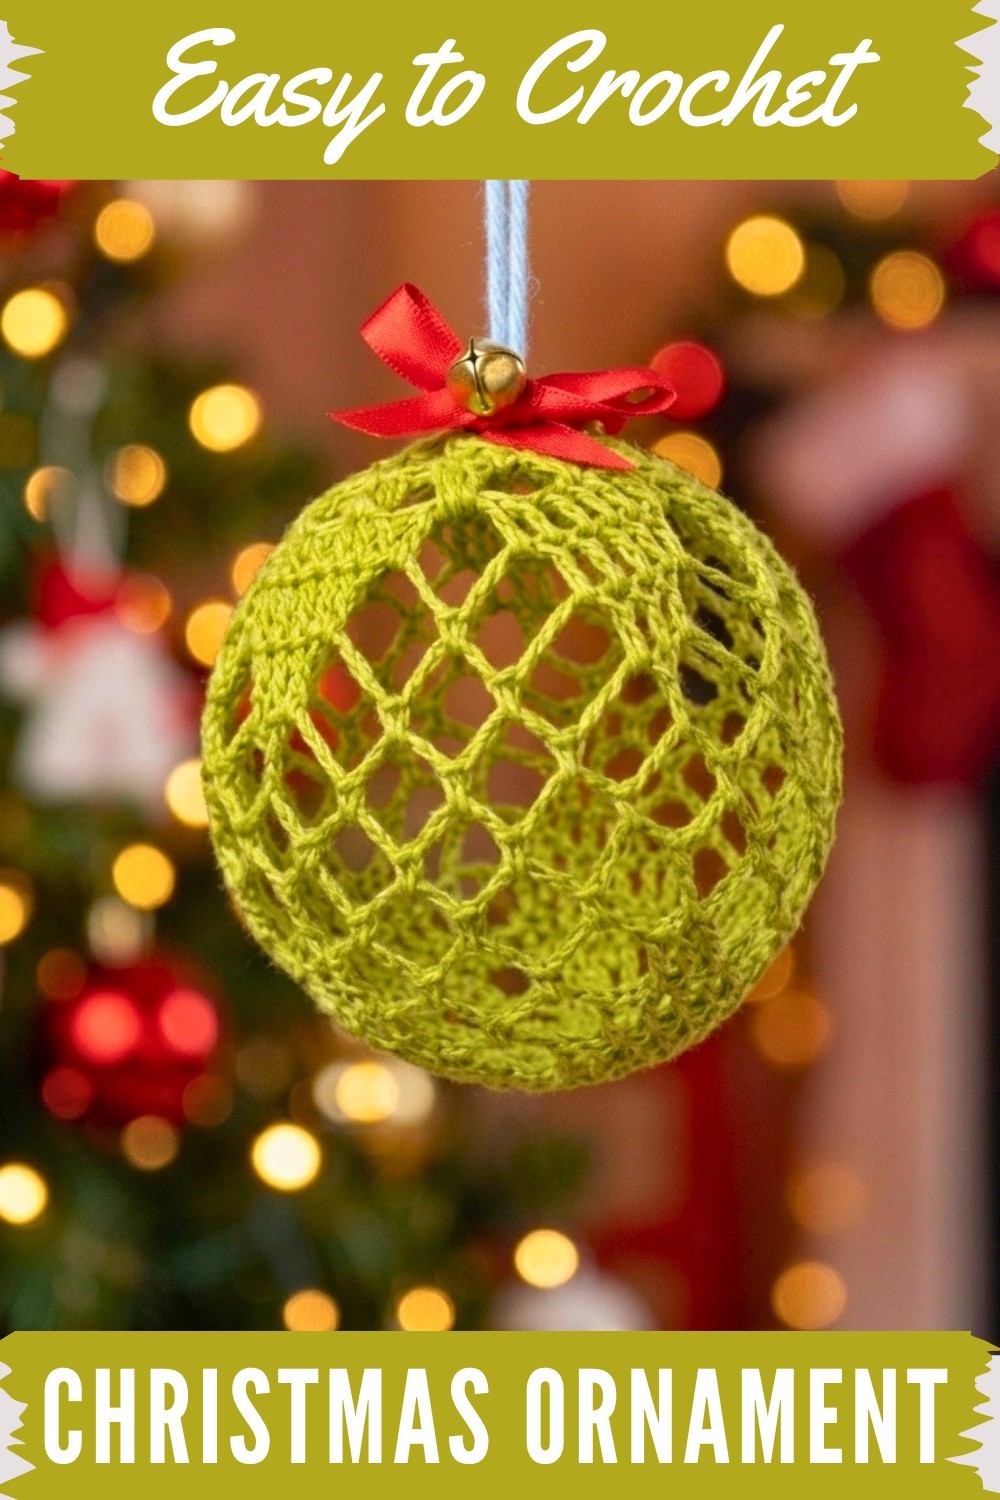
Adding embellishments like a small ribbon or bell enhances its beauty even further, making it a wonderful centerpiece for tree branches, gifts, or even a special spot by the window. This ornament is not just a decoration but also a keepsake that can add sentimental value to holiday traditions. It’s a single yet impactful addition to any space, serving as a small handmade treasure. For easy to follow instructions, It is a detailed pattern that demonstrates each step with clarity, making this project approachable and enjoyable.

Crochet Christmas Ornament Pattern
Skill Level
Level: Intermediate
Materials
- Thread: Eulali lace thread, 1 mm thickness, in Citric Tone No. 83 (or similar fine cotton crochet thread).
- Crochet Hook: 2.0 mm aluminum hook.
- Balloons: Small party balloons (water balloon size works best).
- Stiffening Agent:
- Homemade cornstarch mixture (maicena + water), or
- White PVA craft glue mixed 1:1 with water.
- Ribbon: Red decorative ribbon, approx. 1 cm wide × 20 cm long.
- Hardware: One small metallic jingle bell (cascabel).
- Tools:
- Yarn needle
- Sewing needle
- Matching red sewing thread
- Scissors
- Lighter (for carefully singeing ribbon ends)
Measurements / Sizing
- Finished Diameter: Approximately 2.5–3 inches (6–7.5 cm), depending on balloon size and inflation.
Stitch Abbreviations
- ch – chain
- sc – single crochet
- dc – double crochet
- sl st – slip stitch
- st(s) – stitch(es)
- sk – skip
Special Stitches
- Magic Ring
- 3‑DC Cluster
- Mesh Arch
The Crochet Pattern
The Lace Sphere
1. Round 1
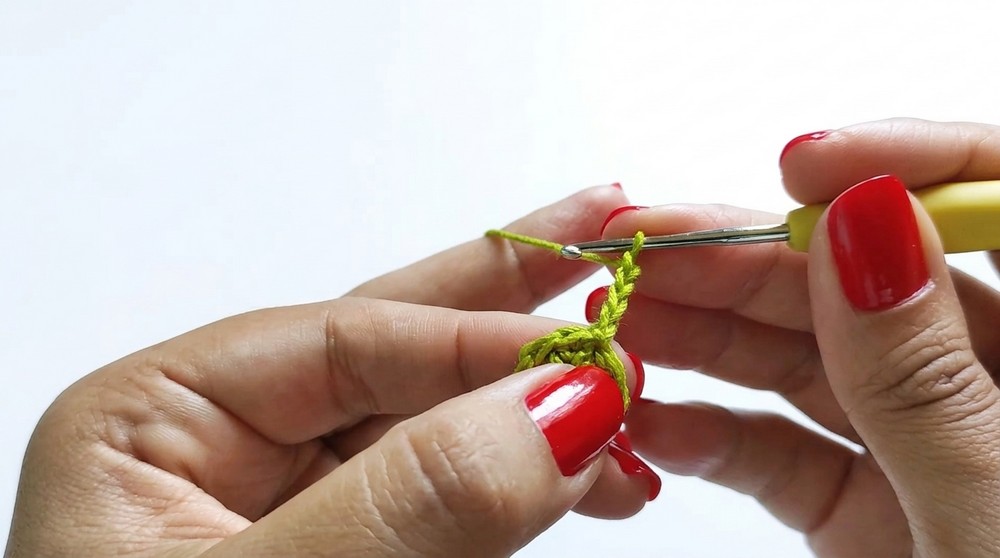
- Form a magic ring.
- Ch 2 (does not count as a stitch).
- Work 9 dc into the magic ring.
- Pull the tail firmly to close the center.
- Join with a sl st into the first true dc of the round.
- Stitch count: 9 dc.
2.Round 2
- Ch 4 (counts as 1 dc + ch‑2 space).
- Dc in next st, ch 2; repeat from * around the circle.
- Join with a sl st into the 2nd chain of the starting ch‑4.
- Sl st into the first ch‑2 window space to position for next round.
- Stitch pattern: 9 dc, 9 ch‑2 spaces.
3.Round 3
- In the current ch‑2 space, ch 3 (counts as the first leg of a cluster).
- Work a partial 2‑dc cluster in the same space, then close all loops together to form the first 3‑dc cluster (piña).
- Ch 3, work a 3‑dc cluster in the next ch‑2 space; repeat from * all around.
- Join with a sl st into the top of the first cluster.
- Sl st into the next ch‑3 space to begin the next round.
- Stitch pattern: 9 clusters, 9 ch‑3 spaces.
4.Round 4
- Ch 3 (counts as 1 dc).
- Work 3 dc into the same ch‑3 space (4 dc total in first space).
- Work 4 dc into the next ch‑3 space; repeat from * around.
- Join with a sl st into the 3rd chain of the starting ch‑3.
- Stitch count: 36 dc.
5.Round 5
- Ch 2 (counts as 1 dc).
- Dc in each of the next 6 sts.
- Ch 4, sk 1 st, dc in each of the next 7 sts; repeat from * around until the last stitch.
- For the final segment: ch 4, sk the last stitch, join with a sl st into the 2nd chain of the starting ch‑2.
- Stitch pattern: 31 dc, 5 ch‑4 spaces.
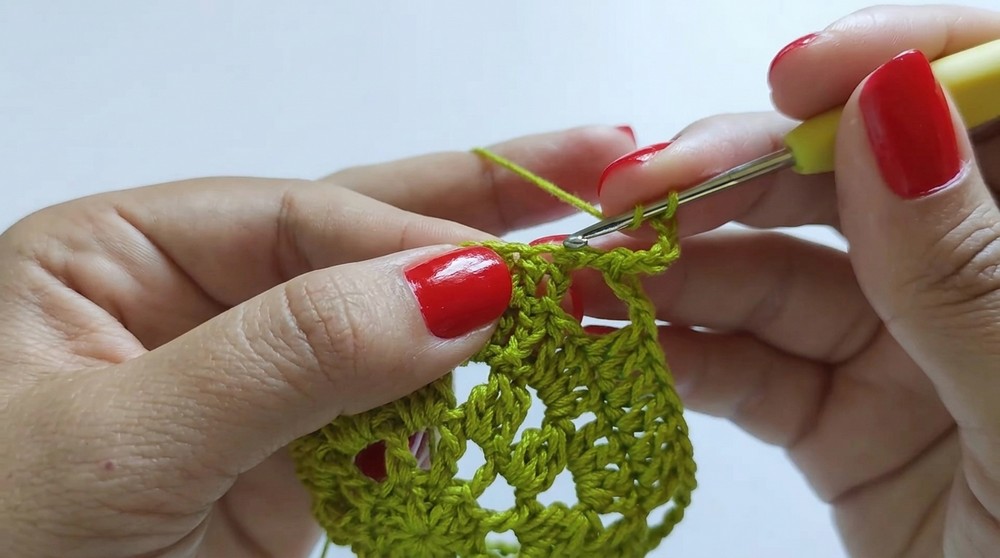
6.Round 6
- Sl st past the first dc of the previous dc group (move one st forward).
- Ch 4, sk 1 st, dc in each of the next 5 sts.
- Ch 4, sc into the next ch‑4 loop space, ch 4, sk the first dc of the next group, dc in each of the next 5 sts; repeat from * around.
- To close the final segment: ch 2, yarn over, insert hook into the starting chain, and work 1 dc to form a mock loop and complete the round.
7.Round 7
- Ch 4.
- Sc into next loop space, ch 4, sk the first dc of the next group, dc in each of the next 3 sts, ch 4, sc into next loop space, ch 4; repeat from * around.
- To close: ch 2, dc into the starting loop to create the final joining arch.
8.Round 8
- Ch 4. Sc into the next loop space to form the first arch.
- Continue:
- Work mesh arches (ch 4, sc into next space) across the open windows.
- When you reach a dc group, work 1 dc just past the first stitch of that group to anchor the arches.
- Work 4 consecutive arches across the open windows, securing the fourth arch with a dc into the next group.
- Close the round with ch 2 and a joining dc into the starting point.
9.Round 9
- Ch 4.
- Sc into the next loop space.
- Continue around:
- Ch 4, sc into next loop space; repeat without variation, spanning across the existing arches and clusters from side to side.
- Close the round with ch 2 and a joining dc into the starting arch.
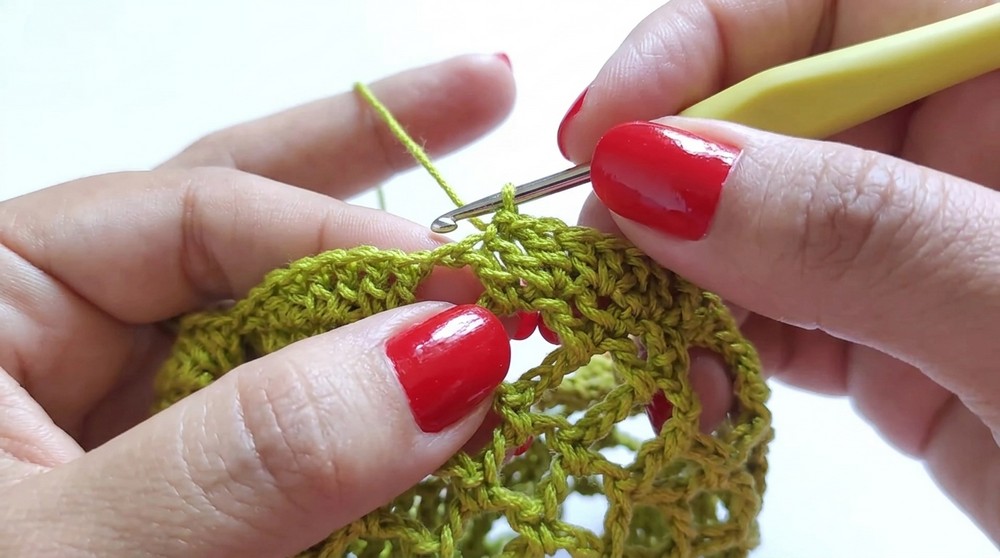
10.Round 10 – Inverting the Pattern Panels
- Ch 3 (counts as 1 dc), then ch 4 (total chains form dc + arch).
- Sc into the next loop space.
- Work 3 more mesh arches (ch 4, sc in next space).
- Secure the third arch with a dc into the next space.
- Ch 4, work 3 arches (ch 4, sc), closing the final arch in each set with a dc into the next space; repeat from * around.
- Join with a sl st into the 3rd chain of the starting ch‑7 (ch‑3 + ch‑4 combined).
11.Round 11
- Ch 2, dc in the next stitch space.
- Work 3 mesh arches across the windows (each arch: ch 4, sc in next space).
- Ch 4, dc into the space right before the previous round’s dc, dc on top of that dc, dc in the space immediately after it (3 dc group formed), ch 4, work 3 mesh arches; repeat from * around.
- Join with a sl st after the starting chains.
12.Round 12
- Ch 2, dc in each of the next 2 sts.
- Work 2 mesh arches across the windows.
- Ch 4, dc in the space before the dc group, dc in each of the next 3 sts, dc in the space after the group (5 dc total), ch 4, work 2 mesh arches; repeat from * around.
- Join with a sl st to finish the round.
13.Round 13
- Ch 2, dc in each of the next 3 sts.
- Ch 1, dc in the space before the group, dc in each of the next 5 sts, dc in the space after the group (7 dc group), ch 1; repeat from * around.
- Join with a sl st.
14.Round 14 – Cluster Crown
- Ch 3 (counts as first leg of cluster).
- Work a 3‑dc cluster over the next stitches.
- Ch 1.
- Work a 3‑dc cluster into the ch‑1 space between groups, ch 1, sk 3 sts, work a 3‑dc cluster in the center of the dc group, ch 1; repeat from * around.
- Join with a sl st to the top of the first cluster.
15.Round 15
- Ch 3.
- Work 1 dc into every ch‑1 space between the clusters around the opening.
- Approximate stitch count: 10 dc (even, small neck opening).
16.Round 16
- Ch 1.
- Work 1 sc into each dc stitch around the narrowing neck.
- Stitch count: 10 sc.
- Cut the thread, leaving a long tail of about 30 cm.
- Thread the tail onto a yarn needle.
- Weave the needle through the front loops of all 10 sc stitches along the top rim, going around the entire opening.
- Do not pull tight yet; keep the opening loose for balloon insertion.
Assembly & Finished Size
Stiffening & Inflation
Coating the Lace
- Place the cornstarch mixture or diluted glue into a shallow dish.
- Submerge the completed crochet sphere into the mixture.
- Press gently with your fingers so the liquid saturates every part of the lace.
- Squeeze carefully to remove excess (do not twist or wring).
Inserting the Balloon
- With the lace sphere still damp, insert a deflated small balloon through the top opening.
- Use the blunt end of a crochet hook or similar tool to help position the balloon so it sits fully inside the lace.
Inflation & Shaping
- Blow into the balloon slowly, inflating it until the damp lace stretches into a smooth, taut sphere.
- Tie a secure knot in the balloon’s neck.
- Push the knot slightly inside the top opening so it’s hidden.
Closing the Rim
- Pull firmly on the long thread tail you previously woven through the 10 sc stitches.
- Gather the opening tightly around the balloon neck.
- Tie a secure knot with the tail to lock the closure.
- Place the ornament in full sunlight or a warm, ventilated area to dry completely until rigid.
Embellishments
Hanging Loop
- Once the sphere is dry and hard, pull the top thread tail upward.
- Fold it over to form a loop of desired length.
- Tie a firm knot at the base to secure the loop.
- Trim any excess thread neatly.
Ribbon Bow
- Take the 20 cm piece of red ribbon.
- Fold to form two symmetrical loops (like tying a shoelace).
- Pass the left loop over the right, then through the bottom opening, and pull to tighten into a neat bow.
- Trim ribbon ends diagonally.
- Carefully singe the cut ends with a lighter to prevent fraying.
Bell Attachment
- Thread a sewing needle with red sewing thread.
- Position the small jingle bell at the center knot of the ribbon bow.
- Sew the bell securely to the knot with several stitches.
- Stitch or glue the finished bow‑and‑bell assembly to the crown of the hardened lace sphere, just above the gathered top.

The Reveal
- Using a pin or small scissors, pop the balloon inside the hardened lace sphere.
- Gently pull out the deflated balloon pieces through the open mesh spaces.
- You will be left with a beautiful, rigid, hollow lace ornament ball ready to hang.
Conclusion and Ending Words
And that is how my Christmas ball is finished. Honestly, popping the balloon at the end is the best and most satisfying part because you finally get to see the beautiful, delicate hollow lace structure you created.