
Add instant cheer to your home decor using the Free Crochet Flower Pot Pattern for a whimsical touch that’s always in bloom.
There’s a special kind of joy in bringing a splash of nature indoors, especially when you create it with your own hands. This charming crochet flower pot pattern makes it easy and fun to crochet a cheerful sunflower that brightens up any room without needing a green thumb. Using simple stitches like the magic ring, single crochet, half double crochet, and a touch of slip stitches, this project gently guides you through making a realistic flower and sturdy pot that feels both handmade and vibrant.
Learn to Make a Flower Pot Free Crochet Pattern for Fresh Spring Decor
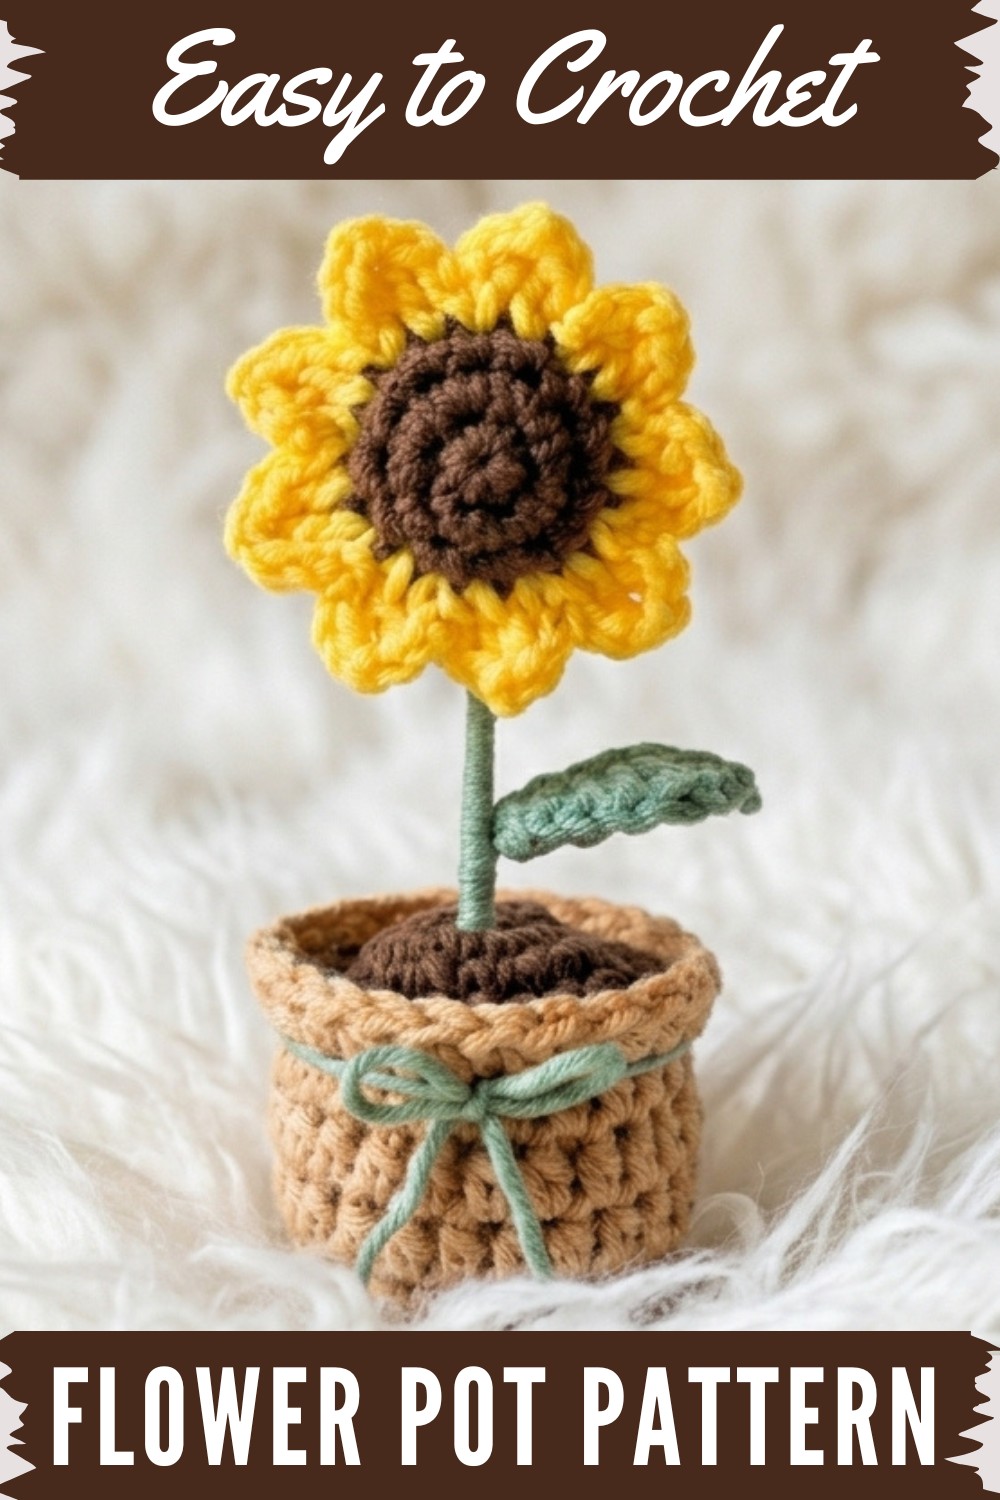
What makes this pattern delightful is the way it combines textures and layers. By crocheting in rounds with careful increases and using back loops for texture, you give the pot a neat, rounded form. The flower petals and leaves are shaped with thoughtfully placed stitches, and by wrapping the stem wire with thread, you add structure and flexibility that hold the flower upright. The subtle use of a curved tapestry needle and carefully glued edges helps bring everything together beautifully. This flower pot isn’t just a pretty decoration it’s also a wonderful gift or thoughtful handmade accent for kitchen nooks, desks, or shelves. The pattern encourages creativity by letting you experiment with colors and yarn types to match your style or season.
Exploring More Possibilities
Once you’ve gotten comfortable with these stitches and techniques, you can easily adapt this pattern into a variety of other floral projects. Try making a whole bouquet by crocheting different flower types, or turn the pot base into a container for pencils or small treasures. You can also create intricate appliqués or textured home décor accents using front and back loop stitches. This pattern opens up a lovely world where delicate details and simple shapes combine, inviting you to keep crocheting natural beauty in many charming forms.
Sunflower in a Pot Crochet Pattern
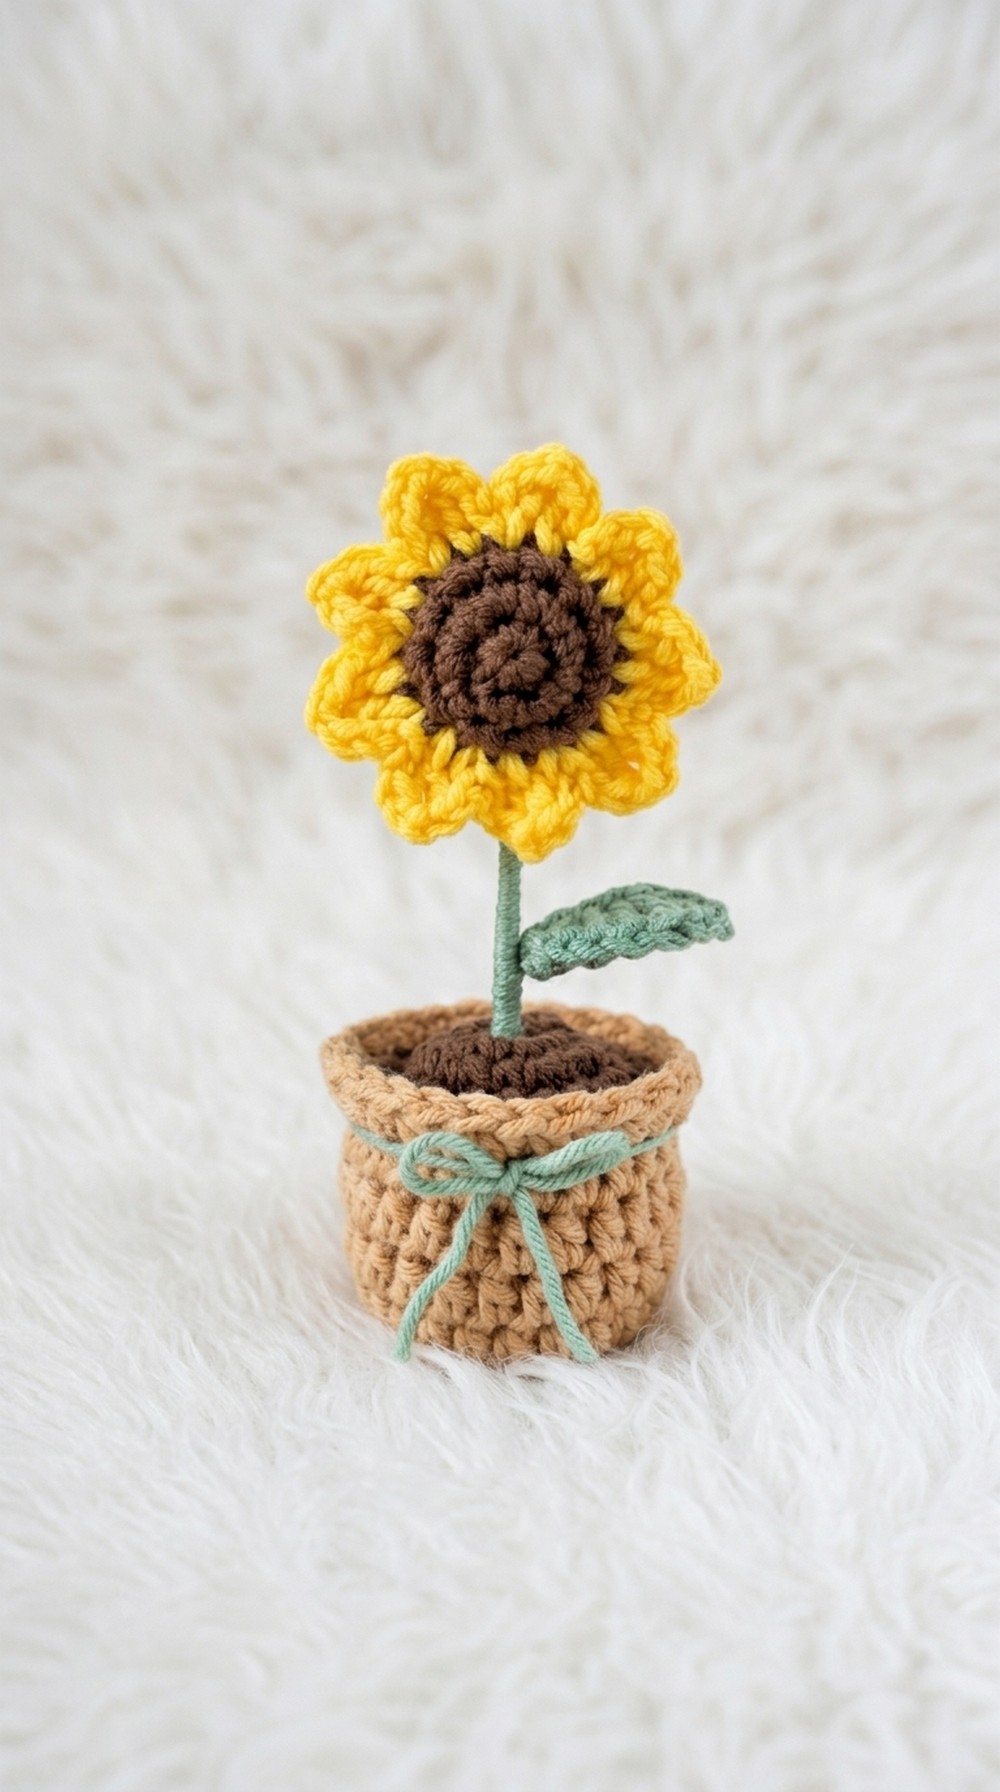
Welcome to this delightful step-by-step crochet pattern where you'll create a lifelike sunflower in a pot, complete with leaves, stems, and a base. This project is versatile and can be used as home décor, a centerpiece, or even for gifting. You'll learn how to combine basic crochet stitches, shaping techniques, and assembly methods to create your own charming sunflower arrangement.
Skill Level & Terminology
Skill Level:
Intermediate – This pattern uses a combination of basic and slightly advanced techniques (e.g., magic ring, slip stitch, and HDC) along with wire integration for structure.
Crochet Terminology:
This pattern uses US crochet terms.
Materials & Tools
- Yarn:
- Milk cotton thread (5-ply) in yellow (flower), green (leaves/stem/pot), and brown (soil layer).
- Hook:
- 3.5 mm crochet hook (6/0 size).
- Accessories:
- Stitch markers (to track rounds).
- Scissors.
- Tapestry needle (curved or straight).
- Fillings:
- Dacron or fiberfill (for stuffing the pot).
- Structural Elements:
- Flower wire (cut to approx. 40 cm).
- Small wire (for creating leaves and twisted stems).
- Cardboard (cut into a 4 cm circle for pot stability).
- Adhesive:
- Clear glue or hot glue.
- Optional: Ruler or measuring tape for accuracy.
Gauge
Gauge is not critical for this decorative project, but ensure tight and consistent stitches to maintain structure (especially for the pot and flower).
Abbreviations List
| Abbreviation | Definition |
|---|---|
| ch | Chain |
| sc | Single Crochet |
| sl st | Slip Stitch |
| HDC | Half Double Crochet |
| dc | Double Crochet |
| MR | Magic Ring |
| inc | Increase (two sc in one stitch) |
Special Stitch Instructions
Half Double Crochet (HDC):
- Yarn over (yo) and insert the hook into the stitch.
- Yo and pull up a loop (3 loops on the hook).
- Yo and pull through all 3 loops on the hook.
Finished Size
- Flower Diameter: Approximately 7 cm.
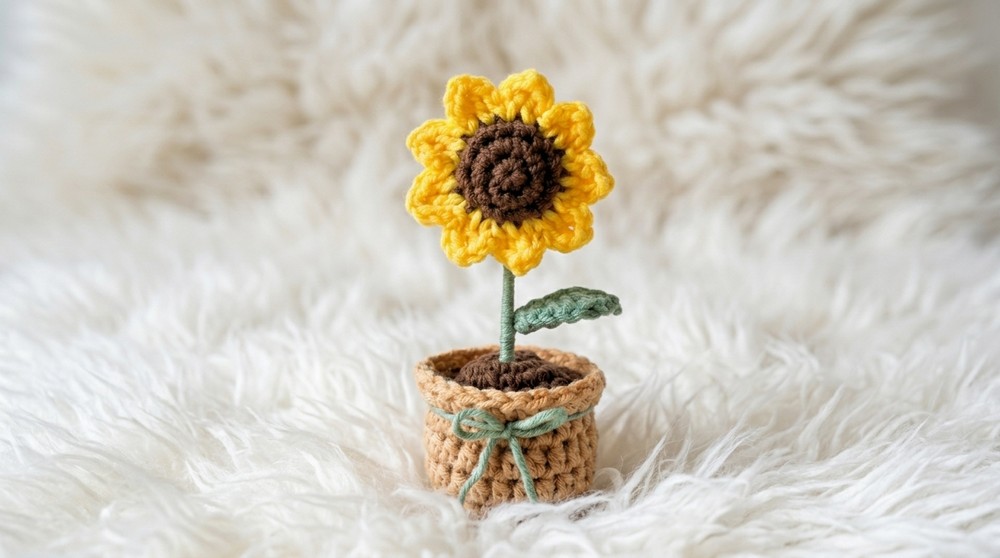
- Pot Height: Approximately 6 cm, depending on stuffing and wire placement.
The Pattern Itself
Below is the detailed, row-by-row and round-by-round breakdown to crochet the sunflower in a pot.
Part 1: Sunflower Petals
Instructions
- Start with MR:
- Create a magic ring and make 7 chains.
- Wire Integration:
- Curve your wire slightly to match the circular outline of the flower.
- Slip stitch into the second chain from the hook while placing the wire alongside the chain to anchor it.
- Stitch Sequence:
- Work 1 sc into the next chain.
- Work 1 HDC into the next chain.
- In the same chain, make 2 dc.
- Continue with 1 HDC in the next chain, and finally make 3 sc in the next chain, taking care to alternate dragging the wire as you crochet to secure it.
- Mirror the Pattern:
- Repeat the sequence on the other half of the MR: 1 HDC, 2 dc in the same chain, 1 HDC, 1 sc, and finally a slip stitch.
- Finish the Petal:
- Slip stitch into the final hole and fasten off.
Simplified Notes:
This petal design integrates wire for a realistic and structured look. Repeat the pattern to make multiple petals and join them to form a round sunflower later.
Part 2: Pot Base
Instructions
- Start with MR:
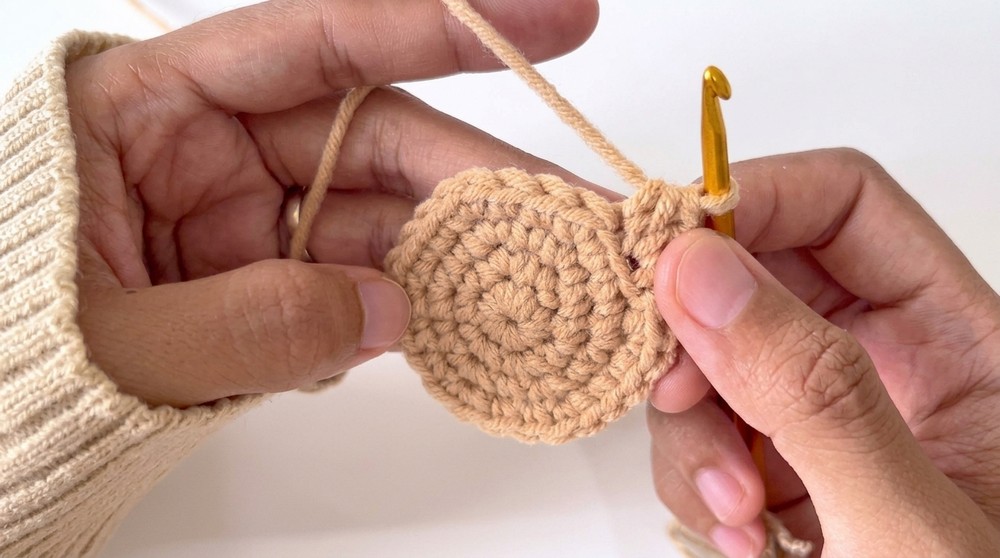
- Create a magic ring and make 6 sc inside the ring. Tighten the ring.
- Round 2:
- Work 2 sc in each stitch around (12 sc).
- Round 3:
- Alternate 1 sc and 1 inc around (18 sc).
- Round 4:
- Alternate 2 sc and 1 inc around (24 sc).
- This completes the circular base for the pot.
- Slip Stitch and Chain 2:
- Start the next row by slip stitching and making 2 chains. Continue working only in the back loops of each stitch to build upward.
- Rounds 5–8:
- For rows 5–7: Work HDC in each stitch around (normal loops).
- For row 8: Work HDC in front loops only to create a ridge for attaching the soil later.
Simplified Notes:
This pot provides a sturdy base with a ridge for combining additional layers (soil and flower stem). Use consistent stuffing to ensure a proper round shape.
Part 3: Soil Layer
Instructions
- Start with MR:
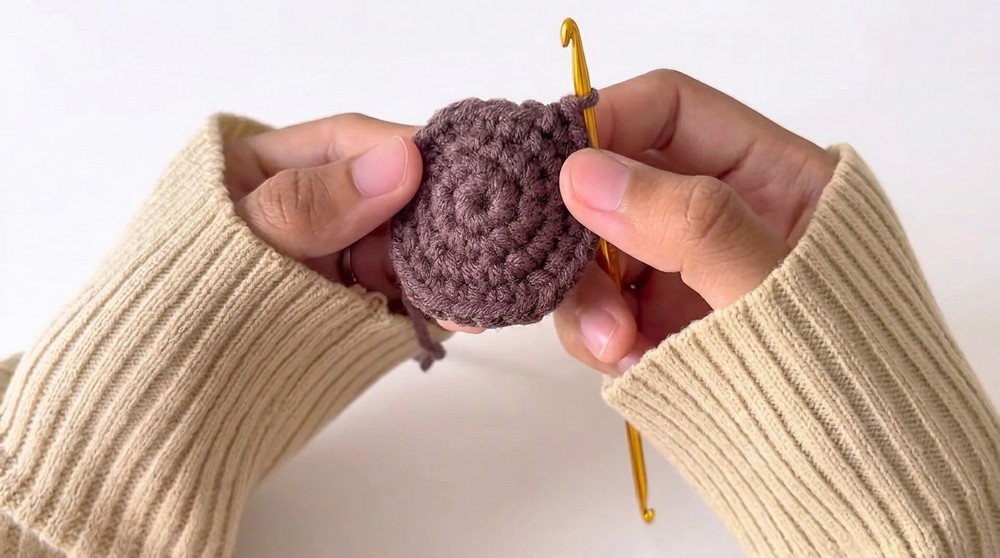
- Create a magic ring and repeat the pot base pattern (Rounds 1–4).
- Tighten the Center:
- Leave the ring slightly open in the middle to allow insertion of the plant stem later.
- Fasten Off:
- Leave a long tail for sewing the soil layer to the pot.
Simplified Notes:
The soil layer mirrors the pot’s base structure but remains slightly loose in the middle for attaching the sunflower stem.
Part 4: Stem and Leaves
Stem Instructions
- Prepare Wire:
- Cut a 40 cm small wire and straighten it.
- Wrap with Green Yarn:
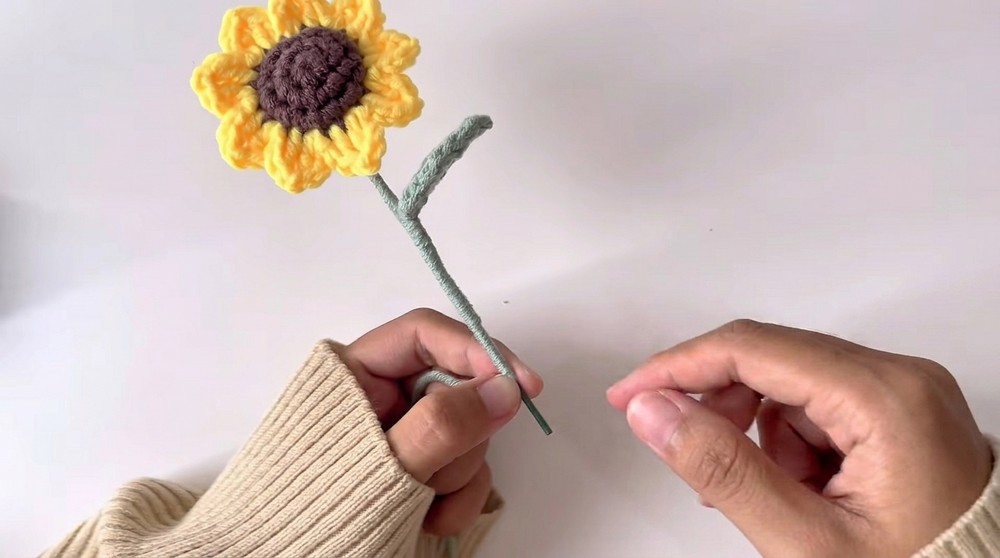
- Apply a drop of glue to the wire tip and begin wrapping tightly with green yarn until fully covered.
- Attach the Leaves:
- Crochet leaves by chaining 7 and following the petal structure (with sc, HDC, and dc sequences). Attach leaves along the wrapped wire using glue or sewing.
Leaf Instructions
- Chain Start:
- Chain 7 and repeat the petal sequence (see Part 1).
- Attach to Stem:
- Secure each leaf to the wrapped wire stem using glue or sewing.
Simplified Notes:
The stem and leaves are crafted with realistic detail using wire and yarn wrapping. Adjust wire length based on the desired flower height.
Part 5: Assembly
Pot and Soil Integration
- Insert Cardboard Base:
- Place the 4 cm circular cardboard into the pot base for stability.
- Fill with Stuffing:
- Add dacron or fiberfill to stuff the pot, leaving space for the soil layer.
- Sew Soil to Pot:
- Use the tapestry needle to sew the soil to the ridge created in row 8 of the pot.
Flower Attachment
- Insert Stem into Soil:
- Poke the stem wire through the soil’s open center and anchor firmly into the cardboard.
- Attach Petals:
- Join petals to the stem using glue, sewing, or twisting the wire ends.
Finishing Details
- Ribbon Decoration:
- Tie a ribbon around the pot for added charm if desired.
- Trim Details:
- Neaten loose threads and check all attachments are secure.
What You’ll Learn From This Pattern
- Multi-Component Construction: Combine multiple crochet elements to create a unified decorative piece.
- Wire Techniques: Learn how to integrate wire for realistic shaping of petals and stems.
- Decorative Enhancements: Add final touches like ribbons or blush detailing to customize the piece further.
Why You'll Love This Pattern
This realistic sunflower in a pot crochet project is ideal for brightening any space or gifting to loved ones. With its detailed structure and versatility, you’ll enjoy the pride of handmade crochets while sharpening your skills. Experiment with different colors or embellishments to make your sunflower unique!



