Make your home even cozier with our Vintage-Style Flower Pot DIY Project, which turns a simple flower pot into a beautiful artistic piece. Combining elegance and vintage charm, this DIY project allows you to create a charming hand-crafted flower pot that serves as an antique focal point, seamlessly connecting past aesthetics with modern living spaces.
Vintage-Style Flower Pot DIY Project

This vintage-style flower pot is an amazing show of creativity and skill. It's painted with calm colors and features creative clay decorations. It proves that art, old-times feel, and nature can coexist beautifully. The flower design in the center makes it look lively. The careful crafting and aged look make it a strong challenge for the top DIY project. Its elegance is quiet, its old-times feel is strong, and its overall look is awesome!
Here are the materials you will need:
- Plant Pot
- White Acrylic Paint
- Dark Brown Acrylic Paint
- Creamy White Acrylic Paint
- Sky Blue Acrylic Paint
- Air-Dry Clay
- Rubber Structure/Mold
- Soft Floral Fabric
- Scissors
- Craft Glue
- Crackle Medium
- Acrylic Varnish (Matte Finish)
Making Process
Preparation: Start your project with a basic plant pot. Decide on the size and shape that best suits your space and decoration perspective.
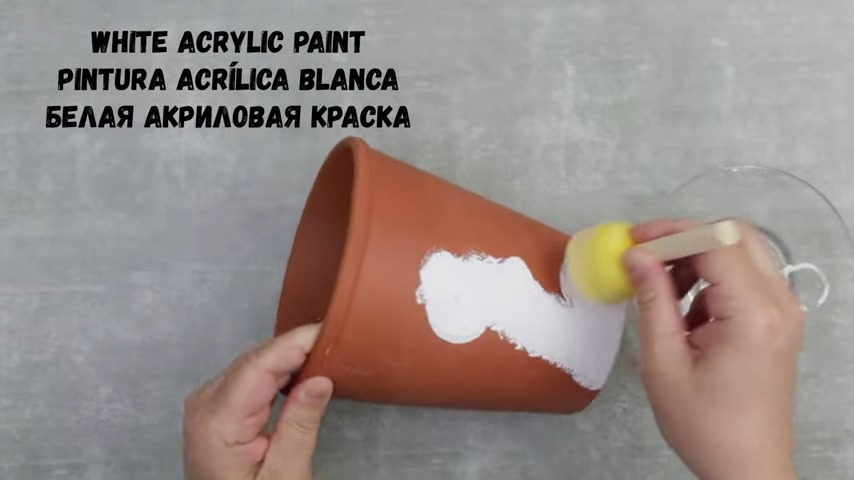
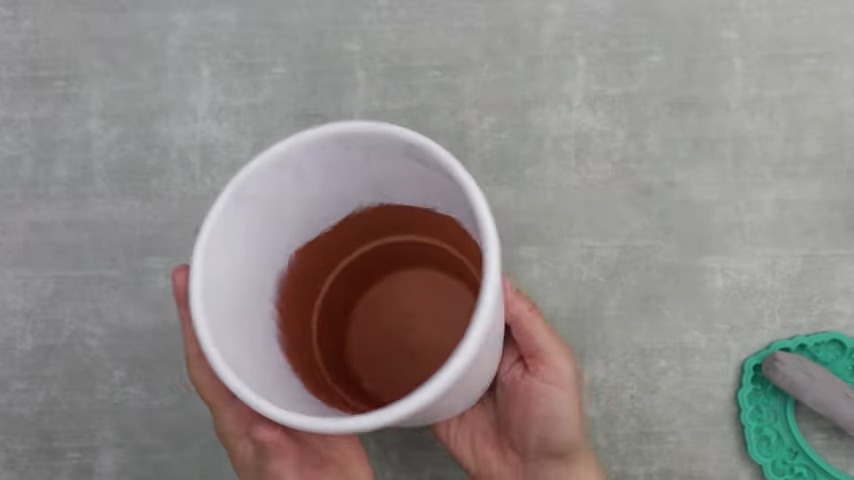
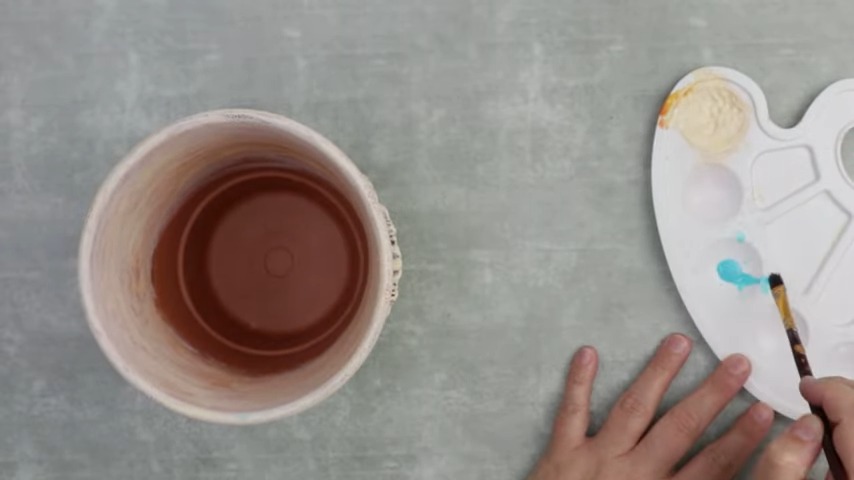
Base Painting: The first coat is crucial! Adorn your pot with white acrylic paint, both inside and out. This creates a blank canvas for your craft, ensuring the colors you add next stand out.
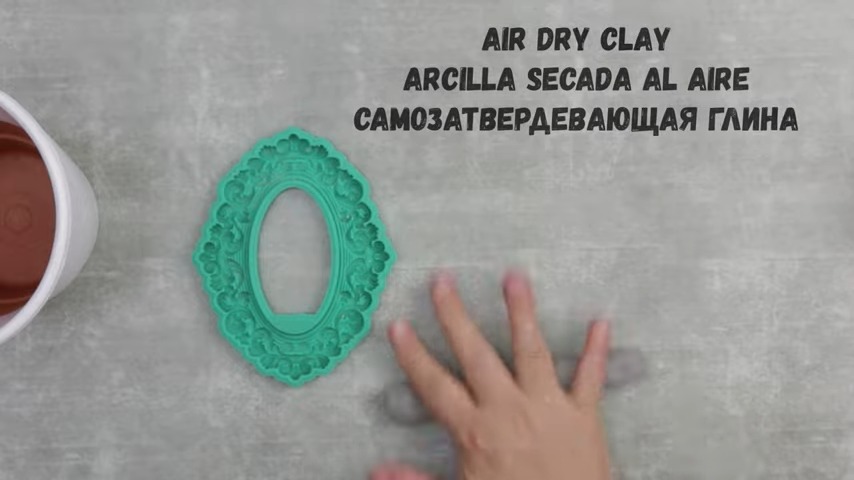
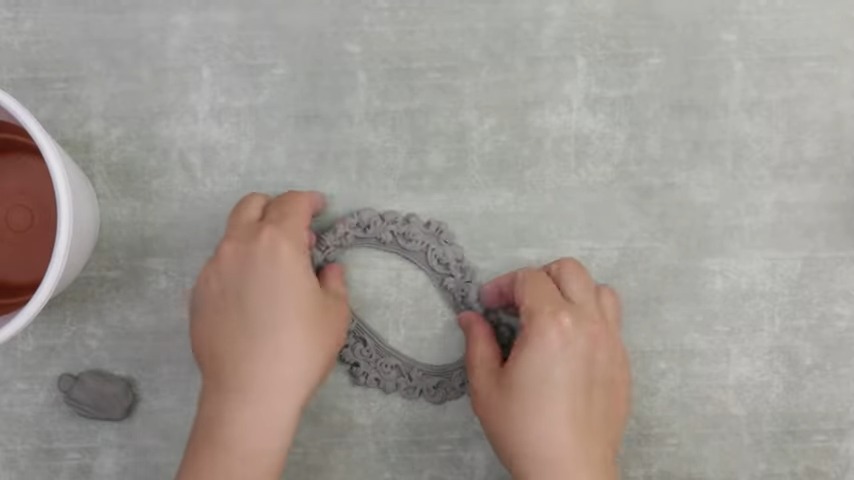
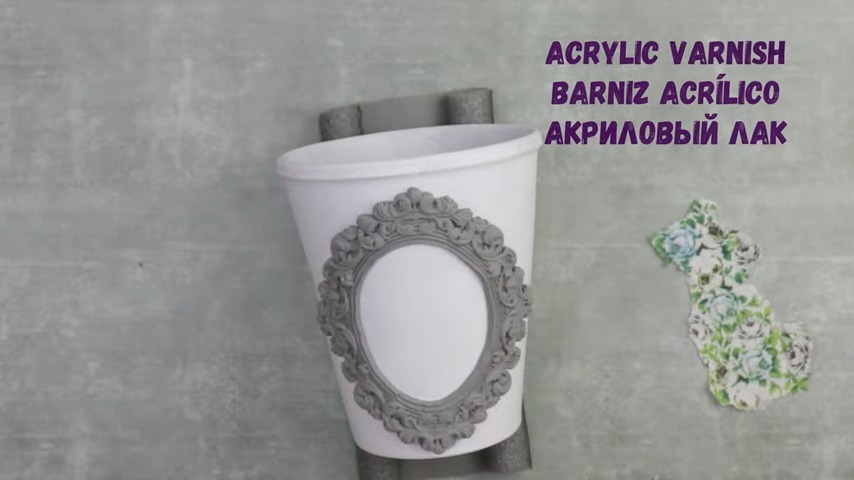
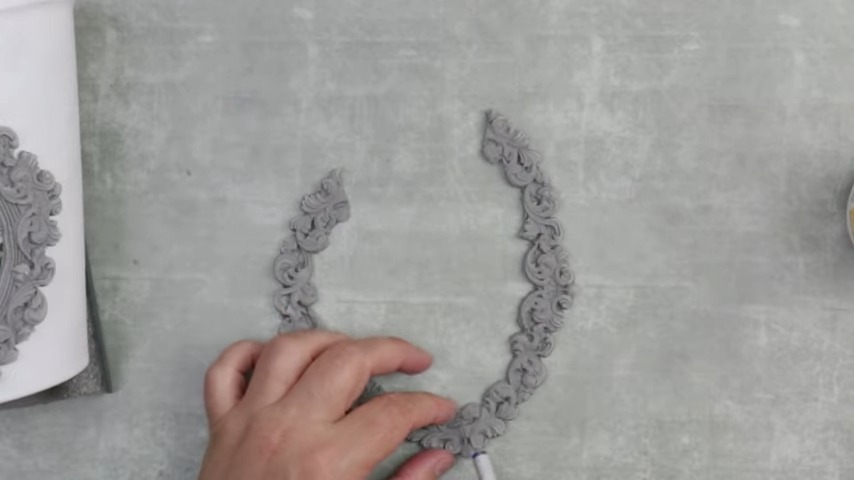
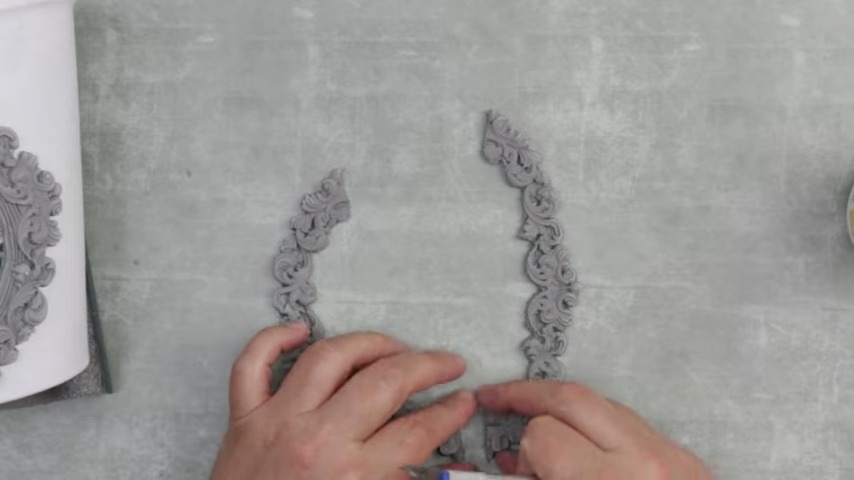
Creating Embellishments: Use air-dry clay to craft a unique, front-facing embellishment for your pot. Employ a rubber-like structure to shape your clay creatively. Highlight your artistic effort with an intriguing oval-like empty space at the center.
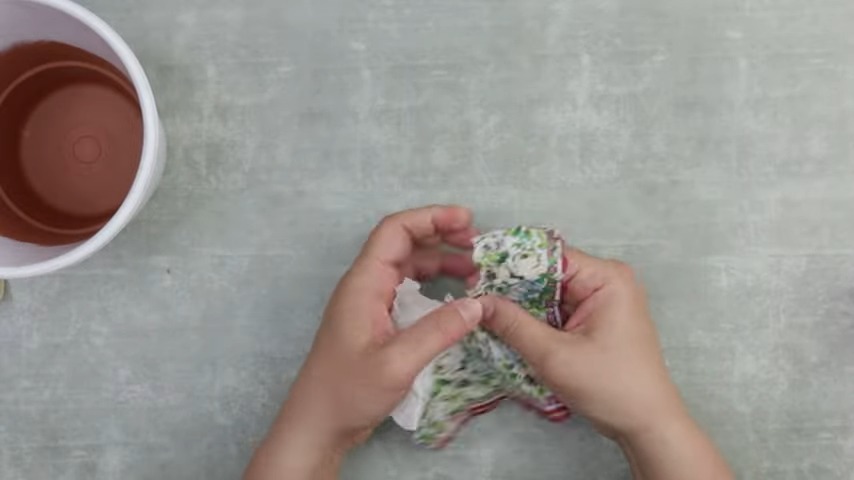

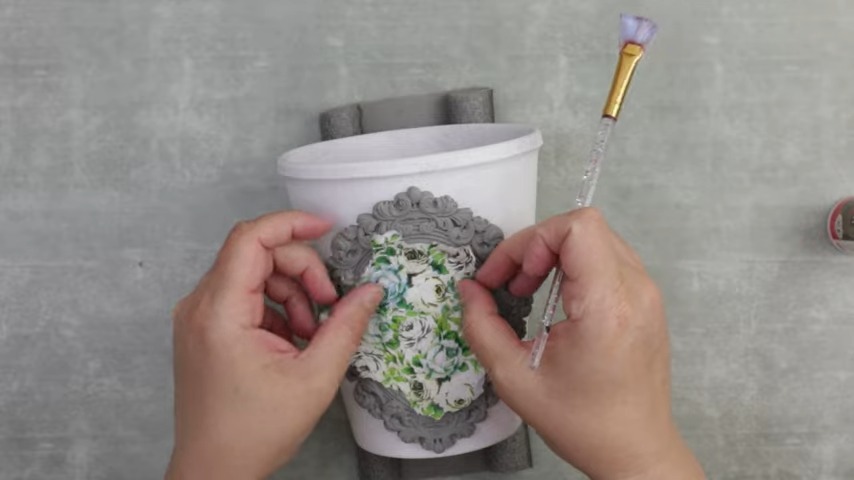
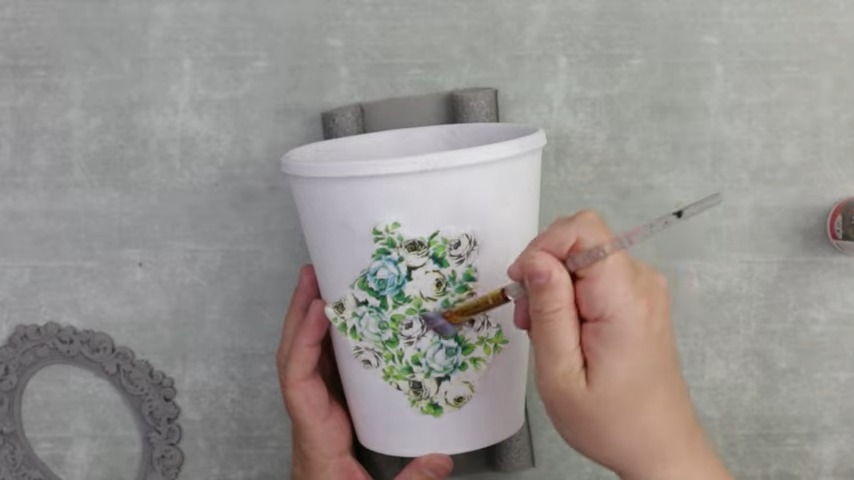
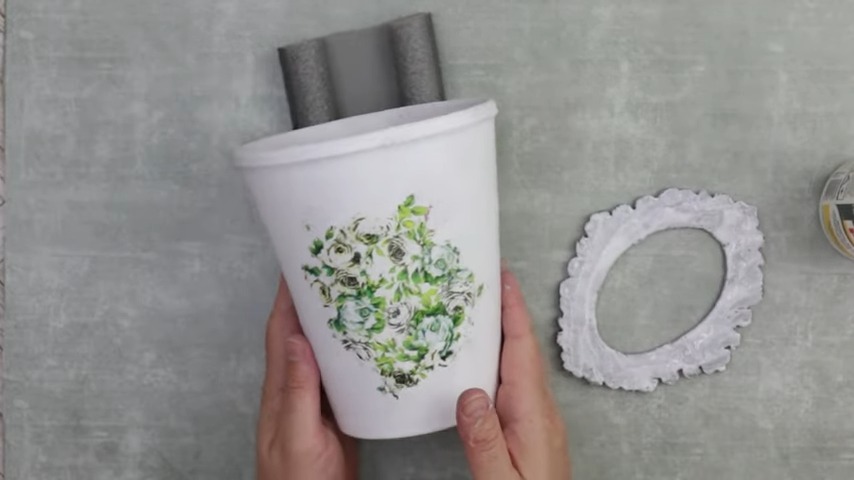
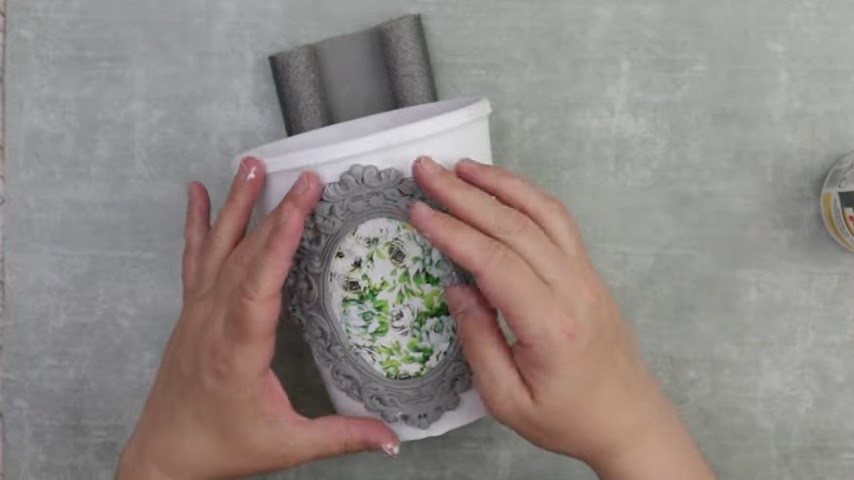
Floral Fabric Installation: Soft, floral fabric pieces can fill the oval opening. Using a pair of scissors, trim the fabric, and secure it onto the pot with adhesive. This adds a touch of elegance to your otherwise rustic artwork.
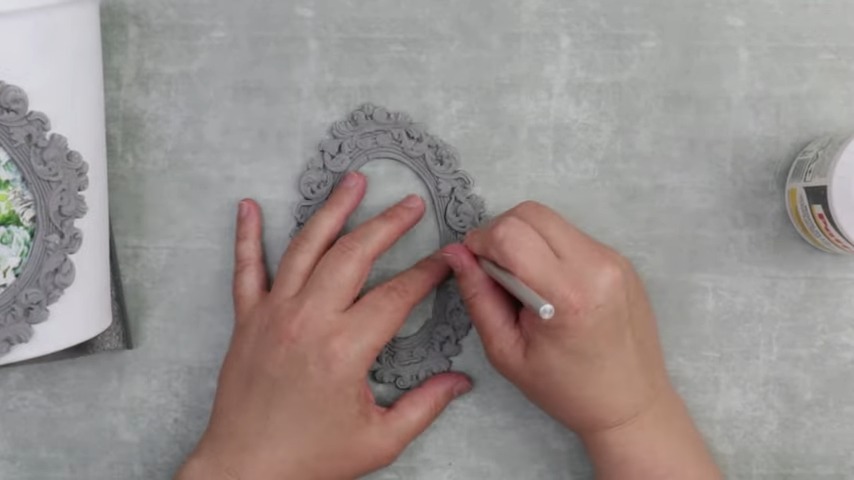
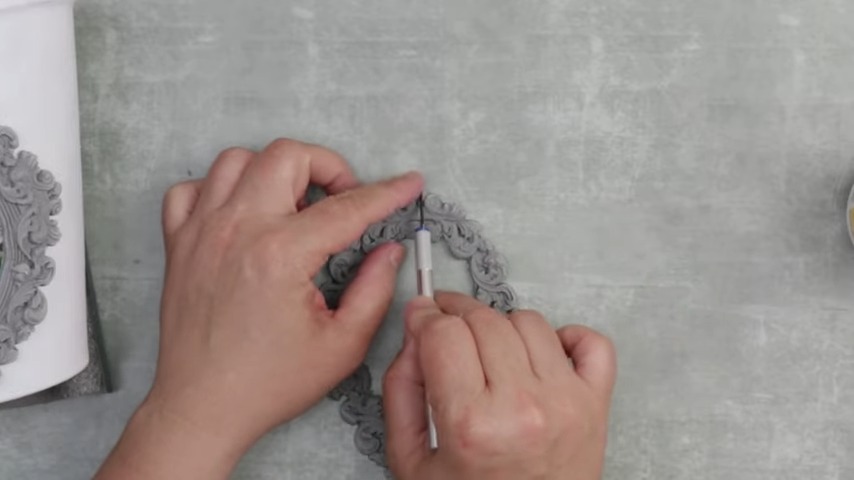
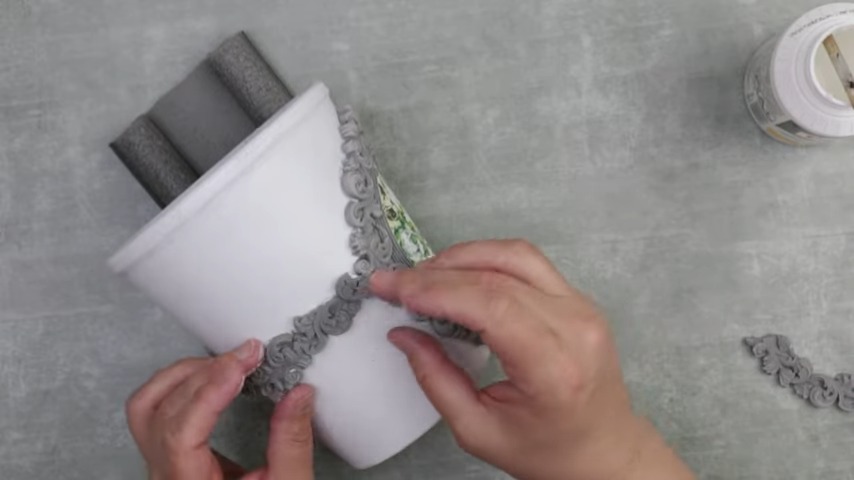
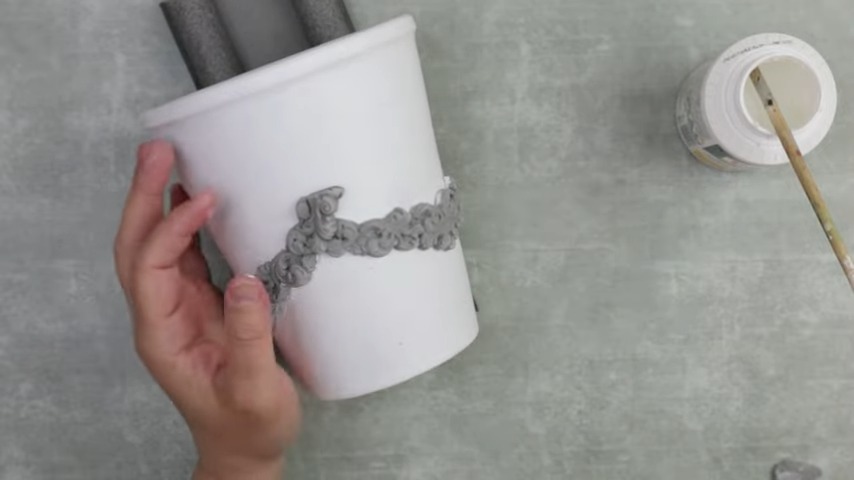
Garland Formation: Duplicate the clay embellishment process, but this time, cut the final product in half. This halved clay piece wraps around your pot like a vibrant garland - starting from one end of your embellishment, encircling the entire pot, and ending at the other side.
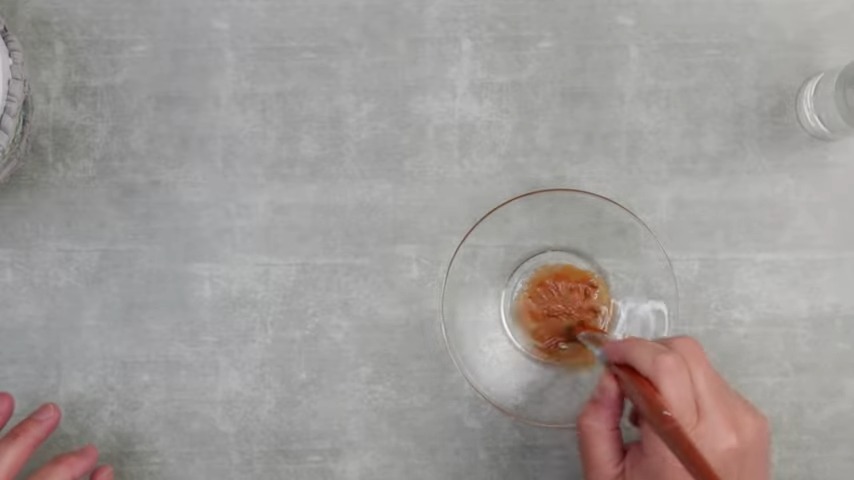
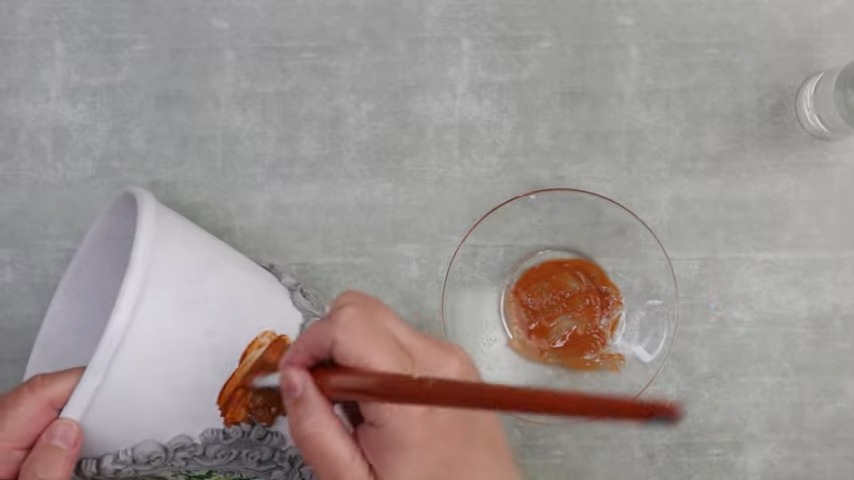
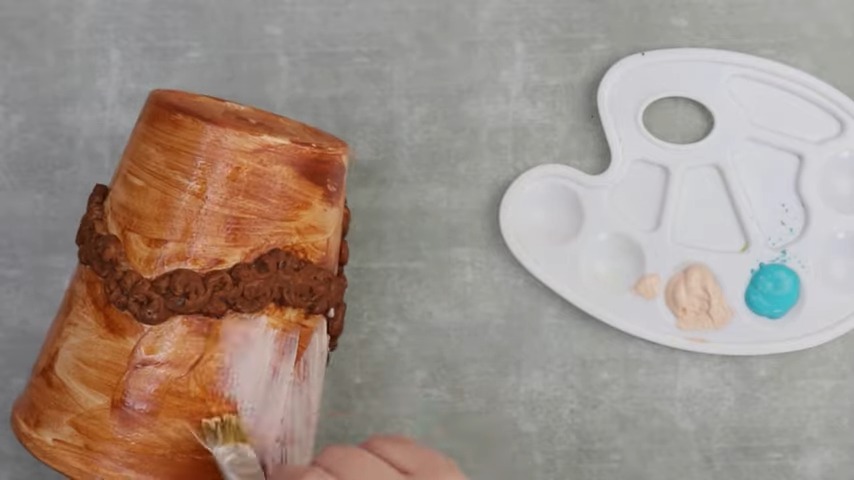
Familiar Painting: Start the painting process by applying dark brown acrylic paint. This lends an antiquated touch to your creation, amplifying its vintage vibe.
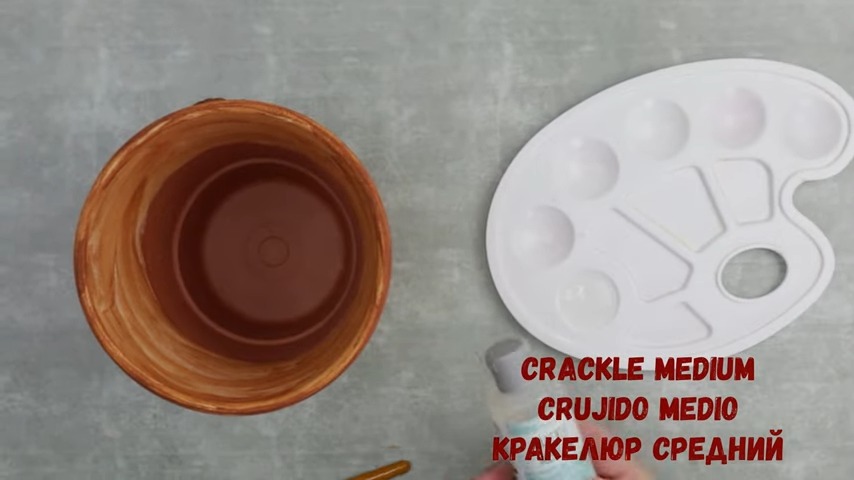
Crackle Design: A layer of crackle medium allows for an aged and crackled painting effect, adding to the piece's authenticity.
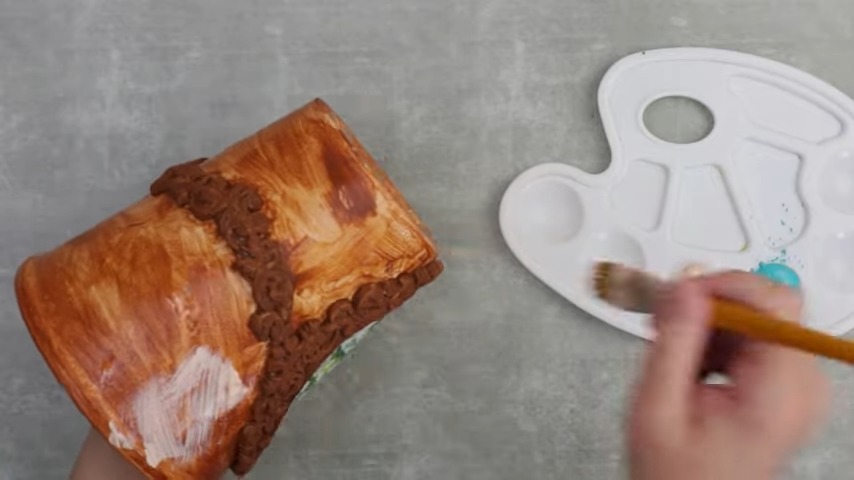

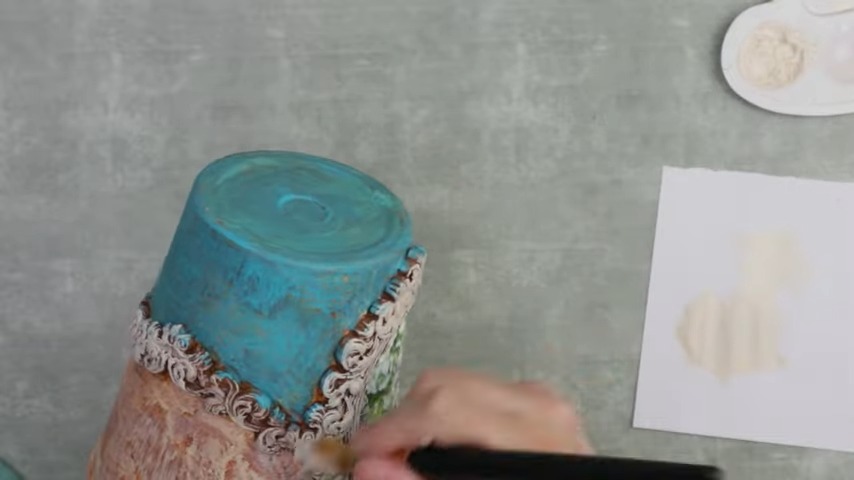
Color Distribution: Apply a creamy white paint on the majority of the pot, excluding a small portion underneath the garland. After the final layer, introduce vintage-style sky-blue paint to the unpainted section.
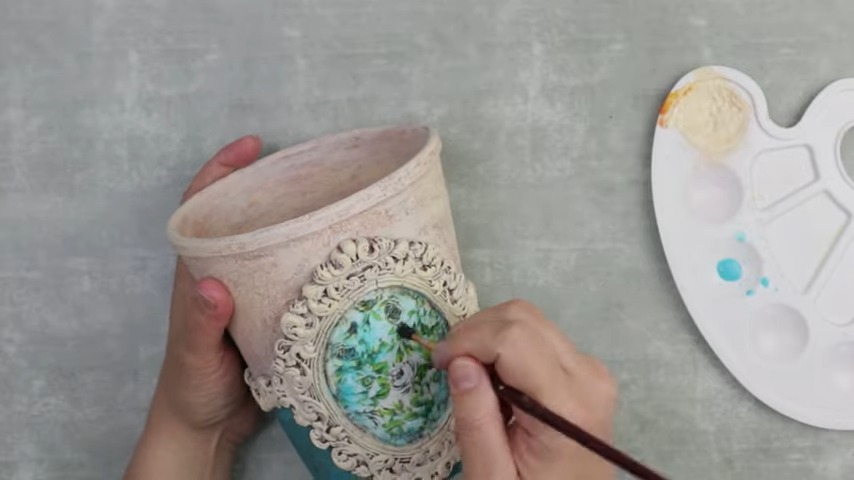
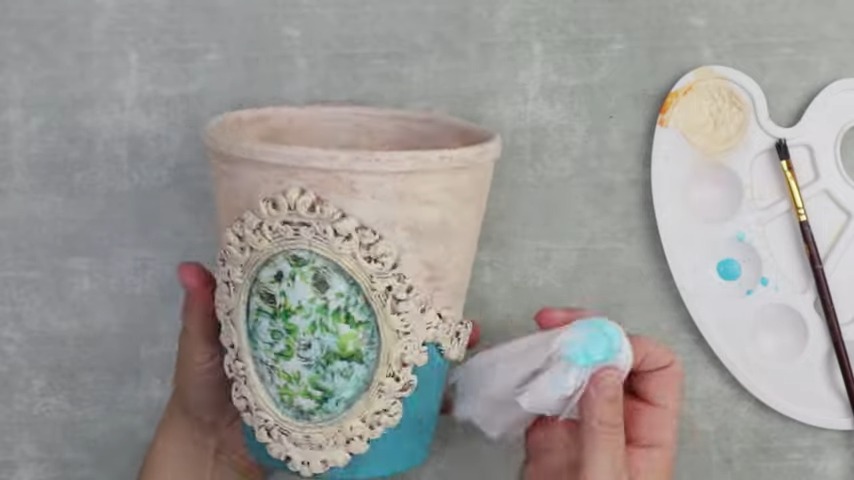
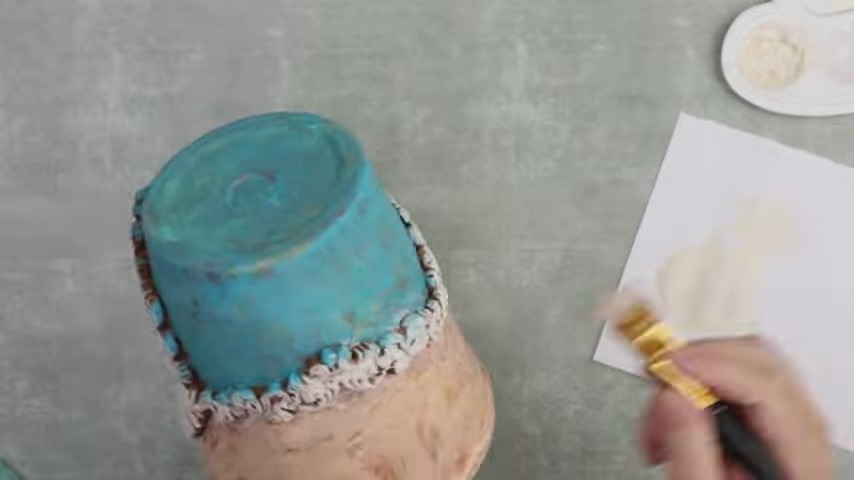
Finish of Clay Garland: Decorate your clay garland and embellishment piece with a drier, lighter layer of the previously used creamy white color. Use a solid sky blue acrylic color to style the fabric lodged in the centerpiece.

Varnish Application: Conclude with an acrylic varnish matte layer. This final touch not only captures and enhances your craft's colors but also provides an enduring finish.

Voila! You're done. A vintage-inspired, stylish flower pot decoration is ready!