
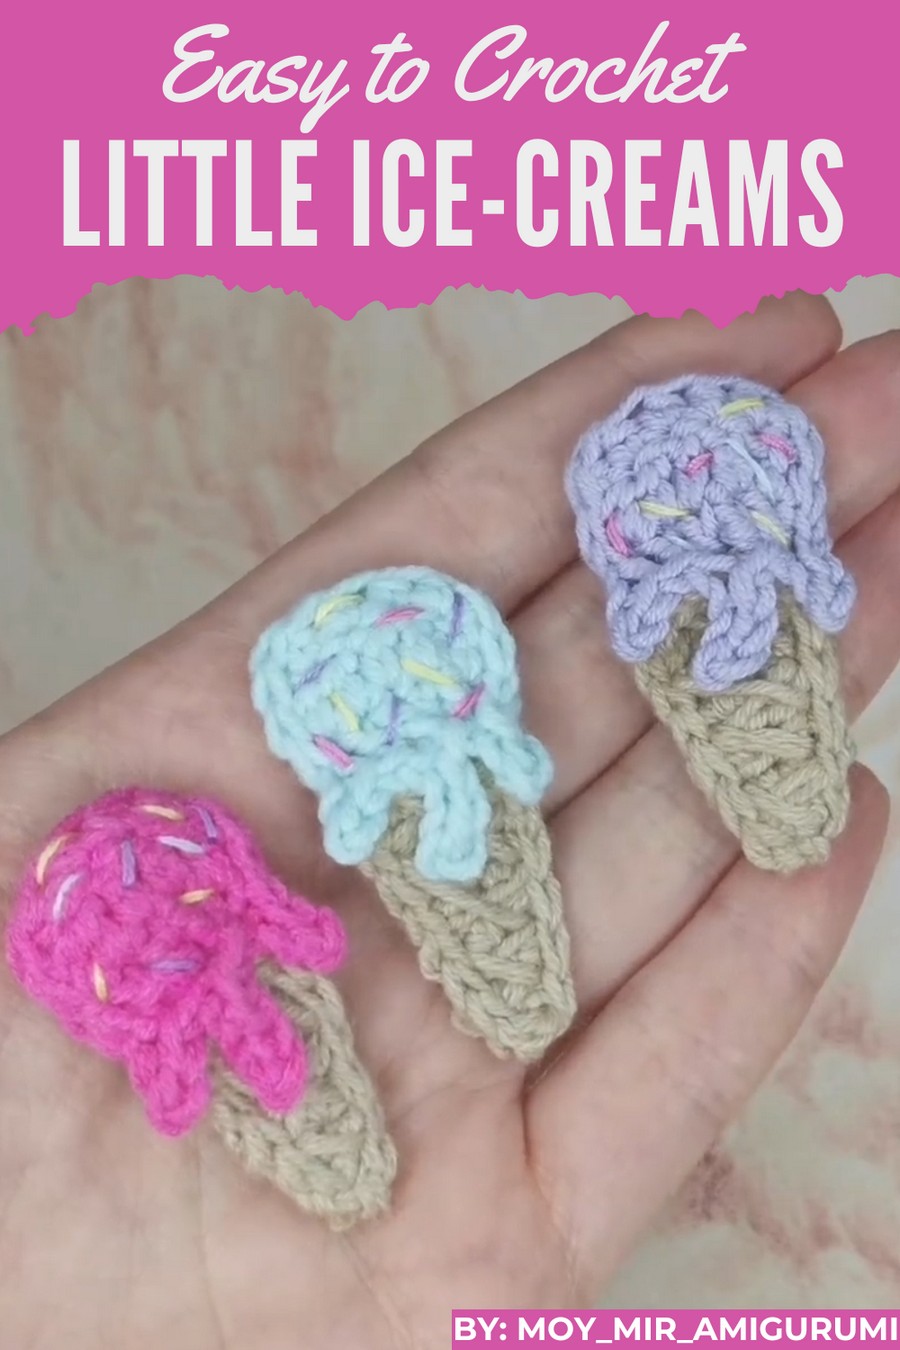
A delightful handmade creation can add a touch of fun and charm to your day. Shaped like a colorful ice cream, this design is perfect for brightening up spaces, decorating a child’s room, or even as a playful gift. Made with soft yarn, it features vibrant scoops, a neat cone, and adorable finishing details, making it irresistibly cute.
Fun Crochet Ice Cream Pattern Your Friends Will Love
These creations are lightweight, easy to carry, and full of personality, making them ideal for keychains, room décor, or imaginative play. Its cheerful appearance and custom color options make it a unique and fun project for anyone to enjoy creating or gifting.
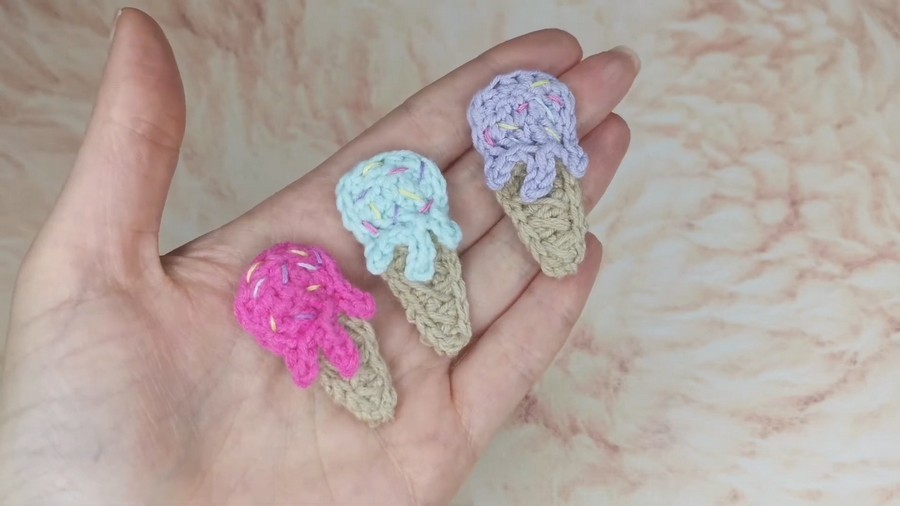
Welcome to this step-by-step guide for creating a delightful ice cream cone appliqué. Perfect for adding a touch of whimsy to clothes, hair accessories, or even home décor items, this appliqué is both fun and customizable.
Follow along to create your very own sweet treat.
Skill Level
Beginner to Intermediate
This pattern uses basic stitches and simple embroidery techniques, making it accessible to those familiar with fundamental crochet skills.
Materials Needed
- Yarn:
- Alize Lanagold Cotton or YarnArt Jeans (or a similar light worsted weight yarn):
- Brown or Beige: For the cone.
- Any Color: For the ice cream scoop. Choose pastel shades for a more realistic look.
- Alize Lanagold Cotton or YarnArt Jeans (or a similar light worsted weight yarn):
- Hook:
- Recommended crochet hook size for your yarn (e.g., 2.5–3.5mm).
- Other Supplies:
- Tapestry needle for weaving in ends and embroidery.
- Scissors.
- Optional: Beads for sprinkles.
- Embroidery Thread:
- Various colors for sprinkles; choose bright, candy-like colors.
Key Abbreviations (US Terminology)
- ch: Chain.
- sc: Single Crochet.
- hdc: Half Double Crochet.
- dc: Double Crochet.
- sl st: Slip Stitch.
Step-by-Step Pattern Instructions
First Part: Ice Cream Cone
- Foundation Chain:
- Chain 5 stitches (ch 5).
- Row 1:
- Start in the second chain from the hook, work 4 half double crochets (hdc). Turn.
- Row 2:
- Chain 1, work 4 hdc back across the row. Turn.
- Row 3:
- Chain 1, skip the first stitch, work 3 hdc. Turn.
- Row 4:
- Chain 1, work 3 hdc back across the row. Turn.
- Row 5:
- Chain 1, work 2 hdc back from the second chain (same loop). Turn.
- Row 6:
- Chain 1, work 1 hdc into the second loop from the hook.
Creating the Cone Border
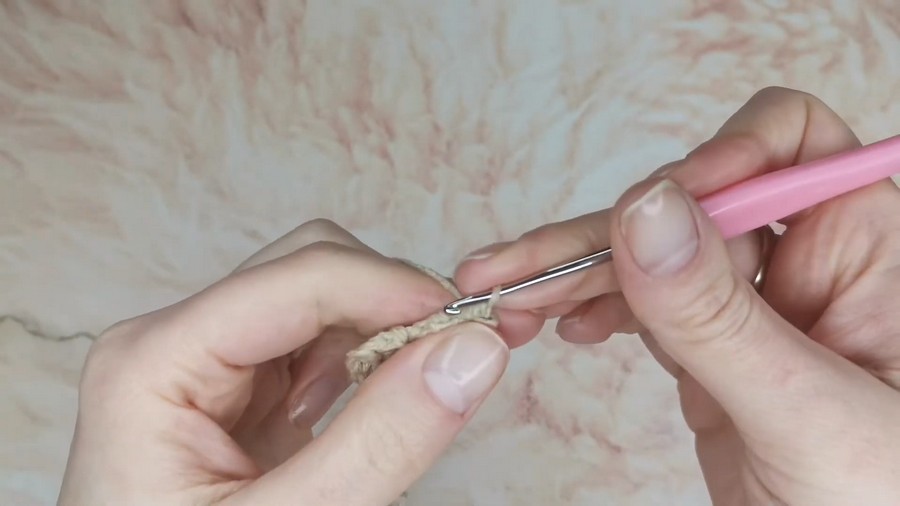
- Using slip stitches, outline the entire cone for a neat finish:
- sl st in each stitch around the cone.
- Finishing the Cone:
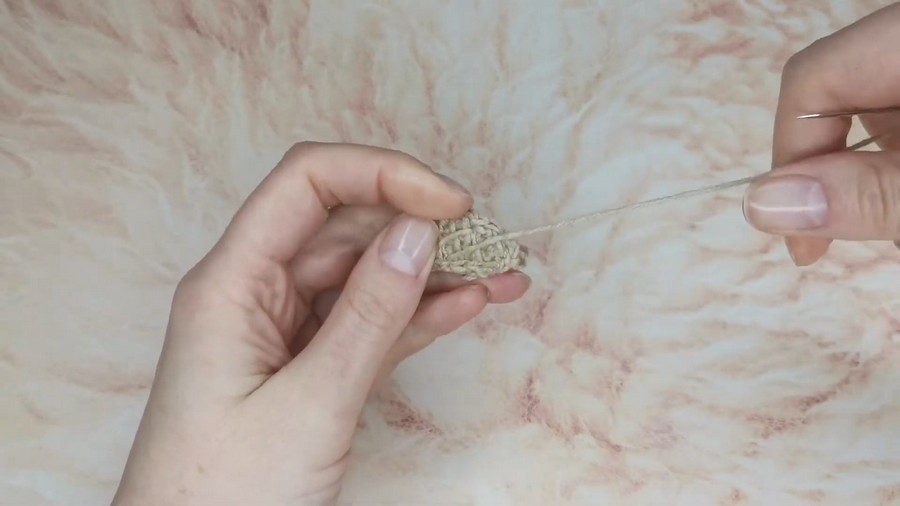
- Leave a longer tail for embroidering the waffle cone pattern. Weave this tail to the wrong side of the cone.
- Embroider Waffle Design:
- Using the tapestry needle, draw diagonal lines from one side to another.
- First, embroider lines from bottom to top, then cross them with lines from top to bottom to create a lattice pattern.
Second Part: Ice Cream Scoop
- Attach New Yarn:
- Using another yarn color, attach with a slip knot.
- Base Row:
- Chain 1, work 1 hdc into the first stitch.
- Row 2:
- Next stitch, work 2 dc.
- In the third stitch, work 2 more dc.
- In the fourth stitch, work 1 hdc.
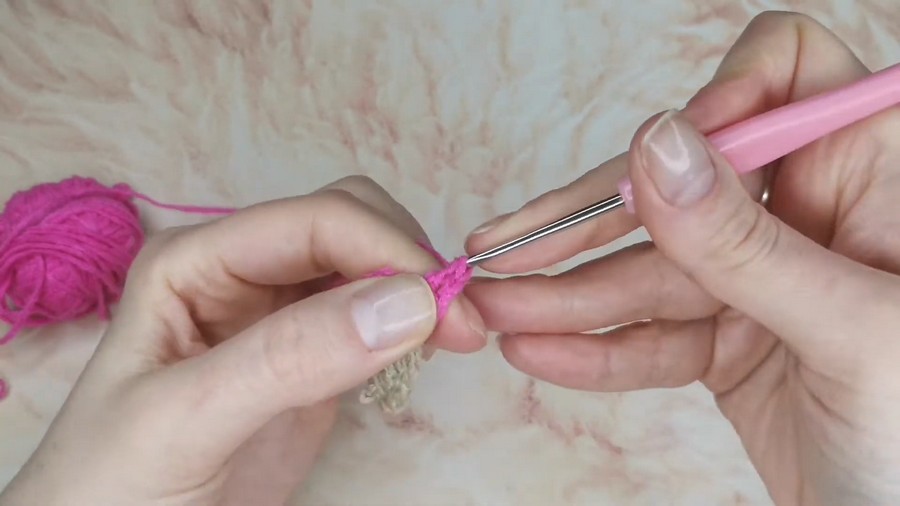
Creating Ice Cream Melts
- Melt Drip Rounds:
- Chain 4 stitches (ch 4), work sl st back into the chain from the second loop and continue down.
- Attach the drip into the first row with a slip stitch.
- Repeat Drip Patterns:
- Ch 4, work another drip following the same steps.
- Repeat to create a balanced look with drips on different points of the ice cream scoop.
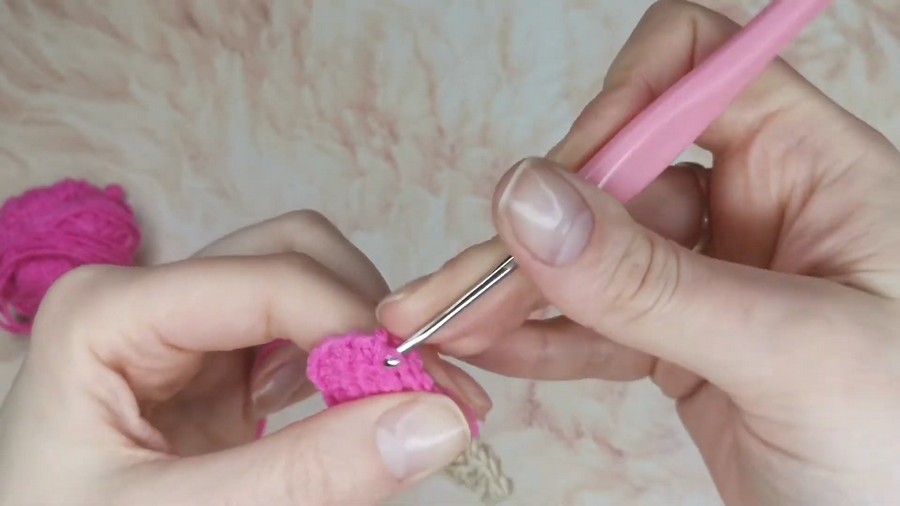
- Final Edging:
- Use slip stitches to outline the ice cream scoop, creating a clean edge.
Final Touches:
- Finishing the Ice Cream:
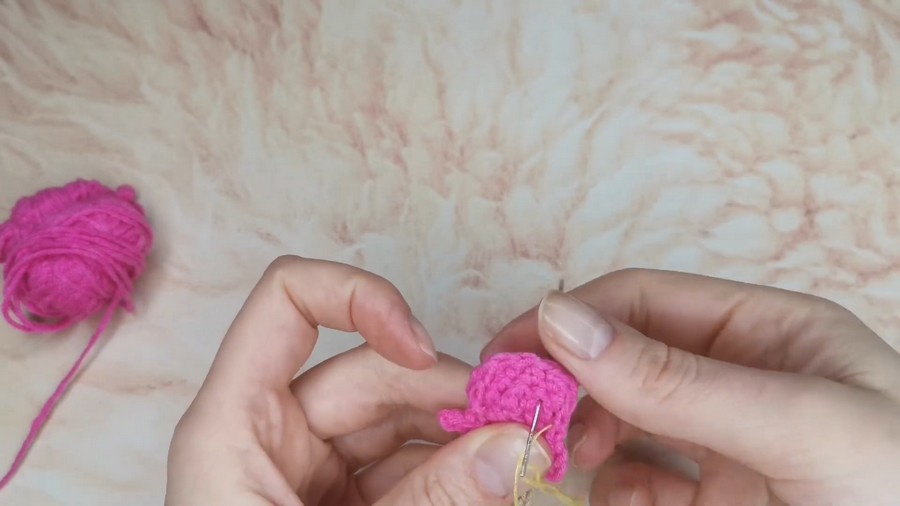
- Weave in any loose ends to the wrong side and tie securely with a knot.
- Adding Sprinkles (Optional):
- Using embroidery floss or thin yarn in various bright colors (purple, blue, yellow, etc.), randomly embroider small lines to resemble sprinkles.
- Secure each thread on the wrong side with a knot, trimming any excess.
Conclusion
Your crochet ice cream cone appliqué is now complete! This versatile appliqué can add a sweet and playful touch to various projects. Whether it's embellishing a child's sweater, a bag, or used as a hair accessory, this pattern offers charming customization options.
Tips for Success
- Uniform Tension: Ensure even tension while stitching, especially for the borders and waffle cone embroidery.
- Color Coordination: Select colors that contrast well for the cone and ice cream to emphasize their shape.
Pattern Variations
- Color Adjustments:
- Experiment with different colors for the cone and ice cream. Create chocolate (brown), vanilla (cream), or strawberry (pink) ice cream.
- Size Adjustments:
- Use thicker yarn and a larger hook for a bigger appliqué. Conversely, choose finer yarn and a smaller hook for a smaller appliqué.
- Adding Beads:
- For more texture, sew small beads instead of embroidered stitches for the sprinkles.



