
Gear up for the cold with a stylish crochet balaclava pattern that’s warmth and keeps you cozy while adding a personal touch to your winter wardrobe.
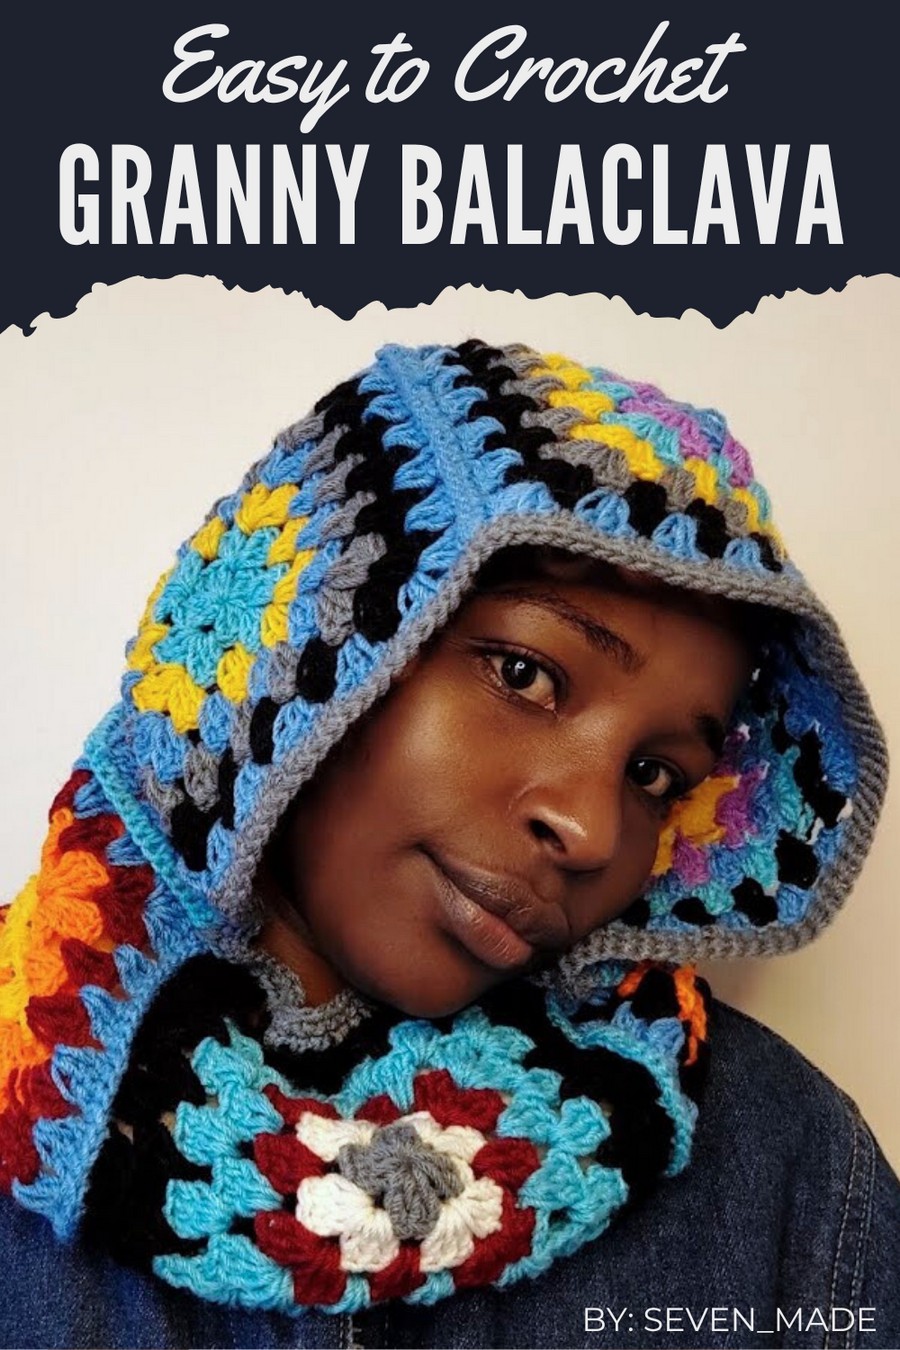
Stay warm, stylish, and ready for any weather with this Free Crochet Balaclava Pattern that’s as functional as it is fashionable. Perfect for outdoor adventures, chilly commutes, or even a unique handmade gift, this pattern offers great versatility.
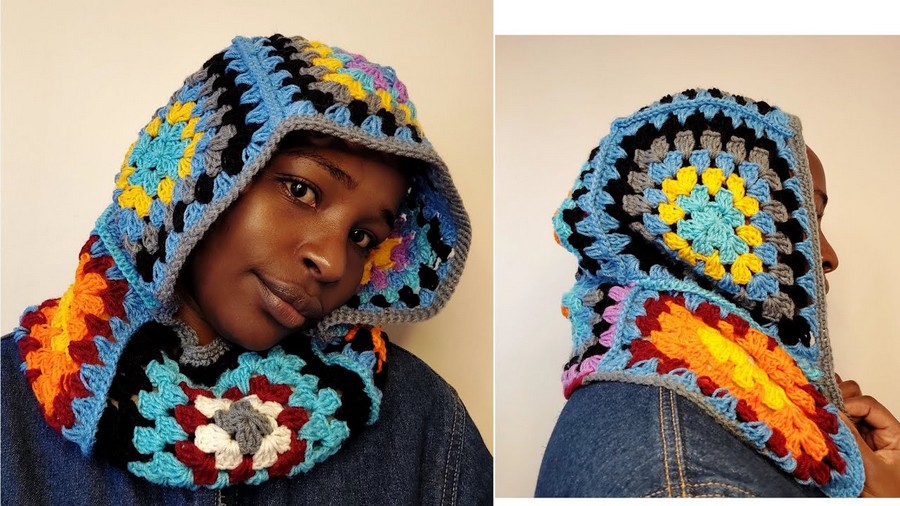
Effortless Crochet Balaclava Pattern for Ultimate Comfort
Whether you prefer a snug fit or a looser, modern style, it’s easy to customize with your favorite yarn and colors. The practical design fully covers your head, neck, and face while leaving space for breathability and comfort.
With its simple steps and endless possibilities, this pattern makes it fun to create a cozy accessory you’ll reach for all season long!
Materials Required
Yarn
- Worsted weight yarn or DK (Light) yarn depending on preference.
- Multiple or single colors based on design preferences (suggest at least 2 contrasting colors for variety).
Hook
- Crochet Hook: 3.0 mm or a size appropriate for your yarn.
Additional Supplies
- Tape Measure: To check dimensions of squares (if size adjustment is needed).
- Tapestry Needle: For weaving in ends.
- Scissors: To cut yarn.
Skill Level
Beginner to Intermediate. This is a great project if you are confident in making granny squares and assembling them.
Abbreviations (US Terminology)
- ch: Chain
- sl st: Slip Stitch
- dc: Double Crochet
- sc: Single Crochet
- yo: Yarn Over
Description of the Finished Balaclava
- Top (crown): One granny square forms the topmost part of the balaclava.
- Sides: Three granny squares wrap around the face and cover part of the head.
- Back and Neck: Four granny squares form the back of the balaclava, covering the neck area and ensuring a snug fit.
- Opening: A space is left at the front for the face, framed with granny squares.
Pattern Instructions
Step 1: Granny Square Base
Make 8 individual granny squares following the steps outlined below:
Foundation
- Begin with a slip knot.
- Chain 4, and slip stitch into the first chain to form a ring.
Round 1 (Corners and Clusters)
- Ch 3 (counts as first dc).
- Into the ring, work 2 dc (this forms the first cluster).
- Ch 2 (forms a corner).
- Continue working: 3 dc, ch 2 into the ring three more times. You should have 4 clusters separated by ch-2 spaces (corners).
- Slip stitch into the top of the starting ch-3 to finish the round.
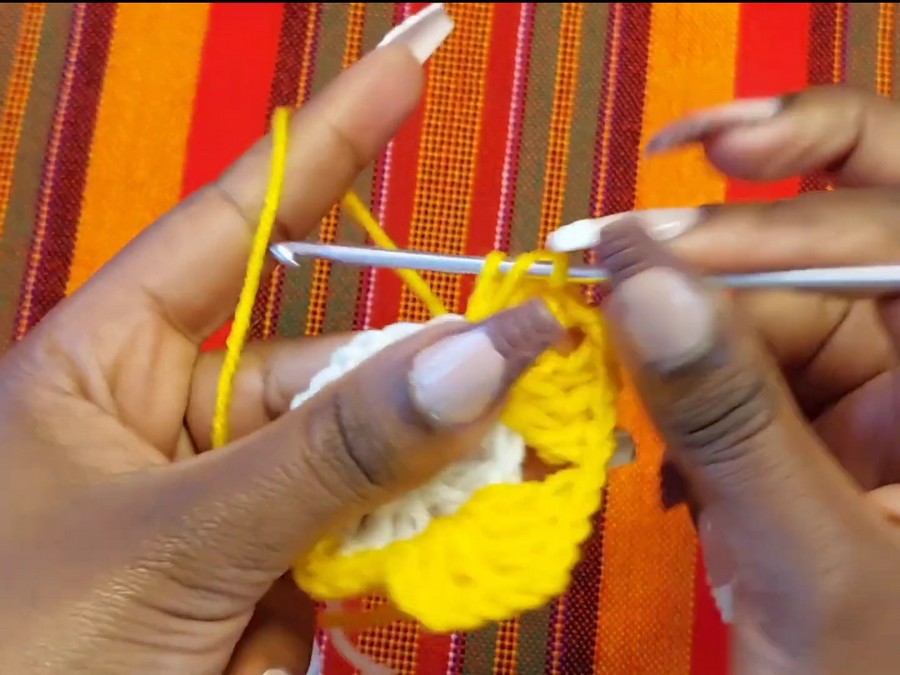
Round 2 (Building the Square)
- Change colors (optional): Fasten off the previous color and attach a new one.
- Slip stitch into the first ch-2 corner space and start with ch 3 (counts as first dc).
- In the same corner space, work 2 dc, ch 2, 3 dc (corner made).
- Ch 1, move to the next corner space.
- In the next ch-2 corner space, work 3 dc, ch 2, 3 dc.
- Repeat this across all corner spaces to form the square.
- Between each corner, work a ch 1 to create a space between clusters.
- Slip stitch into the top of the starting ch-3 to finish the round.
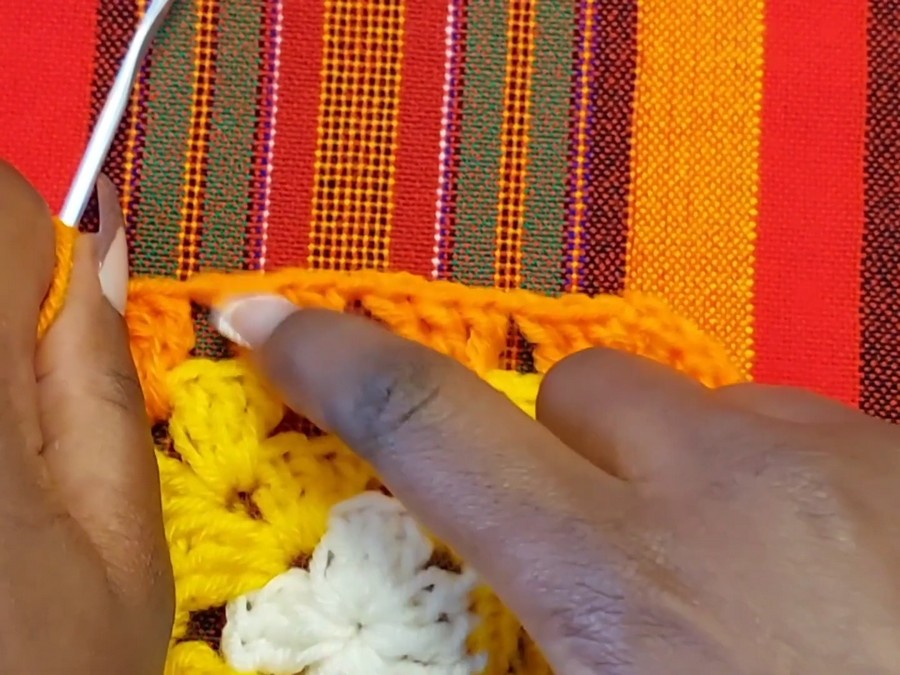
Rows 3 to 7 (Increase the Square)
- Continue adding rounds to the square in the same manner.
- In every corner space: Work 3 dc, ch 2, 3 dc.
- In every ch-1 space between clusters, work 3 dc.
- Between clusters on all sides, chain 1.
- Repeat this process until your granny square has 7 rounds in total.
End result: You will have a granny square with vibrant colors and identifiable corners.
Step 2: Make 8 Granny Squares
Repeat the steps outlined above to make 8 identical granny squares. Mix and match colors if using multiple shades.
Step 3: Assembly
Part 1: Creating the Hood
- Join 3 granny squares side by side to create a row.
- Use a single crochet seam (insert hook into stitches from both squares and sc to join).
- For the top crown, take 1 granny square and attach it to the center granny square of the row created above.
- This will form the hood shape (covers the crown of the head and partial sides).
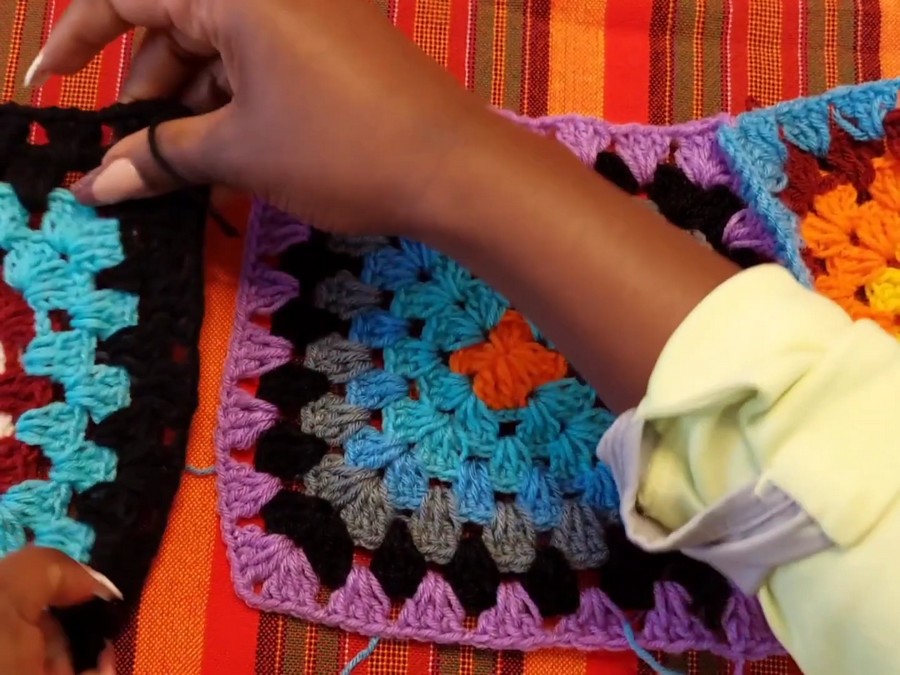
Part 2: Connecting the Neck and Back
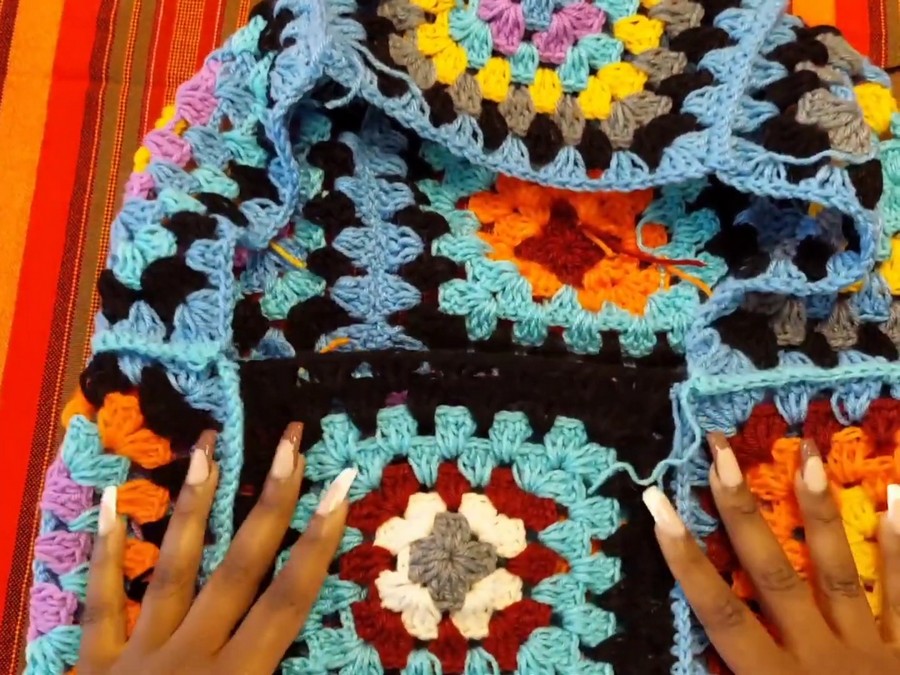
- Take the remaining 4 granny squares and attach 3 into a U-shape, leaving one edge open.
- Attach the U-shape to the hood, joining along the edges of the bottom row of the hood.
- Attach the 4th square to the back/middle to bridge the U-shape and form a seamless back and neck fit.
Part 3: Finishing the Front Opening
- Ensure there is a clean face opening as indicated in the video. The front opening will align naturally with the joined squares.
Step 4: Completing the Balaclava
Border (Optional)
- For a polished finish, add a single crochet border around the entire face opening and neck opening.
- Work sc evenly around all edges.
Customization Ideas
- Sizes: Increase or decrease the number of rows on each granny square for larger or smaller sizes. You can also adjust assembly for better fitting by adding or subtracting squares.
- Colors: Experiment with color combinations for the granny squares—gradients, stripes, or alternating bright and neutral colors for a bold design.
- Texture: Use yarn with texture like speckled or gradient yarns to enhance the look of the squares.
Tips for Success
- Maintain Gauge: Ensure all granny squares are consistent in size to make assembly more seamless.
- Block Granny Squares: Gently block each square before assembly to shape and even out the edges.
- Neat Joins: Use stitch markers when assembling to align the granny squares properly.
- Secure Your Yarn: Always tie and weave in ends properly to prevent unraveling over time.
Conclusion
Once completed, this granny square balaclava is stylish and perfect for cold weather. The granny squares allow for creativity, while the design ensures warmth and comfort. Customize the colors, size, and layout to make it unique to your style. Enjoy your handmade balaclava and share your creativity with others!
Final Look:
The top part covers the crown, the sides cover the ears and sides of the face, and the final row ensures a snug, warm covering for the neck. You can wear this piece as a statement winter accessory or gift it to a loved one for a cozy, handmade touch!



