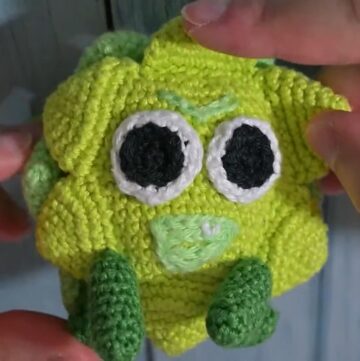
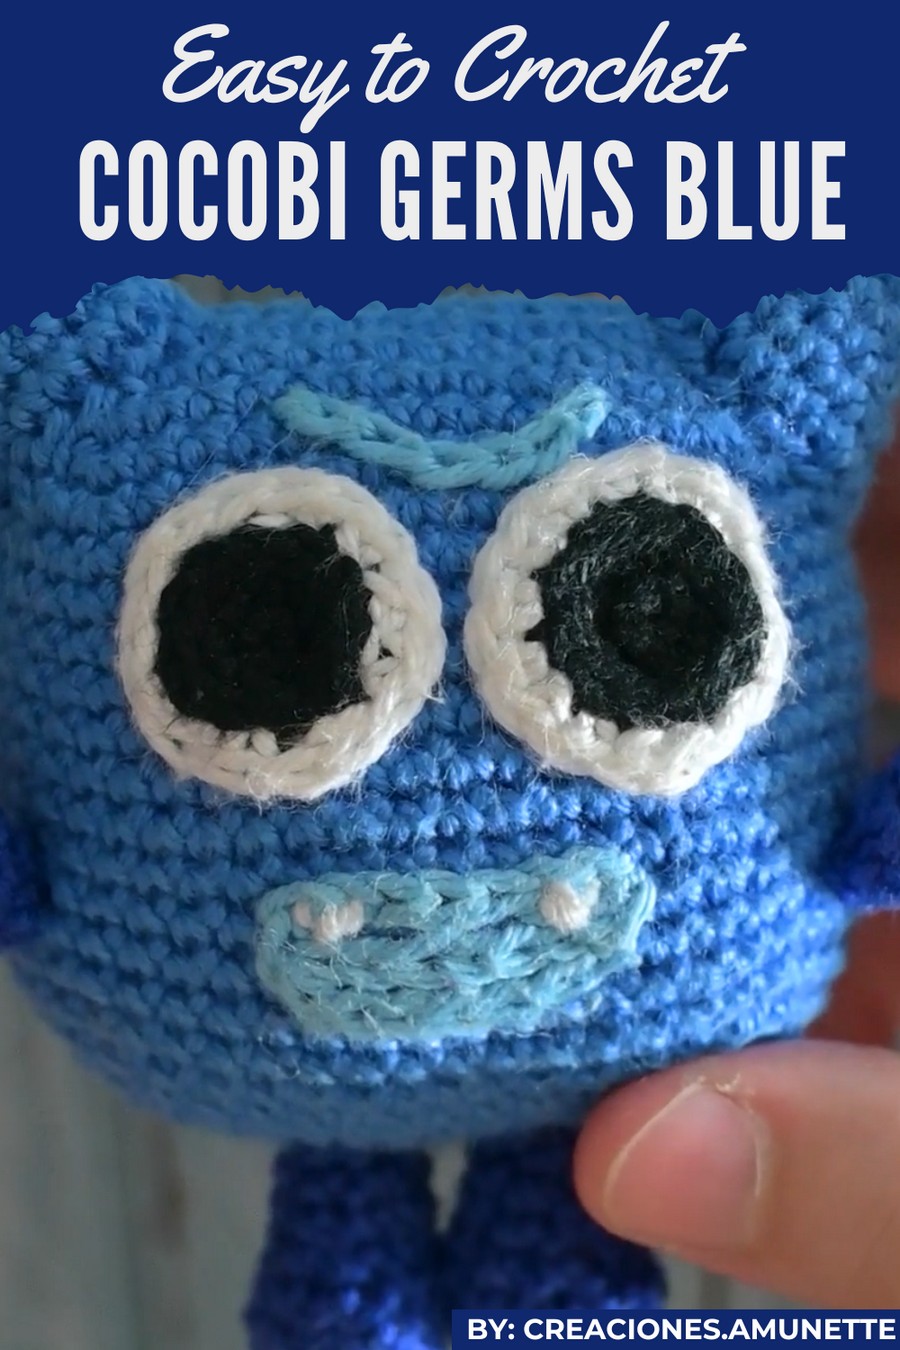
Add charm to your handmade collection with Cocobi Blue Germ, an enchanting soft toy packed with cuteness and cheerful personality.
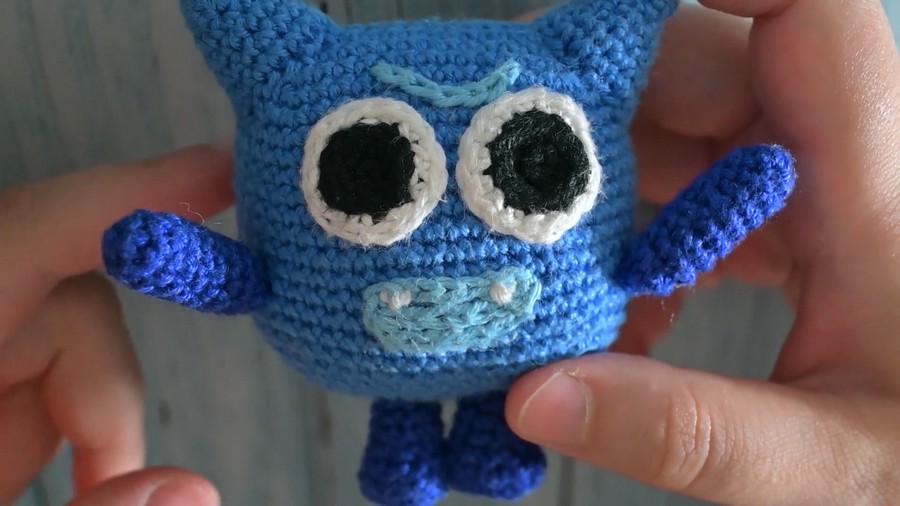
The rochet piece that is both adorable and whimsical, the Cocobi Blue Germ brings a playful charm to your handmade collection. Shaped like a germ but radiating cuteness, it showcases delightful details like rounded ears, expressive eyes, and a friendly smile complete with tiny teeth. This creation is perfect for brightening up spaces, becoming a child’s cuddly buddy, or serving as an eye-catching gift for loved ones. Its unique character makes it a lovable addition to anyone’s soft toy collection.
Cocobi Blue Germ Amigurumi Pattern
Step by step Blue Germ Crochet Pattern
This cute and intricate blue germ crochet pattern is a wonderful craft to create. Follow these detailed, step-by-step instructions to crochet the ears, body, and sew the necessary parts. You will also learn how to add the finishing touches, including the eyes, embroidery, and arms.
Materials Needed:
- Yarn: Blue (main), White (teeth), Black (details for embroidery)
- Crochet hook (size suited to your yarn type)
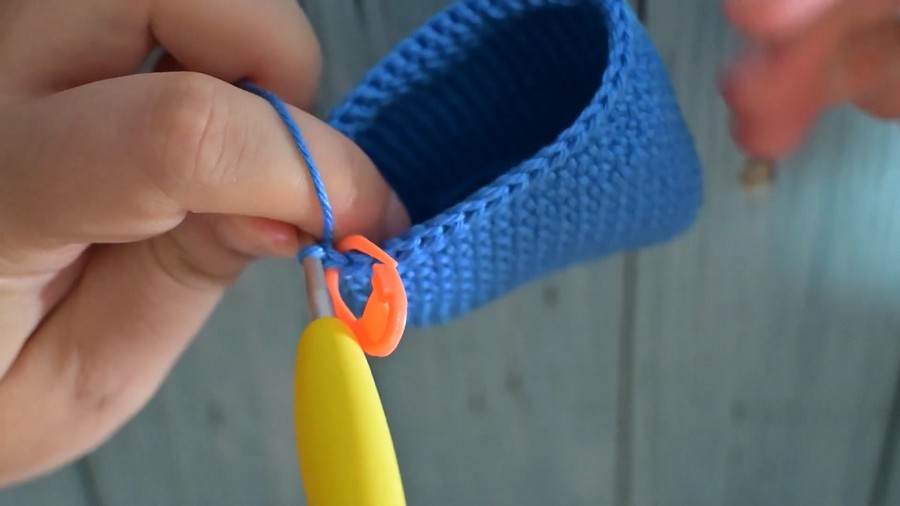
- Stitch marker
- Toy stuffing/filling material (for the ears and body)
- Sewing needle
- Scissors
Abbreviations:
Here are the common crochet stitch abbreviations used throughout the pattern:
- ch: Chain
- sc: Single crochet
- inc: Increase (double single crochet into one stitch)
- dec: Decrease (combine two stitches into one stitch)
Step-by-Step Pattern
1. Ears
Follow these steps to create the ears:
- Round 1: Make a magic ring of 4 sc.
- Round 2: Work 1 sc, 1 inc, repeat twice. You should have 6 stitches.
- Round 3: Work 2 sc, 1 inc, repeat twice. You should have 8 stitches.
- Round 4: Work 3 sc, 1 inc, repeat twice. You should have 10 stitches.
- Round 5: Work 4 sc, 1 inc, repeat twice. You should have 12 stitches.
- Round 6: Work 5 sc, 1 inc, repeat twice. You should have 14 stitches.
- Round 7 (Final Round): Work 6 sc, 1 inc, repeat twice. You should have 16 stitches.
When finished, close and cut the thread, leaving a long tail for sewing later. Create two ears using the same pattern. Stuff the ears lightly before attaching them.
2. Body
Next, make the body using the following instructions:
- Round 1: Crochet 14 chain stitches and add 1 chain for turning.
- Round 2: Work 1 inc, 12 sc, 4 sc in one stitch, 12 sc, 1 inc. You should have 32 stitches.
- Round 3: Work 1 sc, 1 inc, 12 sc, 1 inc, 2 sc, 1 inc, 12 sc, 1 inc, 1 sc. You should have 36 stitches.
- Round 4: Work 2 sc, 1 inc, 12 sc, 1 inc, 4 sc, 1 inc, 12 sc, 1 inc, 2 sc. You should have 40 stitches.
- Round 5: Work 3 sc, 1 inc, 12 sc, 1 inc, 6 sc, 1 inc, 12 sc, 1 inc, 3 sc. You should have 44 stitches.
- Round 6: Work 4 sc, 1 inc, 12 sc, 1 inc, 8 sc, 1 inc, 12 sc, 1 inc, 4 sc. You should have 48 stitches.
- Rounds 7–18: Crochet 1 sc in each stitch for a total of 48 stitches per round.
Decreasing the Body:
8. Round 19: Work 8 sc, 1 dec, 12 sc, 1 dec, 8 sc, 1 dec, 12 sc, 1 dec. You should have 44 stitches.
- Round 20: Work 6 sc, 1 dec, 12 sc, 1 dec, 6 sc, 1 dec, 12 sc, 1 dec, finishing with 1 sc. You should have 40 stitches.
- Round 21: Work 4 sc, 1 dec, 12 sc, 1 dec, 4 sc, 1 dec, 12 sc, 1 dec. You should have 36 stitches.
- Round 22: Work 1 dec, 2 sc, 1 dec, 12 sc, 1 dec, 2 sc, 1 dec, 12 sc. You should have 32 stitches.
- Round 23 (Final Round): Work 2 dec, 12 sc, 2 dec, 12 sc. You should have 28 stitches.
Leave a long thread for sewing and remember to stuff the body with filling before closing completely.
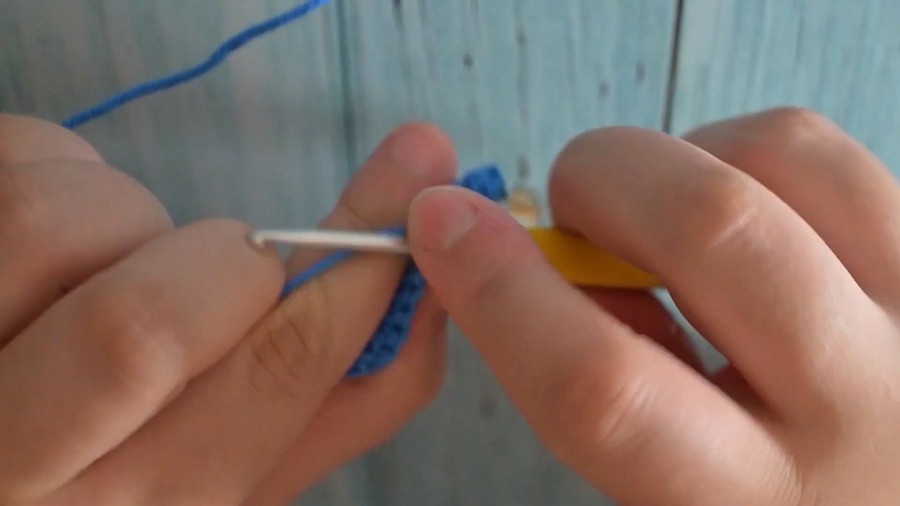
3. Sewing and Attaching Parts
Once the ears and body are complete, sew them together and add final details:
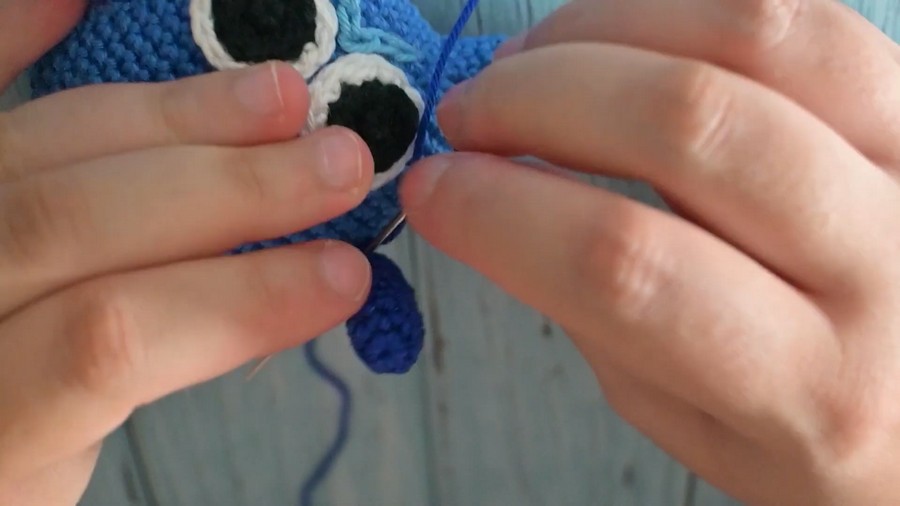
- Eyes:
Position the eyes by counting 5 rounds down from Round 6 of the body. Sew the eyes in the middle, starting from the white area and slowly working your way around to the black area. - Ears:
Attach the ears to the sides of the body. Stuff them lightly before sewing in place. - Embroidery:
- Eyebrows: Start embroidering two rounds above the eye, and shape them into a gentle curve.
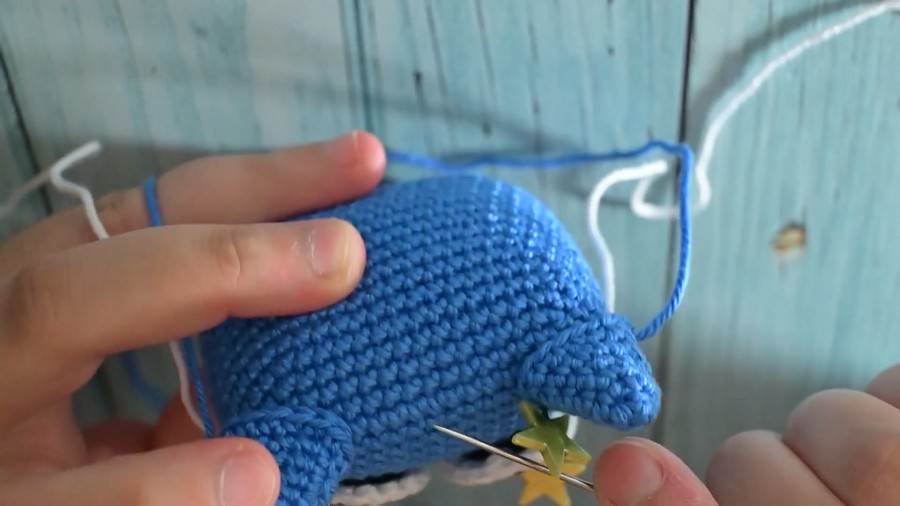
- Mouth: Count two rounds down from the center of the body to position the mouth. Embroider a smile and add two small teeth using white yarn for detail.
- Arms: Attach the arms positioned at the height of the mouth, between the middle of the ears. Sew them securely using cross stitches to ensure firmness.
Conclusion
After sewing all parts together, this adorable blue germ is complete! This pattern includes techniques for shaping a body, ears, and detailed facial features like embroidery and eyes. You'll have a charming craft that highlights creativity and precision.