Level up your amigurumi game! Crochet Cocobi Germ with this engaging and creative pattern that makes crafting even more fun for yarn lovers everywhere!
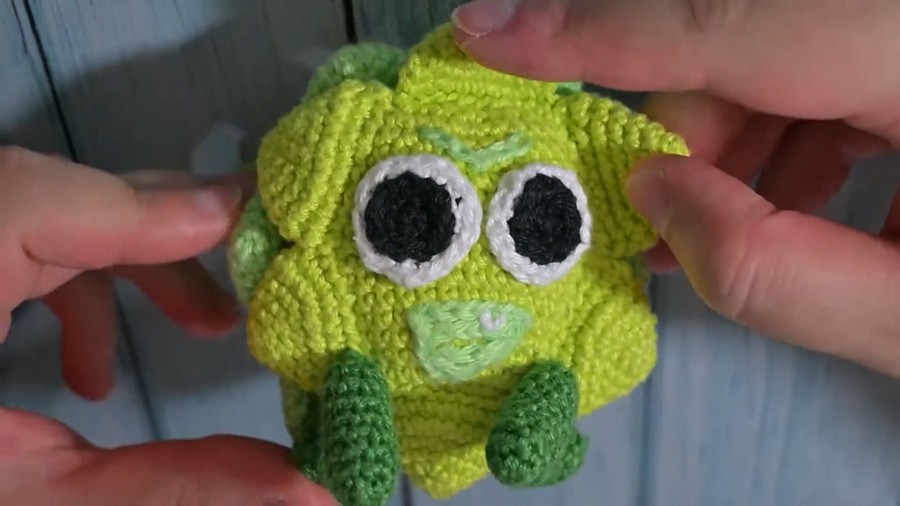
This is a delightful way to bring playful creativity to life. Shaped as a charming green germ with lively spikes and adorable expressions, this pattern adds a touch of personality and whimsy to everyday surroundings. Its captivating design, with carefully stitched details like cheerful brows, a bright smile, and tiny legs, makes it perfect for gifts, home décor, or an engaging addition to an amigurumi collection. This unique germ motivates smiles and joy wherever it appears.
Crochet Cocobi Germ Amigurumi
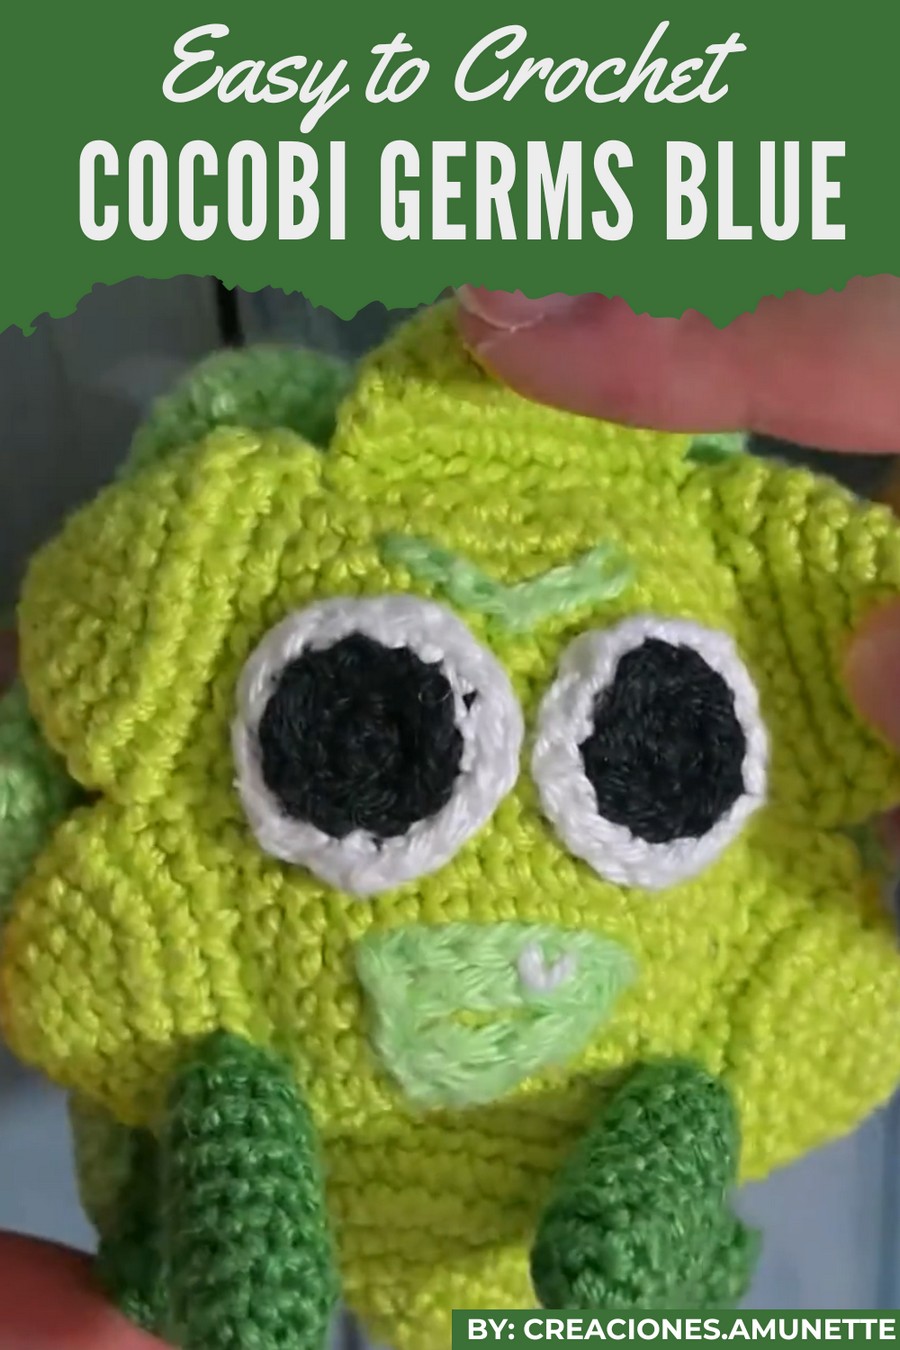
Amigurumi Green Germ Crochet Pattern
This tutorial provides detailed step-by-step instructions for crocheting germ amigurumi with spikes, body, eyes, legs, and embroidered facial features. With three shades of green yarn, basic crochet skills, and following the sequence below, you'll be able to recreate this germ in little time. The process is straightforward, so even beginners can enjoy crafting this playful design.
Materials
- Yarn: Three shades of green (light, medium, dark)
- Crochet Hook: Suitable size for your chosen yarn (e.g., 3mm or 3.5mm hook)
- Stuffing: Polyfill or preferred material
- Plastic Safety Eyes: 2
- Embroidery Thread: Black and white for facial details
- Needle: For embroidery and sewing pieces together
- Scissors: To cut yarn and thread
Abbreviations
Below are common crochet terms used in patterns:
- MR: Magic Ring
- SC: Single Crochet
- INC: Increase (2 SC in the same stitch)
- DEC: Decrease (Single crochet two stitches together)
Step-by-Step Pattern
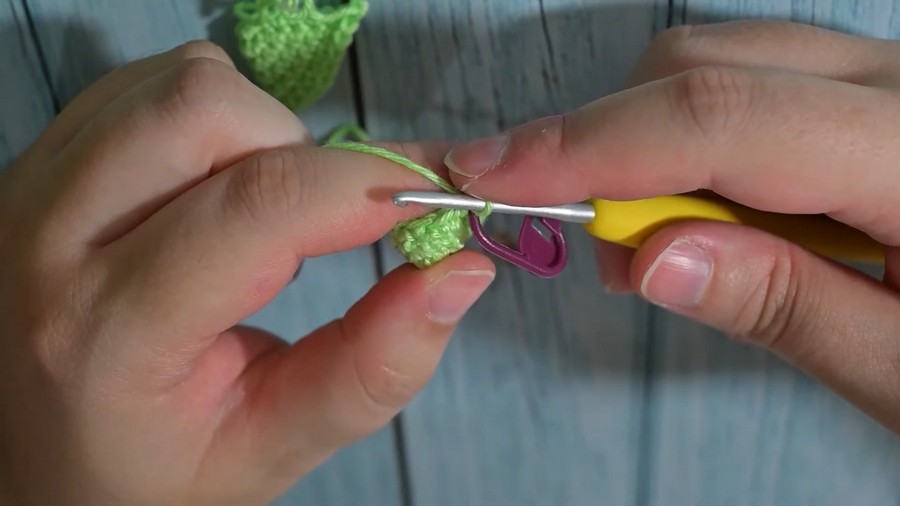
1. Creating the Spikes
- Make 12 spikes: 6 in one shade of green, and 6 in another.
- Each spike works in the round starting with a magic ring.
Spike Instructions:
- Round 1: MR, 6 SC. [6 stitches]
- Round 2: (2 SC, 1 INC). Repeat 2 times. [8 stitches]
- Round 3: (3 SC, 1 INC). Repeat 2 times. [10 stitches]
- Round 4: (4 SC, 1 INC). Repeat 2 times. [12 stitches]
- Round 5: (5 SC, 1 INC). Repeat 2 times. [14 stitches]
- Round 6: (6 SC, 1 INC). Repeat 2 times. [16 stitches]
Joining the Completed Spikes:
- Fold each spike in half.
- Use single crochet stitches to connect the edges of each spike.
- Continue to join all spikes together to create a strip of spikes. Leave a long thread for sewing later.
2. Crocheting the Body
- The body of the germ uses a magic ring to begin.
Body Instructions:
- Round 1: MR, 8 SC. [8 stitches]
- Round 2: 8 INC. [16 stitches]
- Round 3: (1 SC, 1 INC). Repeat 8 times. [24 stitches]
- Round 4: (2 SC, 1 INC). Repeat 8 times. [32 stitches]
- Round 5: (3 SC, 1 INC). Repeat 8 times. [40 stitches]
- Round 6 to Round 19: SC in each stitch. [40 stitches]
Decreasing Rounds:
- Round 20: (3 SC, 1 DEC). Repeat 8 times. [32 stitches]
- Round 21: (2 SC, 1 DEC). Repeat 8 times. [24 stitches]
- Round 22: (1 SC, 1 DEC). Repeat 8 times. [16 stitches]
Final Steps:
- Before starting Round 23, fill the body firmly with stuffing.
- Round 23: 8 DEC. [8 stitches]
- Cut the thread, close, and secure.
3. Attaching Spikes
- Begin sewing the spikes onto the body.
- Position the tips between Rounds 3 and 4 of the body for alignment.
- Alternate spike colors as you sew. Ensure spacing is symmetrical around the body.
4. Eyes Placement
- Position the eyes about four rounds down from the top center of the body.
- Secure safety eyes in place.
5. Creating and Positioning Legs
- Follow the instructions for crocheting legs as per the red and blue germ tutorials.
- Position each leg near the tips of spikes, between the dark green and light green areas.
- Sew them firmly in place.
6. Embroidering the Face
Eyebrows:
- Start two rounds above the eyes.
- Embroider a small “V” shape or inverted triangle above each eye.
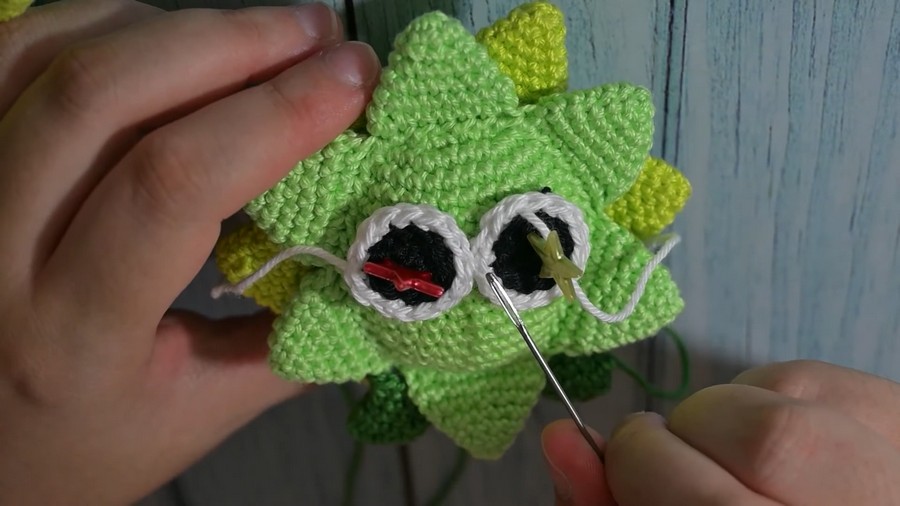
Mouth:
- Begin in the middle of the eye, two rounds down.
- Create a curved smile using black embroidery thread.
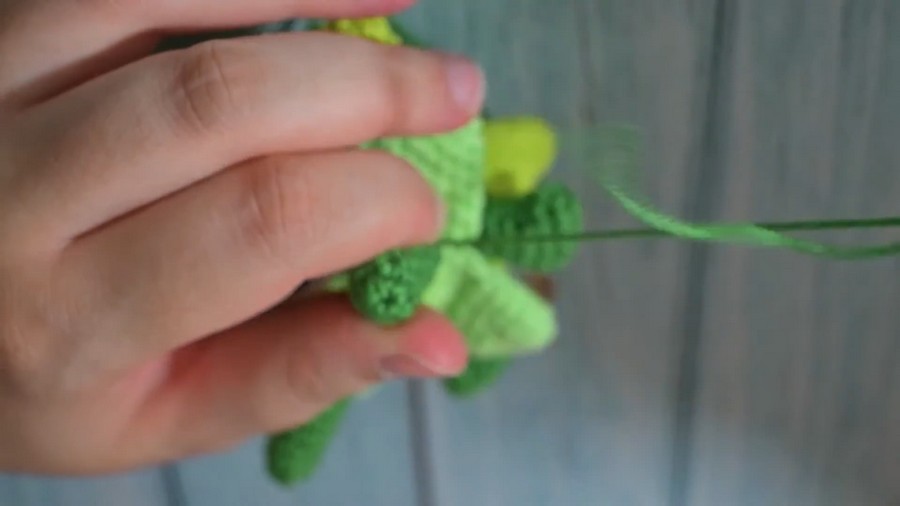
7. Sewing the Arms
- Position the arms near the middle of the mouth, close to the spikes.
- Use a button-like sewing technique to secure arms in place.
- Tie knots between the arm threads to ensure stability.
Conclusion
This green germ crochet pattern is a fun and straightforward craft that uses basic crochet techniques to create a cute amigurumi creature. With some attention to detail, you can complete your own green germ character that can serve as a playful toy, decoration, or a gift for loved ones.