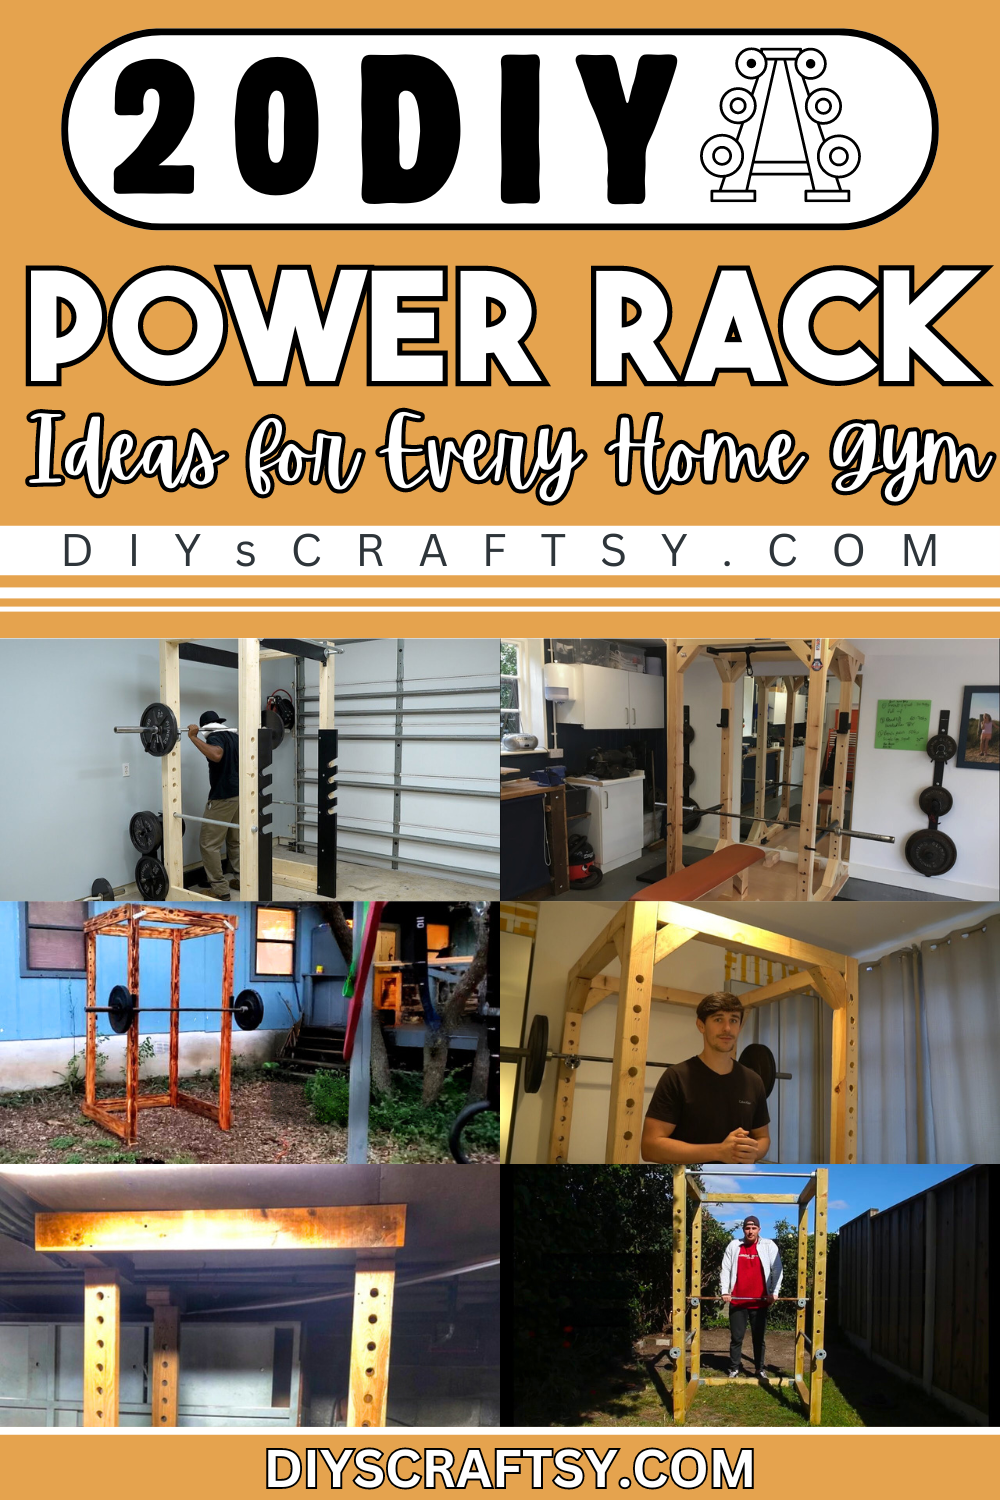
Power racks are great equipment to take your bodybuilding to the next level. They are amazingly versatile, and there are so many different ideas that you can use to get results faster. Power racks are great for adding variety to your training. Power racks offer a perfect alternative to barbells, dumbbells, and bench presses, from chin-ups and dips to squats. Here are 18 different DIY power rack ideas that you can build from home. We made sure to include low-cost and sturdy projects; if made right, you would not need to make another power rack in a long time.
DIY Power Rack Projects:
These DIY power rack ideas should give you plenty of ideas for your home gym. Like we have seen in a power rack, the unit is highly versatile and can be used for various exercises. No matter what kind of workout you are into, you can surely find a power rack project that will suit your needs. With the help of these projects, you can have your home gym built and save a lot of money.
DIY Wooden Squat Rack

A squat rack can be a great addition to your home gym. You can find many pre-made squat racks for sale in sporting goods stores, but these racks can be expensive. You can build your squat rack out of wood to save money. The following tutorial shows how to make a squat rack. The design of the rack is simple and effective. The rack is well suited for performing squats and bench presses. The height of the top bar will be determined by how tall you are; once you have decided that distance, you can cut the two vertical pieces to length.
DIY Weightlifting Power Rack

A power rack is the cornerstone of a home gym, combining a squat rack, a pull-up bar, and safety rails into one unit. Often used in conjunction with weight plates or kettlebells, a power rack can help you build muscle, improve coordination, and burn fat all in the same workout.
Most of them are designed for intermediate to advanced woodworkers. Before cutting your lumber, make sure you have the necessary skill level. For example, some power racks require you to cut your holes for mounting the pull-up bar. When it comes to building something that will hold your weight, accuracy is important. If you're new to woodworking but want to build your power rack and save hundreds of dollars off the retail price, here are three easy steps to building a DIY weightlifting power rack.
DIY Wooden Power Rack

Building a Wooden power rack isn't an easy task. The materials are expensive, and you'll need a lot of expertise to make sure it's done correctly. If you want to save some money and do it yourself, here's a step-by-step guide on building a power rack from scratch.
The garage is a great place to store and organize your power tools, but often you can run out of room with all the different types of tools. Build this wooden power rack to organize your hand tools neatly on the wall. This rack can be built in any size and customized to hold your specific tools.
How To Build A Home Power Rack
If you have ever wanted to build a home power rack, this guide is for you. This article will give you a step-by-step tutorial on making your power rack. This is a great way to save money and create the ultimate training space that can be used for years to come.
There is no reason to pay over $600 for a piece of equipment like this when it can be built with simple tools and raw materials that can be found at any local hardware store. The rack will cost about $120 in material, but it's still cheaper than many pre-made racks. The finished product will also be much more durable than any pre-made rack, which tends to fall apart under heavyweight.
DIY Power Rack
If you want to build a power rack for home use, you can save money with the homemade version. It is one of the best workouts for a bodybuilder, and it is also great for weight loss. You'll need steel metal, a miter saw, and some brackets made from hard pickup plates. Cut the steel rod to size with the miter saw and drill holes on the hard pickup plate. Be very careful while drilling holes on the brackets, and always wear gloves.
Attach your brackets to the metal bar using the bolts with the machine. You can adjust your homemade power rack and make it fit any height. If you don't have these bolts, you can buy them at any hardware store. Now you are ready to attach some Olympic weights to your homemade power rack and begin working out!
Do It Yourself Power Rack
Like anything else, building a power rack for your home gym requires you to make decisions. This can be difficult because you may not know what to look for when ordering the materials and tools you'll need. Trying to decide which size and type of pipe you're going to use is one of the first decisions you'll have to make. There are a couple of important factors that should help guide you in making this decision:
1. Your height and weight
2. The amount of room that's available in your home gym
3. How much weight do you plan on lifting?
It's not uncommon for people interested in building their power rack to overlook the importance of these three factors. Many people who have never built a power rack before will often choose a set of pipes that are too short or too small in diameter for their height and weight. If this happens, it can lead to a power rack that is dangerous and unstable. The same thing goes for choosing too large of a set of pipes if there isn't enough room available in your home gym or you don't plan to lift very heavy weights. Consider these three factors before deciding what size and type of pipe will work best for your needs.
Homemade Power Rack Gym

The basic design of a power rack is made up of two parts or frames. The outer frame is the one that is attached to the flooring and supports the weight. The inner frame supports the platform and gives height to the weight lift. While there are those who would insist that you have to have a 4-point power rack, it is more than enough to have a 2-point power rack.
The outer frame of the power rack must be as strong as possible to carry heavyweights. This is why steel is used for this part of the power rack. The use of steel for this part can make it very heavy, making it difficult for you to move around even after it has been assembled. The inner frame of the power rack, on the other hand, must be lightweight so that it can rise above your head when you do your workouts. This is why wood is used for this particular part of the power rack. For added strength, you can also use metal on this part if you cannot lift a specific weight yet.
Homemade Power Rack

A DIY homemade power rack is a must for every home gym. It's easy to build, can be done on the weekend, and will provide you with many years of good service. A proper power rack provides safety from the floor to your shoulders, so there's no risk of getting stuck under a loaded barbell rack. Also, it keeps you from getting fatigued on one lift because you're using one side of your body or the other. If you have limited space, check out this article on fitting a full-size power rack into a small basement or garage gym.
DIY Power Rack
Metalworking is a great hobby. Practicing metalwork can lead to many other projects, such as making furniture or building a better house. We built this DIY power rack using steel rods, metal plates, nuts, and bolts.
The power rack we built has six holes for the metal rods. It is very important to cut the rods at the proper length so that each rod fits into the holes. Make sure you measure them before cutting them. Once you have completed althe l steps, you need tseller them together to fit properly. There is no need for glue here because welding will keep them intact and tight. While working with any material, it is very important to wear protective equipment like gloves and glasses to prevent hazards. After completing all the steps, you will have a new piece of home gym equipment that will easily help you get in shape from home!
How To Make A Power Rack
A power rack is an essential piece of equipment for any home gym. They are great for squatting, benching, and deadlifting as they allow a lifter to load plates on the bar without assistance. There are a lot of great off-the-shelf power racks on the market, but not everyone has the money to shell out $1000+ for a rack. Luckily, there's a better option! You can build your power rack at home using commonly available materials.
The creator recently built his power rack, and he didn't spend more than $150 on it. It can be built in one day and requires minimal carpentry experience. However, if you do not have basic carpentry skills remember that injuries can happen when building this or any other project so take appropriate precautions when necessary. This particular design and style of the building allow it to be disassembled just by unscrewing it. This makes it easy to move or take apart if required.
Build A Cheap Power Rack
Building a power rack is not as simple as you think. It is not just a matter of screwing in some bolts, bolting some meat hooks, and lifting weights. There are many considerations to be made, particularly in terms of safety.
Here is a step-by-step video on building a cheap home gym power rack. This video will show you the process of building a power rack that can support up to 700 pounds. The video comes with clear instructions on building one, but it also details various options you need to consider while making one. Finally, it tells you the total cost of everything you need to buy from the local hardware store.
Homemade Power Rack Built Out Of Steel
The best thing about DIY is that you're making things for yourself. You have every right to decide what it is and what it looks like. This homemade power rack is made out of steel. The instructor started by cutting the steel to size using a bandsaw, but you can use an angular grinder if you don't have a bandsaw (though you need to be very careful). Then, grind the edges of the steels to make them smooth. Drill holes in the steel and move further to prepare the plates. After all this, the next step is to assemble the rack, and you're good to go. Don't forget to wear safety glasses when using an angular grinder!
Wooden Fitness Rack
Working out is a lot easier when you have your equipment. Many of us don't go to the gym and prefer to work out in our garage or backyard. Trying to store multiple pieces of workout equipment can be difficult, so one of the best ways to keep your equipment in one place is by making your DIY fitness rack.
The DIY fitness rack that you are going to learn how to make today is made out of wood, and it will allow you to store all your equipment outside, away from moisture and dust. This project is perfect for someone who likes working out at home but doesn't want all their equipment lying around while they are not using it.
DIY Arduino Controlled Power Rack

You'll need a power rack for your home gym. And unless you want to build your own from scratch, you'll need to buy one. But if you want to save some cash or if you already have a rack that's not serving its purpose, this is a DIY project you can do yourself.
There are four fundamental elements of any power rack, and this is what we're going to show in this article. The first thing is the frame and legs, followed by the uprights and the pull-up bar holder. The last two basic parts of the power rack are the J-hooks for holding weight plates and the dip bars holder. Let's get started!
DIY Ultimate Power Rack

A power rack is great to have at home because it takes up little space, can help you work out safely, and allows you to get a good workout. Making your power rack can be difficult and expensive because the materials are hard to find, and each one is different. You need materials for the frame, the pull-up bar, the back support, and even finishing touches.
With our guide to making your power rack, you will know exactly what materials you need to buy for your project. You will also learn about all the tools that you need. We also included helpful tips so you do not make any mistakes or buy unnecessary supplies. So if you want to make your power rack follow our step-by-step instructions as we take out all the guesswork!
DIY Power Rack (Paid)

This sturdy and complete rack will cost you very little to build. It has a pull-up bar, storage, and enough space for all your weightlifting gear. You will need the most basic tools for this job, so there is no excuse for not building one. We have built many DIY projects lately, and this one is awesome. It’s great for strength training on your own or with a friend.
The rack can be used for compound weight-training exercises such as squats, shoulder presses, boxing, bench presses, deadlifts, cleans, rows, etc. You will be able to perform them safely on this power rack. As you can see in the video, it looks very sturdy and of good quality. The power rack doesn’t take up a lot of space in your home gym. It’s pretty easy to build, and it would not take much time to assemble it.
Build A DIY Power Rack
The power rack is the most important piece of equipment in your gym. It allows you to bench press, squat, and do other exercises that you need to build muscle.
Making a DIY power rack might sound like a daunting task, but it's not that bad. It is one of the easier builds that can be done in the garage or basement. It also looks great and it will be a staple piece of equipment for many years to come. Let's get started on this project by gathering our tools and materials.
Home Built Power Rack
In this video tutorial, you will learn how to make a power rack at home from the beginning to the end with little cost. Homemade power racks are amazing. But, before you can make a power rack at home, you must have all the necessary equipment essential for the project. After getting the required equipment you will also need materials which you can buy in stores around you. Make sure that you follow every step of this tutorial to build your homemade power rack. Aside from building a rack for your gym, you can also use it as home gym equipment for your workout sessions. Enjoy this video!
How To Make A Power Rack At Home
A power rack is essential for bodybuilding, and this one is the best you can make at home. It doesn't take a lot of skill and tools to build, but it's not for beginners. The instructor went ahead and gathered the materials and tools needed for the project and started working immediately. Everything you need to know is explained in the video, click on the video to watch. Make sure you get your measurements right - don't forget to measure twice before starting your project! You're going to like what you make after all!
DIY Squat Rack

Squat racks are fantastic, but they're not always practical. If you're living in a dorm, sharing a room with your roommate, or trying to save money and space, this DIY squat rack is the right build for you. This homemade squat rack is perfect because it doesn't take much space. It's a little over 6 feet tall, so it's not something that you can use while standing upright. It also isn't very heavy or difficult to move around.
The frame of this DIY squat rack is made from pipe and angle iron. The angle iron keeps the pipes from bowing outward and adds extra stability. The pipes are held together by flanges and bolts, tightened by a pipe wrench (or two). There is only one bar for pull-ups and chin-ups, which saves space, but there are 2 bar holders to put your weight plates on the sides. This DIY squat rack is an example of functional fitness: simple and affordable!
Browse More DIY Crafts
- DIY kayak rack Ideas: Craft a functional and stylish DIY kayak rack easily! Explore creative plans that cater to your needs and enhance the aesthetic of your outdoor area.
- DIY Ping Pong Table Projects: Build a custom ping pong table with DIY projects that are both fun and easy! Create a design that showcases your creativity and suits your needs.
- DIY shadow box Ideas: Craft a personalized and stylish DIY shadow box easily! Discover creative ideas that fit your style and provide a beautiful way to display your cherished items.
- DIY bumper plate storage: Keep your home gym organized with DIY bumper plate storage. Discover custom designs that fit your space and make it easy to access and store your plates.


