Did you know that a sawhorse is one of the most important things in woodworks? They are as necessary to every woodworker as screws or nails. You will need them for almost any project, large or small, and sometimes for no reason at all. A sawhorse is a beam or rack in four legs that is used to support wood boards or planks for sawing. Sawhorses come in many designs and sizes, but most of them are very similar in purpose. The biggest difference between the types of sawhorse lies with the type of material it is made of and its intended use. Sawhorses can be made of wood, metal, plastic, or even stone if you want one that will last forever. Each has its advantages and disadvantages depending on your needs.
DIY Sawhorse Plans
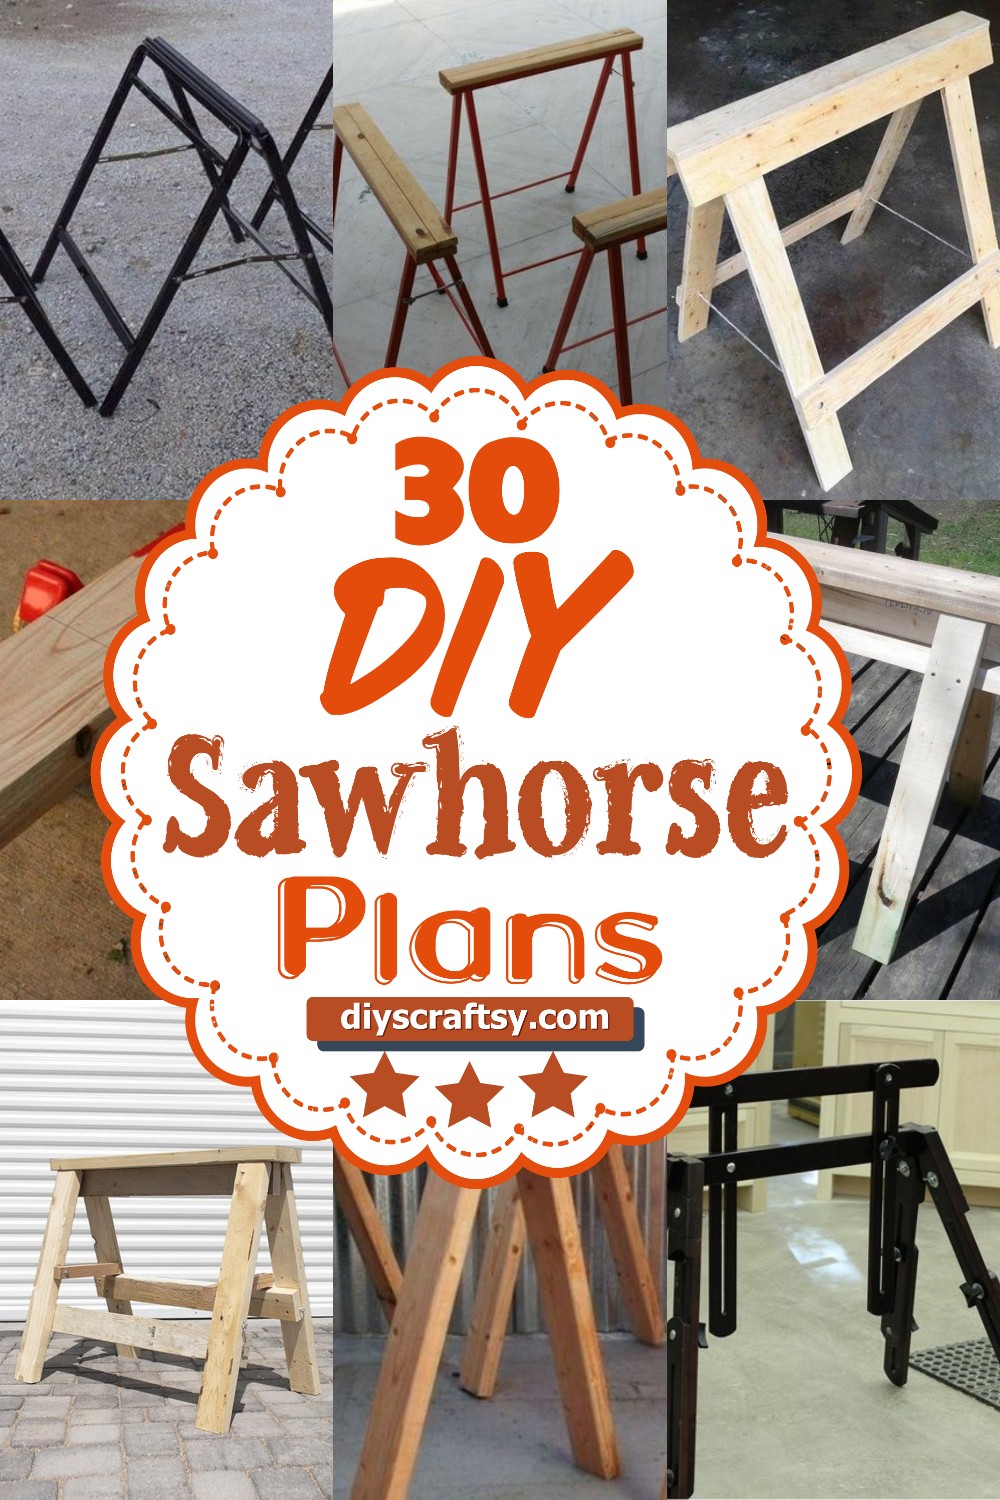
Whether you are a carpenter, woodworker, or even a DIY enthusiastic, a sawhorse is one of the most important things when it comes to sawing wood boards or planks. If you are trying to find plans on how to build a sawhorse, browse our collection of 30 DIY Sawhorse Plans, with detailed step-by-step instructions, photos, diagrams, and tips. We have 30 free sawhorse plans for you to build in your workshop! These DIY sawhorse plans will make your work easier and help you get the job done faster! This list of DIY plans for saw horses will make this project easier on you, they come with detailed instructions and pictures that will help you understand the process better.
Other Plans
DIY Foldable Steel and Wood Sawhorse Build

Get a sawhorse that you can use for heavy cutting jobs and for storing your tools. Making a DIY sawhorse is a very easy project. You only need two kinds of materials to build this tool: wood and steel. You can choose any wood you want, but make sure it's straight and sturdy.
Cut the wood into two pieces. Make sure the legs are as long as possible. Drill holes on the top part of the legs to insert stakes. On the bottom part, drill holes to insert nails or screws to hold the wood together once it's folded. This sawhorse is stable enough even if it's placed on soft ground because it has four stakes to support it. It's also easy to fold when you don't need it anymore so it won't take too much space in your garage or storage area.
Portable and Adjustable Sawhorses

These sawhorses are sturdy and portable. The legs fold up to allow the entire unit to be carried, and they can be adjusted to a wide range of heights by using different combinations of support pieces. Although this project is not difficult, you should have some experience with the building before attempting it. It requires basic carpentry skills, including the ability to use hand tools accurately and safely, as well as a knowledge of how wood joints come together.
DIY Folding Sawhorses
Have you ever needed to make some cuts on a sheet of plywood, or another large piece of material, but didn't have any sawhorses available? A pair of sawhorses could have come in handy. In fact, they are one of the most common tools on any job site. They are used for everything from laying out lumber to marking off measurements.
You can buy them at your local hardware store, but that's often more expensive than making your own. With just a few supplies from the hardware store and a circular saw and a power drill, you can make your own set. Not only will it save you money, but it is usually much better quality than the ones you buy. Not only that, but if you ever need to move your workshop, all you have to do is pick up your saw horses and take them with you!
How To Build A Pair Of Sawhorses
The sawhorses are built using 2x4 lumber and plywood. You should use a table saw to make all the straight cuts, but a circular saw or hand saw will work as well. The legs of the sawhorses are different sizes to allow for the plywood to be cut at different angles so that it can form a wedge shape that locks together with the horse's bottom. This makes them very stable and secure so you can do all kinds of jobs on it.
The advantage of having your own pair of saw horses is that you don't have to pay for them and they can be used to support just about any type of wood project. If you want to build a shed, they're great for supporting the roof while you nail it in place. If you want to make some garden boxes, they'll hold up the sides while you screw in the support brackets. I've even used them for making furniture and other types of woodworking projects. If you're planning on making something out of wood and haven't got your own sawhorses yet, don't wait any longer. Get out there and build yourself a pair today!
DIY Cheap Sawhorses
Are you looking for a cheap and easy way to cut your wood planks? If so, here is an amazing guide which will help you to cut them easily and with the least amount of costs. Wooden sawhorses are strong, durable, and multipurpose. You can use them as portable work surfaces or in lieu of a table when you need some extra space. They are also very handy when you have to transport longboards of wood because they keep your wood off the ground and safe from getting damaged by dirt or water.
The building saw horses is also a great way to recycle wood that would have otherwise been thrown away. If you have some old boards, then this project is perfect for you. It will give your wood a new life and make it useful once again. All the materials that you will need include at least 4 wooden boards (preferably 2x4s), a power saw, nails, clamps, drill, screws, and tape measure. These are the materials that you will need to build your sawhorse.
DIY $5 Sawhorse
This is a great sawhorse, it can be folded and taken anywhere you want. It's also cheap and easy to make. Let's get started!
Materials:
- 1-½ inch x 6-inch x 8-foot long plywood board
- Wood screws (8)
- Drill
- Measuring tape/pencil/square
Cut the wooden planks as shown in the image. Drill holes where there are black circles with an appropriate size of wood screw. After that, connect all the pieces together with screws and tighten them with a hammer. Done! You have 15 minutes sawhorse for $5!
DIY Sawhorse Stool

Constructing a sawhorse stool can be a fun project for the entire family. Whether you are using it to build your deck, the sawhorse will continue to be used to perform many great projects in the future. Many times, people do not know how to use a sawhorse correctly. Just like a table saw, there are safety procedures that need to be followed in order to prevent any accidents.
The following article will help guide you through the process of how to build a sawhorse and provide safety tips along the way. These sawhorses can come in handy for many projects, making them essential for every household or workshop.
DIY Micro Sawhorse

If you're planning to do a lot of woodworking and construction, this little project is one that you need to see. This is a very clever way to make a sawhorse of sorts. The best part is that this is an extremely portable sawhorse too.
We've seen many different types of sawhorses before, but we have never seen one like this before. The idea behind this design is quite simple. There are two main parts to this design: the legs and the plank that goes in the middle. The legs are made using some string clamps and a long stick for support. The string clamps are used to hold the ends of the stick into place, acting as the legs for this micro sawhorse. The other piece of wood needs some support as well, so it can be placed in the middle between the two legs.
This might sound complex, but it's actually pretty simple and easy to put together once you get started with it. It's also quite cheap too! If you have some spare string clamps lying around in your garage or workshop, then you should be able to make one of these right away! They make great temporary workbenches, so keep that in mind if you need something like that around your home.
DIY Foldable Sawhorse

Have you ever been on the market for sawhorses and you couldn't find any? Or paid lots of money for a pair? If you're looking for sawhorses, you've found them! This is a DIY project that's easy to make, cheap, fast, and definitely worth it. Your kids will love this because not only can they use it to help out with chores around the house, they can store it in their rooms as well as hang their clothes on it. So if you're done paying loads of money for some sawhorses that can be used only once or twice and then thrown away, this project is definitely for you. They are foldable so they take up little space when they're not in use.
Folding Sawhorse Plans

This folding sawhorse is a DIY project that would help you build your own sawhorse for your workshop. The instructions are written well and easy to understand. You need only basic tools to complete this project. This is a good project to complete on a weekend afternoon with family or friends.
The plan includes a detailed tutorial on how to build this folding sawhorse. It's made out of redwood, cedar, or pine boards and the materials needed are easily accessible at home. The materials needed include screws, waterproof glue, drill, and more. It's a good weekend project that would help you get rid of those old pallets in your garage or shed so you can have extra space to store your stuff safely.
I Beam Sawhorse Plans

I Beams Sawhorse Plans is one of the best woodworking plans available today. You will enjoy this woodworking project, and you can build it on a weekend. This wooden workbench is made from 2-inch thick I beams which are connected together with steel plates. There are also other non-I beam parts to complete the workbench.
The plans include the dimensions for making the supports, legs, braces, and top frame. The materials list includes all of the parts needed to make this strong workbench. I Beams Sawhorse Plans comes with detailed step-by-step instructions for building this sturdy bench. It can support up to 250 pounds and is great for cutting long boards or large sheets of material. If you enjoy building furniture or other projects using wood, you will want to get this I beams sawhorse plan today!
How To Build Stackable Sawhorses

These sawhorses double as a bench and are easy to build. It's a great project to work on with your kids. The small amount of tools needed makes it a good beginner DIY project. With a little bit of hardware, you can make this in an afternoon. This is another one of those projects where the materials cost less than $20 but you get much more value out of it than that. If you're looking for more outdoor storage ideas, this will be a great addition to your garage or barn.
Heavy Duty Folding Sawhorse DIY

If you're looking for a super sturdy sawhorse, this DIY project is one you need to see. The creator shows us how to build this foldable sawhorse and the best part is that it's very easy to do. You'll be able to have it done within an hour or so.
It features heavy-duty non-mortise hinges and lag screws. The hardwood dowels are used for legs, wooden screws and wood glue are used for assembly and the cordless drill will help speed up the process. The design of this sawhorse is ideal especially if you need one that can easily be moved from one place to another or a portable sawhorse that you can use during your work on different carpentry projects. It is made of solid wood, which adds more sturdiness.
It's easy to follow and understand the instructions so you'll definitely have no trouble building this project. Definitely a must-have for every DIY enthusiast!
How To Make A Folding Steel Sawhorse
Sawhorses are an important tool for any workshop, whether you're just starting out or have been using them for years. You might have a collection of saw horses, but this one is different from the rest. This sawhorse is made from steel pipes and can be folded so that it can be stored in a corner or taken down to work on projects on the ground. When you're done, it's easy to put away and store. In this article, we'll take a look at how you can make your own folding steel sawhorse by following these steps.
DIY Sawhorses
Sawhorses are very useful for helping you with all sorts of projects in your workshop. They're excellent for holding wood steady when you're doing work like cutting, sanding, or routing. But traditional sawhorses can be expensive and time-consuming to make.
Tired of buying sawhorses that aren't sturdy enough? Are they too cumbersome to move around? Do they take up too much space in your shop? Then this video guide is just what you need. It's cheap, quick, and easy to build, and it will help with all sorts of projects in your workshop.
Heavy Duty 2x4 Sawhorse
The design is based on a style of sawhorse commonly seen in old barns. They are very useful for supporting long boards when cutting them with a handsaw. The legs are connected to the top by mortises and tenons and the top is bolted together so it can be disassembled if necessary. Plywood can be used instead of 2x4s but will make the sawhorse heavier. Depending on how wide the lumber is that you have available, you could use 3x3s or 4x4s for the legs. The length shown here works well when using a standard size 4'x8' sheet of plywood.
This sawhorse is a good size to work on projects where you want to cut long boards using a circular saw, jigsaw, table saw, or even a handsaw. It's also good for keeping longboards standing up while you're working on them. A couple of these are under your project and it's easy to move around to different points.
DIY Simple Sawhorse Plans
If you're going to get into the DIY lifestyle and do your own home renovations or other projects, you will eventually need to make a couple of saw horses. These are used for many different purposes like a DIY workbench or for extra support when cutting large pieces of wood. You can build this sawhorse with two pieces of lumber that cost you around $20 total. The design is extremely simple, though the result is not as professional looking as those that are bought in store.
The plans for this sawhorse can be done in about 30 minutes and provide you with a sturdy way to cut larger pieces of wood without having your work table be shaky. What you need are two 2x4s, two 2x2s, a few nails, and some screws. Two smaller 2x2s will be used as an attachment to the 2x4s that will act as supports for the top wooden board. The wooden board will then serve as your work table or surface where to place your materials while doing your project.
DIY Folding Plywood Sawhorse

This is a fantastic DIY idea for a folding sawhorse that is easy to make and can be stored away when not in use. It's the perfect project for a handy person who has some free time on their hands. The build is completely wood, with hinges and all, so it's safe to say this will last you quite a while. Plus, the creator of this project only used materials you can find at your local hardware store, making it super easy to get started.
To begin, all you need to do is cut down plywood into the right measurements and then screw them together with drywall screws. Afterward, you'll need to follow the instructions in the source link below to fold everything correctly.
Drywall screws are ideal for this project as they have a flat head that will fit perfectly between each piece of wood. You will also need hinges for the project, which you can find at any hardware store. The polypropylene rope will serve as the saw horse's suspension system. To do this, just put some screws in between each board near where you want the rope to go and then tie them down using the rope itself. This will create a nice groove for the rope to sit into so that it stays firmly in place.
DIY Folding Sawhorse Desk

Having a table or desk available while you do your work is essential. But they're very expensive nowadays and not everyone can afford them. So, why not create your own desk? This way, it will be easier for you to work at home and save some money. This DIY Folding Sawhorse Desk project is perfect for everyone that wants to create his/her own desk and doesn't want to spend the extra money.
According to the creator of this DIY project, You'll need two $20 sawhorses from any home improvement store, two 36-inch pieces of 2-by-4s, four 48-inch pieces of 2-by-4s, two 48-inch pieces of ¾-by-1 ½ inch plywood, one 6-foot piece of 1 ½ inch thick leftover decking material and a box of wood screws. This amazing workbench has an upper deck where you can store your books or other stuff that would get on the way while you're working. It's made of leftover decking material and it's really easy to make.
Adjustable Wood Sawhorse DIY

Adjustable sawhorses are a must-have for every workshop. There are many different types of sawhorses, but the most common feature is that they can be adjusted in height. Sawhorses have been used for hundreds of years, and for good reason! They are very handy for cutting wood, building projects, and so much more. You can use them as a workbench or tabletop to hold your project or materials.
This is an adjustable wood sawhorse. It's helpful to have two so that you can move them apart if you need the extra room while working on something. This has a cart that you can store planks on while working on your project, so you don't have to set everything down on the ground. This sawhorse could also be used outside when needed. They are very versatile and easy to store away for later use as well.
How To Make A Folding Sawhorse
A folding sawhorse is a great tool to have around the homestead. With this sawhorse, you can chop and cut as much wood as you want without having to worry about making a mess. You can even use your sawhorse for other things like painting or doing home improvement projects. They are also handy for all sorts of projects around the house, like putting together furniture or working on a car.
The key to making this sawhorse is in the hinges. The legs of the sawhorse fold up so they can be stored away, but they need hinges that can withstand a lot of stress and strain. That's where these Heaton hinges come in handy. These hinges will help hold your sawhorse together when it's being used, but also give you the ability to fold it up and put it away so you don't have to keep it out all the time. With these plans, you'll be able to make one of these sawhorses in less than 30 minutes if you already have your materials ready to go. All you need for this foldable sawhorse are Heatons, hinges, chains, and lumber wood. Let's get started!
How To Build A Sawhorse
If you're looking for a sawhorse that is strong and easy to build, you found it. This video will teach you how to build a sawhorse in just a few minutes. This is the ultimate sawhorse because it's made from mortise and tenon joints. The mortise and tenon joint is one of the strongest joints in woodworking when done right. The only material used in this project is 2x4s which makes this project even easier since you don't have to cut any pieces of wood.
DIY Three-Legged Foldable Sawhorse
The construction of this three-legged foldable sawhorse is very straightforward and easy to do, without the need for any special tools or materials. You can even make it in a few minutes, while you're at home. The final product will be pretty strong, sturdy, and stable enough to hold your weight and the weight of the materials you're working with.
The best part is that you can disassemble this sawhorse when you're done using it. You can even fold it and carry it with one hand!
DIY Sawhorse Plans
The first thing you need to do when making a sawhorse is to make a sketch. You can use this sketch to guide you through the entire process of building the horse. The next thing you need to do is gather your materials. You'll need a hammer, bevel gauge, chisel, handsaw, and no power tools required. The next step is to cut the legs from the 2x4s.
Then, you want to mark out a point on the legs to know where you will be cutting the notch that will hold your wood, and lastly, cut out that notch with your chisel. Now it's time for the nails. Nail them in using your hammer and then decide what you want to hold upon it; if it's lumber, just nail it down into the notch and if it's big enough to go over the top of the horse, then nail it together and drape whatever material you want over the top of it. Then stand back and admire your handy work!
Simple Sawhorse DIY

If you want to build something but you don't want to spend a lot of money, then this is the project for you. It's not only easy to build but also cheap and effective. Because it's also pretty big and heavy, it's best if you use it outdoors on a flat surface. All in all, if you are looking for an easy project that will cost less than $20 and will have no problem holding up over 100 pounds, then this is the sawhorse that you need to build.
How To Build A Sawhorse

If you are looking for a fun weekend project to do, look no further than building your very own sawhorse. Not only will this save you money, but it will also give you an opportunity to improve your carpentry skills. What's more, they're pretty easy to build and will last for years. All you need are some basic carpentry tools such as a saw, hammer, and nails. You will also need wood planks of varying sizes and some paint or stain if you want to give your sawhorse a new look.
Before starting on the project, make sure that you have all the necessary materials. Check individual parts of the sawhorse individually so that you do not end up with any shortages later on in the process. You should also check that all the materials are in good condition before starting work. If your wood planks have been lying around for a long time outdoors or have been stored in an unclean environment, then it would be best to give them a good clean before cutting them into pieces. If they are too rough to handle after cleaning, sand them down so that they become smooth enough for construction purposes.
Steel Sawhorses DIY
It's a steel sawhorse, easy to build, and super durable. You'll need washers, screws, nuts, some pieces of end caps, an 80cm chain, and a long pipe that will be cut into the required dimensions. The making process will involve welding and it's a simple process if you have a welder kit or you intend to buy one. It is easy to build and its design is almost similar to the wooden ones in terms of construction.
In this article, we'll show you how to make a steel sawhorse with step-by-step instructions. This is an easy project so if you have any experience working with metal then this shouldn't be too complicated for you.
Building Sawhorses Done in 14 Minutes

A sawhorse is a wooden sawhorse used to support a workpiece at a convenient height for cutting or other work on the workpiece. Sawhorses are traditionally made of wood, but can also be made of plastic or metal. Most commonly, they have a top, bottom, and two sides. The top and bottom are typically flat pieces of wood laid parallel to each other, with the sides being vertical pieces of wood connecting the tops and bottoms.
This is a great project for building your own custom set of saw horses in just 14 minutes! This guide will show you how to make one from scratch using basic tools like a hammer and nail gun.
Build A Classic Sawhorse

To the untrained eye, this project might look like it involves a lot of difficult work. But if you have an electric drill and a miter saw (or a circular saw and some patience), you can build this furniture in one afternoon. The only hard part is cutting the miters with your miter saw. This is a good project to practice your miters on because once you get it down, you'll be able to put together lots of different projects using this same technique.
Sawhorses are great for supporting workpieces while you're working on them, but they're also very useful in their natural state — standing on end as freestanding tables, or even as additional seats! They're easy to move around and take up little room if you need to store them.
Folding Plywood Sawhorses

There is nothing like a good set of sawhorses. They are essential for any workshop or home improvement project. With this tutorial, you can build your own and they will last a long time. Plywood is easy to work with and comes in many sizes. The type of wood you use will depend on the purpose you intend to use them for, but generally speaking, any hardwood plywood should be fine. The best part is they take very little time to make and require only minimal tools. You can have a set of sawhorses done in under 2 hours if you have all the materials ready to go.


