Wrap your daily essentials in handmade beauty with this free crochet shoulder bag pattern, offering a perfect blend of charm and comfort for everyday use.
Have you ever wanted a lightweight and handy shoulder bag that’s easy to make and perfect for carrying everyday essentials? This crochet project will guide you through making a simple bag that’s practical, stylish, and beginner friendly. With just one stitch, the single crochet you’ll be able to make a sturdy and adorable bag that’s perfect for school, casual outings, or even gifting. The single crochet stitch is one of the simplest and most important stitches in crochet, and once you learn it, you can make so many other things like cute coin purses, tablet sleeves, or little tote bags.
Trendy Free Crochet Shoulder Bag Pattern
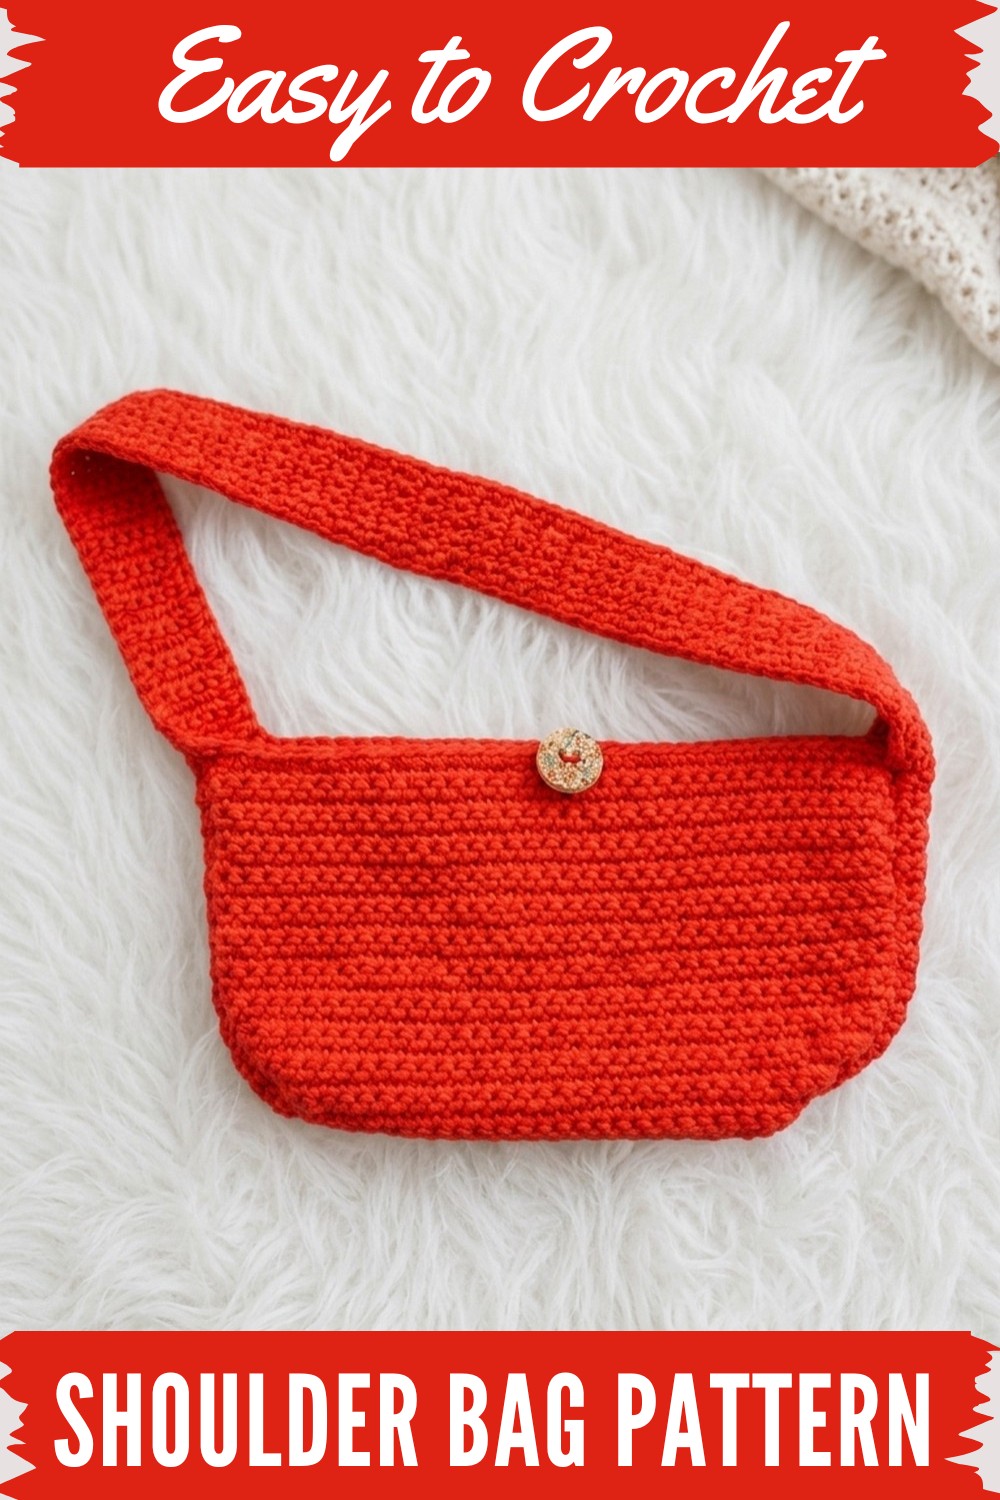
Its compact size makes it especially handy for carrying essentials—wallet, keys, phone—and you can even customize the strap length to fit your style. The bag has a clean, minimal look that makes it a practical addition to anyone’s wardrobe. From this pattern, you’ll learn how to master single crochet stitches, chain stitches, and slip stitches. You’ll also practice shaping edges by learning how to increase and decrease stitches. These techniques will give you confidence to attempt more exciting crochet projects in the future.
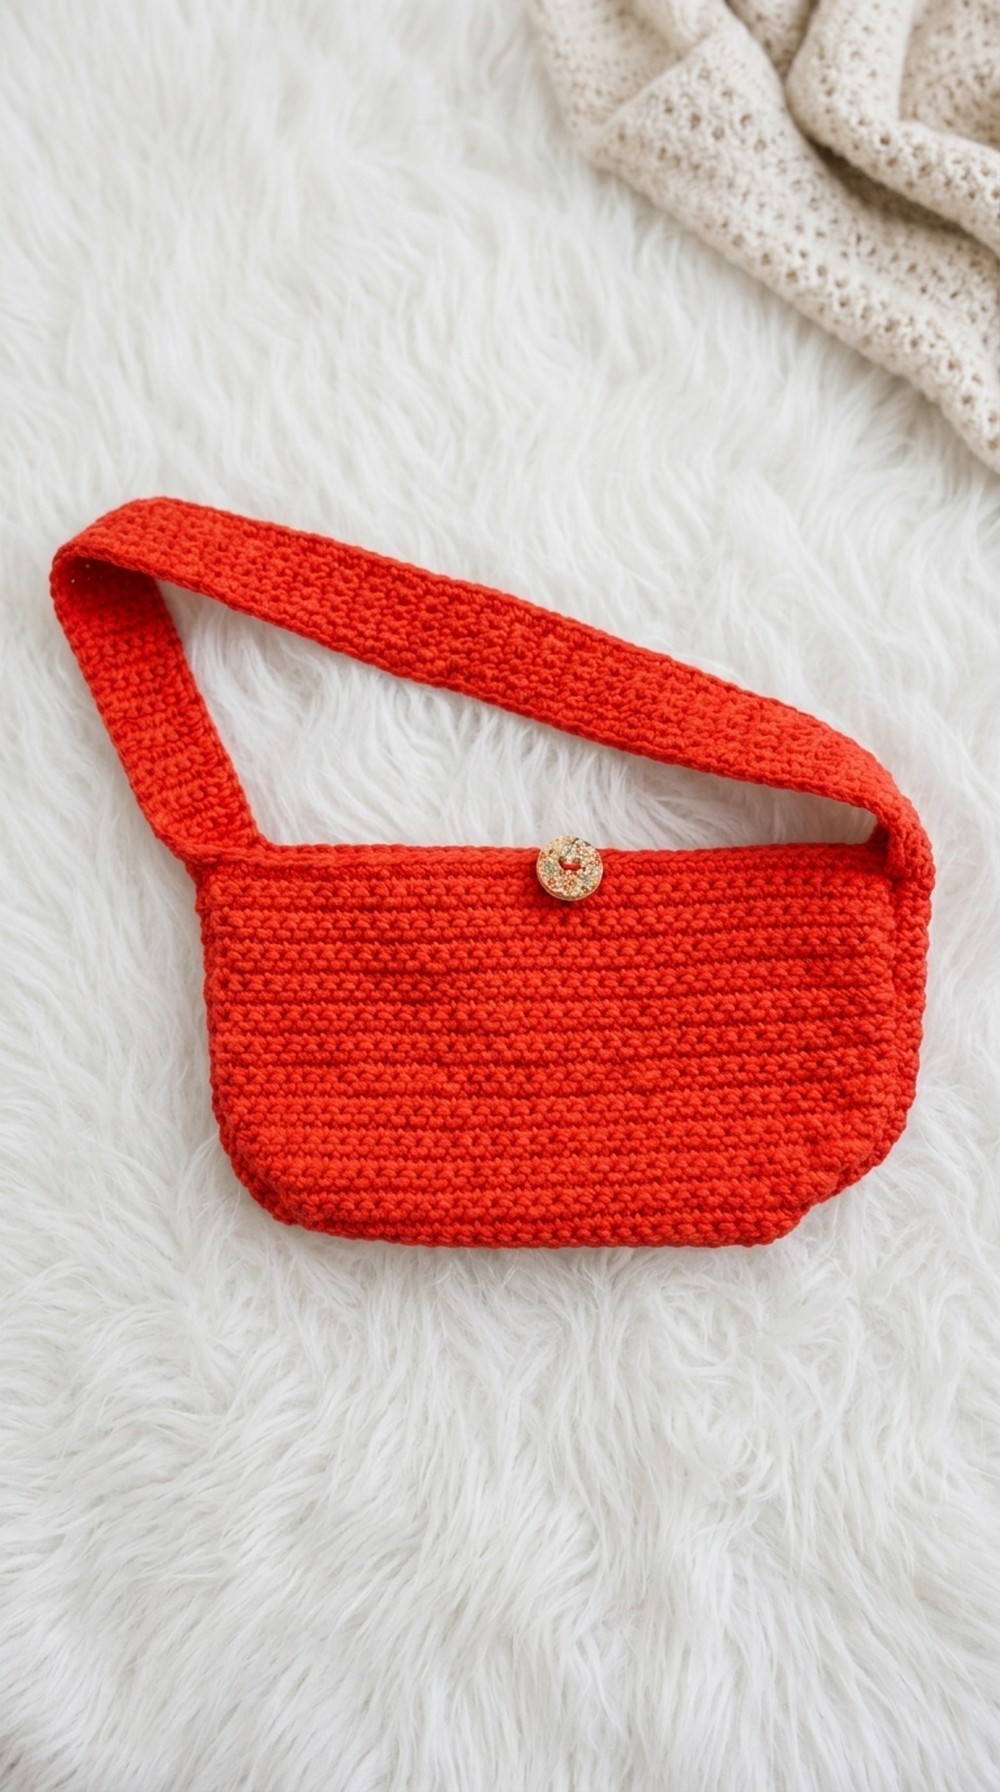
Using the same stitches, you can make other items like backpacks, lunch bags, or even small storage baskets. By adjusting the size or adding extra details, the possibilities are endless for practical crochet projects. To balance tension, keep your hands relaxed as you work and take breaks when needed. Use stitch markers to keep everything aligned so you can finish the bag with neat edges. With patience and practice, every little difficulty will turn into a learning moment worth celebrating.
Crochet Pattern: Beginner-Friendly Shoulder Bag
Introduction
This detailed crochet bag pattern is perfect for beginners. Using dense single crochet stitches, you'll create a sturdy and functional bag with curved edges, a strap, and a charming button closure. Follow the steps below and learn how to make this beautiful project easily.
Skill Level
Beginner
Materials
- Crochet Hook: 5 mm
- Yarn: Yarn and Colors Epic Cotton Aran yarn (approx. 125 g total, 2 skeins)
- Yarn Color : Bright Red
- Tape Measure
- Scissors
- Stitch Markers or Clips
- Tapestry Needle
- Optional: Button and matching thread
Measurements
- Bag Body: 12 inches tall x 10 inches wide
- Strap: 1 inch wide x 32 inches long
- Button Loop: 5 chains
Abbreviations
- ch: Chain
- sc: Single Crochet
- sl st: Slip Stitch
- dec: Decrease (Single Crochet Two Together)
- inc: Increase (Two Single Crochets in the Same Stitch)
Special Stitches
Decrease (dec):
- Insert hook into the next stitch, yarn over, and pull up a loop. (2 loops on hook)
- Insert hook into the next stitch, yarn over, and pull up a loop. (3 loops on hook)
- Yarn over and pull through all 3 loops on the hook.
Increase (inc):
- Insert hook into the stitch, yarn over, and pull up a loop.
- Yarn over, pull through both loops on hook to complete an sc.
- Insert the hook into the same stitch again, yarn over, and pull up a loop.
- Yarn over, pull through both loops on hook to complete a second sc into the same stitch.
Crochet Pattern
Main Body of the Bag
Round 1: Starting Chain
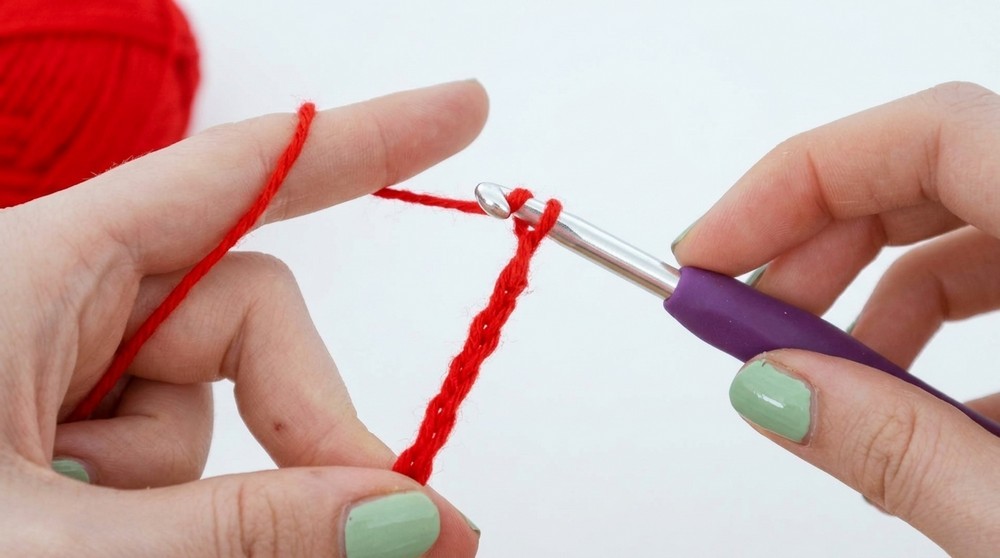
- Begin with a slipknot on your hook.
- Ch 36, then add 1 ch for turning.
Round 2: First Row (Single Crochet)
- Insert hook into the second chain from the hook and work a row of single crochet (sc) across. (Total = 36 sc).
- At the end of the row: ch 1, turn your work.
Round 3–10: Rows of Single Crochet
- Continue making rows of single crochet, always finishing each row with ch 1, turn your work.
Measurement Check:
- Stop after completing enough rows to measure 4.5 inches in height.
Shaping the Curved Edges
Round 11–14: Decreasing Rows
Start Decreasing:
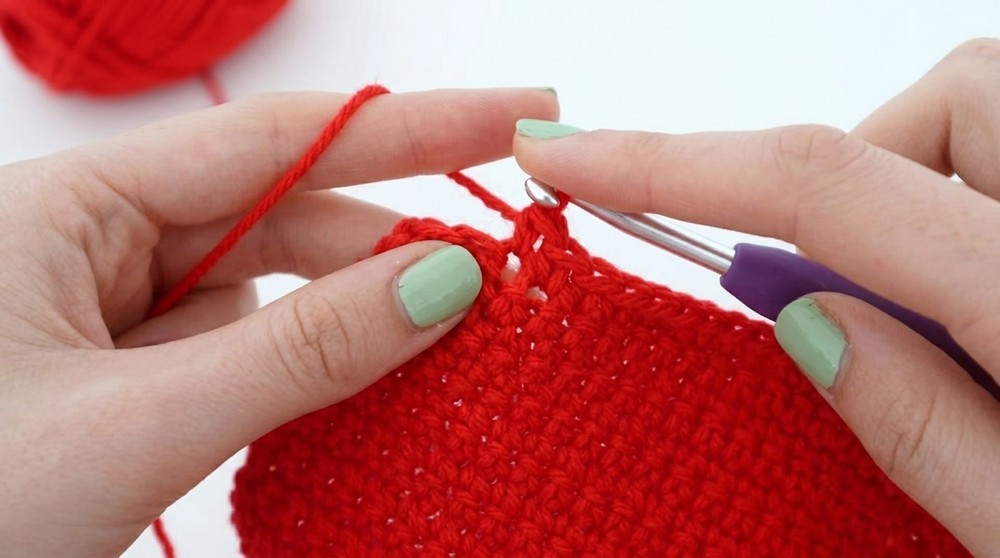
7. For these rows, begin with a dec (decrease). Work sc across until 2 stitches remain at the end of the row.
- Finish the row with another dec, ch 1, and turn your work.
Repeat:
9. Continue these decreasing rows at the start and end of each row until the body measures 5.5 inches total in height.
Maintaining Straight Rows
Round 15–18: Straight Single Crochet Rows
- Work straight rows of sc for 1 inch height, with no increases or decreases.
Measurement Check:
11. Total height now should be 6.5 inches.
Adding Height with Increases
Round 19–22: Increasing Rows
Start Increasing:
12. Begin the row with an inc (increase). Work sc across. Finish with another inc, ch 1, and turn your work.
Repeat:
13. Continue these increasing rows at the start and end of each row for approximately 4 rows or 1 inch height.
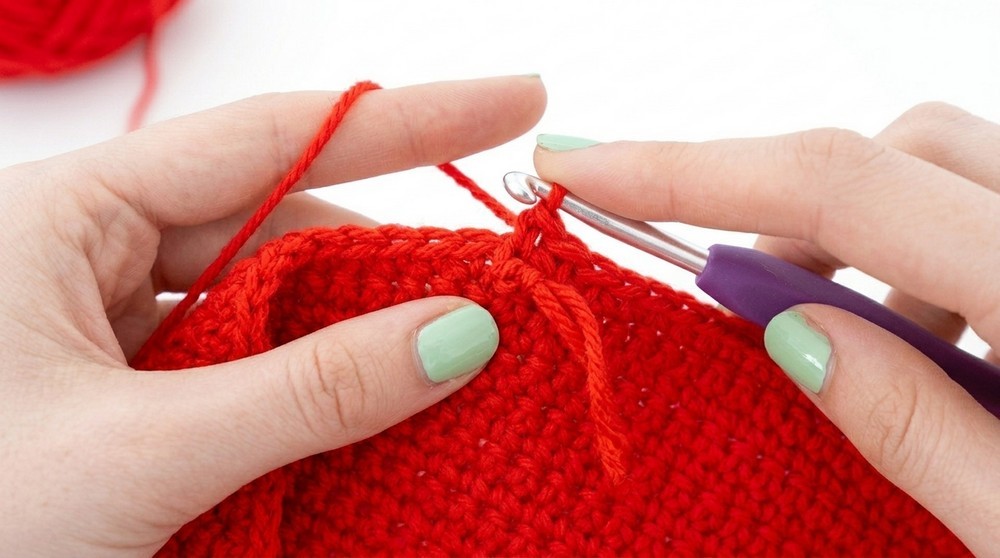
Measurement Check:
14. Total height should now be 7.5 inches.
Final Rows for Main Body
Round 23–32: Long Straight Rows
- Work straight rows of sc for another 4.5 inches.
Final Total Height Check:
16. The completed main bag body should now measure 12 inches in total height.
Creating the Strap
Round 1: Starting Chain
- Ch 6, and turn your work.
Round 2: Single Crochet Row
- Work a row of sc across the chain.
Round 3+: Dense Strap Rows
- There’s no turning chain. Simply turn your work and start the next row of sc.
- Repeat this process, ensuring you don’t use any chains during turns to keep the strap dense and sturdy.
Measurement Check:
21. Continue until the strap measures 32 inches in length.
Assembly
Step 1: Align and Clip
22. Fold the main body and clip the strap edges to the bag’s sides. Ensure the strap aligns with the straight-center sections (1-inch wide) on the bag.
Step 2: Slip Stitch to Attach
23. Use a tapestry needle or hook to sl st the strap edges to the bag. Work carefully and evenly across all sections, including the U-shaped curve around the bottom of the body.
Step 3: Secure and Weave Ends
24. Knot securely and weave in all loose ends for a polished finish.
Adding the Button Loop Trim
Round 1: Single Crochet Trim
- Attach yarn near the strap and ch 1, then sc along the edges, circling one side of the bag and strap.
Round 2: Button Loop Placement
- On the opposite edge with the strap, measure and mark the center (5 inches from side seam) using a stitch marker.
- Work sc halfway to the center. Remove the stitch marker, ch 5, and skip one stitch for the button loop. Continue working sc along the rest of the row.
Finish the Trim:
28. Sl st into the first stitch to complete the round, fasten off, and weave in ends.
Attaching the Button
Step 1: Using thread or separated yarn strands (from the ball), sew a button securely into the marked center inside the loop.
Step 2: Test the button loop to ensure a tight closure.
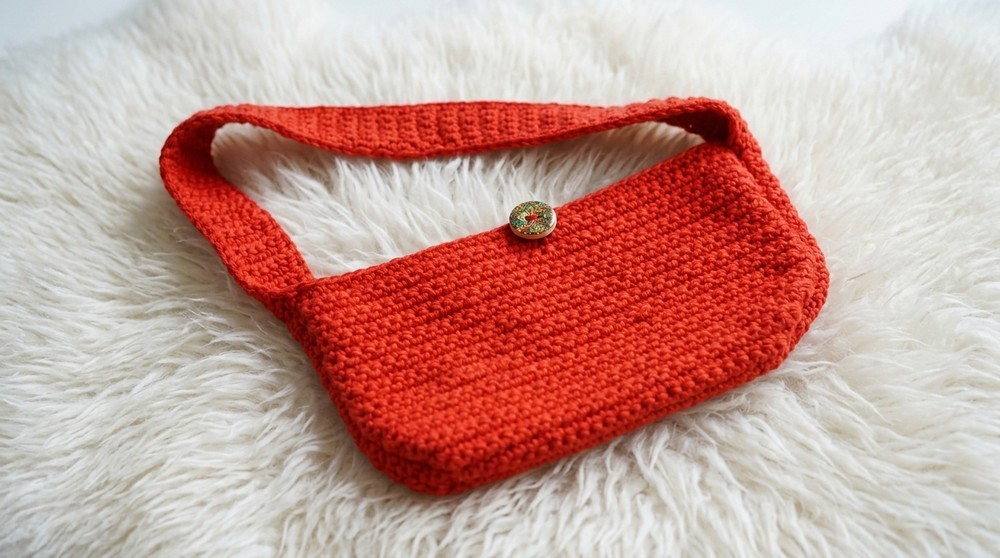
Assembly & Finished Size
- Final Dimensions: Main body = 12 inches x 10 inches; Strap = 32 inches long.
- Appearance: Flip the bag inside out for a polished look and sturdy finish.
Conclusion
Congratulations on completing your sturdy crochet bag! This project combines functionality and charm, perfect for daily use. Add any customizations, such as embroidery or embellishments, to make it yours.