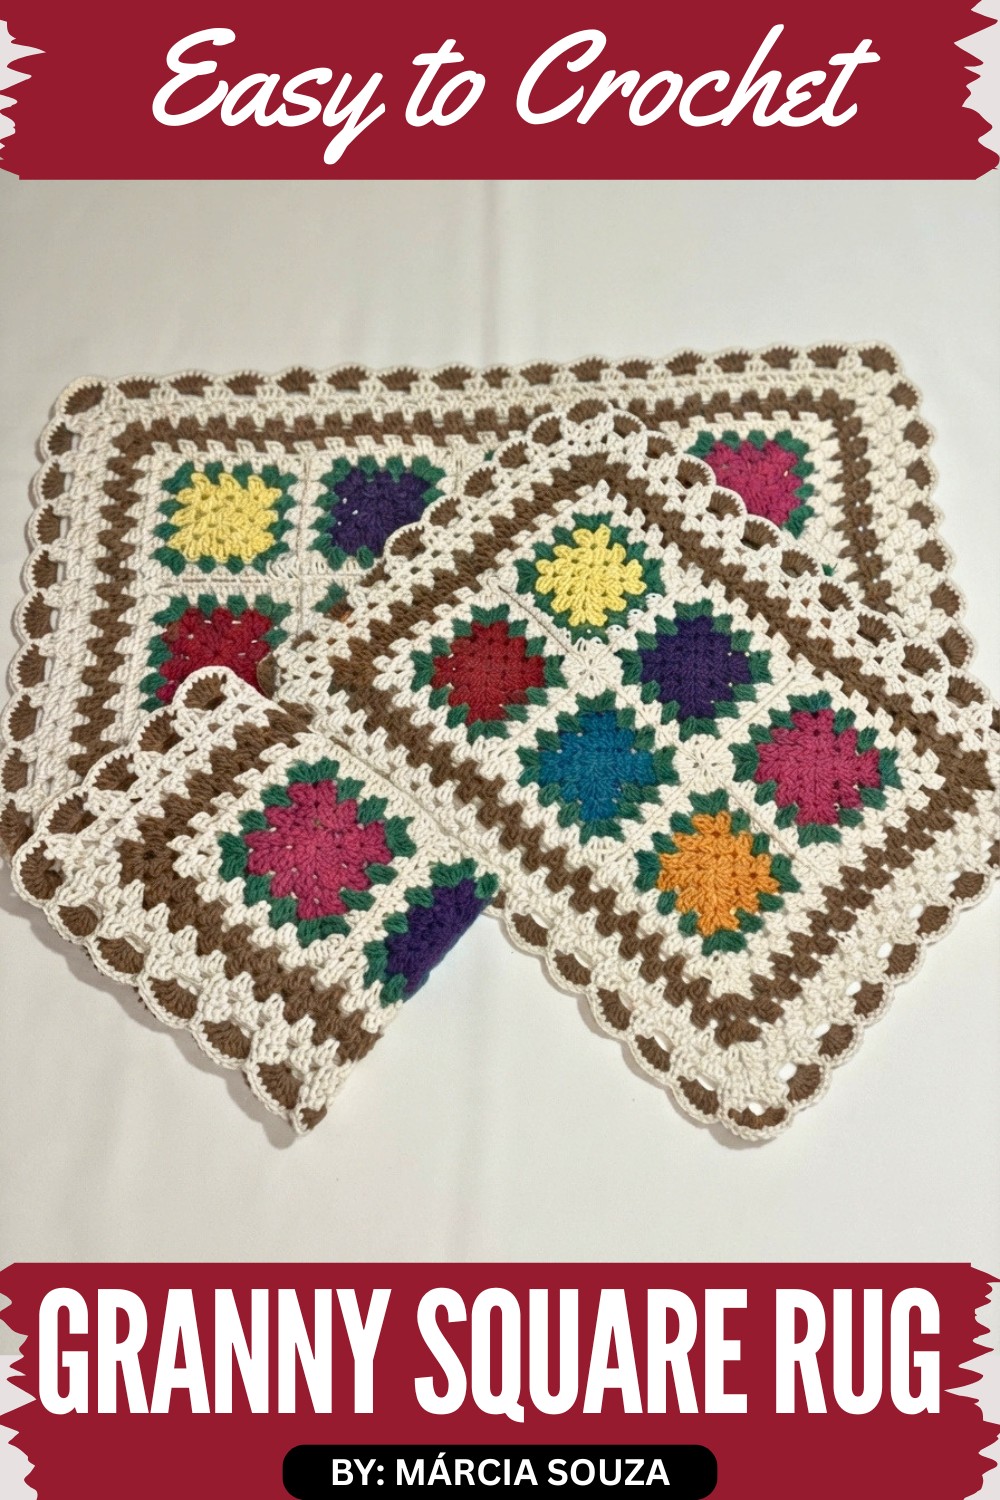
The Free crochet Granny Square Rug Pattern is a great choice for anyone who enjoys adding handmade beauty to their home. The finished rug feels warm, soft, and inviting, making it a nice place to stand or sit. It is more than just a rug because it also becomes a lovely decoration that brings color and personality to the room. Its timeless granny square design makes it easy to enjoy through every season, and it always catches the eye of family and guests.
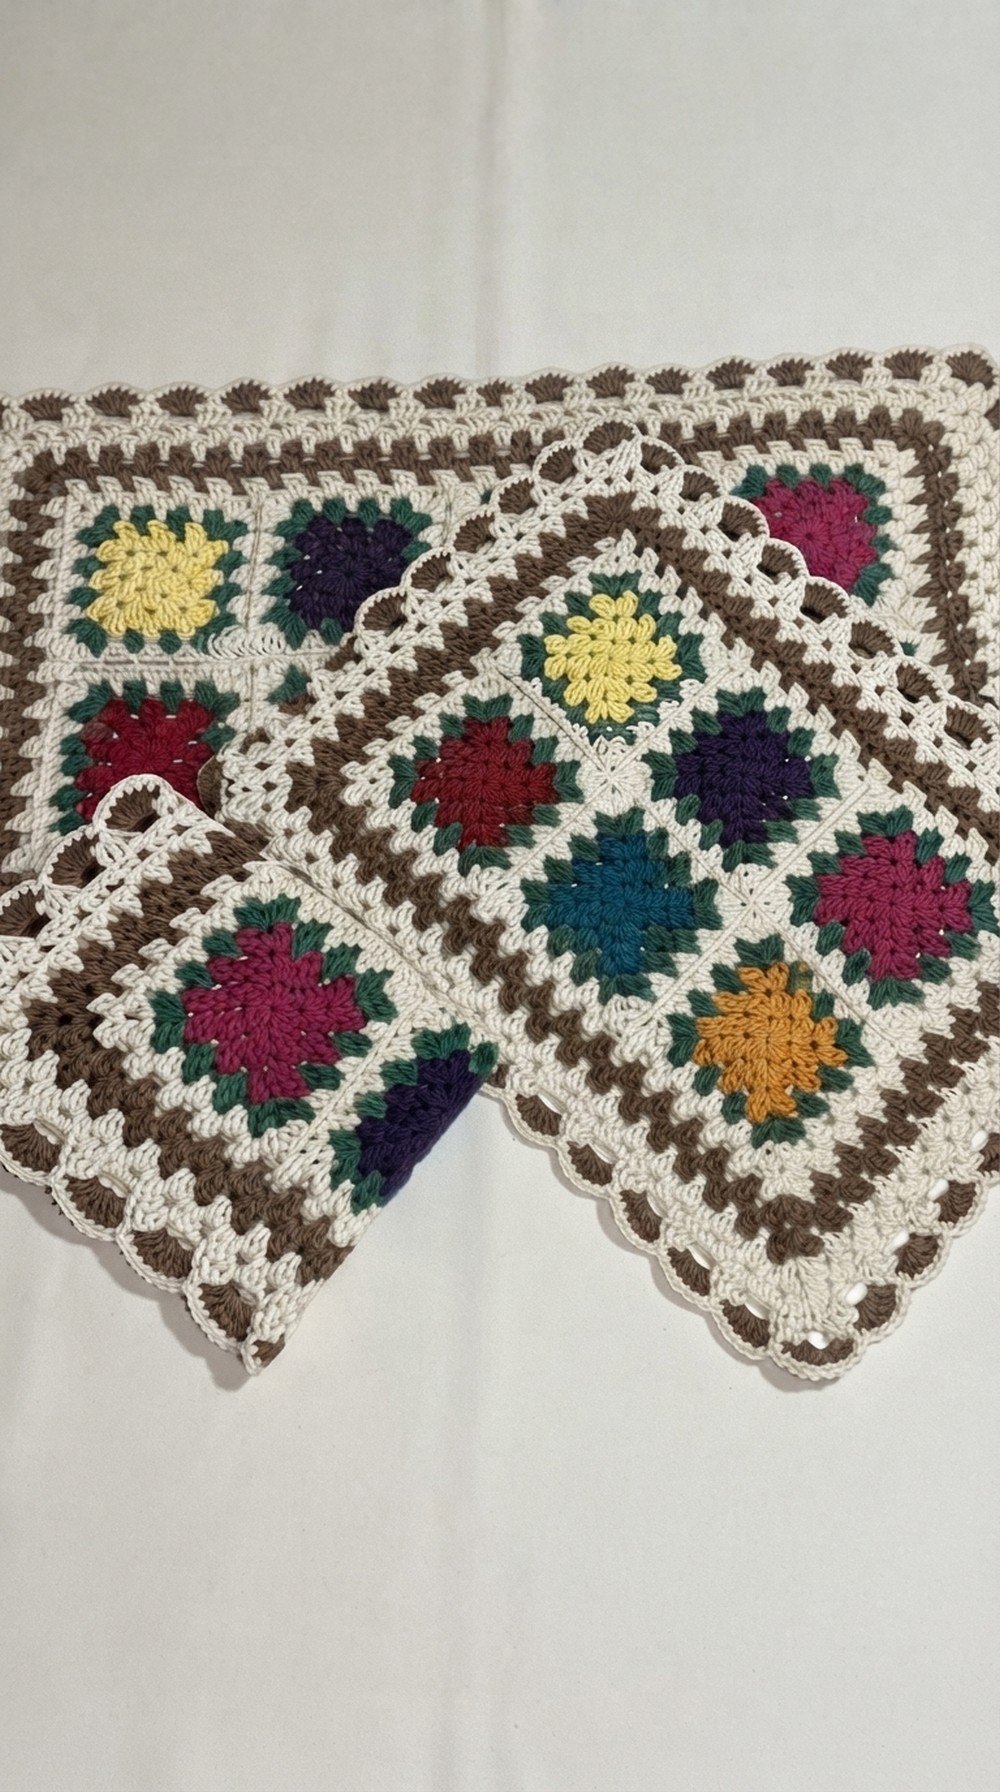
This crochet rug also makes a thoughtful gift for a housewarming, birthday, or holiday. It is a wonderful way to share something made with care and love. If you enjoy creating useful crochet projects that also make your home look more beautiful, this rug is a perfect choice. Be sure to check out the Free crochet Granny Square Rug Pattern and see how this charming project can bring comfort and style to your favorite space.
Crochet Rug Kitchen Set Tutorial: Step-by-Step Pattern
Welcome to this detailed crochet tutorial on making a beautiful kitchen rug set with an old-fashioned square pattern. This pattern features charming flower motifs and can be crafted using your leftover yarn or a single color of choice. The tutorial guides you through making the smaller square pieces as well as assembling them into a larger runner rug, including finishing touches such as borders and joining methods.
Pattern Highlights
- Classic square motif with flower fan designs.
- Uses basic crochet stitches including double crochet, treble crochet, single crochet, slip stitch, chain stitches.
- Easy to customize using leftover yarns or multiple colors.
- Includes detailed joining technique for assembling squares.
- Borders created with alternating stitches for a neat finish.
- Stepwise instructions to adapt the pattern for small rugs or runners.
Notes
- The tutorial is suitable for crocheters with basic knowledge of crochet stitches.
- You may use any yarn you have, but the designer prefers Apolo and São Francisco brands.
- Colors can be varied per your choice—solid or colorful.
- Tension consistency is important for the squares to fit together perfectly.
- Finishing with thread weaving and applying glue to ends is recommended for durability.
- The stitch count will vary slightly when adjusting sizes; instructions include how to handle these changes.
- Feel free to pause the video slowly to keep up with the pace of crochet.
Skill Level
Beginner to Intermediate — Basic stitches are used with some special joining and edging techniques.
Materials
- Crochet hook size 3.5 mm
- Colored yarns (Apolo brand recommended) and natural colored yarn (São Francisco brand recommended)
- Small scissors
- Tapestry needle for weaving in ends
- Fabric glue for securing thread ends
- Measuring tape for checking dimensions
Measurements / Sizing
- Small square piece (single flower motif): approximately 41 cm width by 55 cm length
- Larger runner (12 flower motifs): approximately 93 cm length
- Weight of small rug: 340 grams
- Weight of runner: 567 grams
Gauge
Not explicitly measured, but maintaining consistent tension in treble and double crochet stitches ensures perfect fit and finished shape.
Stitch Abbreviations
- ch = chain
- sc = single crochet
- dc = double crochet
- tr = treble crochet
- sl st = slip stitch
- MR = magic ring or magic loop
Special Stitches / Techniques
- Magic Ring (MR): Starting round with adjustable loop.
- Fan Stitch:
- 3 treble crochet stitches,
- 2 chain stitches,
- 3 treble crochet stitches in the same space.
- Fake High Point: For starting rows, an adjustable chain of 2-3 stitches climbing up to the height needed.
- Joining Squares: Using single crochet stitches between squares with no chain stitches in between for a loose but secure seam.
- Thread Weaving: Weaving thread through last loops of stitches forward and backward for secure finishing.
- Special corner joint: Joining 3 squares at a corner using half fans and chain loops.
Pattern Instructions
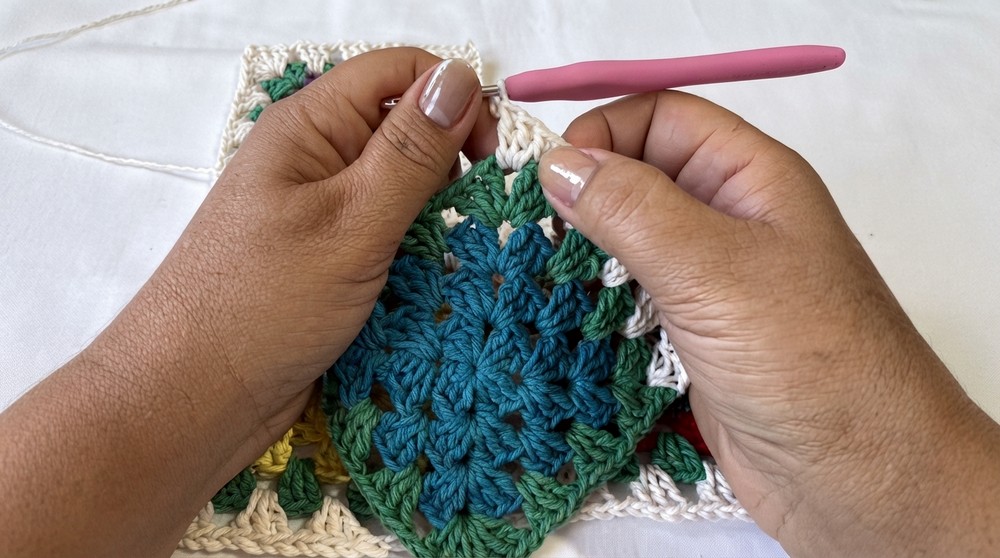
Part 1: Making the Basic Square (Flower Motif Square)
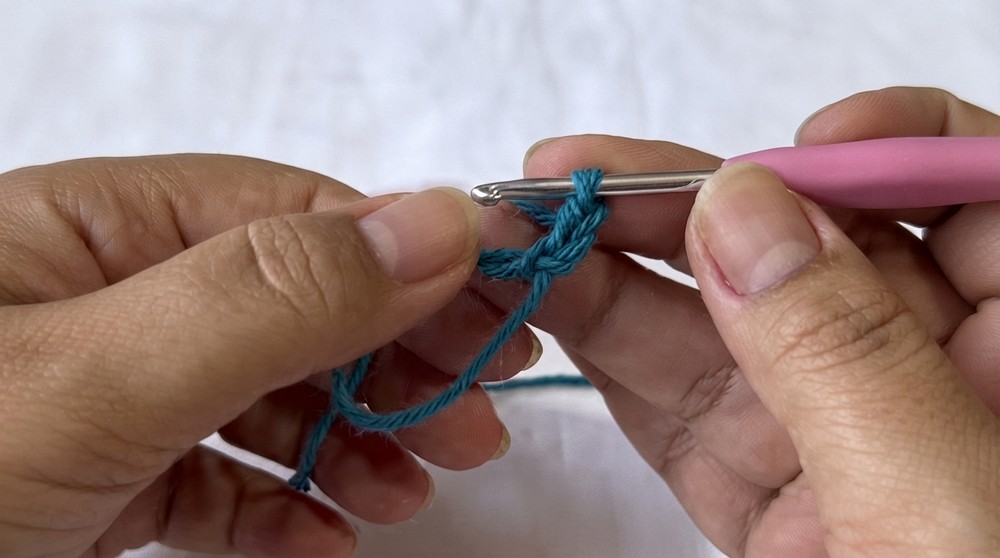
- Start Magic Ring:
- Make a magic ring (loop on two fingers), pull yarn through to close.
- ch 3 (counts as first dc), inside MR make 2 more dc (total 3 dc in MR).
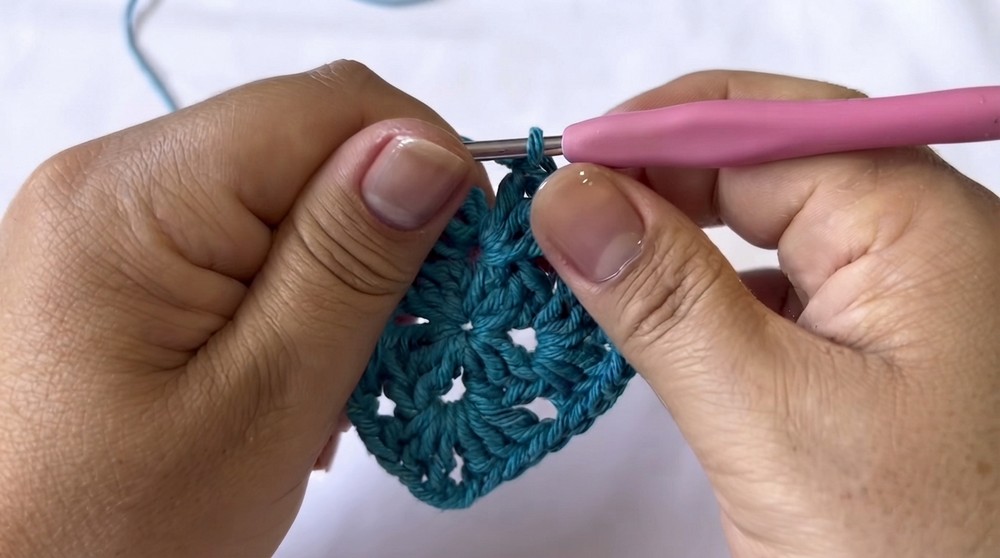
- Create 4 blocks:
- Block: 3 dc, ch 2, 3 dc in next chain space of MR, ch 2 — repeat.
- Total of 4 blocks of 3 dc separated by ch 2.
- Adjust MR ring by pulling tail to close tightly.
- Finish round:
- Pull yarn end to evenly shape square, securing all corners.
- Form Fan Corner for next rounds:
- At corners, create fan Stitch - 3 treble crochet (tr), 2 ch, 3 tr in same stitch.
- Between fans, place 1 ch as separator.
- Continue rounds:
- Work rounds by making fan stitches at corners and 3 dc blocks separated by 1 ch on sides. Make corners with fans (3 tr, 2 ch, 3 tr).
- Repeat until desired size of square is reached.
- Ending Round:
- End last round with 2 ch, slip stitch (sl st) to first stitch to close round.
- Finish off:
- Cut yarn and weave ends by pulling last loops forward and backward to hide, applying glue for durability.
Part 2: Making Additional Colored Squares
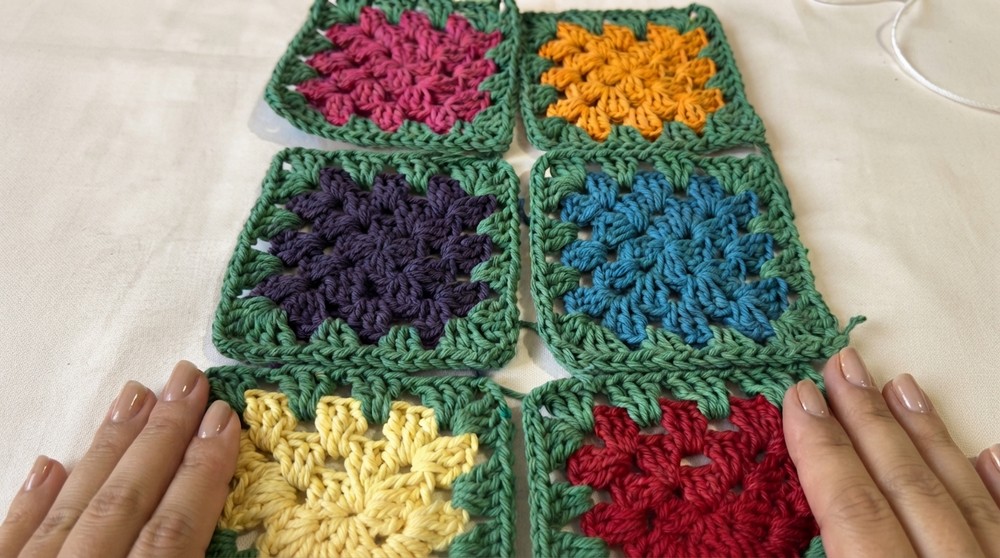
- Follow Part 1 using various yarn colors to create multiple squares: red, yellow, purple, pink, orange, blue, green etc. Six colors suggested for colorful rug, or use fewer colors for a simpler look.
- Each square follows the same pattern and size for uniformity.
Part 3: Joining Squares
- Arrange squares in desired sequence. Keep wrong side to wrong side with right sides facing outward.
- Attach yarn near a corner, leaving tail for finishing.
- Join by making single crochet (sc) stitches in chain spaces between squares. No ch stitches between sc for loose seam.
- At corners where 3 squares meet, make half fan (3 tr) on one square, ch smaller loop into middle of fan on adjacent square to create corner “amendment.”
- Continue joining around edges of squares with single crochet stitches in chain spaces, alternating sc and fan stitches at corners.
- Tie off threads securely, weave in ends as before.
Part 4: Border Edging
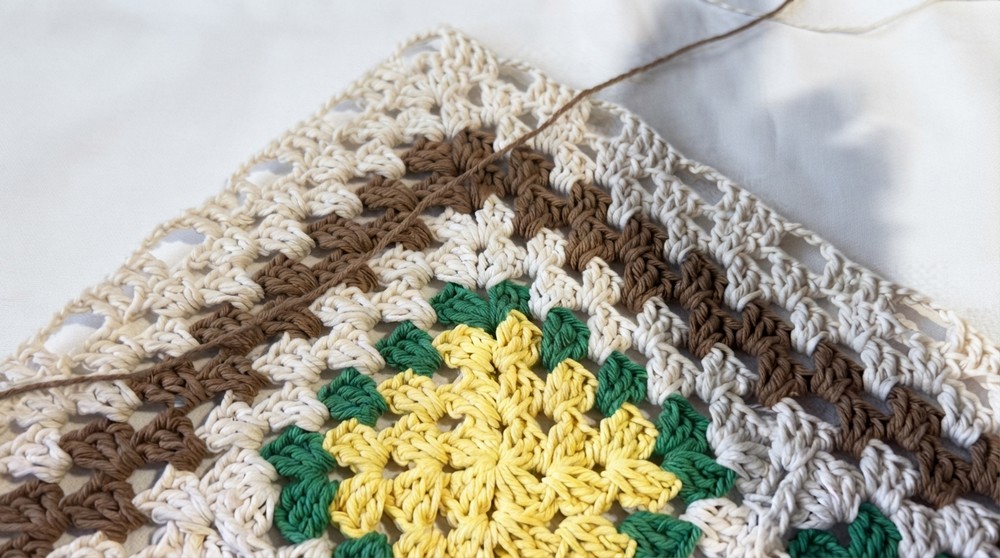
- With a neutral or chosen border color, crochet around the entire assembled rug (all four sides).
- Make blocks of three double crochet (dc) stitches separated by single chain stitches at every chain space on edges.
- At corners, make fans of 9 dc stitches in space of 5 chain stitches.
- Alternate 2 rows of border color (e.g., chestnut), then 2 rows of natural color, repeating colors as desired.
- Work small details like skipping stitches on narrow ends to maintain shape.
Part 5: Final Finishing Row (“Pout” Row)
- Work single crochet (sc) stitches evenly over all stitches for smooth finish.
- Pull elongated loops over every middle stitch to create a decorative, neat pattern on border.
- Weave in ends securely, apply a tiny glue drop to prevent unraveling.
- Measure and weigh finished piece to confirm sizing; typical smaller rug weighs about 340g and runner about 567g.
Assembly & Finished Size
- Assemble six or more squares into the kitchen rug set.
- The smaller rug dimensions: approximately 41 cm height x 55 cm length.
- The runner: twice the length of smaller rug at approximately 93 cm length.
- Weight ranges from 340 grams (small) to 567 grams (runner) depending on yarn and sizing.
Conclusion
This elegant crochet kitchen rug tutorial offers a versatile and charming way to use leftover yarns or create a vibrant set with multiple colors. The old-fashioned square design featuring fan stitches gives you a classic look with an easy pattern fit for beginner to intermediate crocheters. By following each step with attention to consistent tension and neat joining methods, you'll create a set of durable, beautiful rugs perfect for your kitchen or as a thoughtful handmade gift. The border detailing and finishing row add a professional touch, ensuring your piece looks tidy and refined.