
Stitch Crochet Homer Simpson Pattern to create a fun iconic plush that adds charm joy and personality to your handmade collection and delightful gifts.
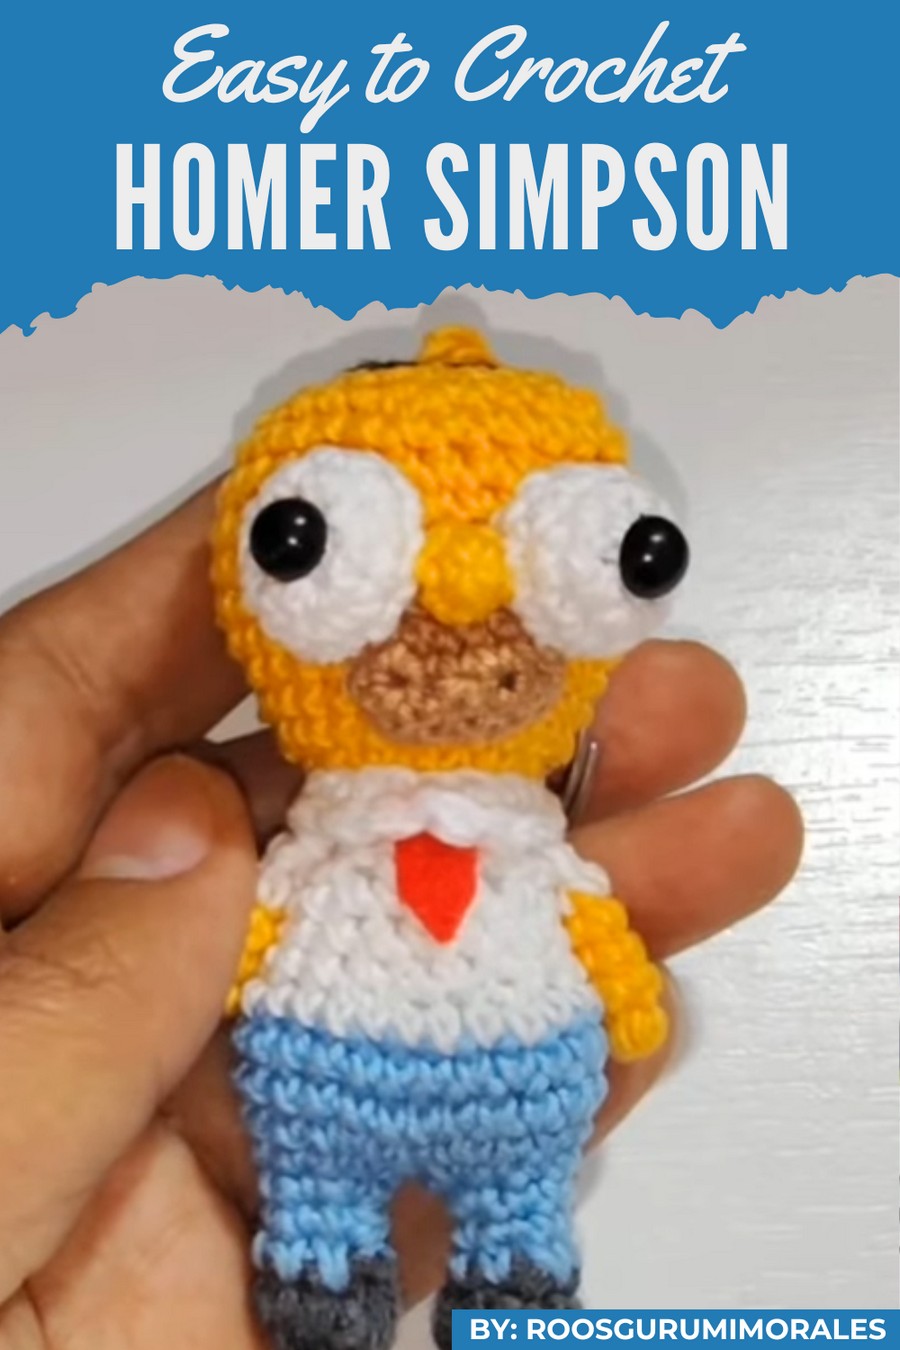
This cute crochet doll looks funny, soft, and full of joy that makes everyone smile. The Crochet Homer Simpson pattern shows a chubby yellow character with big round eyes, simple clothes, and a playful face that feels lively and friendly. It can be used as a toy, shelf buddy, gift, or cheerful room decoration for cartoon lovers.
Croche Homer Simpson Pattern That Turns Heads
Its bright color and smooth stitches make it look neat and attractive. The most special feature is its iconic cartoon shape and lovable expression, which makes it unique, easy to recognize, and perfect for adding fun and happiness anywhere in any cozy space.
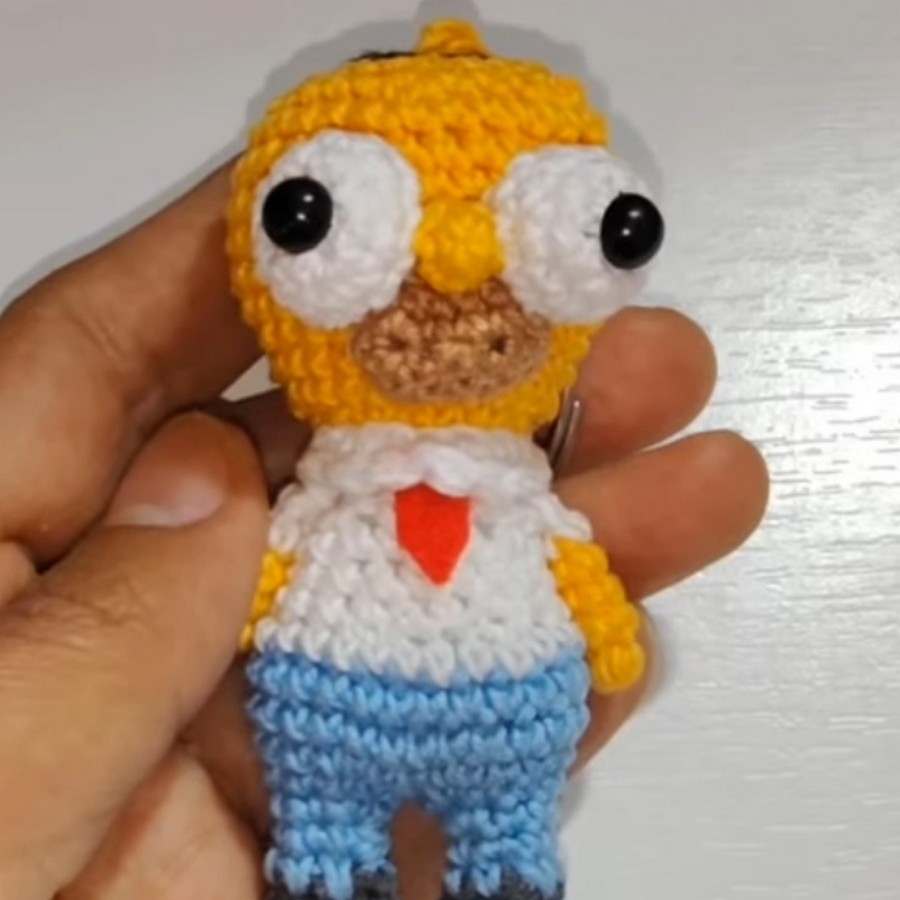
Homer Simpson Crochet Keychain Pattern
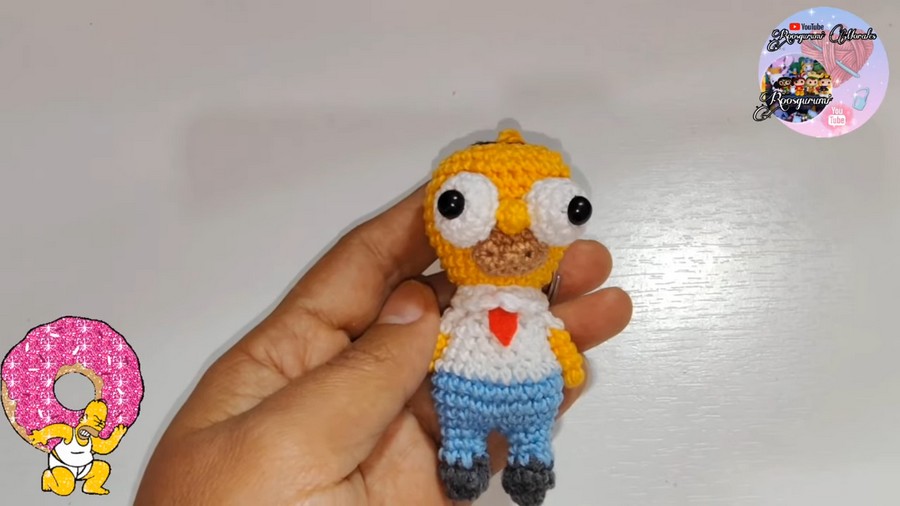
This pattern will guide you through crocheting a mini crocheted version of Homer Simpson that can be used as a keychain or standalone figurine. Let start it!
Materials Needed
- Yarn:
- Omega Thread or Thin Yarn in the following colors:
- Gray (for shoes)
- Blue (for pants)
- White (for shirt and accessories)
- Yellow (for skin and head)
- Black (for hair and other details)
- Omega Thread or Thin Yarn in the following colors:
- Crochet Hook:
- 1.75mm for mini keychain-sized or 3mm for a slightly larger version.
- Fiberfill Stuffing:
- To stuff the body parts, excluding the arms.
- Tapestry Needle:
- For sewing parts together and weaving in ends.
- Hot Glue Gun or Sewing Thread:
- For attaching small felt pieces or quickly fixing details.
- Felt for Accessories:
- Red felt for tie decoration.
- Stitch Marker:
- Optional, but helpful for marking rounds.
Pattern Instructions
PART 1: LEGS AND FEET
Shoes (Make 2):
- Round 1: With gray yarn, start with a magic ring, make 6 sc. (6 stitches)
- Round 2: 1 sc in each st around. (6 stitches)
Pants and Body:
- Rounds 3-4: Switch to blue yarn, 1 sc in each stitch around. (6 stitches)
- Round 5: 1 sc, inc x2. (8 stitches)
Tie off the first leg and repeat to create the second leg but don’t cut the yarn. Chain 1 after completing the second leg.
Attach the Legs and Begin the Body:
- Round 6:
- Join the legs by crocheting around: 8 sc on the second leg, 1 sc across the chain, 8 sc around the first leg, 1 sc back across the chain. (18 stitches)
- Round 7: 2 sc, inc x6. (24 stitches)
- Rounds 8-9: 1 sc in each stitch around. (24 stitches per round)
- Round 10: Switch to white yarn to represent the shirt, 1 sc in each stitch around. (24 stitches)
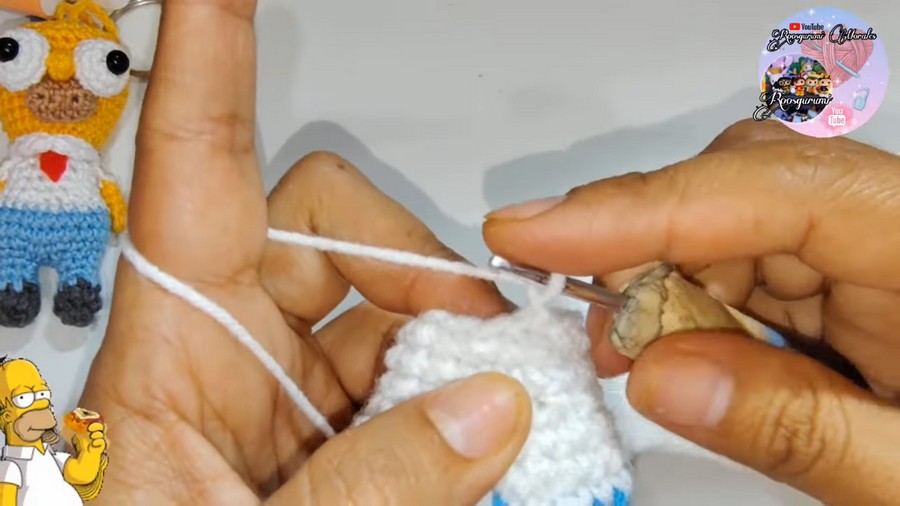
PART 2: ARMS (Make 2)
- Round 1: With yellow yarn, make a magic ring of 6 sc. (6 stitches)
- Rounds 2-4: 1 sc in each stitch around. (6 stitches)
- Round 5: Switch to white yarn for sleeves, 1 sc in each stitch around.
- Stuff very lightly up to Round 2, and close with 3 sc across the opening.
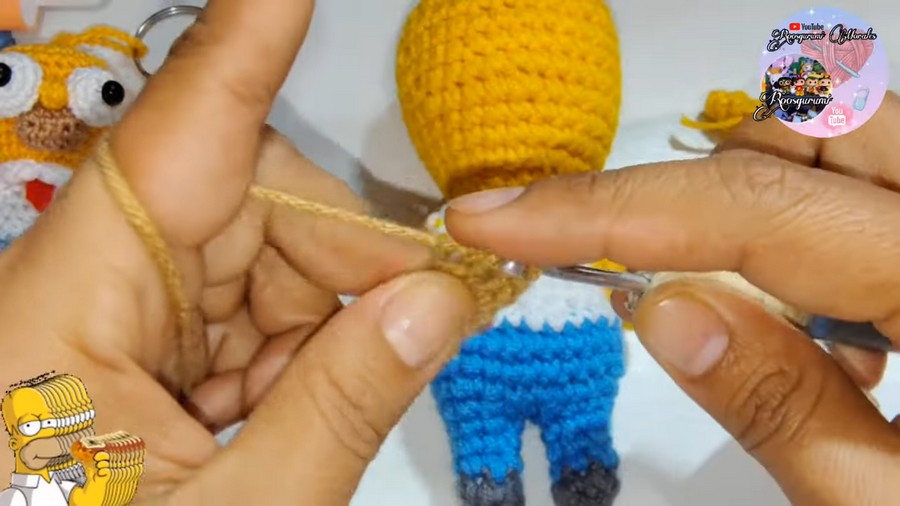
PART 3: UPPER BODY AND HEAD
- Round 11: 2 sc, dec x6. (18 stitches)
- Round 12: 1 sc in each stitch around. (18 stitches)
- Round 13: 7 sc, dec x2. (16 stitches)
Stuff the legs and body firmly.
- Round 14: 1 sc in each stitch around. (16 stitches)
Change to yellow yarn for the head.
- Round 15: 3 sc, inc x4. (20 stitches)
- Round 16: 3 sc, inc x6. (30 stitches)
- Rounds 17-20: 1 sc in each stitch around. (30 stitches per round)
- Round 21: 4 sc, inc x6. (36 stitches)
- Rounds 22-26: 1 sc in each stitch around. (36 stitches per round)
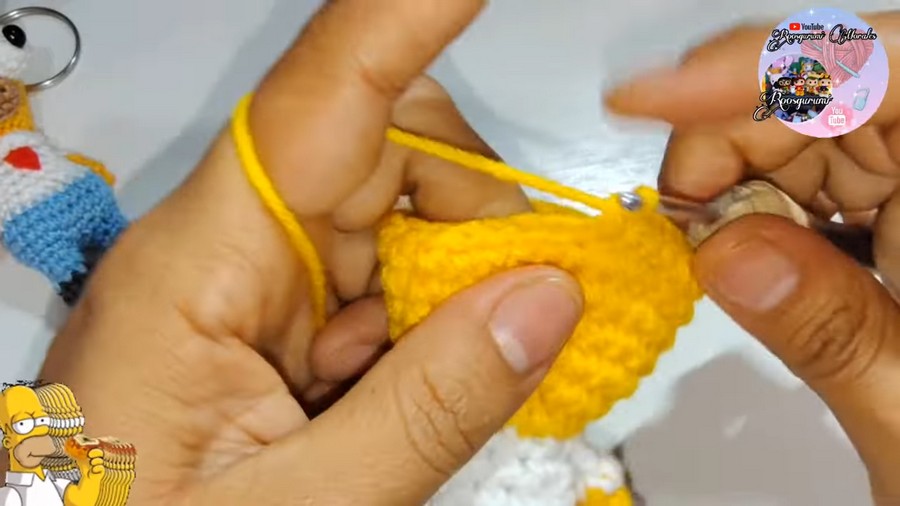
Begin Stuffing the Head Firmly Before Completing Subsequent Rounds:
- Round 27: 3 sc, dec x6. (24 stitches)
- Round 28: 2 sc, dec x6. (18 stitches)
- Round 29: 1 sc, dec x6. (12 stitches)
- Round 30: Decrease all the way around. (6 stitches)
Fasten off and sew the hole shut using a tapestry needle.
Attach Arms: Sew arms onto the body at the shoulder seams.
PART 4: FACIAL FEATURES
EYES (Make 2):
- Round 1: With white yarn, create a magic ring with 6 sc.
- Round 2: 1 sc, inc x6. (9 stitches)
Tie off leaving a long strand for sewing. Add small felt or safety eyes in the center.
NOSE:
- Round 1: In yellow yarn, create a magic ring with 4 sc.
- Rounds 2-3: Sc around. (4 stitches)
Attach to the center of the face, between the eyes, using saved yarn or apply hot glue for ease.
PART 5: FINAL TOUCHES
SHIRT COLLAR AND ACCESSORIES:
- Collar:
- In white yarn, chain 10.
- Work horizontally in half-double crochet or slip stitches for 1-2 rows to create a collar.
- Use red felt to craft a tiny tie and attach to the collar with glue.
HAIR:
- Attach yarn strands in black directly at the top of the head using simple single crochet or hot glue for the signature Homer strands.
Tips
- Use hot glue or fabric glue for a clean finish if sewing proves challenging.
- Consider safety standards if making for small children; avoid small parts.
- Customize the expressions using simple embroidery for unique variations.
Modification ideas
- Size Variation: For larger dolls, use bulkier yarn and a correspondingly large hook.
- Personalized Details: Embroider different expressions or small details for added personality.
Conclusion
This adorable miniature version of Homer Simpson makes for a perfect gift or collectible, with its finished height being approximately 8cm for the keychain version and larger when using thicker yarn.
The project is both rewarding and flexible, allowing personalized touches and adaptations. Add it to your growing collection of miniature characters for endless fun and creativity.



