
Learn how to crochet phone bag that’s functional stylish and perfect for carrying your essentials while keeping your hands free and your outfit on point.
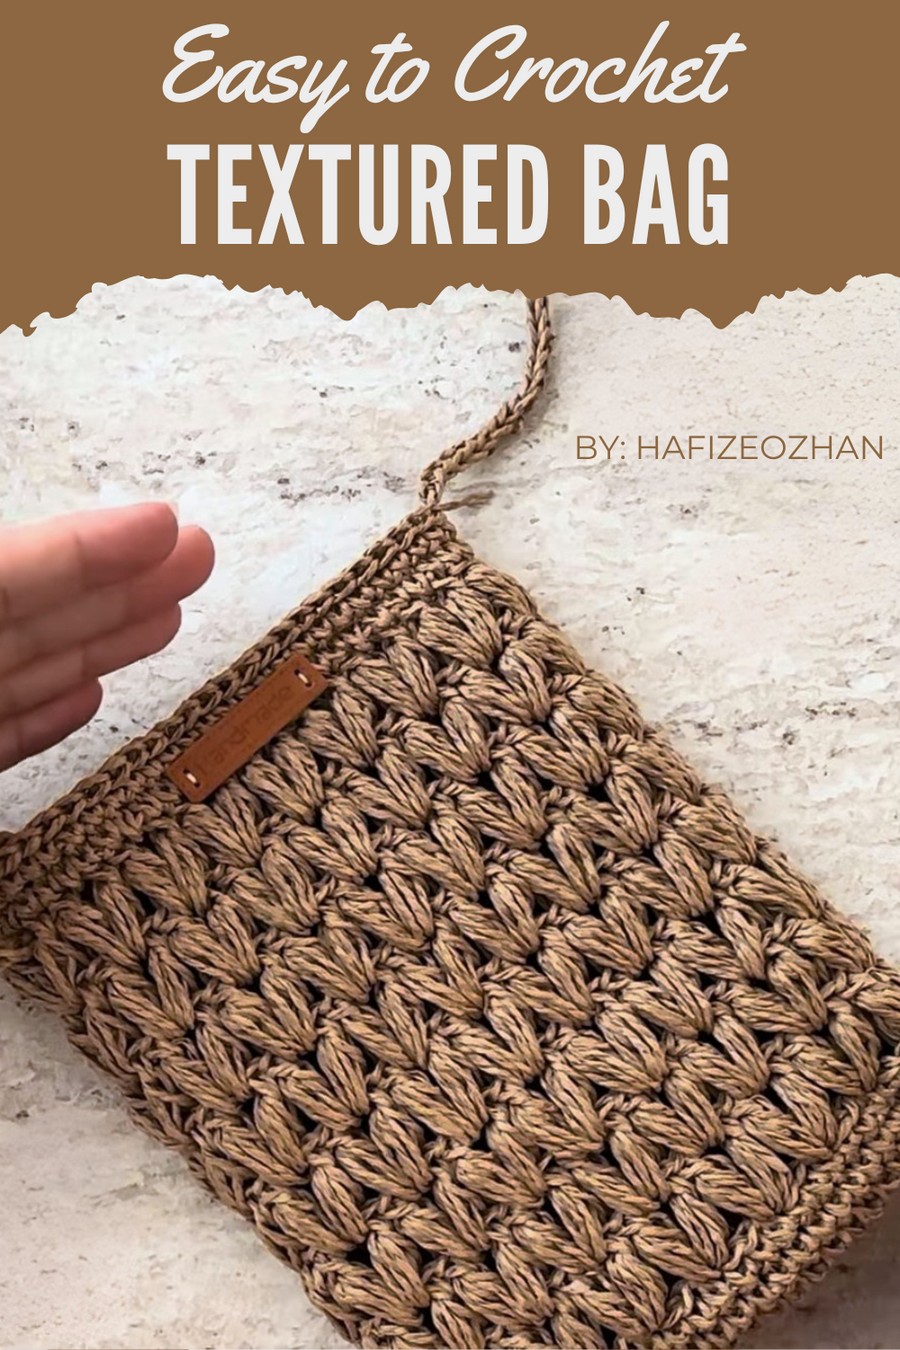
Keep your essentials close in the most stylish way with this free crochet phone bag pattern. This design is perfect for crocheters of all skill levels, using simple stitches and requiring only a small amount of yarn.
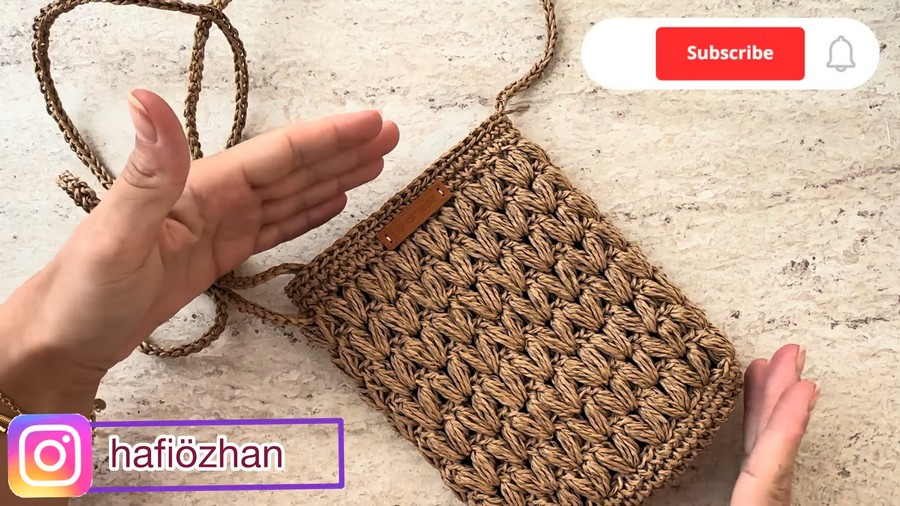
Easy Crochet Phone Bag Pattern You’ll Want to Carry
Whether you’re heading out for a walk or want to simplify your day-to-day errands, this compact bag is functional, lightweight, and entirely customizable. Add your personal touch by choosing the perfect colors, strap length, or closure to match your vibe. It’s quick, fun to create, and makes a perfect gift for friends.
Find how easy and rewarding this project can be.
Materials List
Yarn and Hook:
- Yarn: Craft yarn (paper yarn or viscose-blend recommended). You will need 100–120 grams (~120 meters).
- Recommended: Soft, medium-thick yarn in a natural texture for a sturdy structure.
- Crochet Hook: 4 mm (US G/6).
Additional Supplies:
- Snaps or Button Closures: For securing the top of the phone case.
- Label or Decor: Optional for adding a stylish touch to the front.
- Yarn Needle: For weaving in ends and sewing closures.
- Scissors
- Measuring Tape: To confirm size, especially if adjusting dimensions.
Skill Level
Intermediate - Knowledge of basic crochet stitches like chains, single crochet (sc), and working in continuous rows is required. The pistachio stitch (a puff or cluster-style stitch) is also explained, making this pattern approachable for confident beginners.
Key Abbreviations (US Terms)
- ch: Chain
- sc: Single Crochet
- sl st: Slip Stitch
- Pistachio Stitch (puff stitch): A cluster stitch worked 3 times into the same space (explained further below).
- st(s): Stitch(es)
Pattern Notes
- Gauge: Gauge is not critical but should align with the snug fit of your phone. The foundation chain determines the width of the phone case.
- Customization: Adjust the chain length at the start to increase or decrease the width of your phone case. Similarly, add or remove rows to alter the height.
- Structure: The case is worked in the round, starting with an oval base and transitioning into a textured pistachio stitch body.
- A strap with adjustable length is added last for a practical, wearable design.
Final Measurements
- Width: ~14.5 cm (5.7 inches)
- Height: ~17 cm (6.7 inches), excluding strap.
For different phone sizes, adjust the starting chain length and work additional rows if needed.
Step-by-Step Instructions
Step 1: Create the Base
- Foundation Chain:
- Start with a slip knot on your hook and chain 21 chain stitches.
- This determines the width of the phone case. Adjust as necessary to fit your phone.
- Round 1:
- Work 1 sc into the 2nd chain from the hook and 1 sc in each chain along (20 sc).
- At the last chain, work 3 sc into that chain. This creates a rounded corner, turning your row to the opposite side of the chain.
- On the other side of the chain, work 1 sc in each chain back to the starting point.
- In the last chain (same as the first chain worked), work 3 sc to form the second corner.
- Join with sl st to the first sc to complete the round.
- Round 2:
- Ch 1, work 2 sc into each of the 3 corner stitches (increasing evenly at the corners). Work 1 sc in each stitch across the straight edges.
- Join with sl st to the first sc.
- Repeat the above technique to create a flat oval base. The base should be slightly larger than your phone’s dimensions. Stop increasing stitches once the base size is achieved.
Step 2: Build the Textured Body
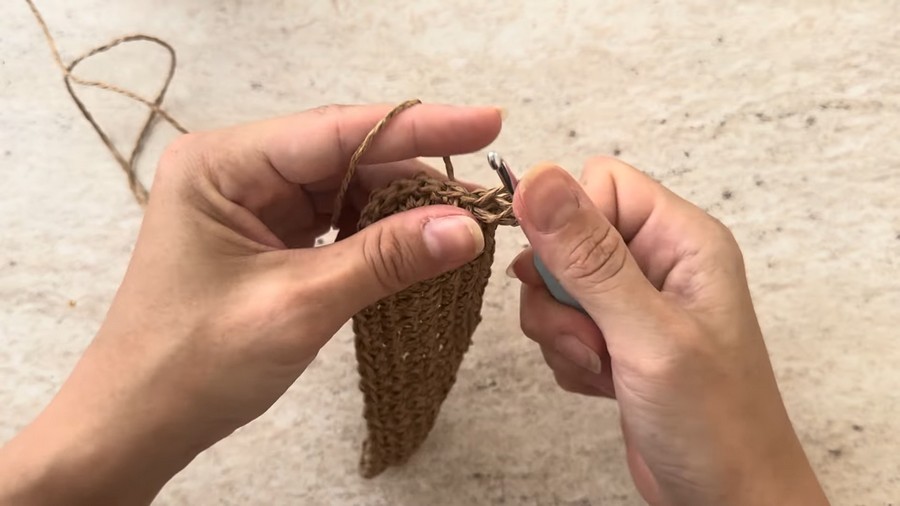
- Transition to the Pistachio Stitch:
- After completing the base, work 1 sl st into the next stitch to create a smooth transition. Ch 2 (counts as part of the pistachio stitch).
- Pistachio Stitch Instructions:
- Yarn over (yo), insert your hook into the same stitch, and pull up a loop.
- Repeat this process 3 times in the same stitch.
- You should have 7 loops on your hook. Yarn over and pull through the first 6 loops. Yarn over and pull through the remaining 2 loops to close the stitch.
- Ch 1 to secure the pistachio stitch.
- Continue Pistachio Stitches:
- Skip the next stitch, then repeat the pistachio pattern in the following stitch (skip-1, pistachio).
- Work this pattern (pistachio, ch 1, skip 1) until the end of the round. Join with a sl st to the top of the first pistachio stitch.
- Subsequent Rounds:
- For the next row, make pistachio stitches in the ch-1 spaces from the previous row. This ensures the pistachio pattern aligns.
- Continue working pistachio stitches around the body of the phone case until your desired height is reached (approximately 14.5 cm or your phone's height).
- Finishing the Body:
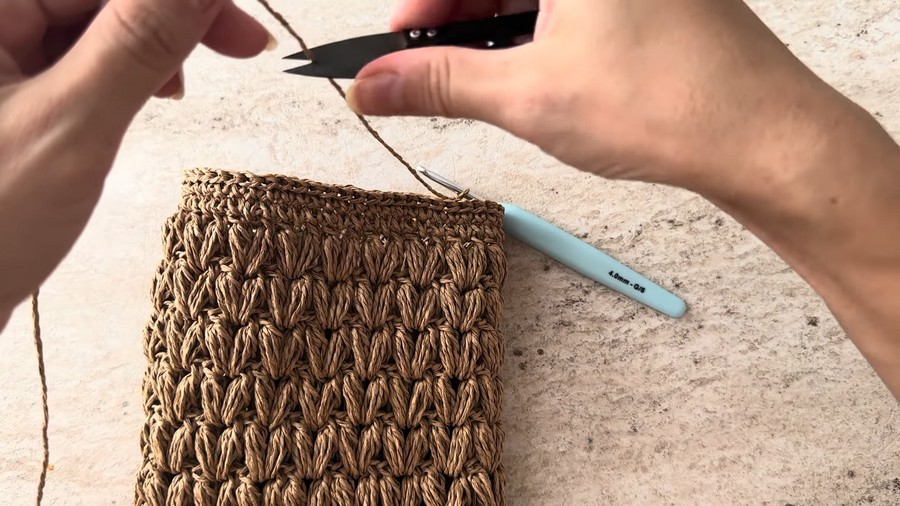
- Once the body height is reached, end with a row of sl sts across the top edge for a clean finish.
- Weave in all loose ends securely.
Step 3: Strap
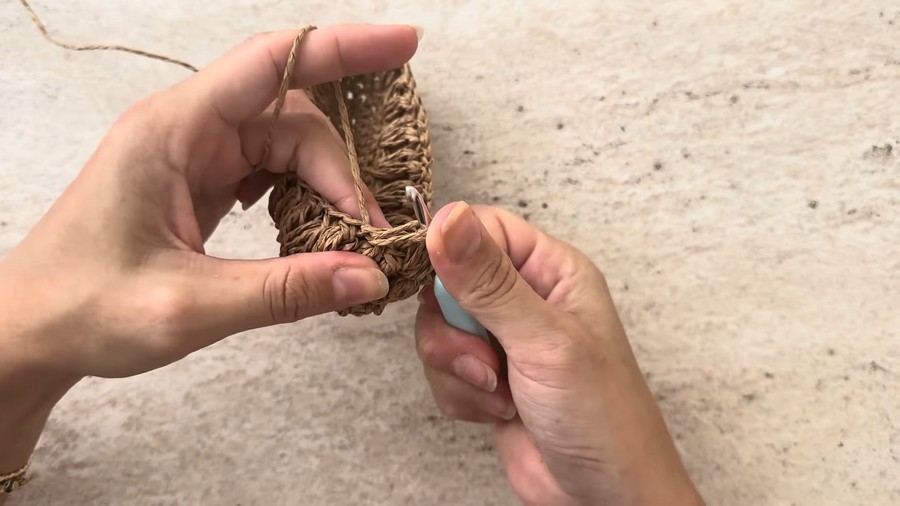
- Begin Adjustable Strap:
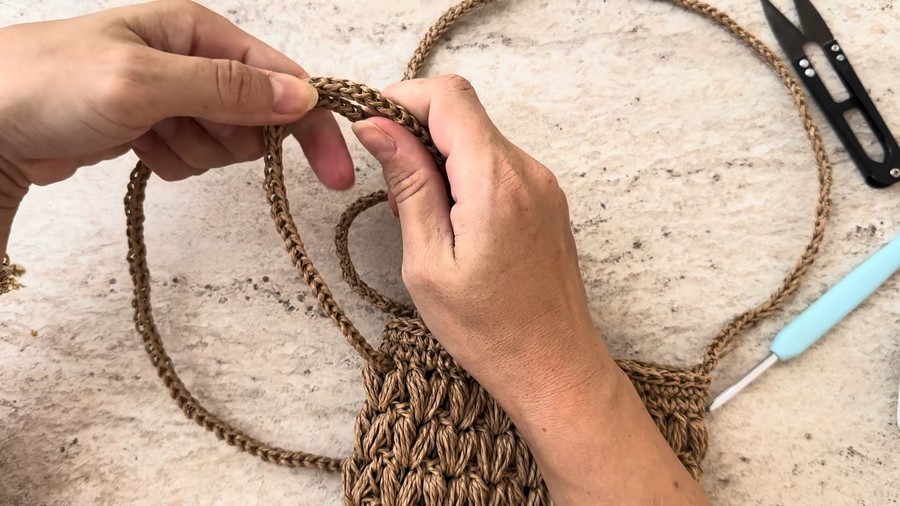
- Using the same yarn, work a slip knot on your hook and begin chaining. The chain length depends on the desired strap length. (Example: ~144 cm for a crossbody strap).
- Strengthen Strap:
- Slip stitch or single crochet into each chain stitch from the beginning until the end to create a sturdy strap.
- Attach Strap to Case:
- Securely sew each end of the strap to the corner sides of the phone case. Use a yarn needle and matching yarn for a seamless finish.
Step 4: Adding Snap Closure
- Sew snap fasteners (or buttons) to the top opening of the phone pouch.
- Sew on an optional decorative label or embellishment to the front for style.
Customization Ideas
- Colors: Experiment with gradient or multicolor yarns for an ombre effect. Classic neutral shades, like beige or gray, work for professional looks, while bright colors add playfulness.
- Sizing: Adjust the chain length and number of rows to fit larger or smaller devices, including tablets or e-reader cases.
- Material Options: Try different textures, such as cotton macrame, polyester cords, or raffia paper yarn.
Tips for Success
- Mind Your Tension: Work evenly. Loose tension yields a strong and flexible case, while tight tension might make the case too stiff.
- Test Fit: Check fit after a few rows of pistachio stitch to ensure the case accommodates your phone snugly.
- Blocking: Gently block the finished case if made with natural fibers to shape and smoothen the stitches.
Conclusion
Congratulations on completing your Pistachio Stitch Phone Case! This accessory is not only functional but also adds a touch of handmade elegance to your everyday essentials. Its sturdy body, adjustable strap, and polished design make it a timeless piece. Whether using it as a crossbody bag or a phone pouch, it’s a project to cherish.
Pattern Variations
- Additional Features: Add a small pocket to the front for storing earphones or cards.
- Enhancements: Adorn the bag with tassels, beads, or embroidery for a personalized look.
- Mini Crossbody Bag: Expand the width and height for a mini handbag ideal for carrying essentials like cash and ID.



