
Decorate your space for the holidays with a Free Crochet Christmas Tree Pattern that adds warmth and charm while showcasing your festive spirit.
Crochet can be a fun way to make pretty decorations for Christmas. The free crochet Christmas tree pattern lets you create a small, cute Christmas tree with yarn and a hook. This pattern is easy to follow, so even children can join in and make their own festive tree.
Free Crochet Christmas Tree Pattern for Holiday Decor
The Christmas tree made with this pattern looks lovely because of its triangular shape and the little stitches that look like tree branches. The texture feels soft and warm, making the tree perfect for holiday decorations. You can use green yarn for a traditional tree color, or try red, white, or even sparkly yarn to make it shine. The best part is that you can change the size, make a tiny tree for your desk or a bigger one to hang on the wall.
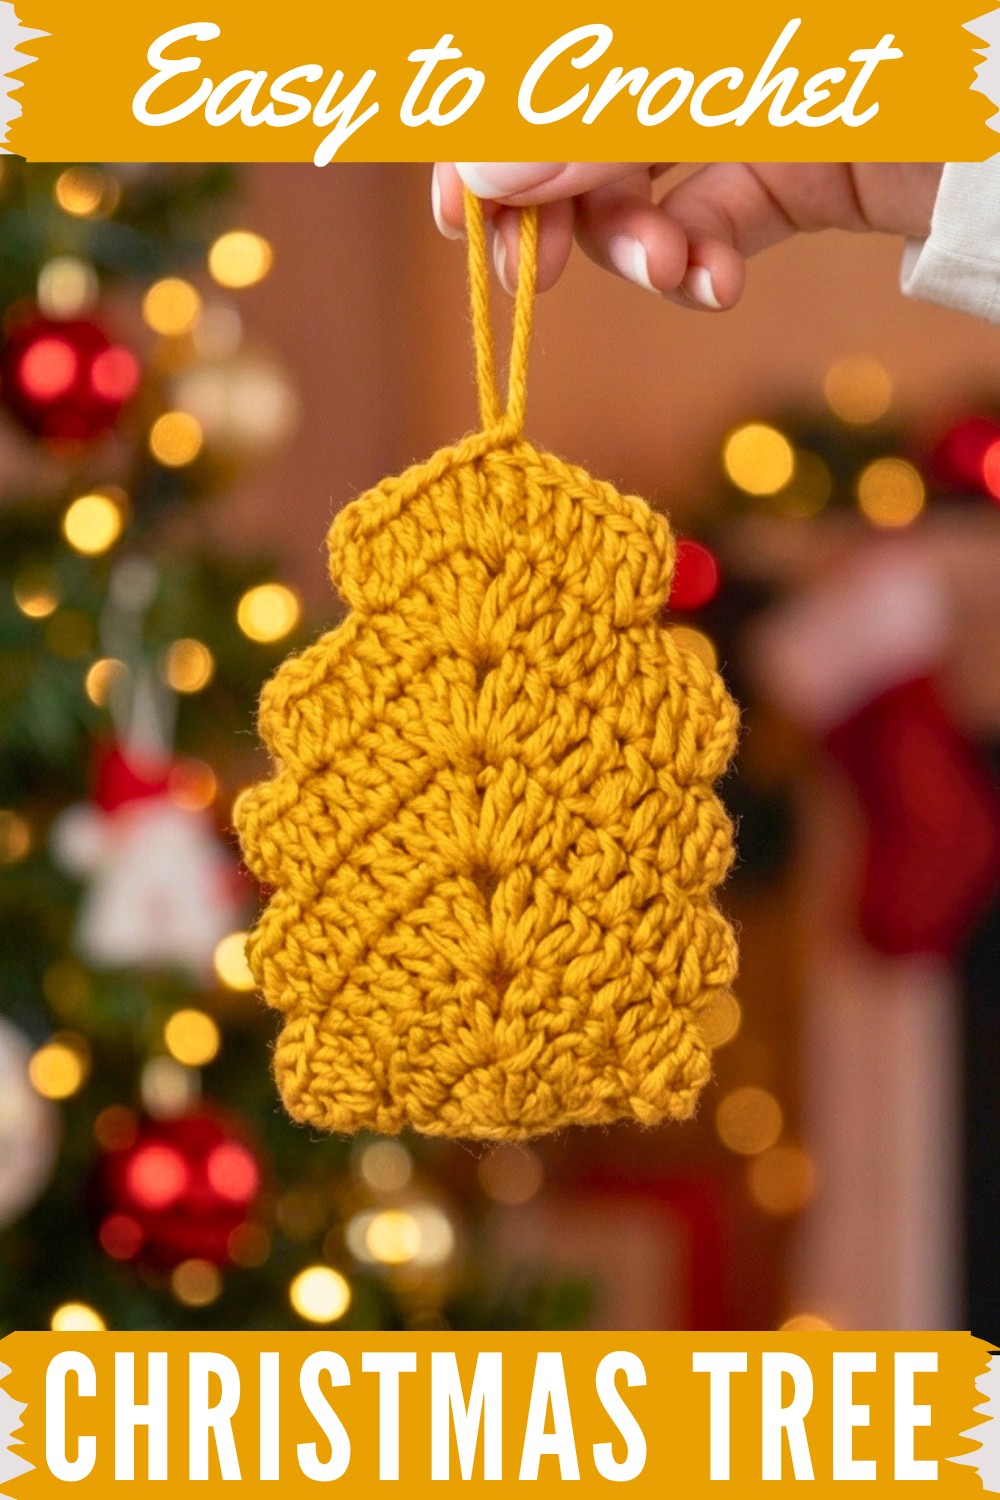
One important stitch you will use a lot in this pattern is the double crochet stitch. It helps build the tree’s shape and gives it a nice, smooth look. Also, chain stitches help to create spaces that look like the spaces between pine tree branches.
This pattern is great for kids, beginners, and experienced crocheters alike. You can use it to make tree ornaments, gift toppers, holiday cards, or even small festive decorations around your home. Some people use it to decorate wreaths or glue it onto scarves and hats to add a Christmas touch.
Making things from this pattern is not just a fun crochet but also a way to bring more holiday cheer into your life. It is simple, colorful, and can be made by anyone who wants to add a handmade sparkle to their Christmas.
Crochet Christmas Tree Ornament Pattern
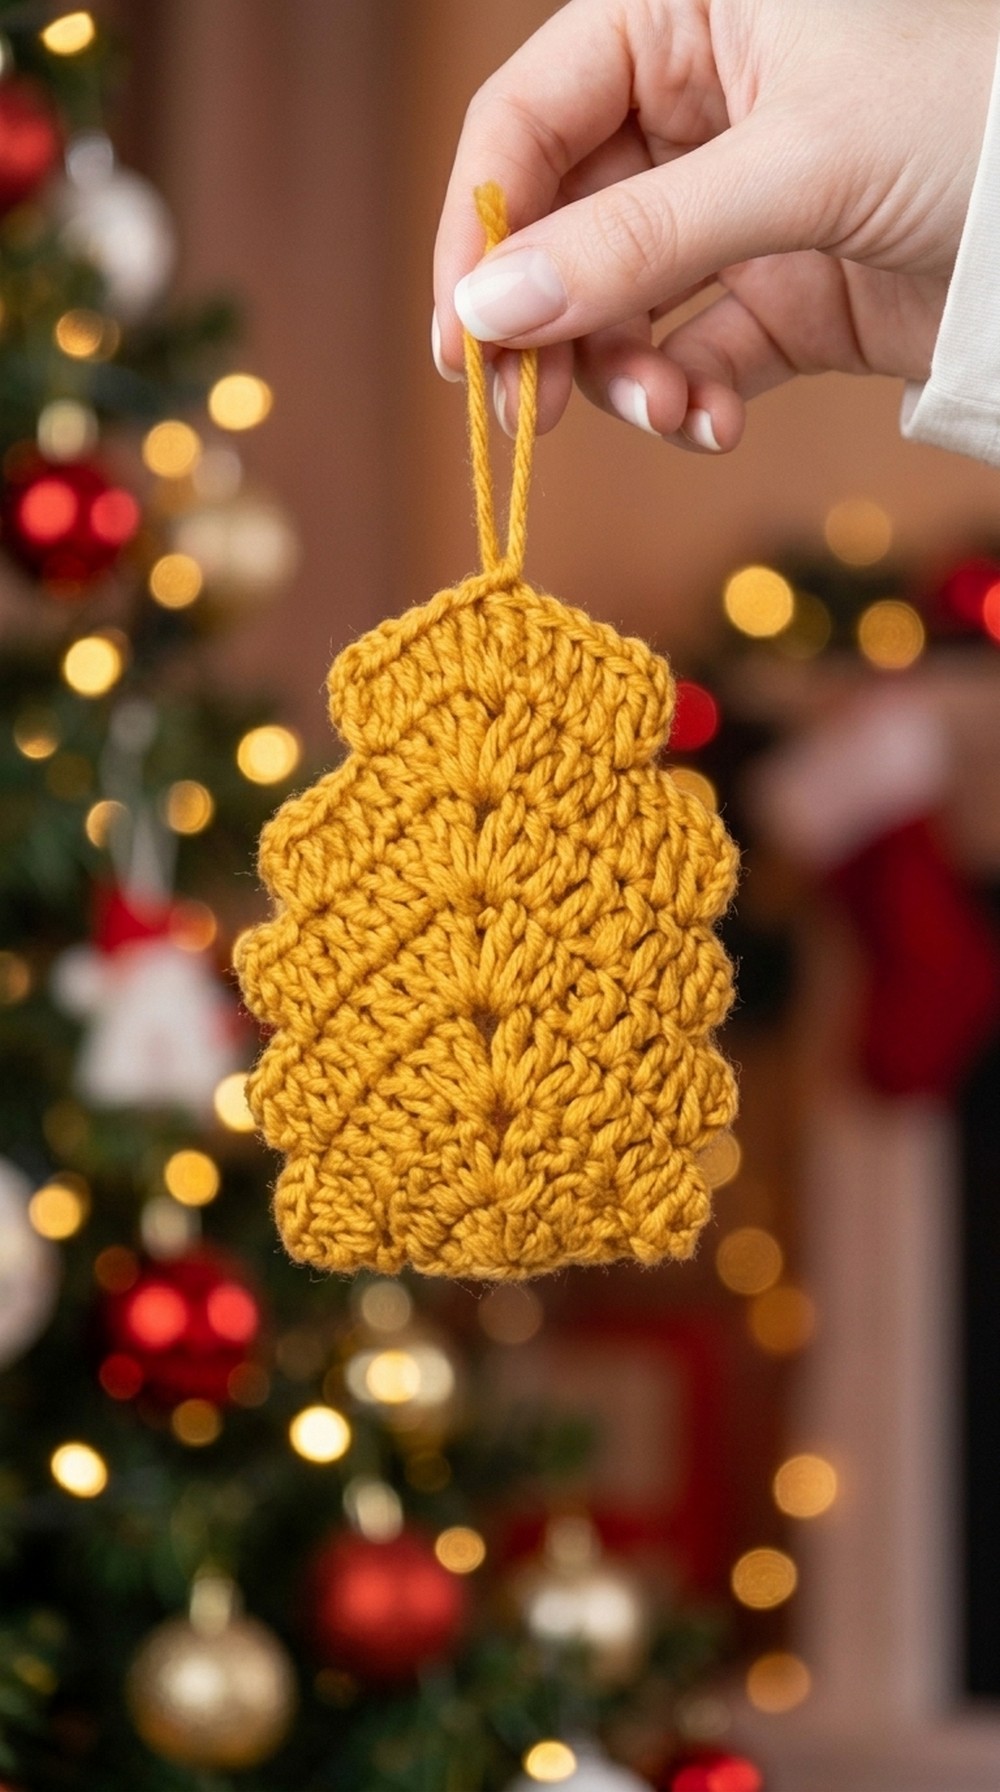
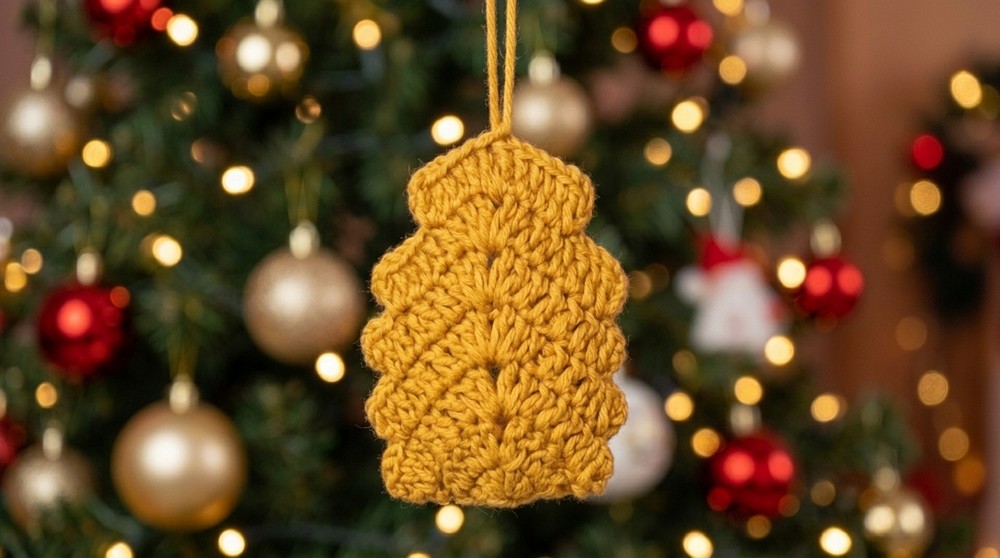
We're going to make this beautiful Christmas tree ornament pattern. You can use it as a keychain, key ring, or a Christmas tree ornament, just simply put your little Christmas tree on your Christmas tree as a decoration, and it will look perfect. For this project, I've used 100% cotton yarn with a 3mm crochet hook. So, let's begin.
Quick Overview of the Pattern
- Crocheted in 2 identical pieces and assembled
- Worked with double crochets, chains, and some treble crochet
- Features layered branches, classic Christmas tree shape
- Stuffed ornament for 3D effect
- Includes loop at the top for hanging
- Easy assembly with whip stitch using back loops
Notes
- The pattern is worked in rows (or rounds), referencing "rounds" throughout.
- All instructions use US crochet terms.
- The pattern builds from the bottom up with layers.
- Each layer is crocheted separately and then joined to create dimensionality.
- This pattern is ideal for using leftover yarn and can be personalized with colors or embellishments.
Skill Level
Beginner to Intermediate
(Requires understanding of basic stitches and some simple shaping)
Materials
- 100% cotton yarn (suggested colors: green, but can also use red, white, or any festive shade)
- 3mm crochet hook
- Tapestry needle for sewing pieces together
- Soft stuffing for filling the ornament
- Scissors
Measurements / Sizing
- Finished tree approximately fits in the palm of your hand; about 10–12 cm (4–5 inches) tall, excluding hanging loop
- Optional schematic:
- The tree is triangular with a slightly rounded edge and layered branches.
Gauge
- Gauge is not crucial for ornaments but for reference:
- 7 double crochets across = approx. 2.5 cm (1 inch)
- Adjust hook size for desired firmness or size.
Stitch Abbreviations
- ch = chain
- dc = double crochet
- tr = treble crochet
- sc = single crochet
- sl st = slip stitch
- sts = stitches
- rep = repeat
Special Stitches
- Treble Crochet (tr): Yarn over twice, insert hook into stitch, yarn over and pull through (4 loops), yarn over and pull through 2 loops (3 times).
- Whip Stitch (using back loops only): Sew the two pieces together by picking up only the back loops of each stitch.
The Crochet Pattern
TREE BASE (Make 2 identical pieces)
Round 1:
- Start with a slip knot.
- Chain 4 (ch 4).
- Skip the first 3 chains; insert your hook into the 4th (last) chain.
- Chain 3 (ch 3) (counts as first dc).
- Yarn over, insert hook into the last chain, and work 6 more double crochets (dc) (total 7 dc, including the ch 3).
- End round.
Round 2:
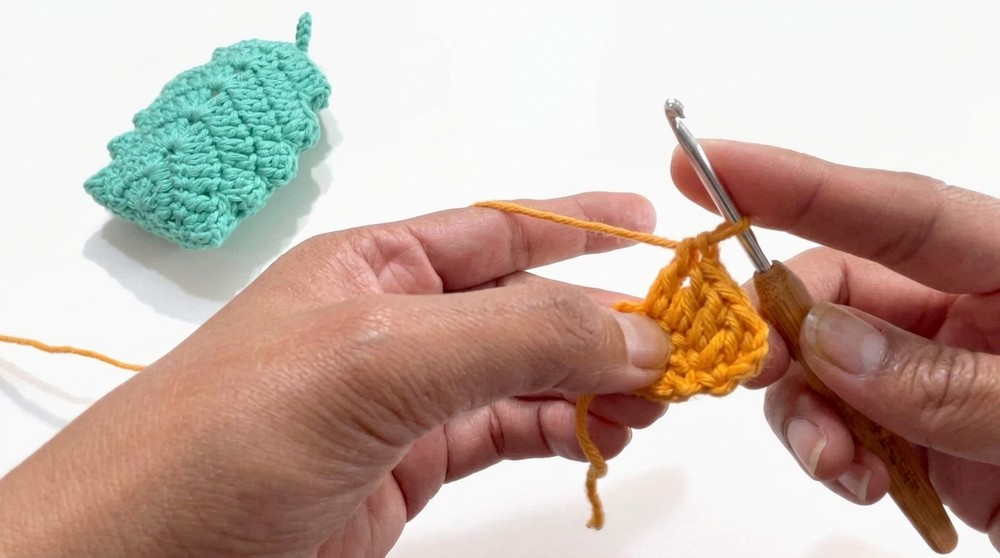
- Turn work. Chain 3 (ch 3) (counts as first dc).
- Insert hook into the same stitch as the ch 3; make one more dc.
- Next 2 stitches: 1 dc in each stitch.
- In the middle stitch:
- 2 dc, ch 1, 2 dc (all in same stitch).
- Next 2 stitches: 1 dc in each.
- In the top ch 3 from previous round: 2 dc.
- You should now have 12 dc clusters and a center ch-1 space.
Round 3:
- Turn work. Chain 3 (counts as dc).
- In the first stitch, work 1 dc (total 2 dc).
- Next 5 stitches: 1 dc in each.
- In the ch-1 space:
- 2 dc, ch 1, 2 dc.
- Next 5 stitches: 1 dc in each.
- In the final ch 3 space: 2 dc.
- End and cut yarn.
- You should have a tiered triangle.
Next Layers (Rounds 4 & 5):
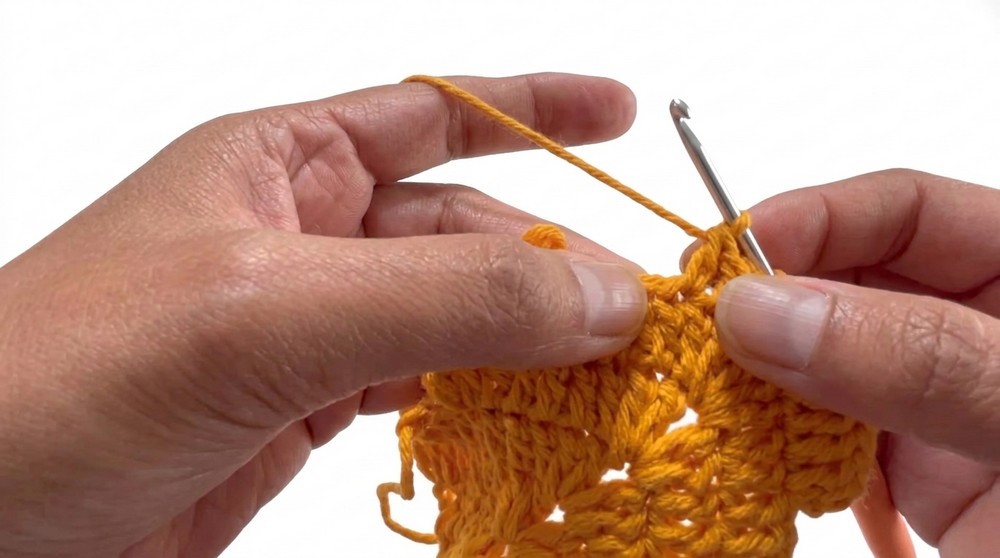
These form the layered branches.
Round 4:
- Count 3 stitches (ch 3 is first dc, then second and third).
- Skip first 3 stitches, insert hook into 4th stitch, attach yarn.
- Chain 3, dc in same stitch (2 dc in one st).
- Next 5 stitches: 1 dc in each.
- In ch-1 space:
- 2 dc, ch 1, 2 dc.
- Next 5 stitches: 1 dc in each.
- In 6th stitch: 2 dc in one stitch.
- Leave last 3 stitches unworked.
- Cut yarn and secure.
Repeat Round 4 two more times for additional branches.
- For each repeat:
- Skip first 3 stitches as above, attach yarn, repeat pattern for layer.
- End and cut yarn after each layer.
Final Layer (Round 5):
- Skip first 5 stitches (the ch 1 counts as first stitch).
- Insert hook into 6th stitch, attach yarn.
- Chain 3, dc in same stitch (2 dc in one st).
- Next 3 stitches: 1 dc in each.
- In ch-1 space:
- 1 dc, 1 tr, 1 dc.
- Next 3 stitches: 1 dc in each.
- In 4th stitch: 2 dc in one stitch.
- Cut yarn and secure.
Loop for Hanging
- Make a slip knot.
- Chain 10 (or more for a larger loop).
- Cut yarn, pull through to secure.
- Attach to the top of the tree by threading through or using your hook.
Assembly & Finished Size
Assembly
- Make two identical Christmas tree pieces.
- Weave in all ends on each piece, placing them at the back.
- Using a tapestry needle and yarn, sew the two tree pieces together using the back loop of each stitch to create a nice seam. Leave a small opening for stuffing.
- Stuff the tree with soft stuffing, but do not overstuff—just enough for a soft, non-chubby finish.
- Finish sewing around the ornament, sealing the opening.
- Attach the loop securely at the top.
- Tie knots and weave in final loose ends.
Finished Size
- The finished ornament is about 10–12 cm (4–5 inches) tall, a perfect fit for your Christmas tree or as a festive keychain.
Conclusion
Your beautiful crochet Christmas tree ornament is now ready! This charming creation can be used in many ways—as a keychain, a hanging ornament, or a delightful festive decoration. With just a 3mm hook and cotton yarn, you have handmade a perfect Christmas addition.



