
Flutter into beauty with this Free crochet Amigurumi butterfly Pattern, making cute, colorful butterflies that bring charm and a sweet touch to any space.
Butterflies have long been a symbol of transformation and beauty, and what better way to capture that essence than creating a handmade crochet piece? This intricate yet versatile crochet brings an adorable and lifelike charm, making it perfect for home décor, gifting, or personalizing everyday items like bags, clothing, or accessories. Using a crochet amigurumi butterfly pattern, enthusiasts can transform simple yarn into enchanting crochet butterflies, blending creativity and skill.
Pretty Crochet Amigurumi Butterfly Pattern For Springtime Projects
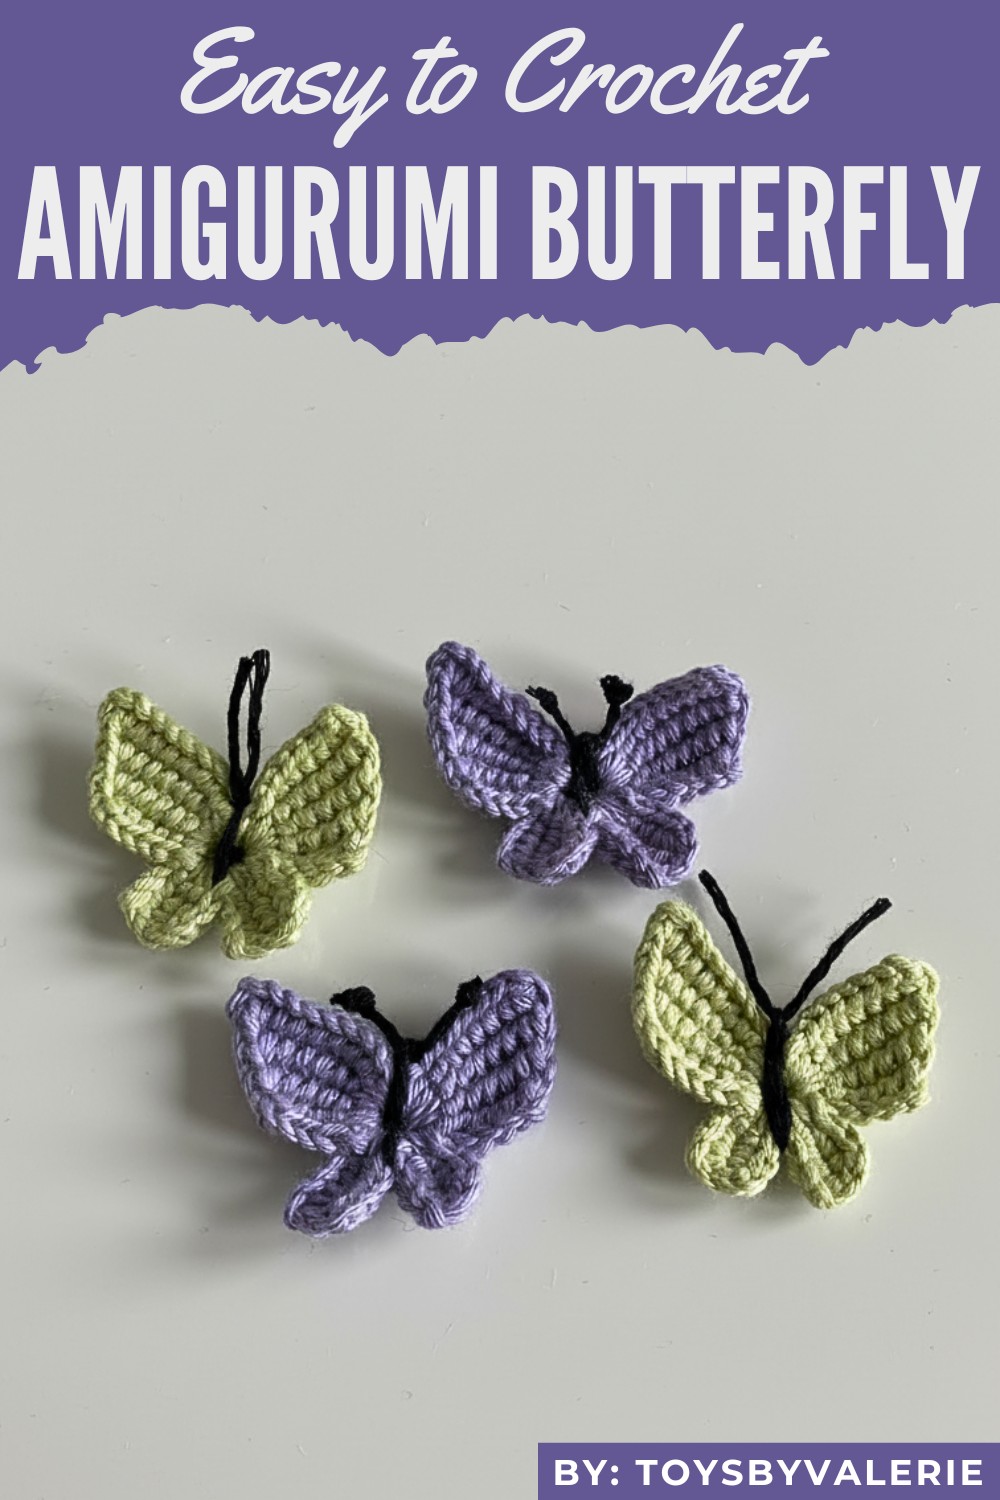
How to Crochet a Butterfly (Step-by-Step Guide)
The tutorial demonstrates how to create a delicate and beautiful butterfly design using Tunisian stitches and slip stitching techniques. The process involves using a magic circle, chains, and careful stitching to shape the wings and antennas for a simple yet effective result. This project is perfect for crocheters looking to explore Tunisian stitching while crocheting a decorative item.
Headings and Step-by-Step Instructions
Materials Required
- Black yarn for antennas (or any preferred color).
- Cotton yarn for the butterfly body (or a stretchier yarn for convenience).
- Scissors.
- Tapestry needle.
- 2 mm crochet hook.
Step 1: Preparation
- Create a magic circle by wrapping the yarn around your fingers.
- Chain 8 stitches to start the base of the butterfly wings.
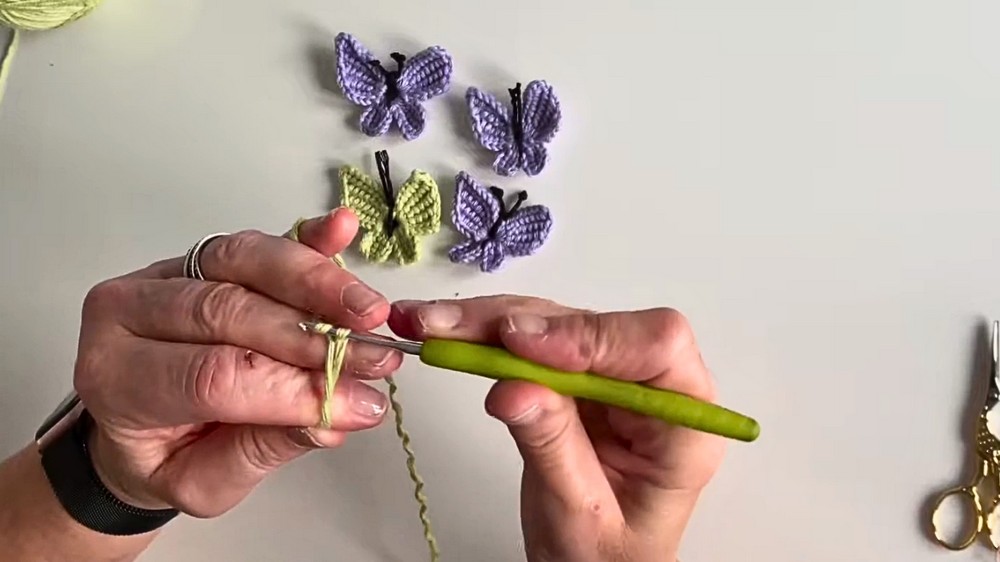
Step 2: First Row
- Pick up the top loops of each chain until reaching the magic circle.
- Connect the chain loops with the magic circle and work back through loops to reduce them to a single chain on your hook.
Step 3: Second Row
- Begin with a decrease. Find the first stitch at the back and perform a slip stitch.
- Pick up all loops along the row, including one in the magic circle, and work toward a single stitch on the hook.
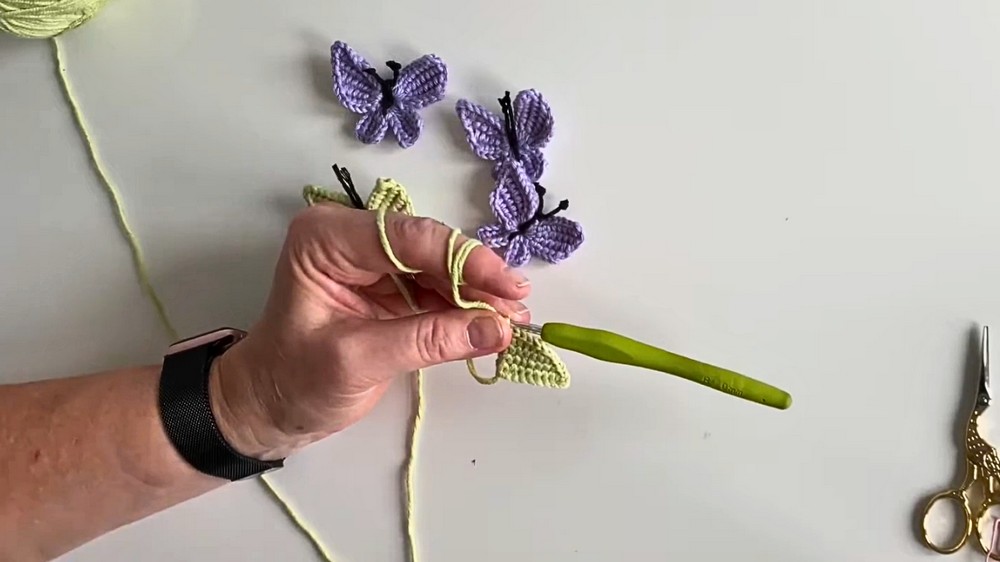
Step 4: Shaping the Bottom Wing
- Repeat the process over the next few rows:
- Decrease at the start of each row.
- Pick up loops, connect to magic circle, and reduce loops as before.
- To finalize the bottom wing, slip stitch down the loops toward the magic circle.
Step 5: Creating the Top Wing
- Start with a new chain of 4.
- Pick up loops and connect them to the magic circle similarly.
- Shape the wing by working rows (without decreasing), maintaining consistency in the loops picked up and reduced.
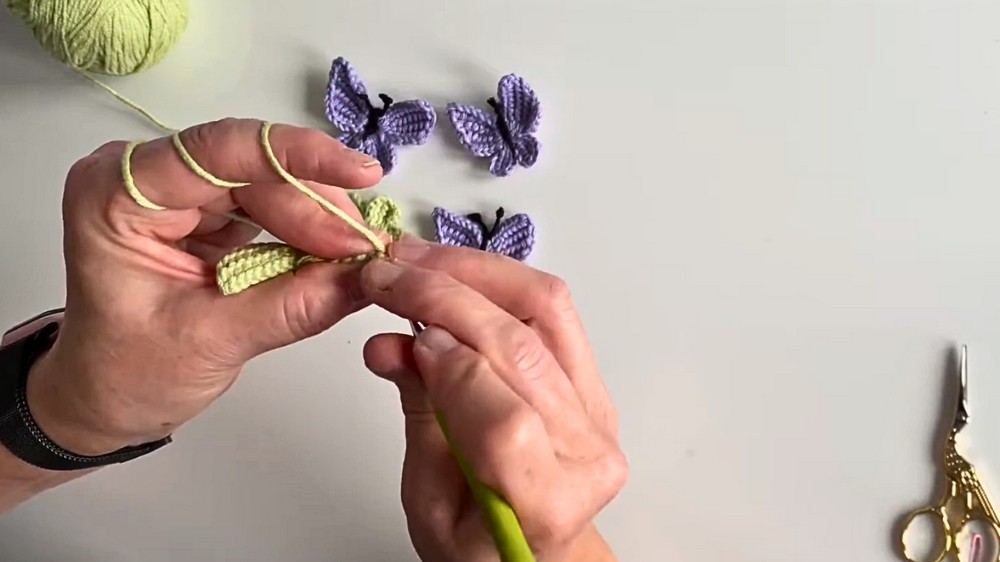
Step 6: Adding More Wings
- Follow the same techniques as previously for additional wings:
- For bottom wings, decrease as described.
- For top wings, increase the chain count slightly and work without decreases.
Step 7: Finishing the Butterfly
- Use slip stitches to tie off both wings securely into the magic circle.
- Tighten the magic circle using the hook to close any gaps.
- Tie and sew the ends into the back loops, trimming excess yarn.
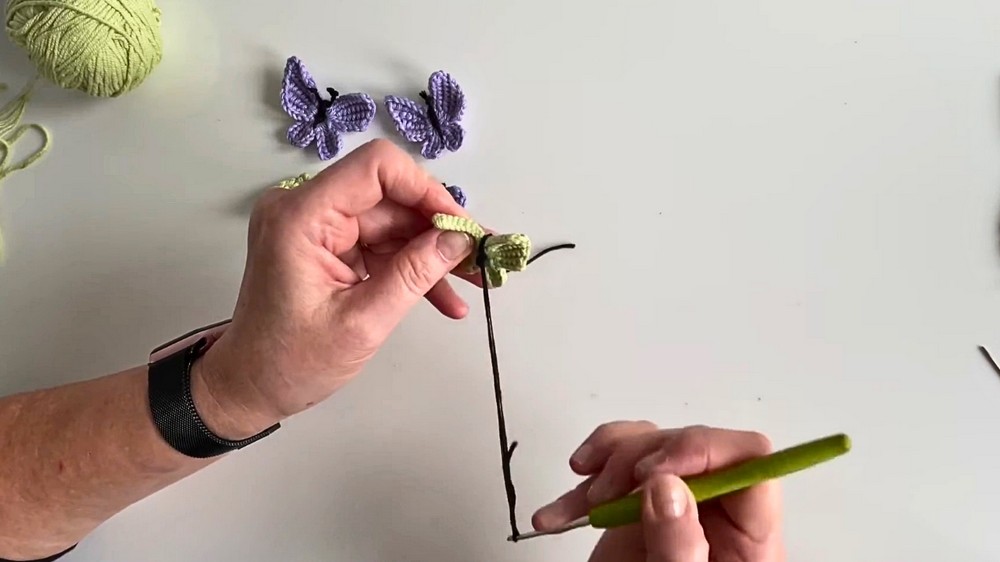
Step 8: Adding Antennas
- Cut a piece of black yarn.
- Secure the yarn at the center of the butterfly by pulling it through the magic circle.
- Adjust the yarn lengths for symmetrical antennas, knotting them as desired for different styles.
Special Features
- Tunisian Stitch: The majority of the butterfly is made using this elegant stitching technique.
- Customizable Design: Tailor the colors, yarn type, and antenna designs for varied appearances.
- Magic Circle: Adds stability and serves as the center for the butterfly’s intricate design.
Level of Difficulty
This project falls under easy to intermediate difficulty. It’s beginner-friendly if you’re familiar with basic crochet techniques like slip stitching, chaining, and working through loops. However, using cotton yarn with a smaller hook may require more precision.
Tutor’s Suggestions
- Yarn Choice: The tutor recommends using standard yarn (e.g., 4-ply or chunky) instead of cotton yarn for easier loop pickups, as cotton tends to shrink and tighten while working.
- Practice: If you're new to Tunisian stitches, practice basic techniques before attempting the butterfly.
- Customize: Experiment with different colors and yarn textures for unique butterfly designs.
Uses
This butterfly design is versatile and can be used for:
- Decorations: Add it to garments, bags, hats, or home decor items like cushions.
- Gift Embellishments: Attach it to gift wrapping for a personalized touch.
- Accessories: Turn it into brooches, pins, or hair accessories.
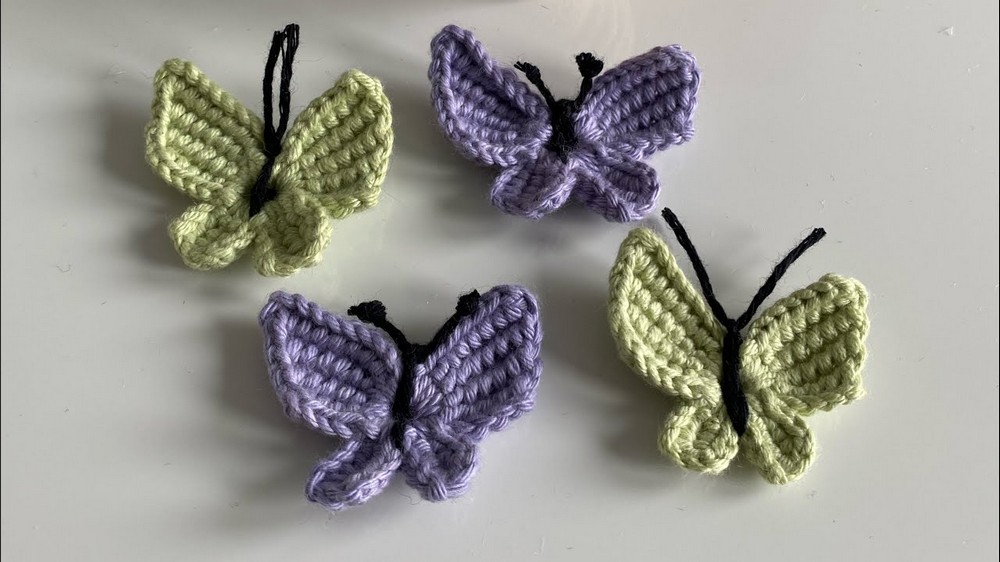
This type of project offers a unique mix of artistry and relaxation. With soft yarns and detailed patterns, crocheting an amigurumi butterfly allows for endless possibilities in color combinations, shapes, and personalization's. It caters to all skill levels, whether you are a beginner eager to explore amigurumi or an advanced crocheter refining your craft.
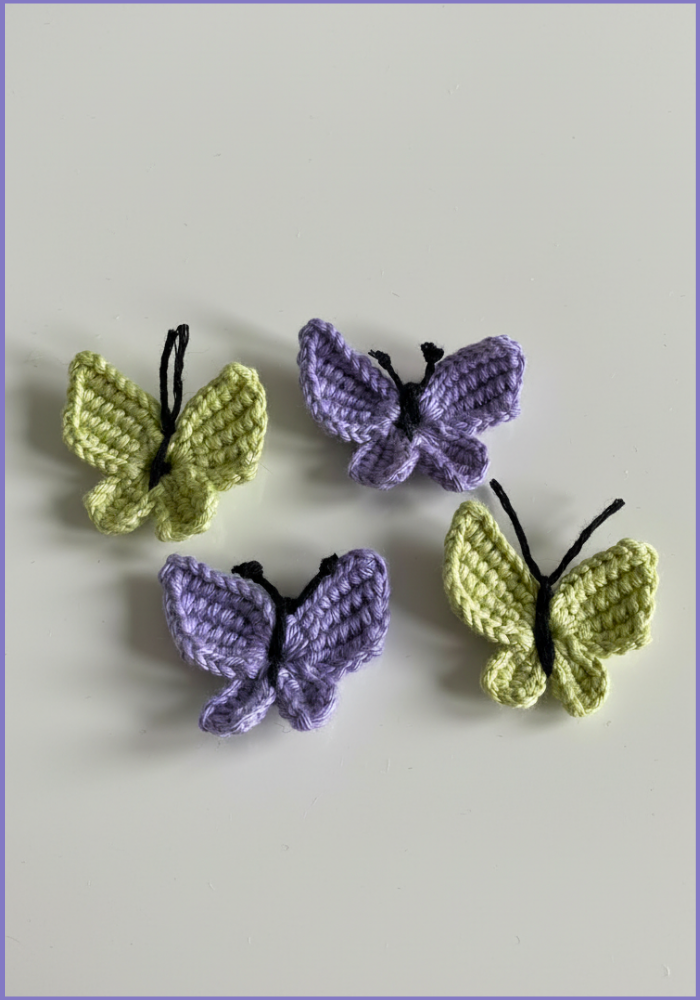
The process of creating something so small yet impactful not only fosters creativity but also enhances patience and focus. The appeal of amigurumi butterflies lies in their versatility and timeless charm.
They can be framed as a wall hanging, stitched onto other fabric creations, or gifted as a thoughtful, handmade keepsake. With a detailed crochet amigurumi butterfly pattern, you can easily craft these little works of art, adding elegance and warmth to any setting.
Useful Points
Tip
For beginners, start with stretchier yarn (e.g., wool) as recommended by the tutor. Stretchier yarn is easier to work with and helps avoid tight stitches when using smaller hooks.
Conclusion
This video tutorial walks you through the charming butterfly crochet project with clear, step-by-step instructions. It highlights techniques like Tunisian stitching and slip stitches while allowing for customization. The end result is a stunning, handmade butterfly suitable for any project. Whether you’re new or experienced, this design is an enjoyable, creative journey.



