
Stay warm and stylish with cozy crochet jacket perfect for every season that add comfort to suit your everyday looks and special occasions effortlessly.
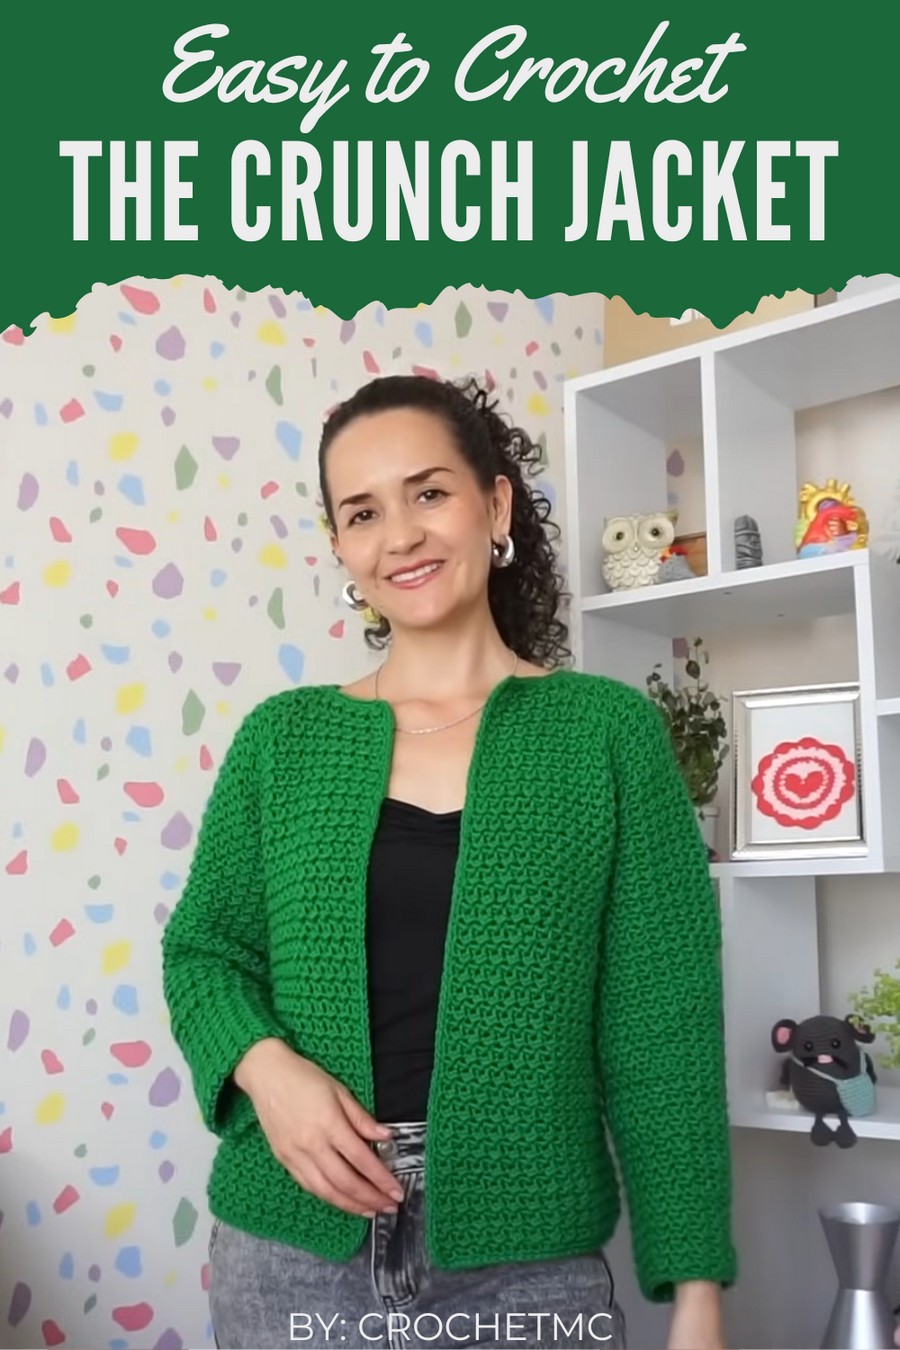
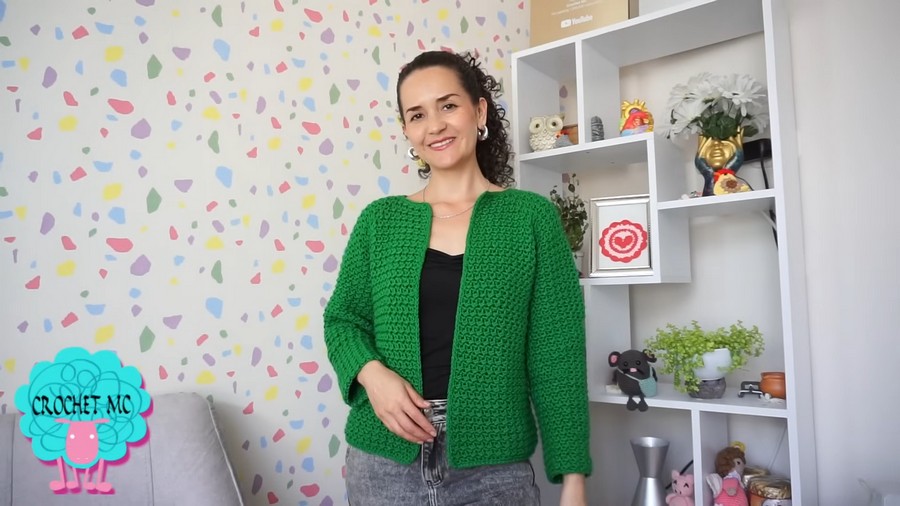
Soft and stylish layers that bring comfort and charm are perfect for adding warmth to your everyday outfits. Whether worn on chilly mornings, relaxed outings, or as statement pieces for special occasions, this crochet jacket offer versatility and personality to your wardrobe.
Stylish Crochet Jacket Pattern to Keep You Warm
Intricate pattern, delicate design, and a range of colors create a timeless appeal, making it suitable for all ages and tastes. this beautiful handmade creation is not only practical but also add a unique touch to your appearance, ensuring you stand out effortlessly while staying cozy and elegant. Turn your look with something truly special and eye-catching.
Materials Needed
Primary Supplies:
- Yarn: Same yarn used for your original jacket. If unavailable, use a matching replacement. Cotton, wool, or acrylic yarns in DK or worsted weight are commonly used for jackets.
- Crochet Hooks:
- 6 mm hook (used for the main garment, as noted in the video).
- 4 mm hook (for the borders and details, to prevent waviness). Adjust sizes based on your tension.
- Buttons: Multiple buttons (approximately 8 buttons, depending on jacket size and design preference).
- Scissors: For cutting yarn ends.
- Tapestry Needle: For weaving in ends and sewing pockets or securing loose threads.
Optional Supplies:
- Measuring tape (for precise placement of borders, buttonholes, and pockets).
- Stitch markers (to mark buttonhole placements and sweater sections while crocheting).
Skill Level
Intermediate
This project requires knowledge of crochet basics, such as half double crochet (hdc), chain (ch), slip stitch (sl st), and working in rows or rounds. Experience with customizing or modifying crochet garments is helpful but not mandatory.
Key Abbreviations (US Crochet Terminology)
- ch: Chain
- hdc: Half Double Crochet
- sl st: Slip Stitch
- st(s): Stitch(es)
- bl: Back Loop (the strand at the back of the stitch)
- fl: Front Loop (the strand at the front of the stitch)
Pattern Overview
- Border Addition: Borders are added to clean up the garment edges and provide a more finished look.
- Bottom border: Worked in alternating front and back loops to create a textured, polished effect.
- Front border: Custom sections are added for aesthetic balance, buttonholes, and closure consistency.
- Buttonholes: Distributed along the front border to accommodate new buttons securely.
- Pockets: Functional pockets are integrated through cutting, securing the edges, and crocheting matching pocket liners.
Step 1: Adding the Bottom Border
- Attach Yarn at One Corner:
- Using the 4 mm hook, select either corner of the bottom edge of your jacket.
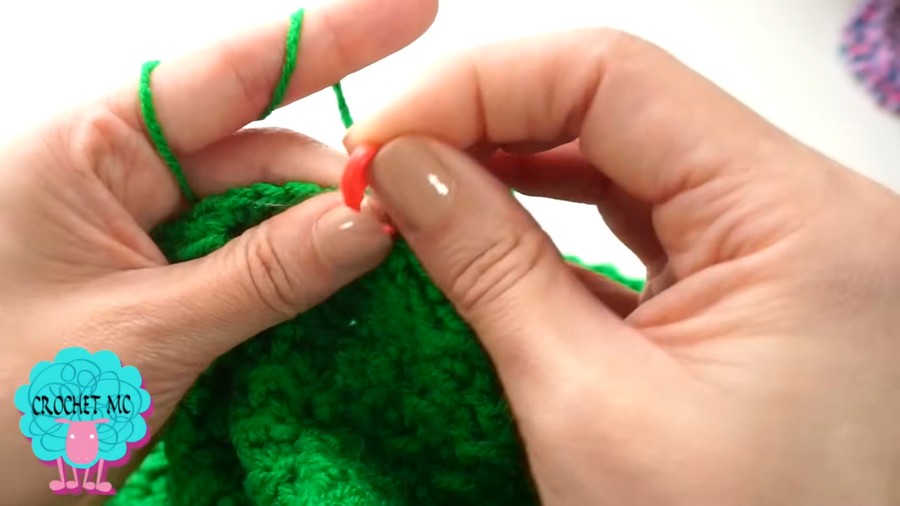
- Tie a slip knot and insert the hook into the corner stitch. Pull the working yarn through, secure with a knot, and make 1 chain stitch. (This chain is purely for height and does not count as a stitch.)
- First Row (Right Side):
- Work along the existing fabric edge using hdc and insert the hook in the back loop only (bl) of each stitch.
- Repeat across the edge, ensuring to work into any existing edge stitches.
- Slip stitch into the last half stitch and chain 1 to turn.
- Second Row (Wrong Side):
- Turn the garment so the wrong side is facing you.
- Begin this row by working hdc stitches into the front loop only (fl) to maintain the alternating textured look.
- Chain 1 to turn again.
- Repeat Alternating Rows:
- Continue this pattern, alternating between bl on the right side and fl on the wrong side.
- Work until the border measures approximately 3 cm or your desired width.
- Finish the Bottom Border:
- End with a slip stitch, chain 1, and cut the yarn, leaving a short tail to weave in.
Step 2: Adding the Front Borders with Buttonholes
- Attach Yarn:
- Attach yarn on the lower left corner of the jacket’s front edge (or whichever side matches your button placement preferences).
- Align Borders to the Bottom Edge:
- Ensure you follow the same texture pattern from the bottom border (alternating bl and fl) as you work up the front edge.
- Creating Buttonholes:
- Buttonhole Spacing:
- Measure and mark the positions of your buttons with stitch markers. Leave 5–7 cm between buttonholes or customize based on preference and jacket size.
- Buttonhole Rows:
- Work hdc normally until you reach a marked buttonhole position.
- At this point, chain 2 (for small buttons) or chain 3 (for larger buttons), skip 2 or 3 stitches at the base, and continue with hdc in the stitch after the skipped ones.
- The skipped stitches create the buttonhole.
- Buttonhole Spacing:
- Finishing the Front Borders:
- Once buttonholes are complete, crochet one additional round of hdc to reinforce the buttonhole section.
- Add rows to match the width of the bottom border (e.g., approximately 3 cm).
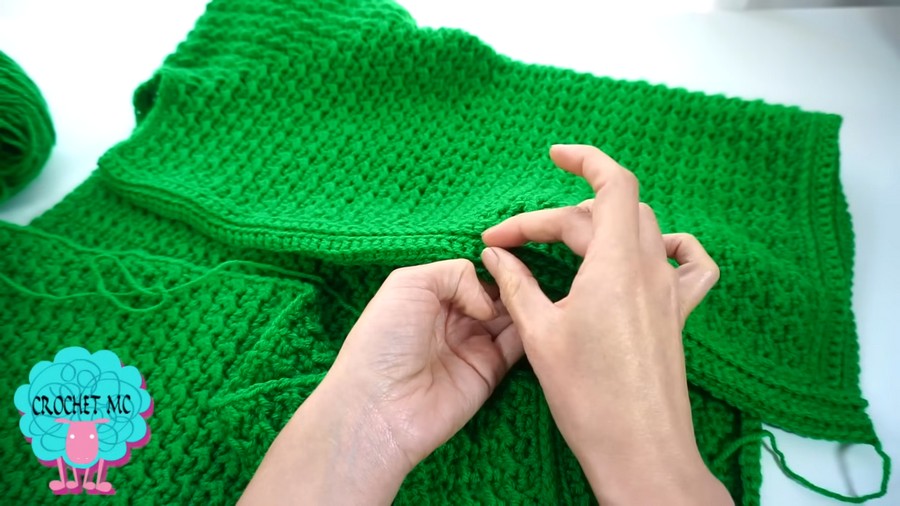
Step 3: Adjusting the Collar
- Create Seamless Collars:
- Begin at the edge of one shoulder seam to crochet seamlessly across the neckline and the outer edges of the increased front border.
- Work in alternating bl and fl rows for consistency.
- Add a Buttonhole (Optional):
- For jackets with a closure near the top, follow the same buttonhole instructions used for the front border and place it accordingly.
Step 4: Adding and Securing Pockets
- Measuring Pocket Placement:
- Wear or lay the jacket flat to determine pocket height and positioning. Ensure both sides are even by using a measuring tape or referencing existing points (e.g., rows or stitch patterns).
- Cutting the Fabric:
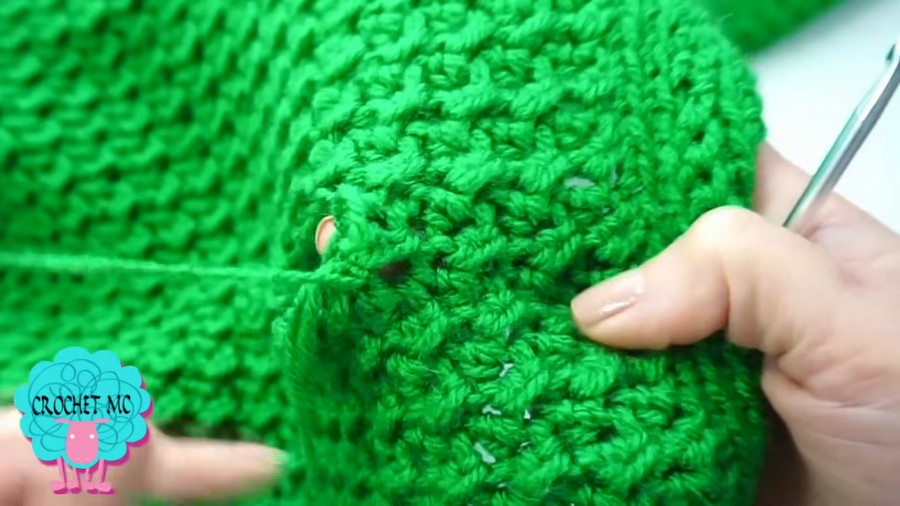
- Carefully cut the fabric of the jacket where the pocket opening will be. Ensure clean and horizontal cuts by following the row lines.
- Tip: Practice on a sample swatch before committing to the actual project.
- Securing Loose Stitches:
- After cutting, immediately secure the edges around the opening:
- Remove any loose threads gently.
- Use the same yarn and your crochet hook to add slip stitches or hdc around the pocket edge to secure it.
- After cutting, immediately secure the edges around the opening:
- Creating Pocket Liners:
- Work the pocket piece separately:
- Start with a foundation chain slightly longer than the pocket opening.
- Crochet rows of hdc until the piece measures the desired pocket depth.
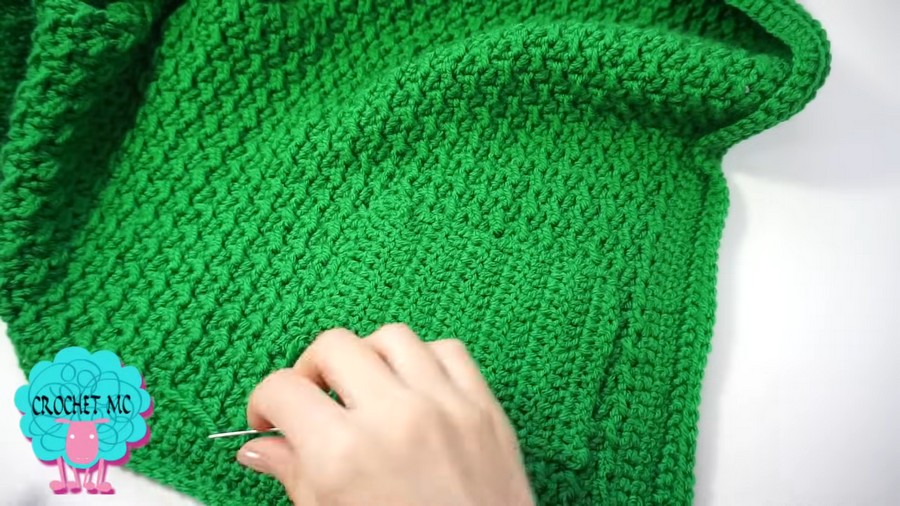
- Sew or crochet the liner to the inside of the opening for a seamless look.
- Work the pocket piece separately:
- Final Pocket Securement:
- Use a tapestry needle to sew the pocket’s edges securely to the jacket fabric. Place the stitches on the wrong side of the fabric.
Tips for Success
- Test the Yarn Tension: Use the same yarn and hook to ensure consistency with your jacket’s original texture.
- Buttonhole Placement: Mark buttonhole placements carefully to maintain symmetry.
- Stabilize Pockets: When working on the pocket, spend extra time on securing the edges to avoid unraveling.
- Practice Cutting: Always practice cutting on swatches to familiarize yourself with the process.
Customization Ideas
- Color Variations: Use a contrasting color for the borders or pockets to create a striking visual effect.
- Pocket Size: Experiment with larger or smaller pocket dimensions based on functionality.
- Stitch Patterns: Incorporate textured stitches, such as bobbles or cables, in the pockets or borders.
- Add Lining: Sew a fabric lining for the pockets to increase durability and functionality.
Conclusion
This simple yet transformative crochet jacket breathes new life into your old crochet garments. By adding borders, functional details like buttonholes, and practical pockets, you can customize your jacket into a stylish and versatile piece. The final product boasts a polished and professional look while retaining the charm of a handmade garment.
Important Reminder: Always test new techniques, such as cutting fabric, on a swatch to avoid irreversible mistakes on your main project. Careful measurements, consistent tension, and secure finishing touches will ensure your project is both stunning and durable.
Pattern Variation (in Color and Size)
- Size Adjustments:
- Expand your garment pattern by adding more rows/rounds for larger sizes or subtracting if the project is for a smaller fit.
- Increase or reduce button numbers and placement to suit individual sizing needs.
- Color Inspiration:
- Use a monochrome palette for a timeless and minimalist look.
- Explore vibrant hues or gradients to give your jacket a modern punch.
- Experiment with color blocking for a trendy effect.



