
Wear Crochet Pumpkin Beret Pattern to make a cozy stylish accessory that adds playful autumn charm to your wardrobe.
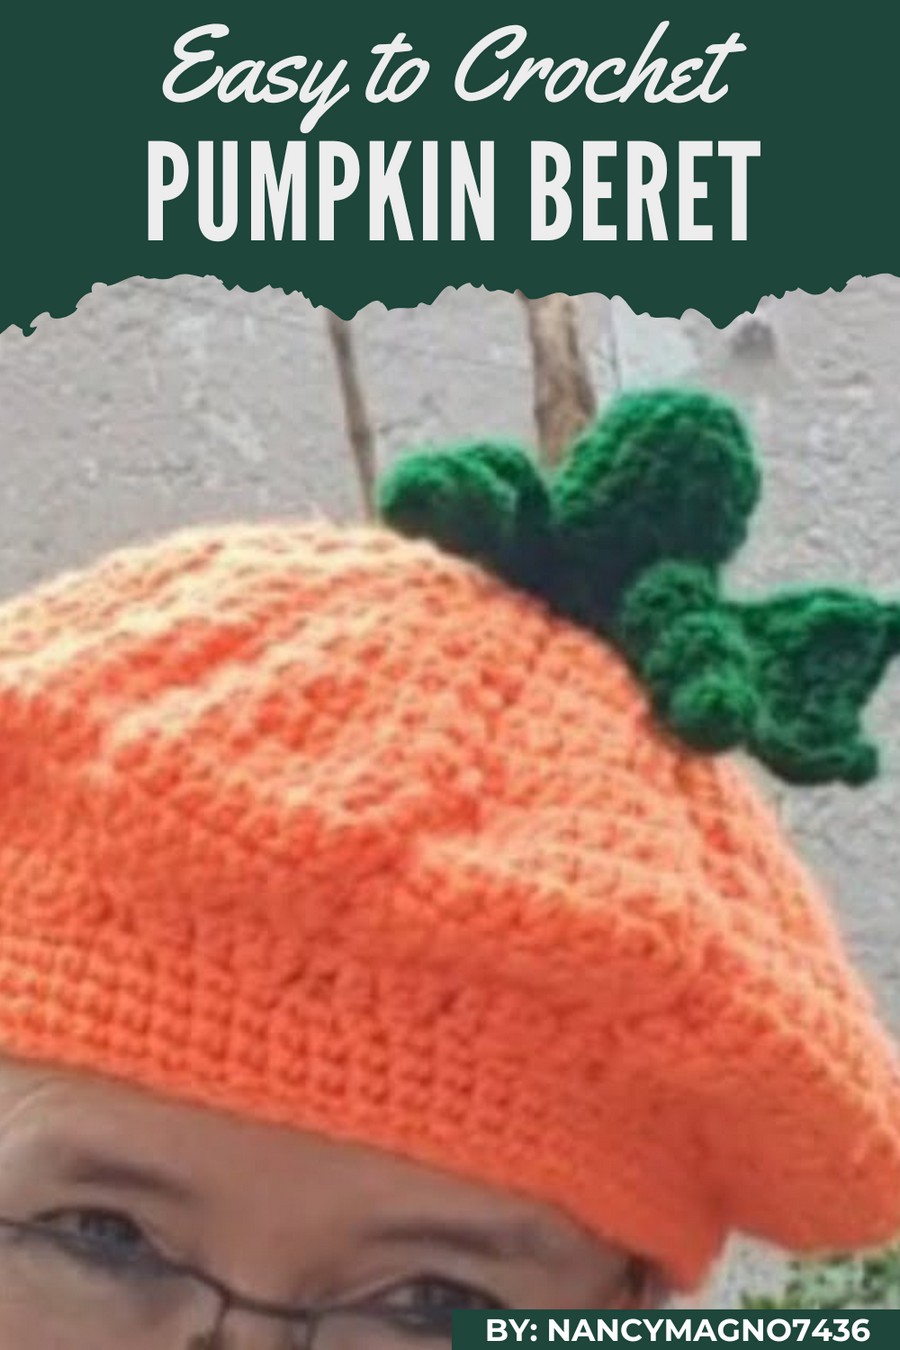
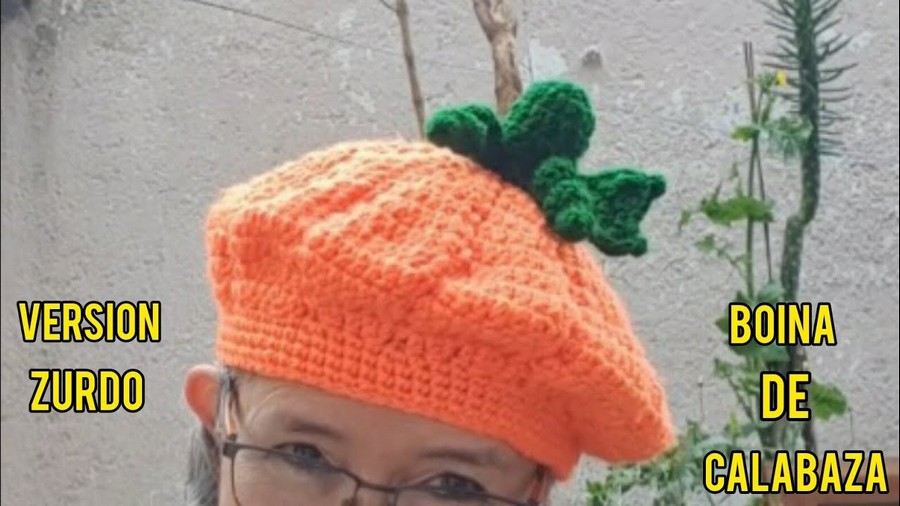
Cold days can make hats feel boring and plain, but this cheerful piece brings warmth and fun at the same time. The Crochet Pumpkin Beret pattern shows a round, soft hat shaped like a pumpkin with bright orange yarn, neat stitches, and a tiny green stem on top that looks playful and cozy.
Simple Croche Pumpkin Beret Pattern with Big Charm
You can wear it in autumn, at parties, for Halloween, or just to add a cute touch to any outfit, and it can also be a thoughtful handmade gift. Its most special feature is its pumpkin shape with soft texture, making it unique, eye catching, and full of cozy charm everywhere.
The pattern includes clear step-by-step instructions, simple stitches, and easy-to-follow shaping tips that make it suitable for beginners and experienced crocheters alike.
Materials List
Yarn:
- Primary Yarn: Thick yarn in orange to form the pumpkin structure (approximately 100g needed).
- Accent Yarn: Thick yarn in green for the stem, spirals, and leaf.
Hooks:
- 3mm crochet hook
- 5mm crochet hook
Other Supplies:
- Synthetic stuffing: For the stem for added stability.
- Tapestry needle: To sew the stem, spirals, and leaf securely to the beret.
- Scissors: For cutting yarn.
Skill Level
Intermediate.
This pattern includes working in rounds, increases, decreases, relief (front and back post stitching), and basic picot stitch techniques.
Key Abbreviations (US Terminology)
| Abbreviation | Meaning |
|---|---|
| ch | Chain |
| sc | Single Crochet |
| hdc | Half Double Crochet |
| dc | Double Crochet |
| tr | Treble Crochet |
| sl st | Slip Stitch |
| st(s) | Stitch(es) |
| inc | Increase (two stitches in one stitch) |
| dec | Decrease (crochet stitches together) |
Pattern Notes
- Rounds: Work in joined rounds using a slip stitch to join at the end of each round.
- Relief Stitches: These are worked around the post (from the back or front), which gives the characteristic textured look of a pumpkin.
- Size Adjustments: You can increase or decrease the number of rounds and stitches depending on the desired beret size.
Step-by-Step Pattern
Part 1: Pumpkin Stem
Using Green Yarn and the 3mm Hook:
- Magic Ring: Create a magic ring and work 12 dc into the ring. (12 sts)
- Pull the magic ring tight to close and finish with a sl st to join.
- Cut and Secure: Leave a tail to sew. Use the tapestry needle to neatly secure and tidy the edges.
This forms the top part of the pumpkin stem. Set aside for later assembly.
Part 2: Pumpkin Beret
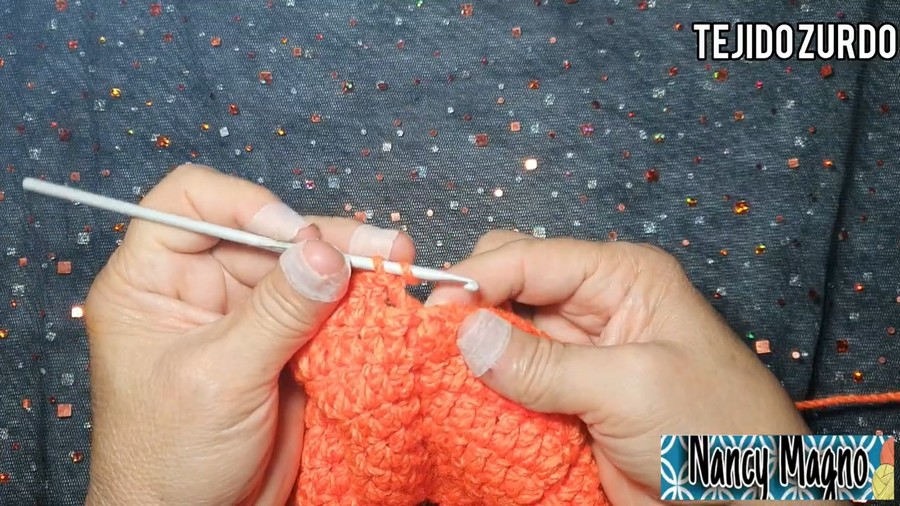
Using Orange Yarn and the 5mm Hook:
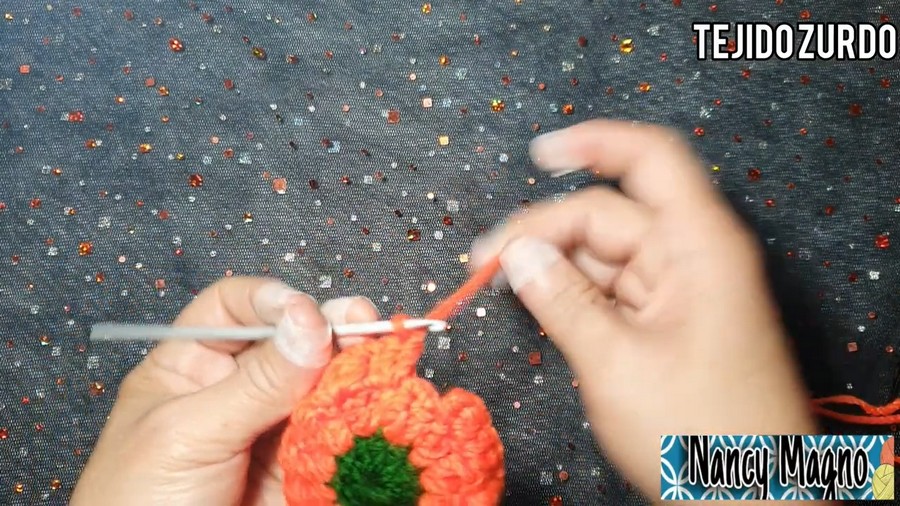
Round 1:
- Create a magic circle. Work 12 dc into the circle. (12 sts) Close with a sl st.
Round 2:
- Ch 2 (counts as first stitch).
- Work 2 dc in each st around. (24 sts)
Round 3:
- Ch 2.
- Work 1 dc in the first st, 2 dc in the next st around. (36 sts)
Round 4 (Begin Relief):
- Ch 2.
- In the first st, work 1 dc.
- Work a back post hdc (BPhdc) around the next stitch:
- Insert the hook around the back of the next dc from the previous round, yarn over, draw up a loop, and complete the hdc.
- In the next st, work 2 dc in the same st (inc).
- Continue repeating the dc, BPhdc, 2dc inc sequence all the way around. (48 sts total, including 12 relief segments)
Round 5:
- Ch 2.
- For each segment:
- Work 1 dc in the first st,
- Work 1 dc in the next st,
- Work BPhdc around the next stitch,
- Work 1 dc in the next st,
- Work 2 dc (inc) in the next st.
Continue this pattern around. Check to ensure there are 12 raised segments forming the pumpkin texture. (60 sts total)
Remainder of the Rounds:
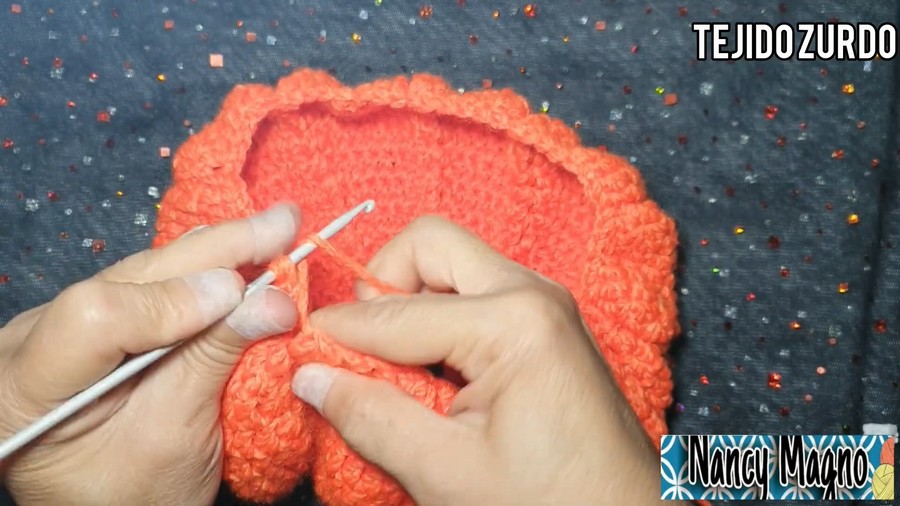
- Increasing Rounds: Continue the sequence of increases in each relief segment until there are 10 dc per segment (not counting the raised BPhdc), or until the beret reaches the desired size.
- Decreasing Rounds: After reaching the desired width, reverse the process by decreasing around the raised segments:
- Work dc dec to reduce 1 stitch in each segment per round.
- Repeat until the beret reaches the desired snug fit at the brim.
Part 3: Pumpkin Stem Spirals
Using Green Yarn and the 3mm Hook:
- Ch 23 for the longer spiral or 15 for a shorter spiral.
- Starting in the 2nd ch from the hook, work 2 hdc in each chain back to the base.
- Once completed, secure with a sl st and leave a long tail for sewing.
The spirals will naturally curl. Make 2-3 spirals for the pumpkin detail.
Part 4: Pumpkin Leaf
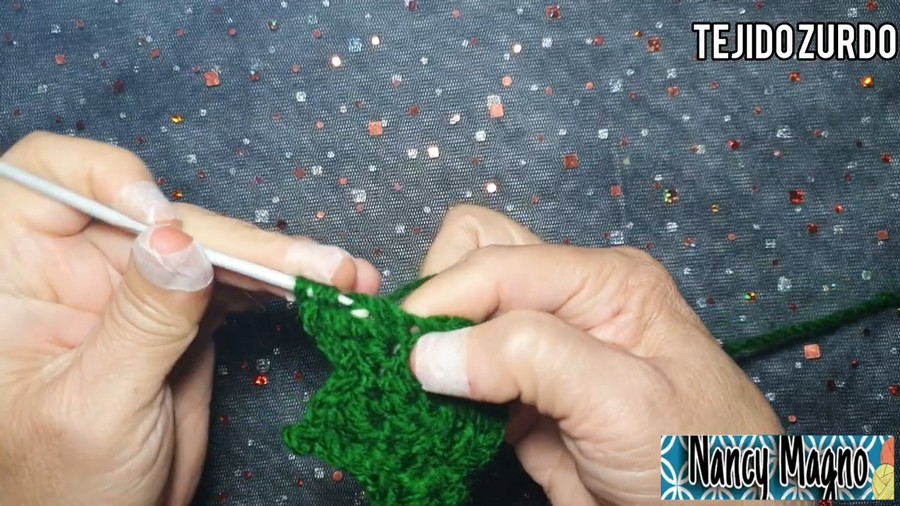
Using Green Yarn and the 3mm Hook:
- Magic Ring:
- Work 9 sc into the magic ring, tighten to close, and join with a sl st. (9 sts)
- Round 2:
- Ch 1. Work 2 hdc in each st around. Close with a sl st. (18 sts)
- Round 3:
- Ch 1. In the same st, work 1 hdc, 1 dc, make a picot stitch (ch 3, sl st into top loop), 1 dc, 1 hdc.
- Sk 1 st and work 1 sc in the next st.
- Repeat the leaf pattern in the next st.
NOTE: For the larger central leaf: Work 1 hdc, 1 dc, 1 tr, make a picot stitch, 1 tr, 1 dc, 1 hdc in the same st.
- Repeat for the remaining segments to create your leaf pattern.
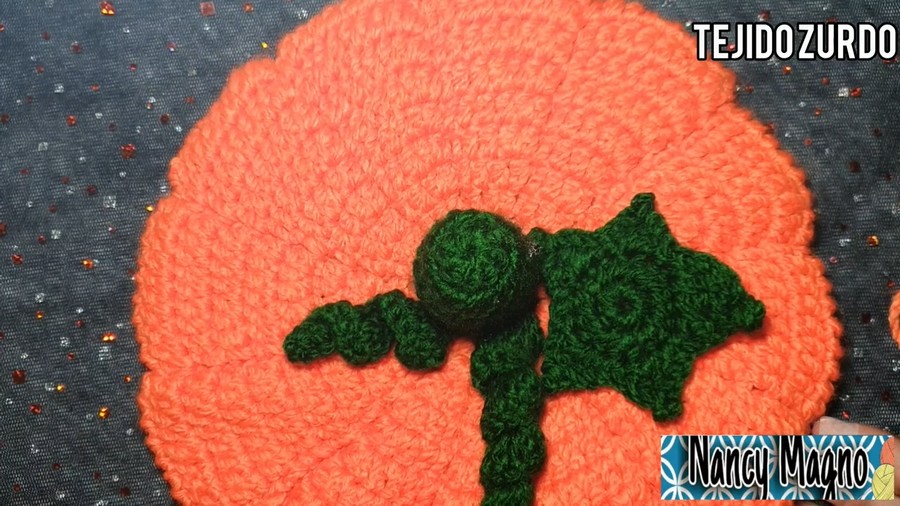
Part 5: Final Assembly
- Sew the Stem:
Insert stuffing into the stem for stability, and sew it securely to the center top of the beret. - Attach Spirals:
Using the tails from the spirals, sew them around the stem in a decorative manner. - Attach Leaf:
Sew the leaf at the base of the stem for the perfect pumpkin finish.
Tips for Success
- Tension Control: Keep your tension even throughout for a clean, neat finish.
- Relief Stitches: Be consistent with your front and back post stitches to maintain an even look for the pumpkin texture.
- Customize Size: Add or reduce rounds to adjust the beret size for children or adults.
- Embroidery Option: Add decorative embroidery details like vines or stitches for enhanced realism.
Customization Ideas
- Color Variations: Use pale yellow or white yarn for a mix of pumpkin varieties like gourds or ghost pumpkins.
- Glitter Yarn: Add a sparkly yarn to the relief segments for a touch of glamour.
- Leaf Detail: Create multiple leaves with different shades of green for added detail.
Conclusion
Your festive pumpkin beret is complete! It’s a playful and versatile accessory that’s perfect for autumn festivals, Halloween celebrations, or just a fun seasonal outfit. Whether created for a baby, child, or adult, this beret can be customized in size and color to suit your needs.



