
Stay cozy and stylish with an easy crochet cardigan pattern perfect for wearing while showcasing your unique style in every stitch.
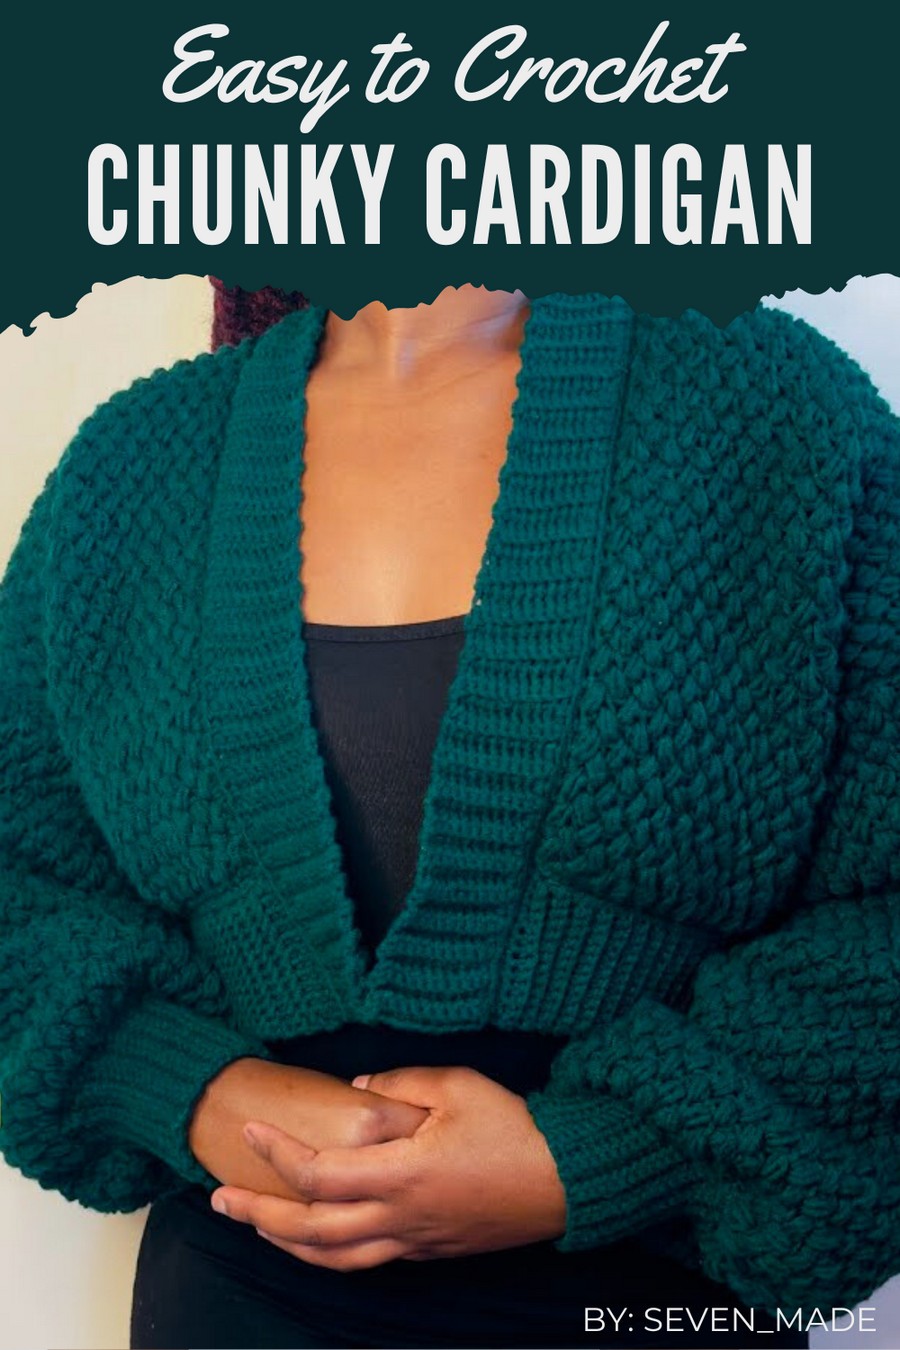
Stay cozy and stylish year-round with this Free Crochet Cardigan Pattern that’s perfect for layering and adding charm to your wardrobe. Whether you’re dressing up for a cool evening out or relaxing at home, this cardigan pattern combines comfort with versatility.
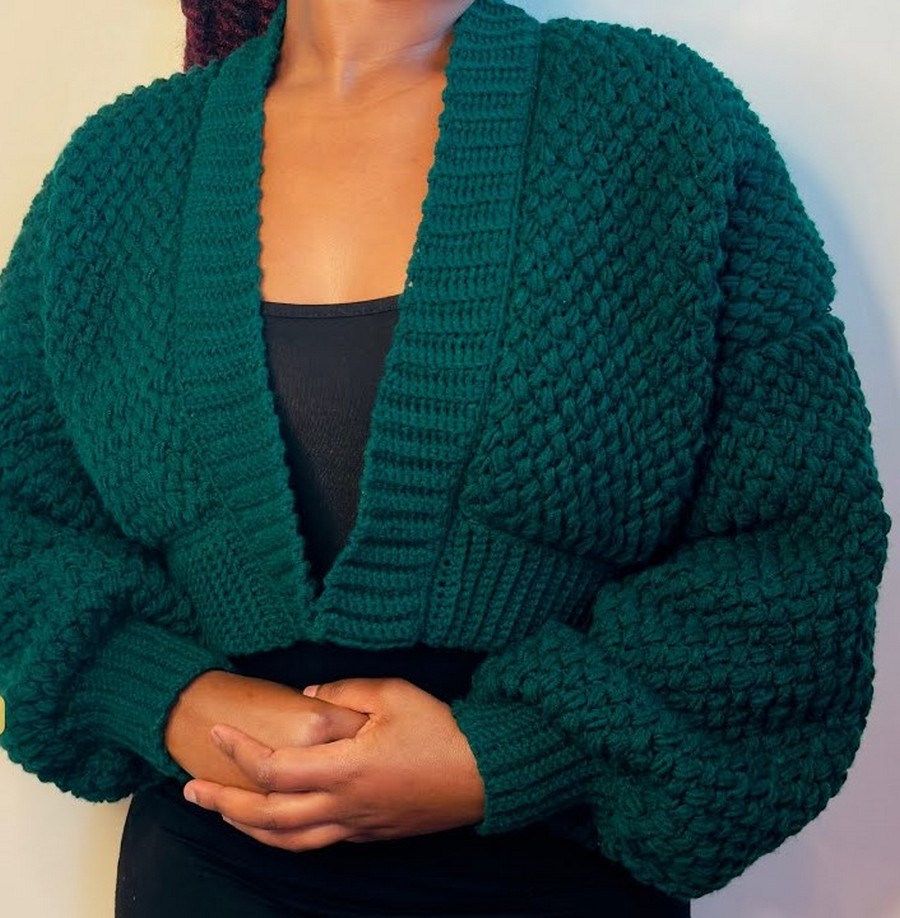
Easy-Fit Crochet Cardigan Pattern For The Perfect Look
It’s easy to customize to your preferred length, fit, and color, making it a go-to for all seasons. Crocheted with lightweight yarn or something chunkier for extra warmth, this cardigan works beautifully as a gift or a staple for your own closet.
Simple to follow yet stunning in design, this pattern is your next favorite crochet project waiting to happen!
Materials Required
Yarn
- Super Saver Yarn or any worsted weight yarn.
- Estimated yarn requirement: ~400g (may vary with size).
- Suggested color: Use solid or mixed shades based on preference; neutral tones or pastels work beautifully.
Hook
- Crochet Hook: 3.5 mm for the main body.
- Crochet Hook: 3.0 mm for ribbing.
Additional Supplies
- Stitch markers (helpful for marking rows and parts to assemble the cardigan).
- Tapestry needle (for weaving in ends).
- Scissors.
Skill Level
Intermediate.
Abbreviations (US Terminology)
- ch: Chain
- sc: Single Crochet
- sl st: Slip Stitch
- hdc: Half Double Crochet
- dc: Double Crochet
- yo: Yarn Over
Special Notes
- Ensure evenly distributed stitches when working on ribbings or attaching panels.
- Start with an even stitch count for the back panel and front panels to maintain symmetry.
- Count stitches at the end of each row to ensure consistency.
Pattern Instructions
Step 1: Back Panel
Foundation Chain
- Begin with a slip knot.
- Chain 80 (for medium size). Ensure your chain is an even number (adjust your chain for other sizes):
- Small: 70 chains.
- Large: 90 chains.
- XL: 100 chains.
Row 1:
- Chain 1 (does not count as a stitch).
- Insert your hook into the second chain from the hook and make single crochet (sc).
- Continue working sc in every chain across. (80 sc total).
- Chain 2, turn your work.
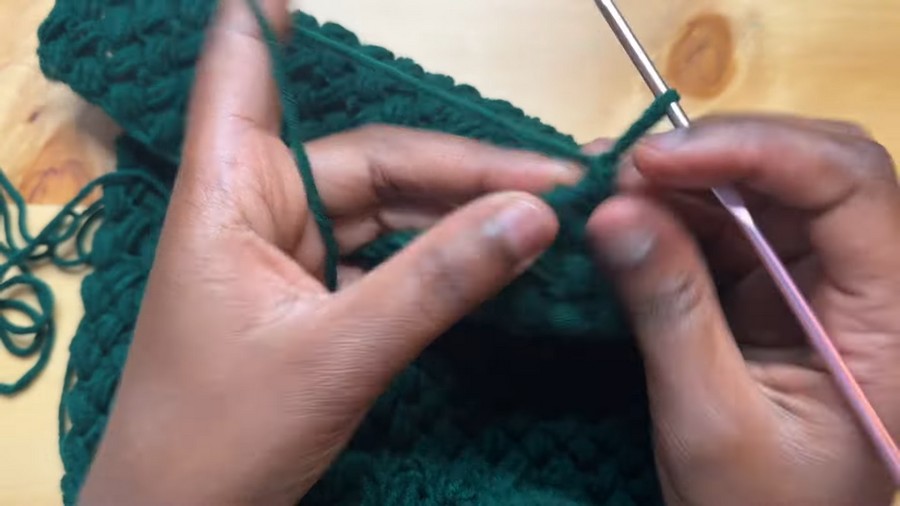
Row 2 (Bean Stitch Row):
- Skip the first stitch. In the next stitch:
- yo, insert hook, pull through, repeat this step into the same stitch until there are 6 loops on your hook.
- Yarn over, pull through all loops.
- Chain 1 and skip the next stitch.
- Repeat the bean stitch in each stitch across, finishing with a single bean stitch in the last stitch.
- Chain 2, turn your work.
Repeat Row 2 until you have 37 rows in total (or desired length). Secure the yarn and fasten off.
Step 2: Front Panels
Make TWO matching front panels.
Foundation Chain
- Chain 32 (for medium size). Adjust based on back panel width and sizing.
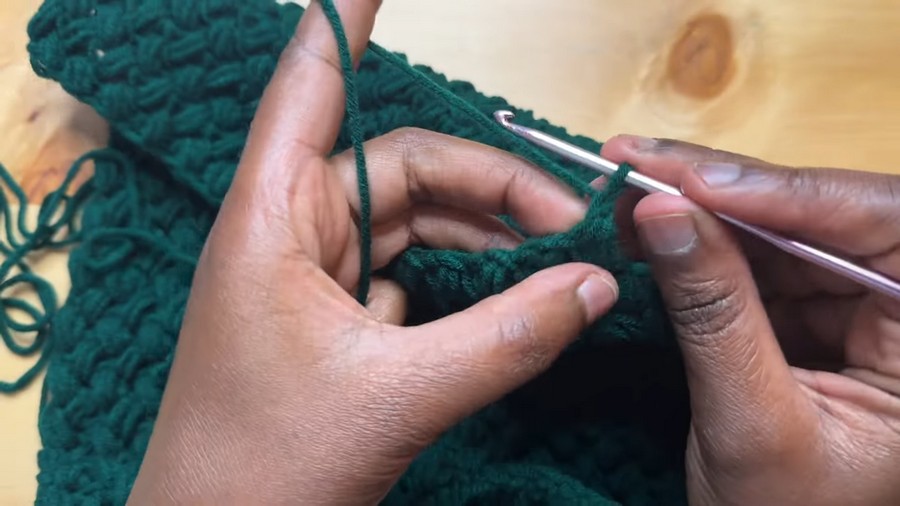
Rows:
- Follow the same pattern as the back panel using the bean stitch for 37 rows.
- Ensure to leave a central gap of 5 inches (neckline) while counting placement on the back panel when attaching.
- Once completed, create a single crochet border along the front edge of each front panel to give it a neat and polished look.
Step 3: Sleeves
Foundation Chain
- Chain 60 (for medium size).
Rows:
- Row 1: Work a row of single crochet starting from the second chain.
- Row 2: Begin the bean stitch row as described in the back panel section.
- Repeat the bean stitch rows until you have 42 rows (adjust for desired sleeve length).
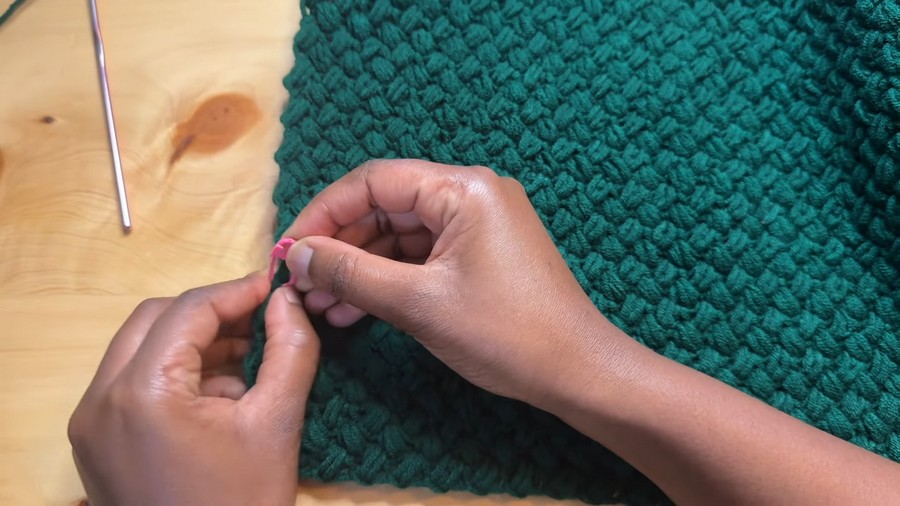
Final Touch:
To add ribbing to the sleeves:
- Chain 12.
- Work back loop only single crochets for ribbing, attaching it along the edge of the sleeve, row by row.
- Seam the sleeves using slip stitches or single crochet after attaching the ribbing.
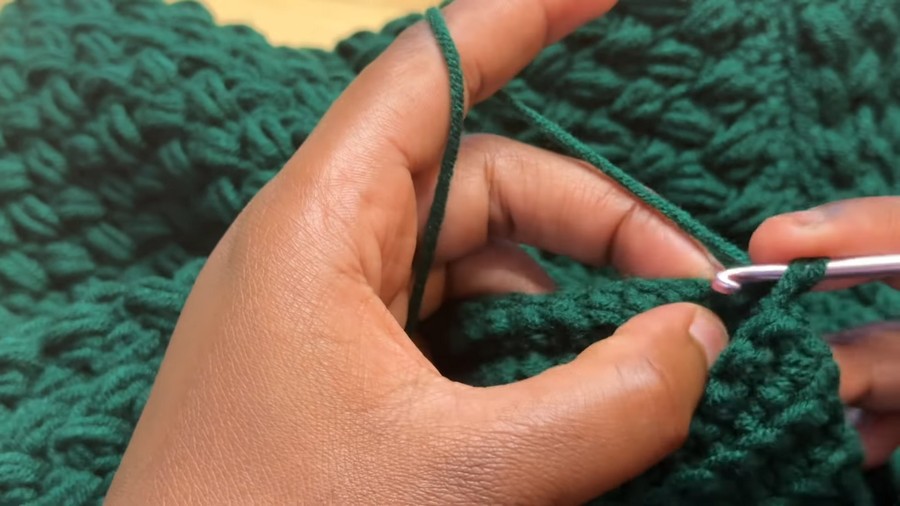
Step 4: Assemble Panels
- Place the back panel and front panels together with the right sides facing each other.
- Use slip stitches or single crochets (working through the back loop of one panel and both loops of the other to avoid bulk) to join at the shoulders.
- Place the sleeve tops evenly on the armholes of the assembled panels, attaching to the 7th row from the neckline marker.
- Seam the sides of the body and underarms of the sleeves.
Step 5: Bottom Ribbing
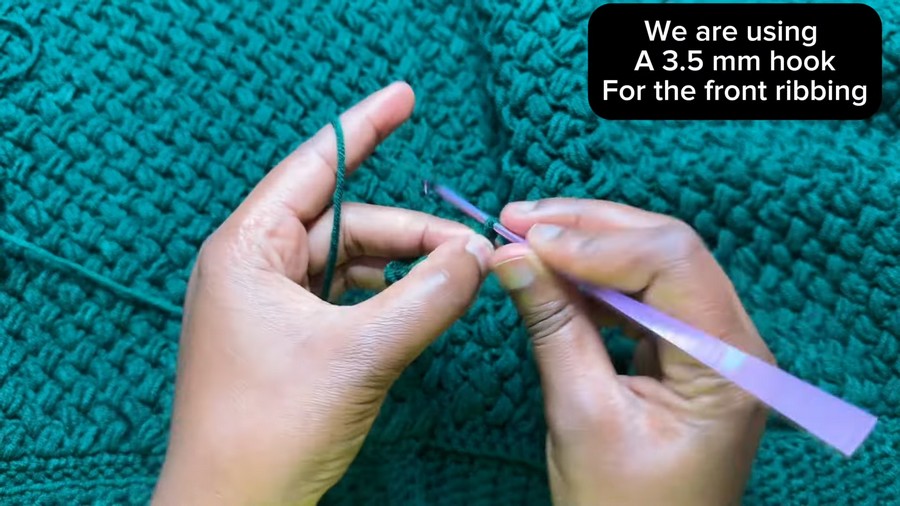
- Switch to the 3.0 mm hook for a more structured ribbing.
- Chain 12, leaving a long tail for sewing later.
- Work back loop only single crochets (BLO sc) along the chain for the ribbing.
- Attach the ribbing to the bottom edge of the cardigan using slip stitches as you complete each row.
Step 6: Front Ribbing
- Using the 3.0 mm hook, chain 10 for ribbing.
- Work back loop single crochets for ribbing, attaching evenly along the front edges of both panels and neckline.
- Make adjustments in length to fit corners and ensure smooth alignment.
Pattern Variation
Colors
- Try contrasting ribbing for a modern look (e.g., darker ribbing with a lighter main body).
- Use gradient or ombre yarn for added flair.
- Make each panel in a completely different color for a patchwork effect.
Sizes
For larger or smaller sizes: adjust the foundation chain, armhole measurements, and rows accordingly:
- Small: Start with 70 chains for the back panel.
- Large: Start with 90 chains for the back panel.
- Extra-large (XL): Start with 100 chains for the back panel.
Tips for Success
- Gauge Check: Make a small swatch to ensure your tension matches the pattern.
- Block Your Panels: This will even out your stitches and make the assembly neat.
- Count Stitches Frequently: Fewer or extra stitches can unbalance the ribbing and affect symmetry.
Customization Ideas
- Add decorative buttons on the front ribbing for a classy or vintage style.
- Shorten the length of the back and front panels for a bolero look.
- Add pockets to the bottom of the panels for convenience and style.
Conclusion
Congratulations! You’ve completed a cropped cardigan that is chic, versatile, and perfect for layering over outfits. With its modern design and adjustable length, this piece can be worn casually or dressed up for more formal occasions. The finished cardigan has a clean ribbed look, bean stitch texture, and an overall cozy aesthetic.



