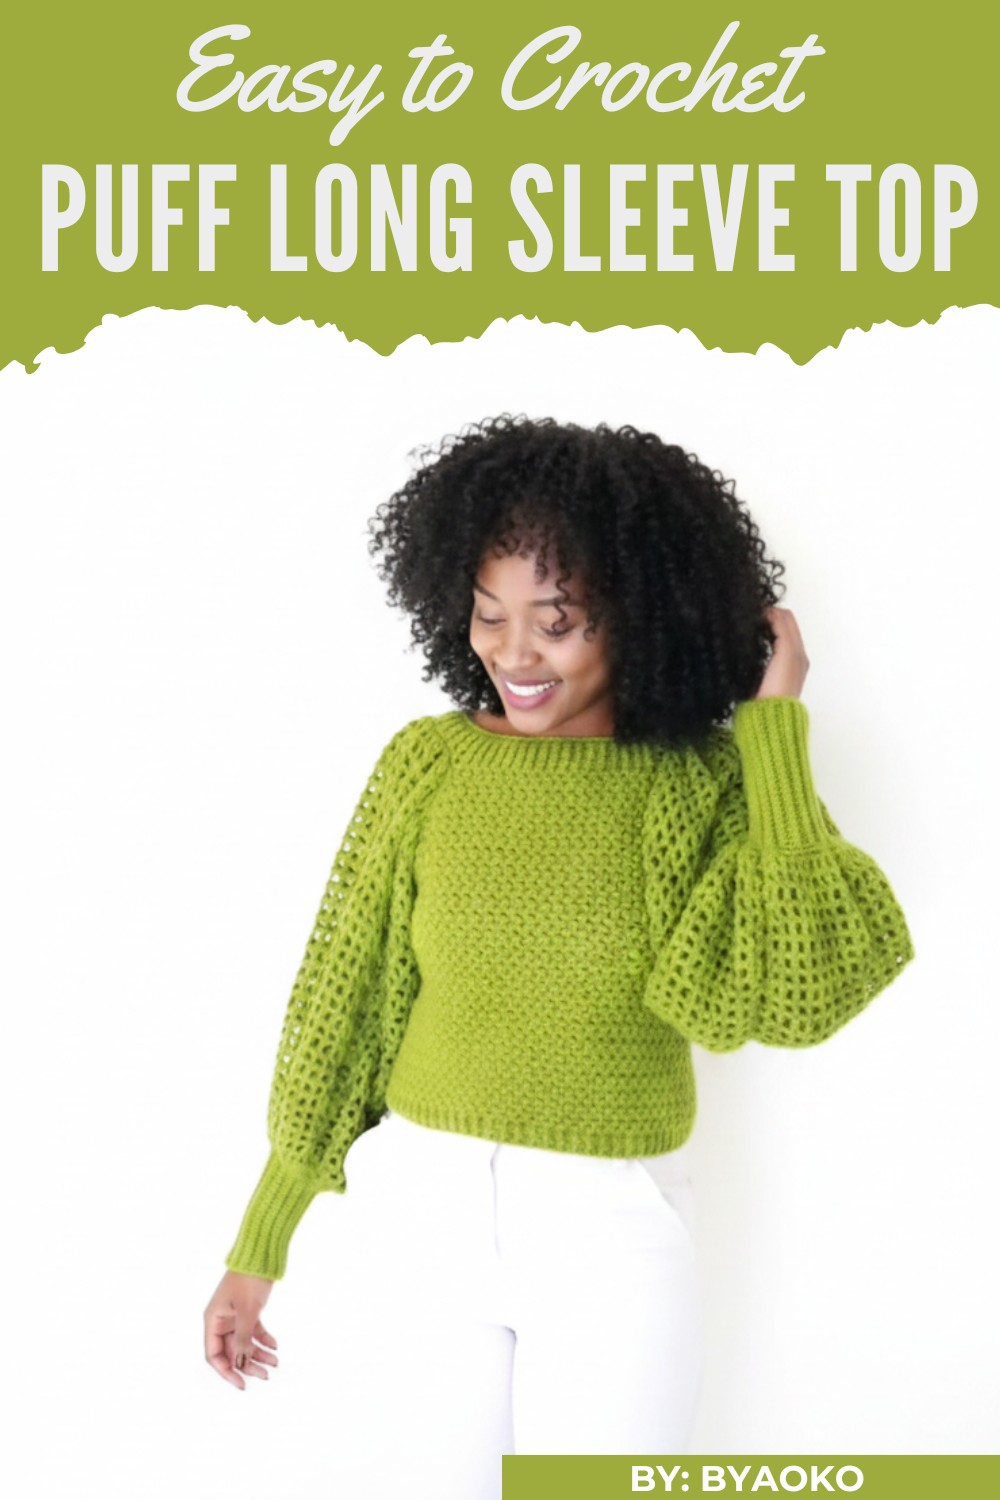
Master the art of crochet with this free puff sleeve top pattern, offering step-by-step instructions to craft a trendy, puffy-sleeved garment for any wardrobe.
There’s something magical about turning a simple yarn and hook into a beautiful piece of clothing. Imagine wearing a cozy, elegant top that you made with your own two hands. That’s the charm of this puff long sleeve crochet top. This pattern uses the "Free Crochet Puff Long Sleeve Top pattern," guiding you to create a stylish garment with a unique puff-sleeve design that adds flair to any outfit. Made with soft acrylic yarn, it’s lightweight yet cozy, making it perfect for both casual wear and special occasions.
Easy-to-Customize Puff Sleeve Crochet Top for All Sizes
The top is made by first crocheting the front and back panels, starting at the neckline and working downward. Step-by-step, you’ll shape the garment while maintaining a smooth, even structure using simple techniques like bean stitches, chain stitches, and basic slip-stitch joins. The puff sleeves are created by increasing stitches, resulting in a dramatic, voluminous look. The neckline and waistline are given a polished finish with ribbing, using front post and back post stitches.
Puff Sleeve Crochet Top Pattern
Skill Level
- Intermediate to Advanced
This pattern is beginner-friendly but includes techniques like puff stitches, increases, and front post/back post double crochets for ribbing.
Materials List
- Yarn:
- Acrylic yarn, thin weight (doubled to create medium-weight yarn).
- Approximately 8 balls for medium to large sizes (adjust for sizing).
- Yarn Weight (after doubling): Medium (Worsted/Category 4).
- Crochet Hook: 5 mm (US H-8).
- Other Tools:
- Stitch markers (optional, for alignment and marking).
- Darning needle (for weaving in ends and attaching).
- Scissors.
- Measuring tape.
Key Abbreviations (US Terminology)
| Abbreviation | Meaning |
|---|---|
| ch | chain |
| st | stitch |
| SC | single crochet |
| DC | double crochet |
| FPDC | front post double crochet |
| BPDC | back post double crochet |
| sl st | slip stitch |
| rep | repeat |
Special Notes
- Sizing: The pattern includes instructions for sizes Small through XL. Adjust starting chains according to your size.
- SMALL-MEDIUM: Neckline = 8 inches.
- MEDIUM-LARGE: Neckline = 9 inches.
- LARGE-XLARGE: Neckline = 10 inches.
- Tension: Maintain even tension throughout. Consider blocking the finished project for an optimal look.
- Adjustments: The length of the body, width of puff sleeves, and ribbing adjustments are customizable to your desired fit.
Finished Measurements
- Small–Medium: Neckline = 8 inches; body width before seaming ~17 inches.
- Medium–Large: Neckline = 9 inches; body width before seaming ~18.5 inches.
- Large–XLarge: Neckline = 10 inches; body width before seaming ~20 inches.
- Sleeve Puffiness: Highly adjustable based on your increases.
Puff Sleeve Crochet Top Pattern
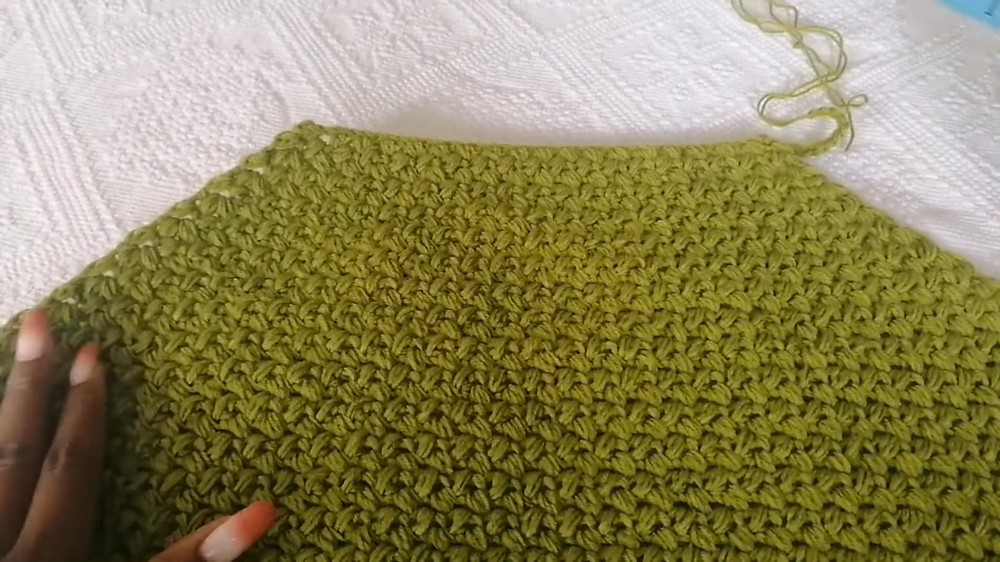
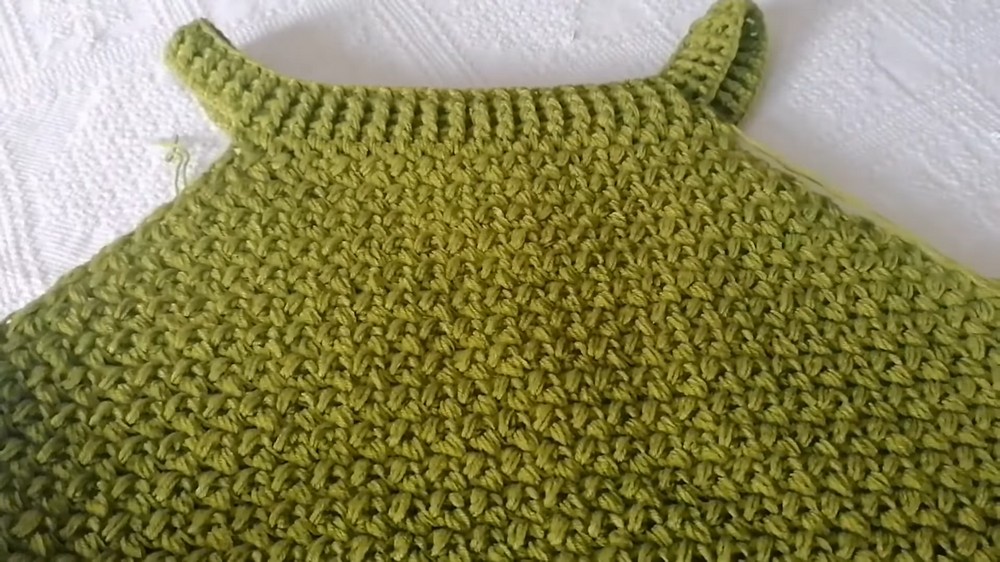
1. Create Body Panels (Front and Back)
Both panels are worked identically, starting from the neckline and going downward.
- Foundation Chain:
- Create a slip knot and chain a length matching your neckline measurement:
- Ensure the number of stitches is even.
- Example for Medium: Chain 45 and adjust if necessary.
- Create a slip knot and chain a length matching your neckline measurement:
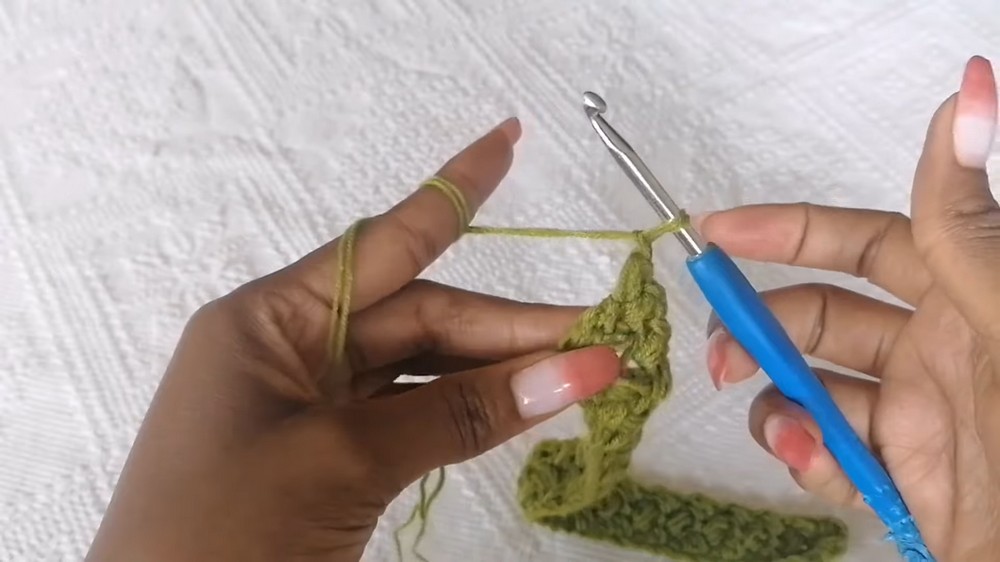
- Row 1 – Bean Stitch Row:
- Skip the first 2 chains (counts as turning space).
- In the 3rd chain, begin a Bean Stitch:
- Insert hook into the chain and pull up a loop (SC base).
- Yarn over, insert back into the same chain, pull up a loop. (Final count = 4 loops on the hook).
- Yarn over and pull through all 4 loops.
- Chain 1 (to close the stitch).
- Skip 1 chain, and repeat the Bean Stitch (described above) across the row.
- End with a complete Bean Stitch.
- Tip: Undo excess chains if needed at the end.
- Row 2 (Straight Row):
- Chain 1, turn.
- Place Bean Stitch in each ch-1 space of the previous row. Begin and end the row with a complete Bean Stitch.
- Row 3 (Increase Row):
- To increase:
- Begin with 2 Bean Stitches in the first ch-1 space.
- Work 1 Bean Stitch in each ch-1 space across.
- In the last space, make 2 Bean Stitches.
- Chain 1 and turn.
- To increase:
- Alternate Increase and Non-Increase Rows:
- Continue alternating increase rows (Row 3) and straight rows (Row 2).
- Repeat this process until the body panel's necessary width is achieved.
- Work in Straight Rows:
- Once you complete the increases, continue working without further increases until the panel reaches your desired front panel height (approximately 16–18 inches for most sizes).
- Make the Back Panel:
- Follow the same instructions to make an identical back panel.
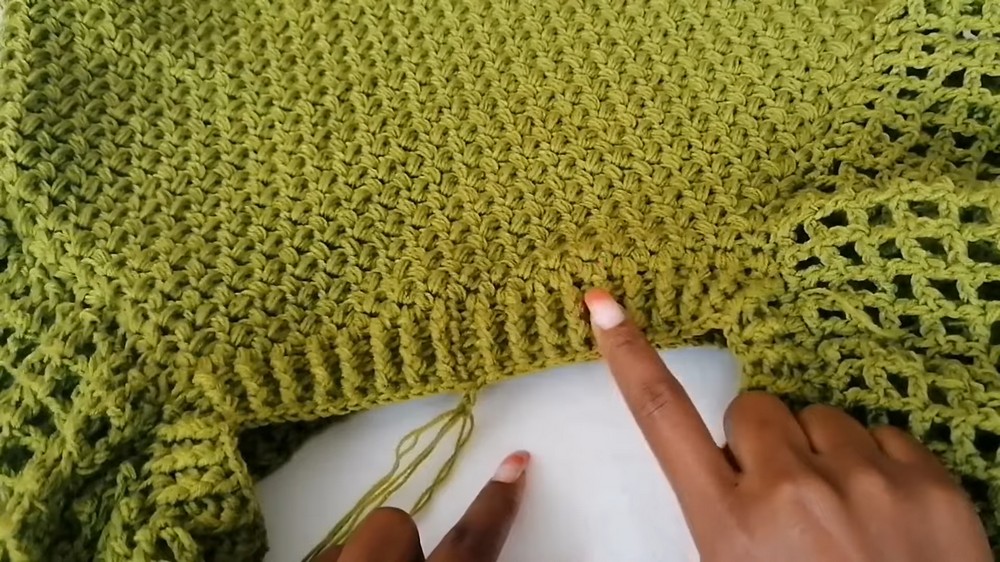
2. Assemble Body Panels
- Align Panels: Place the two panels together with the wrong sides out.
- Seam the Sides:
- Using a slip stitch or needle and thread, sew or crochet along the side edges:
- Leave armholes open (~6–8 inches from the top, depending on your size).
- Flip the work to the right side once finished.
- Using a slip stitch or needle and thread, sew or crochet along the side edges:
3. Create Sleeves
The puff sleeves add volume and elegance.
Step 1: Ribbed Wrist Cuff
- Foundation Chain:
- Chain 26 (or adjust for your wrist size).
- Row 1:
- Starting in the 2nd chain from the hook, work 1 SC in each stitch. (Total: 25 SC).
- Rows 2–Desired Wrist Cuff Height:
- Chain 1, turn.
- Work SC in the back loop only across.
- Repeat until the cuff reaches desired wrist width.
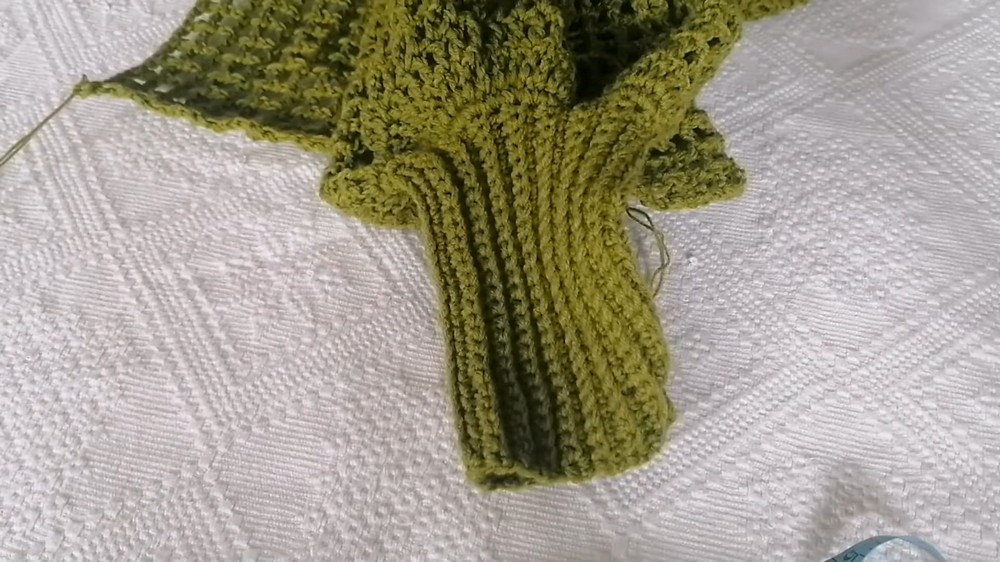
Step 2: Build Up Sleeve Puff
- Attach Yarn to Cuff:
- Work 2 SC in each ribbing row around the cuff to create a puff effect.
- Bean Stitch Pattern / Mesh:
- Chain 3, then alternate 1 DC, ch 1 across in each SC.
- Increase Rows as Needed:
- On later rows, replace the single ch 1 spaces with ch 2, gradually increasing sleeve width.
- Work Straight Rows:
- Once the sleeve achieves the desired width (~60 DC for medium sizes), work straight rows without increases until the sleeve reaches desired arm length (~9–12 inches or as preferred).
- Attach Sleeve to Body:
- Use markers to align the sleeve opening to the body panel armholes.
- Sew with a darning needle or slip stitch to attach. Repeat for the second sleeve.
4. Add Ribbing to Neckline and Waist
- Neckline Ribbing:
- Attach yarn at the back center.
- Work Front Post DC (FPDC) and Back Post DC (BPDC) in alternating stitches.
- Repeat rows to achieve 2–3 rounds of ribbing.
- Waist Ribbing:
- Attach yarn to the waist edge.
- Work 2 DC per row around the edge.
- Alternate FPDC/BPDC for 3–4 rounds for a snug, ribbed finish.
Tips and Recommendations
- Customization: Adjust sleeve puffiness with increases and chain spaces.
- Evenness in Assembly: Use stitch markers to ensure symmetry when aligning sleeves and panels.
- Blocking: Block the final top to relax tension and improve drape.

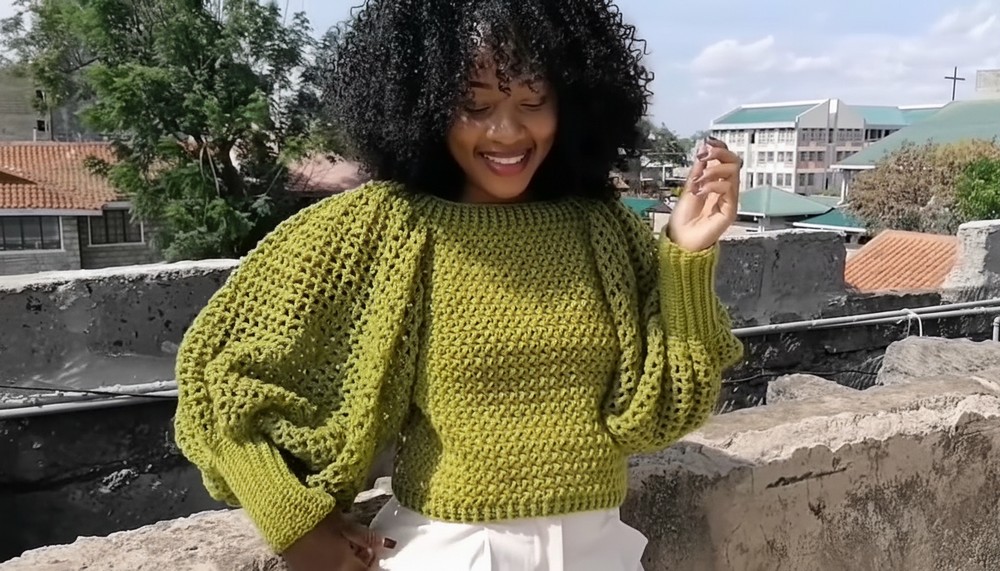
Conclusion
The Puff Sleeve Crochet Top is a glamorous yet comfortable addition to any wardrobe. With its flattering puff sleeves and defined texture, this piece is perfect for casual or formal settings. Be sure to share your recreated designs and show off your chic new creation!
Pattern Corrections:
- Ensure stitch count consistency while increasing sleeve width or working on neckline ribbing.