
Protect your device with a stylish crochet iPad/Tablet sleeve pattern designed for a perfect fit that keeps your gadget safe while looking effortlessly chic.
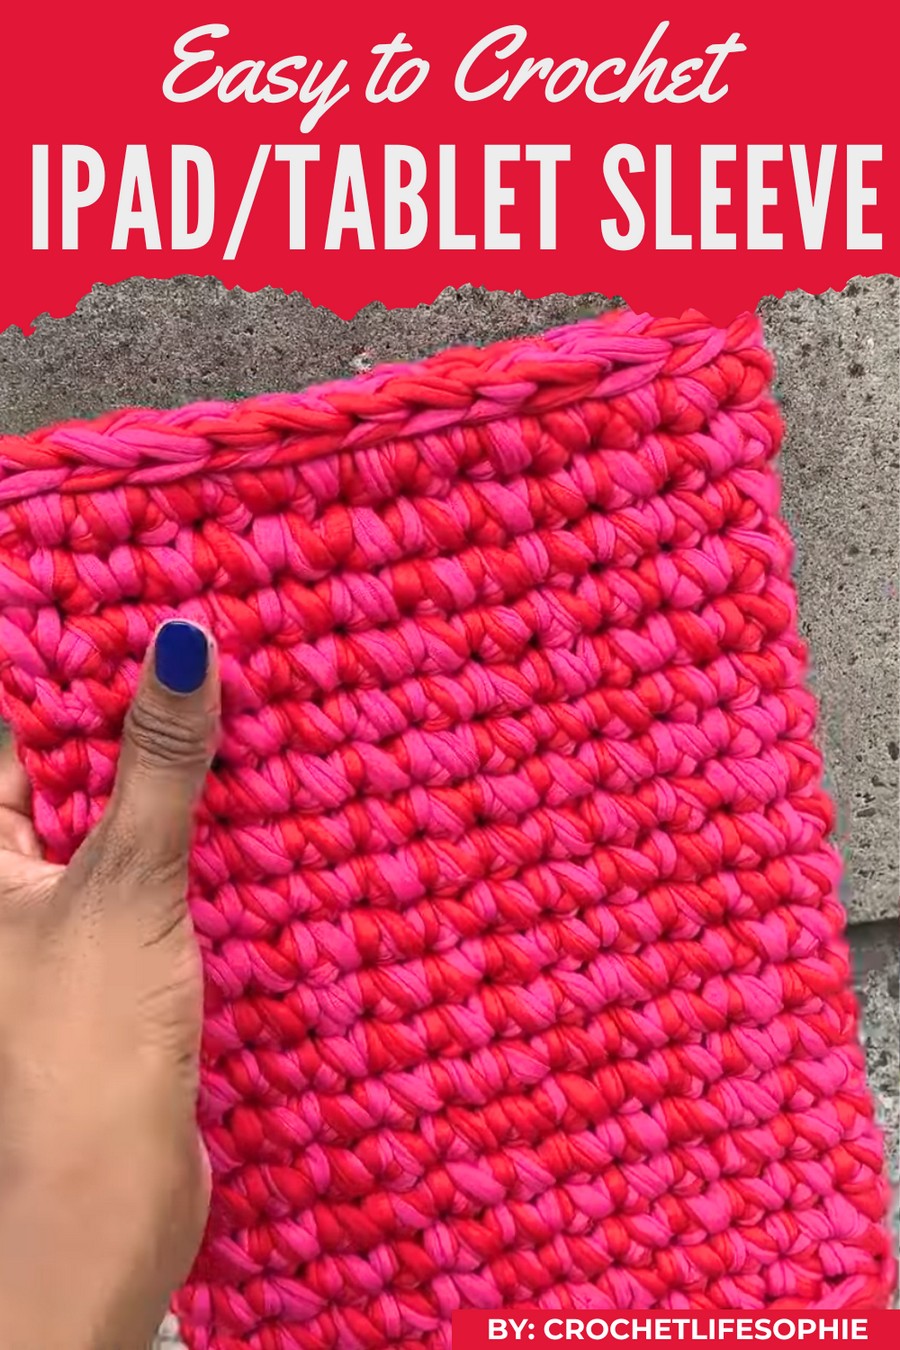
Keep your gadgets safe and stylish with a beautiful sleeve that blends function and charm seamlessly, and the crochet iPad/Tablet sleeve pattern makes it even more special. This thoughtfully designed sleeve offers a snug fit to protect your device from scratches, dust, and accidental bumps while showcasing an elegant handmade look.
Beginner-Friendly Crochet iPad/Tablet Sleeve You’ll Treasure
Its soft texture and customizable design allow you to pick your favorite colors, making it uniquely yours. Lightweight yet durable, the sleeve stands out with its carefully crafted stitches that add both beauty and protection, making it the perfect accessory to combine practicality with creativity in your daily life.
Supplies Needed
- Crochet Hook: 12 mm hook (adjustable based on t-shirt yarn thickness).
- T-Shirt Yarn: Recycled t-shirt yarn. Note that t-shirt yarn tends to vary in width and thickness, which contributes to its stretch and texture. A chunkier yarn is better for structure.
- Measuring Tape: To measure the size of your device and yarn for accurate sizing.
- Scissors: To cut yarn and trim strands cleanly.
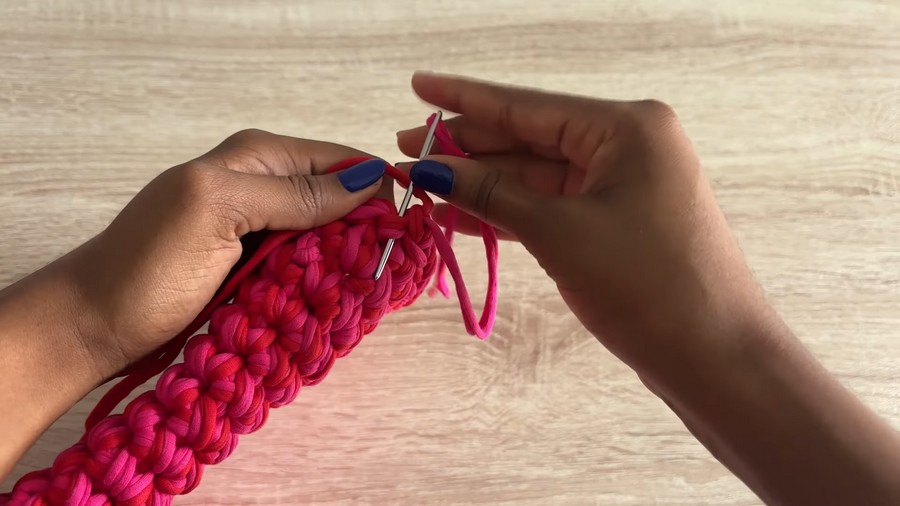
- Tapestry Needle (Preferably Metal): For weaving in ends. Metal needles work best to pull through thick yarn.
- Stitch Markers: Essential for marking the beginning of rows when crocheting in the round.
Step-by-Step Instructions
This pattern is customizable based on your device’s dimensions. For reference, the tutorial measurements used are:
- Length: 25.5 cm (10 inches).
- Width: 16 cm (6.5 inches).
Step 1: Create a Foundation Chain
- Begin with a slip knot.
- Create the slip knot in your preferred method, ensuring it’s secure but not too tight.
- Chain the foundation:
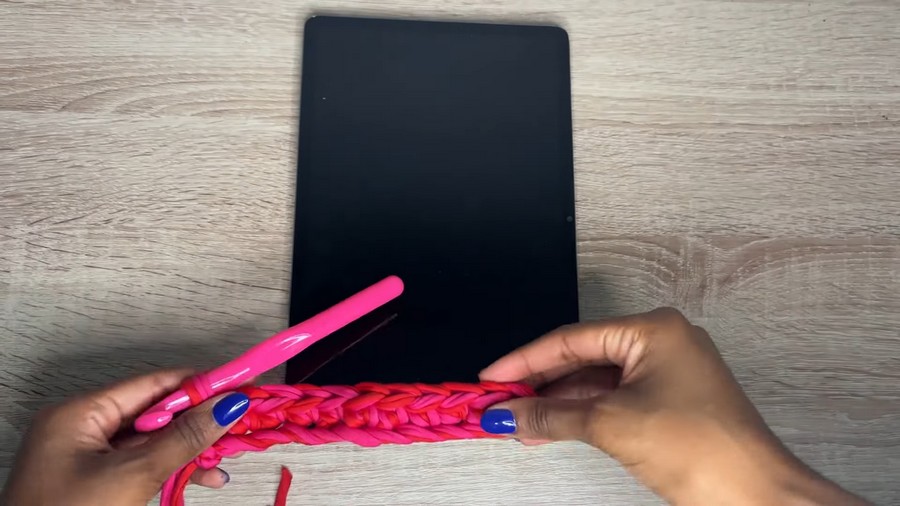
- Chain 12 stitches (or adjust based on the width of your device).
- To check for accuracy, stretch the chain slightly as t-shirt yarn stretches naturally. Ensure it spans the width of your device comfortably but snugly.
Step 2: Work the Base Row
- Skip the first chain closest to the hook.
- Crochet 1 single crochet (SC) into the second chain from the hook.
- Continue crocheting 1 single crochet into each chain across.
- If you started with 12 chains, you will end with 11 single crochet stitches in this row.
- When finished, test the chain against your device. Due to the stretch of t-shirt yarn, ensure the row is not too wide.
Step 3: Begin Body of the Sleeve
- Turn Work: Chain 1 and turn your work. Begin the next row by crocheting 1 single crochet into each stitch across.
- At the last stitch of the row, add 1 extra single crochet in the last stitch for increased width.
- Create the edges:
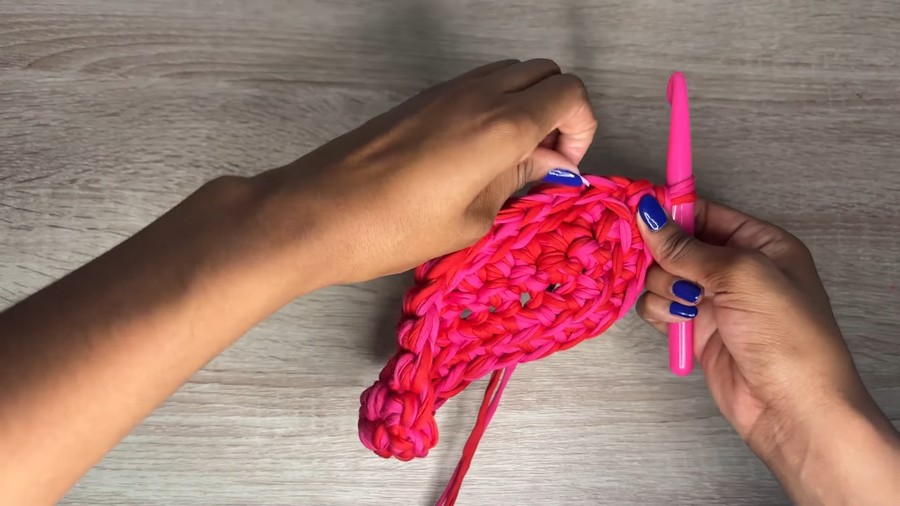
- Turn your work and now begin crocheting along the edge of the foundation row by placing 1 single crochet into any stitch on the side.
- Note: Inserting the hook into the side stitches may feel tight or challenging. Stretch the stitch gently using scissors or a smaller crochet hook if necessary.
- Continue crocheting along the longer edge, using the back loops only for a round. This technique provides a tighter stitch with a cleaner look.
Step 4: Working in Rounds
- Transition to Rounds:
- Once you’ve crocheted across the side and base stitches, place a stitch marker in the last stitch to indicate the round's beginning.
- From this point on, do not slip stitch at the end of each round. Instead, work continuously in spirals.
- Round 1 (Back Loop Only):
- Crochet 1 single crochet into the back loop of each stitch around. Continue until you reach the stitch marker.
- Round 2 Onward:
- Remove the stitch marker, crochet the next stitch, and replace the marker.
- Crochet into both loops for a smoother texture.
- Continue Rounds: Keep crocheting in the round until the sleeve has a total height of 18 rows or reaches the desired size for your device.
- Regularly check the fit by sliding your device into the sleeve. This will ensure a snug and accurate fit.
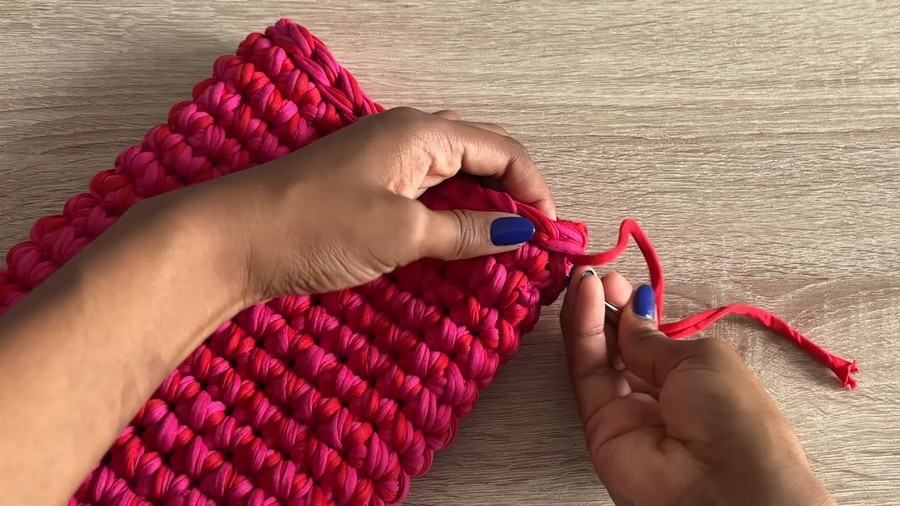
Step 5: Add a Secure Edge
- Once the sleeve has reached your desired height, crochet a finishing round with slip stitches:
- Work a slip stitch in each stitch around but keep the stitches loose to avoid tightening the opening.
- At the last stitch, chain 1 to secure the work.
- Fasten off by cutting the yarn and pulling the strand through the final loop.
- Weave in Ends:
- Use the tapestry needle to weave in the yarn ends. Work through one strand at a time to secure the yarn effectively. Avoid pulling through multiple stitches at once, as t-shirt yarn can be stubborn.
Tips for Success
- Gauge Tension: Avoid crocheting too tightly as t-shirt yarn stretches; loose stitching prevents warping.
- Stitch Markers: Always use a marker to identify rows when working in the round to avoid losing your place.
- Test Fit Regularly: Check the sleeve size with your device at consistent intervals to ensure proper fit.
- Flip Inside-Out: Carefully flip the sleeve to choose the side with a cleaner finish as your exterior.
Pattern Variations
Color Variations:
- Stripes: Alternate colors every few rows for a striped pattern.
- Color Blocks: Use one solid color for half the sleeve length and switch to another for the remaining half.
- Mixed Yarn: Combine different t-shirt yarn strand colors for a marbled effect.
Size Adjustments:
- Different Devices: Adjust the starting chain length to the width of your device.
- Add more rows for taller sleeves (e.g., laptops) or fewer rows for smaller devices (e.g., phones).
- Extra Padding: Use a denser stitch (e.g., tight single crochets) and add fleece or foam inserts for enhanced protection.
Final Look
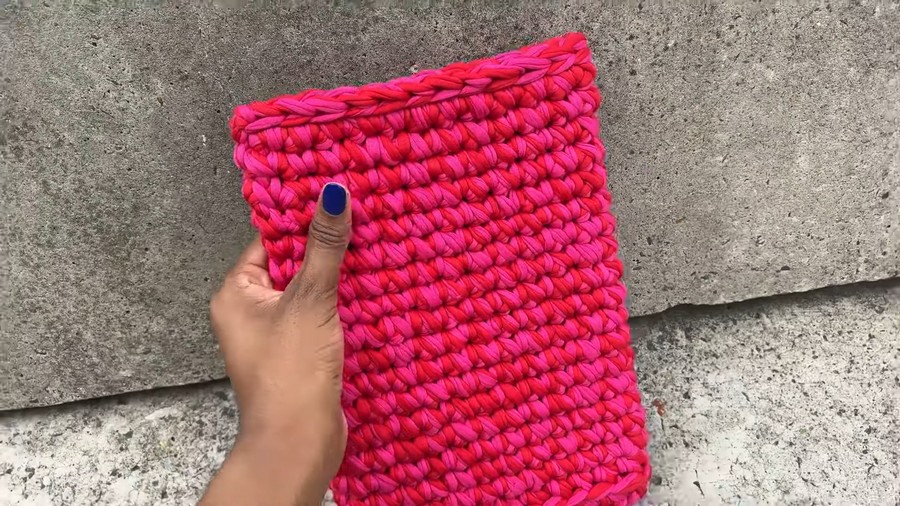
The chunky iPad/tablet sleeve has a smooth finish, with a snug fit that stretches gently around your device for secure protection. It is stylish, modern, and functional, with the added benefit of full customization based on device dimensions and color preferences.
This project is beginner-friendly while allowing enough flexibility for advanced crocheters to experiment with unique designs and patterns.
Important Remarks
- This lightweight sleeve is perfect for daily use. However, for heavy-duty protection, consider lining the inside with a soft fabric or fleece.
- Recycling t-shirt yarn for this project makes it eco-friendly while lending a trendy texture.
- Feel free to personalize with handles, buttons, or even zipper closures for additional functionality.



