
Captivating Crochet Penguin Amigurumi delights with its adorable appeal perfect for thoughtful gifts stylish decorations or adding charm to any space.
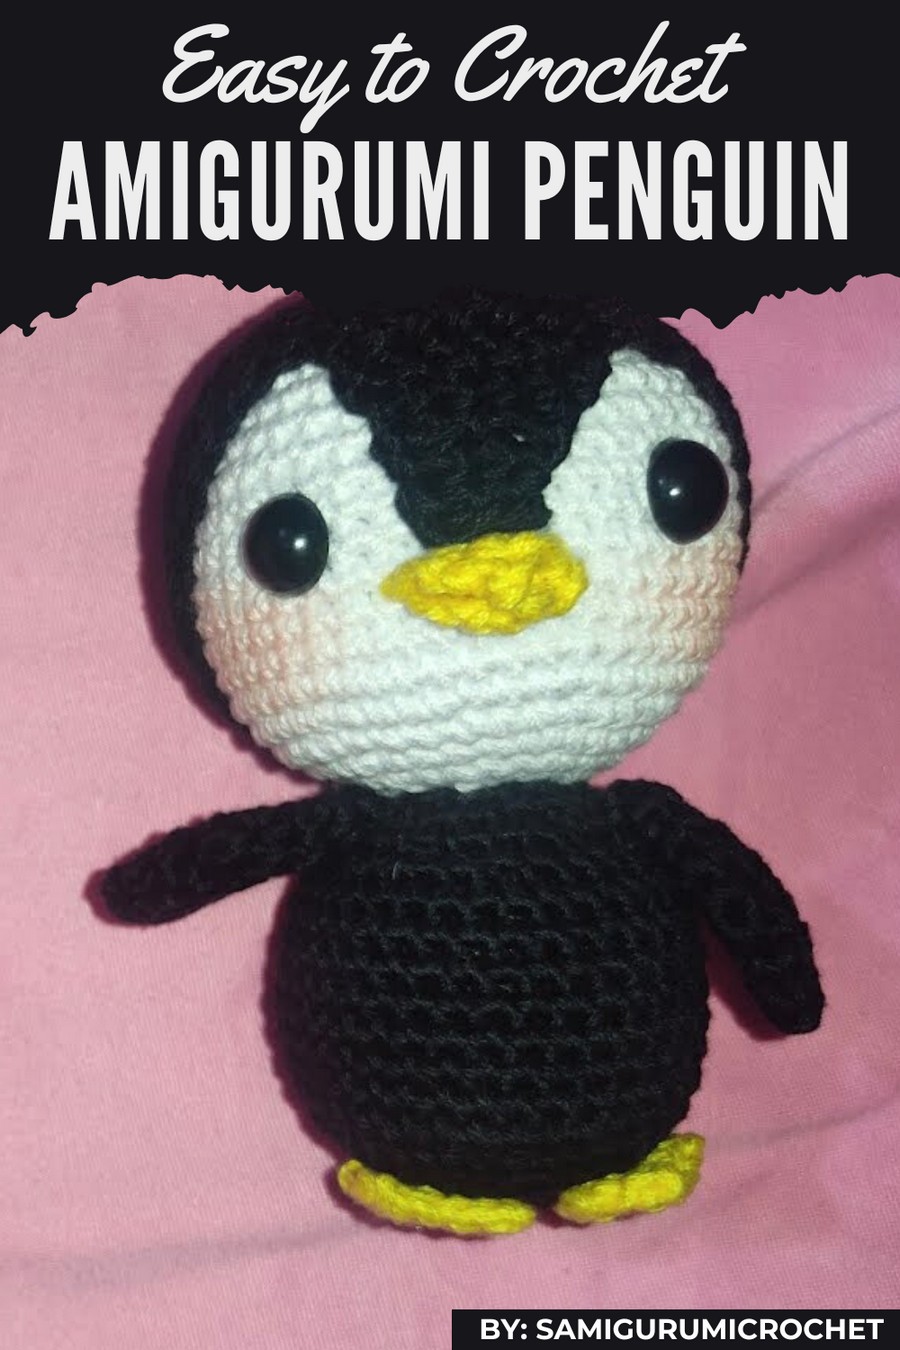
This adorable little penguin is a fun and creative project that brings joy to everyone who sees it. Crochet Penguin Amigurumi patterns create soft, handmade toys that are both cute and charming. Perfect as gifts, decorations, or even keepsakes, these penguins can be customized with vibrant colors, blush cheeks, and tiny accessories, making each one full of personality.
Delicate Crochet Penguin Amigurumi to Show Off Your Skills
Its round body, tiny wings, cute beak, and feet give it a playful and lovable appearance. The unique feature of this pattern is its ability to be adjusted in size and color, allowing anyone to create a personalized penguin for any occasion.
Materials Required
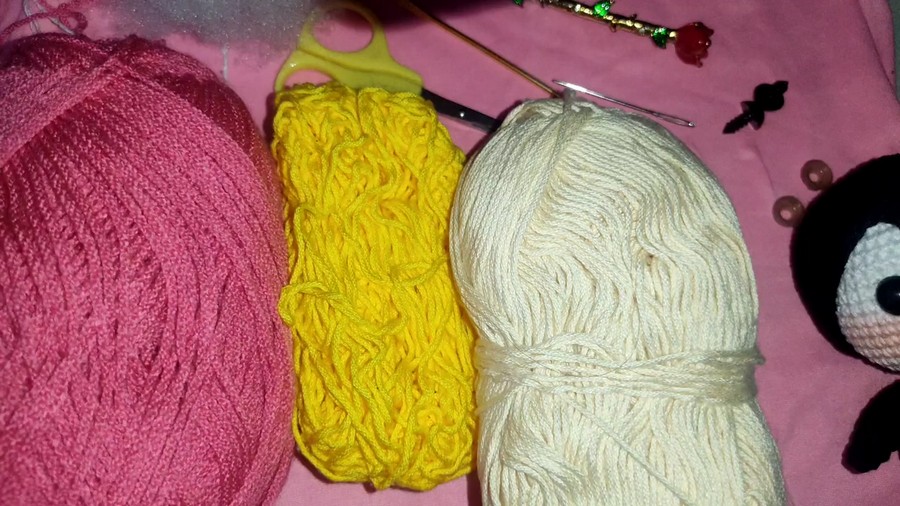
Yarn
- Cotton or Acrylic Yarn:
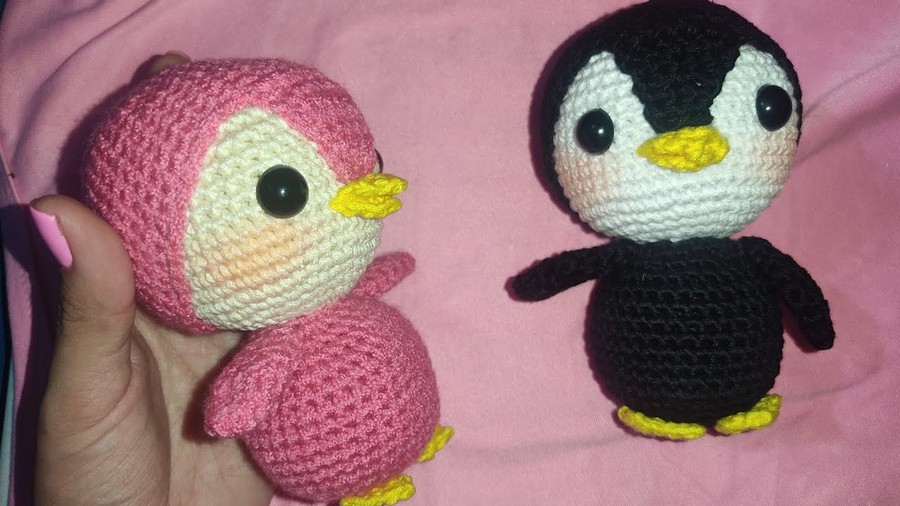
- Main Body Color: Black or any contrasting shade (alternatives: pink, navy, or light gray).
- Belly/Face Color: White or a neutral shade.
- Beak and Feet Color: Yellow or orange.
- Optional Accent Color: Add variety for a playful penguin look.
Hook
- 2.5 mm crochet hook (or as suitable for your yarn weight).
Eyes and Stuffing
- Safety Eyes (12 mm): Install securely, or embroider eyes for younger children.
- Blush or Powder Eyeshadow: Used to give the penguin rosy cheeks for personality.
- Stuffing: Silicone-coated stuffing or yarn scraps for firmness.
Additional Supplies
- Tapestry Needle: For sewing and weaving in ends.
- Scissors: To cut yarn neatly.
- Pins: To stabilize and position parts before sewing.
Key Abbreviations
- MR: Magic Ring
- SC: Single Crochet
- HDC: Half Double Crochet
- SL ST: Slip Stitch
- Inc: Increase (2 SC in the same stitch)
- Dec: Decrease (crochet 2 stitches together)
- CH: Chain
Special Notes
- Work the body in continuous rounds; mark the start of each round with a stitch marker or contrasting yarn.
- Stuff as you work to maintain shape and stability.
- Customize by experimenting with colors, yarn types, or adding accessories.
Pattern Instructions
1. Penguin Body (Main Color)
Step 1. Magic Ring
- Start with a magic ring.
- Round 1: Work 6 SC inside the ring. Tighten the ring. (6 SC)
Step 2. Increasing Rounds
- Round 2: Inc in each stitch (2 SC in each stitch). (12 SC)
- Round 3: 1 SC, Inc, repeat around. (18 SC)
- Round 4: 2 SC, Inc, repeat around. (24 SC)
- Round 5: 3 SC, Inc, repeat around. (30 SC)
- Round 6: 4 SC, Inc, repeat around. (36 SC)
Step 3. Body Length
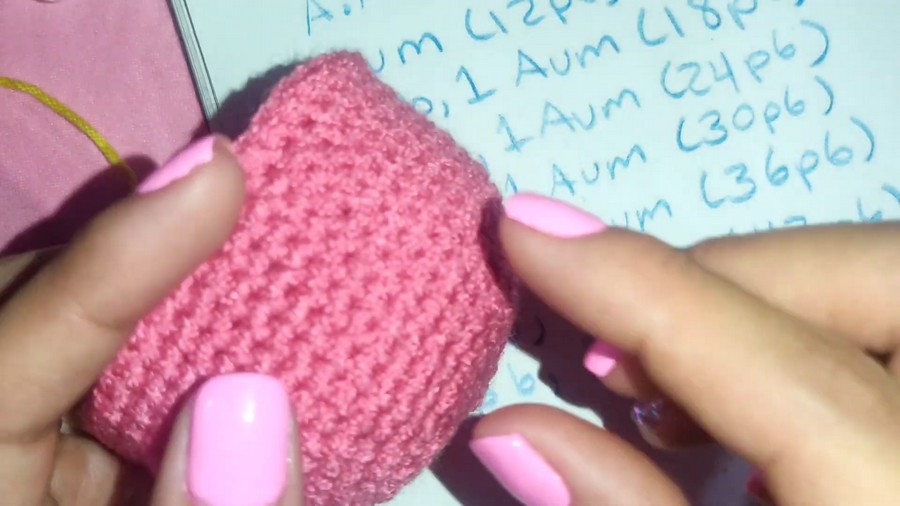
- Rounds 7-14 (or 8 total rounds): Work 36 SC in each round, no increases. This will give height to the penguin body.
- Start Decreasing:
- Round 15: 4 SC, Dec, repeat around. (30 SC)
- Round 16: 3 SC, Dec, repeat around. (24 SC)
- Stuff the Piece Firmly: Begin filling with stuffing, ensuring the body remains smooth and rounded.
- Continue Decreasing:
- Round 17: 2 SC, Dec, repeat around. (18 SC)
- Round 18: 1 SC, Dec, repeat around. (12 SC)
- Round 19: Decrease in every stitch. (6 SC)
- Use a tapestry needle to close the remaining stitches neatly. Fasten off and weave in ends.
2. Penguin Belly Patch (Contrast Color)
- MR: Work 6 SC into a magic ring.
- Round 1: Work 2 SC in each stitch (Inc in every stitch). (12 SC)
- Round 2: 1 SC, Inc, repeat around. (18 SC)
- Round 3: 2 SC, Inc, repeat around. (24 SC)
- Stop Here: Fasten off, leaving a long tail for sewing.
Tip: Sew the belly patch onto the body carefully, aligning it with the head placement. Position it slightly lower on the body.
3. Penguin Head (Main Color)
- Follow the instructions for the Penguin Body (Steps 1-7).
- Continue increasing until you have 48 SC.
- Add 10 rounds of 48 SC to create height for the head.
Eye Placement
- Insert safety eyes between Rounds 4 and 5 of the head, with 11 stitches apart.
- If sewing or embroidering eyes, position symmetrically.
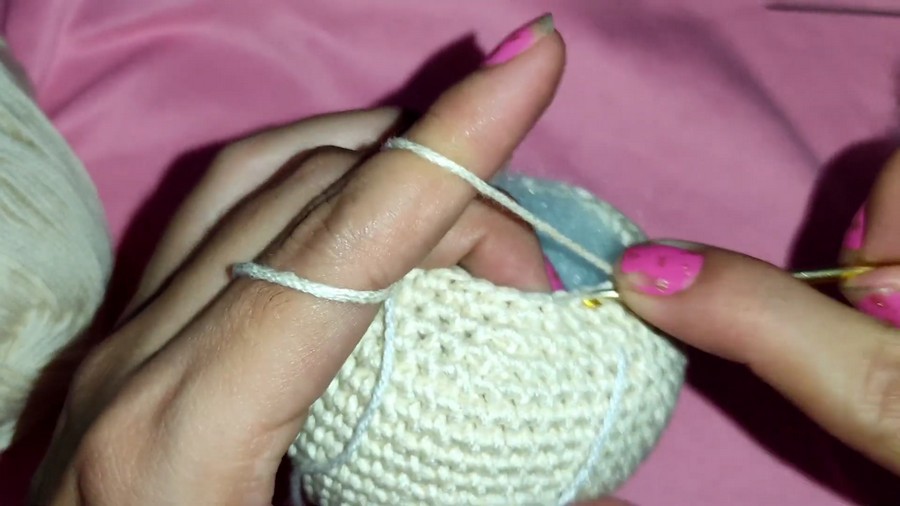
Stuff and Close
- After positioning the eyes, complete the head by following similar decreasing rounds:
- 6 SC, Dec, until closed.
- Stuff as needed and sew securely to the body.
4. Wings (Make 2, Main Color)
Wing Shape
- MR: Work 6 SC into a magic ring.
- Round 1: Work 2 SC in each stitch (Inc in every stitch). (12 SC)
- Round 2: 1 SC, Inc, repeat around. (18 SC)
- Fold Wing in Half: Sew the center together to create dimension, and leave a long tail for sewing.
Attach Wings
- Position each wing on the mid-sides of the body.
- Pin to check symmetry before sewing.
5. Feet and Beak (Make 3)
Feet/Beak Shape
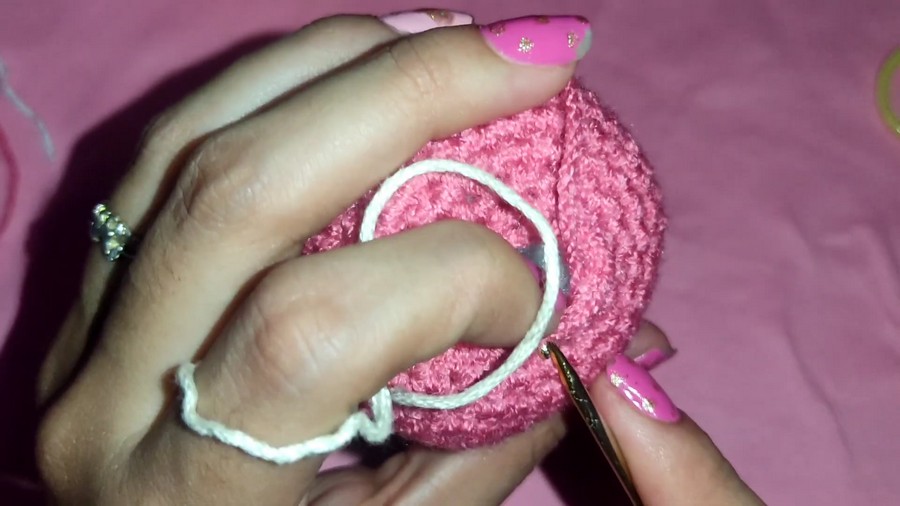
- CH 5: Make a small chain.
- Row 1: Start in the second chain from the hook, work 4 SC across.
- Rows 2 and 3: CH 1, turn. Work 4 SC in each row. (3 total rows of 4 SC)
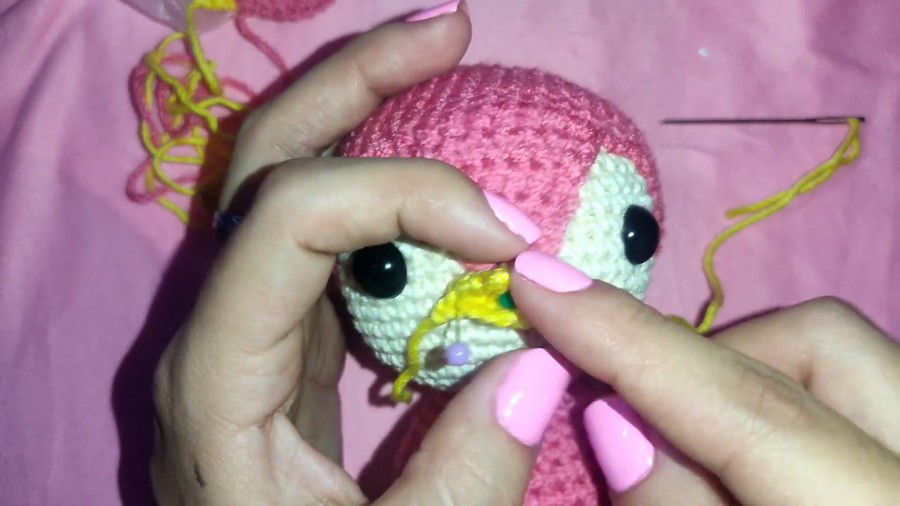
- Fold the edges to create a triangle shape for the feet. Sew these to the bottom of the penguin body.
6. Penguin Hat (Optional)
- Follow the Penguin Head Instructions for the circular base.
- Work decreases until a small hat shape emerges.
- Place the hat slightly tilted on the penguin’s head. Sew into position.
Final Assembly
- Attach Details:
- Position the belly patch, wings, and feet. Sew them securely.
- If desired, embroider additional details (e.g., a smile or tiny accents).
- Blush (Optional): Add blush to the cheeks beneath the eyes using makeup or powdered pink yarn.
Tips for Success
- Keep Tension Even: Work with consistent tension to maintain smoothness between body parts.
- Use Pins to Position: Secure parts with pins before sewing for symmetry.
- Test Colors: Pick playful or seasonal tones (e.g., red for a Christmas penguin).
Pattern Variations
Color Options
- Classic Black & White: Simple and elegant look.
- Pastel Penguins: Try baby blue, mint green, or lavender for baby shower gifts.
- Holiday Themed: Use red and green for Christmas or orange and yellow for summer tones.
Size Variations
- Smaller Penguin: Use thinner yarn and a smaller hook size for a mini keychain version.
- Larger Penguin: Try chunky yarn with a larger hook for a plush toy penguin.
Conclusion
Congratulations! Your crochet penguin is complete! This sweet design is not only a fun crafting project but also makes an amazing handmade gift or decoration. Whether you keep it classic or take a colorful twist, your penguin will melt hearts with its charm.



