
Ignite your skills with a crochet pullover pattern that turns yarn into a cozy stylish masterpiece perfect for keeping you comfy in every season.
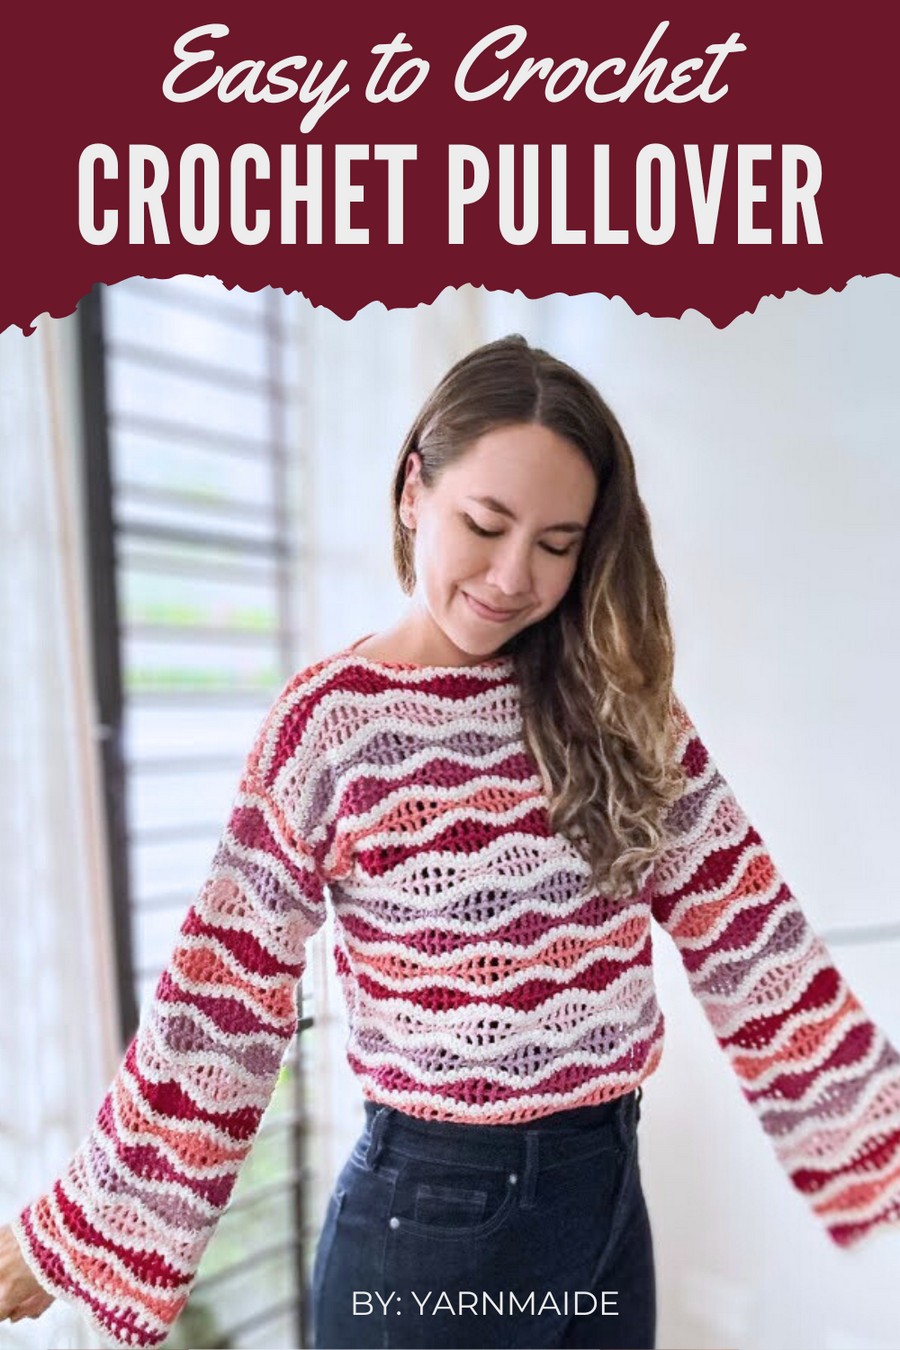
Looking for a cozy yet stylish way to expand your crochet skills? A free crochet pullover pattern is just what you need to create a versatile wardrobe staple that's as comfortable as it is chic. Perfect for beginners and experienced crocheters alike, this pattern offers clear, step-by-step instructions to guide you through every stitch.
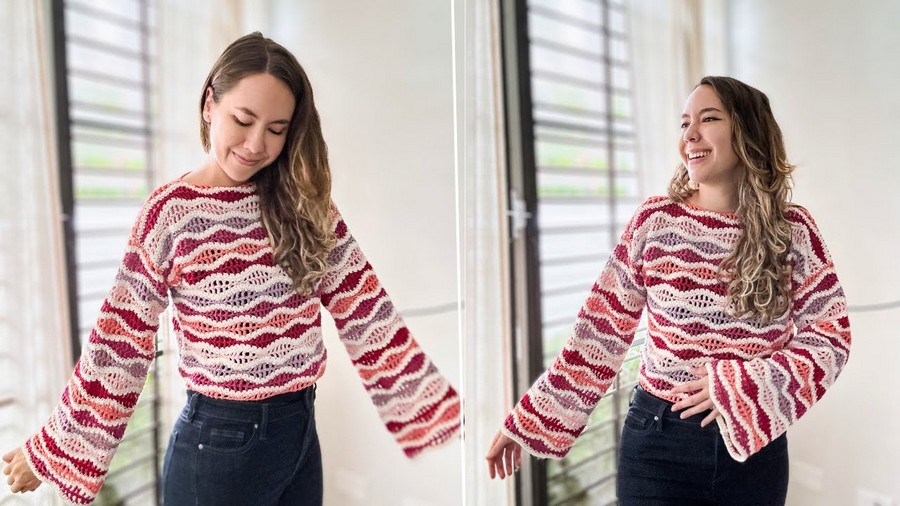
Cozy & Stylish Crochet Pullover Pattern You’ll Love
Made with soft, lightweight yarn, this pullover is ideal for layering during cooler months or wearing on breezy evenings. Whether you're crocheting for yourself or gifting something handmade, this project combines ease and timeless style. Step into the details and start your next favorite crochet piece today.
Materials List
Essential Supplies:
- Yarn: Worsted weight cotton yarn
- Example: Recommended Yarn (linked in original tutorial). Approximate 400–500g for a medium-sized sweater.
- Colors: Choose main color and additional colors for stripes or color blocking.
- Crochet Hook: 4.5 mm (US 7) hook.
- Tapestry Needle: For sewing panels and weaving in ends.
- Stitch Markers: Optional, for panels and sleeve alignment.
- Scissors
- Measuring Tape: To confirm panel and sleeve size.
Skill Level
Intermediate: Familiarity with basic crochet stitches (single crochet, half double crochet, double crochet, treble crochet), chaining, and assembling panels is required. This pattern is approachable with careful counting and stitch placement.
Key Abbreviations (US Terms)
- ch: Chain
- sc: Single Crochet
- hdc: Half Double Crochet
- dc: Double Crochet
- tr: Treble Crochet
- yo: Yarn Over
- st(s): Stitch(es)
- sl st: Slip Stitch
Special Notes
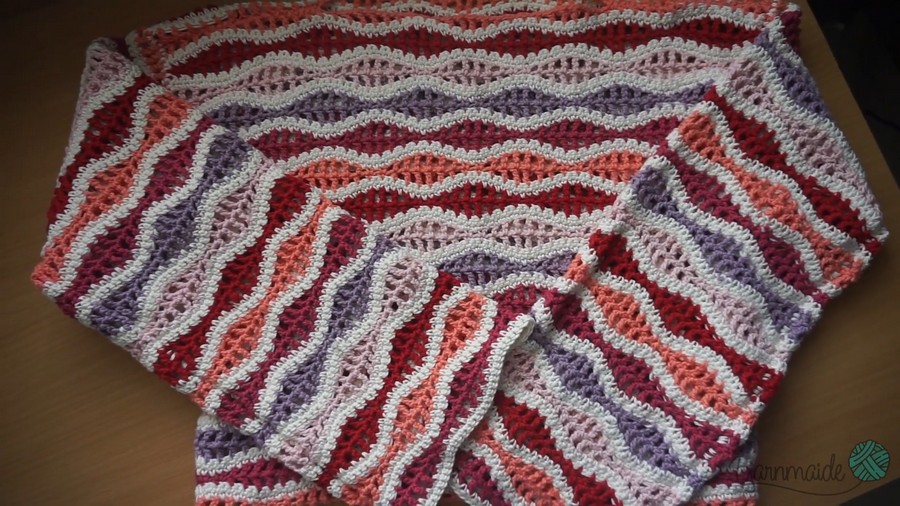
- Panel Construction: The sweater is made by creating two identical panels for the main body and two smaller sleeve panels, which are later assembled with simple seams.
- Wave Pattern: The wave design alternates increases and decreases within rows (from sc to tr stitches, and back).
- Gauge: Gauge is not critical, but aim for approximately 4"x4" = 9 dc x 5 rows. Adjust hook size to achieve the desired fit.
- Sizing: The initial chain count is customized based on your shoulder width. The same principle applies to the sleeve panels.
Final Measurements (Medium Size)
- Body Width: ~20 inches (unstretched, one panel).
- Body Length: ~24 inches for the sweater, adjustable.
- Sleeve Length: ~18 inches, adjustable.
Pattern Instructions
Step 1: Body Panels (Make 2)
Foundation Chain
- Create the Base Length:
- Make a slip knot and chain 96 ch + 2 ch. Ensure this is a multiple of 16 stitches + 2 chains.
- Adjust the chain count for smaller or larger panels based on your shoulder measurement:
- Baggy fit: Add more chains.
- Tight fit: Reduce chains.
- Wave Pattern:
- Start in the 2nd chain from the hook, work as follows:
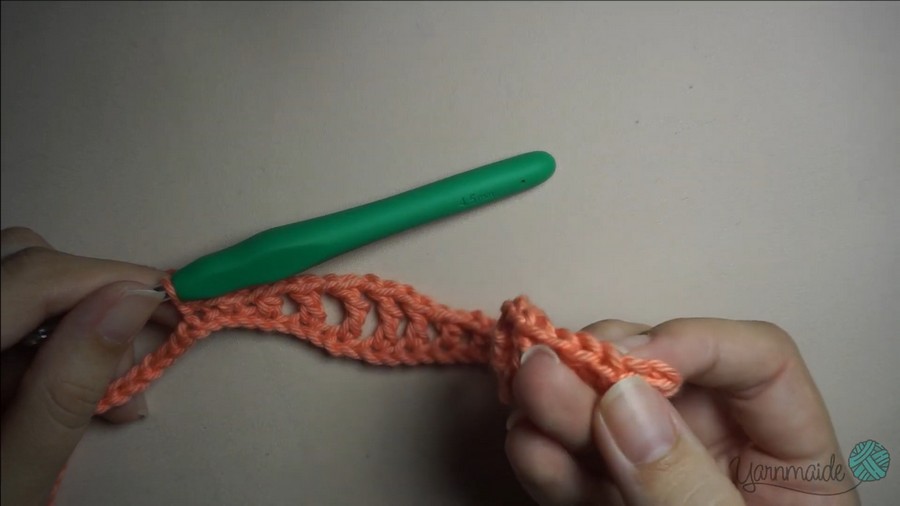
Row 1 (Wave Start)
- 1 sc in each of the first 2 chains.
- Ch 1, skip 1 ch, work 1 hdc in the next chain.
- Ch 1, skip 1 ch, work 1 dc in the next chain.
- Ch 1, skip 1 ch, work 2 tr (treble crochet) in the next chain (with 1 ch in between).
- Ch 1, skip 1 ch, work 1 dc in the following chain.
- Ch 1, skip 1 ch, work 1 hdc in the next chain.
- Ch 1, skip 1 ch, work 2 sc (single crochet) in each of the next 2 chains with no chains in between.
- Repeat the sequence (sc, hdc, dc, tr) until the end of the row.
- Finish the last row with 2 sc stitches back-to-back.
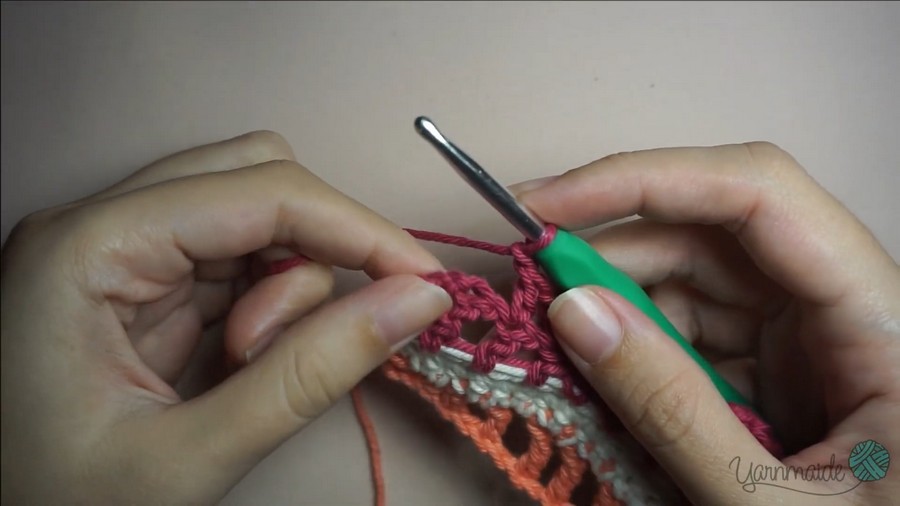
Row 2 (Single Crochet)
- Ch 1, turn.
- Work 1 sc into each stitch and chain space from the previous row, ensuring a smooth transition between wave peaks and valleys.
- Repeat across the row.
Row 3 (Single Crochet)
- Repeat Row 2 exactly to create a foundational edge.
Step 2: Wave Stripe Rows
Row 4 (Wave Rows)
- Switch colors if desired:
- At the end of Row 3, leave the last loop on the hook with your current color. Cut your yarn and start the next row with a new color.
- Mirror the Wave Pattern:
- Ch 1, turn. Begin with 2 sc stitches (no chain between them).
- Continue the sequence from Row 1: (hdc, dc, 2 tr, dc, hdc, sc) within the stitch spaces from the previous row.
- End each row with 2 tr stitches and a ch 4 (counts as a tr stitch).
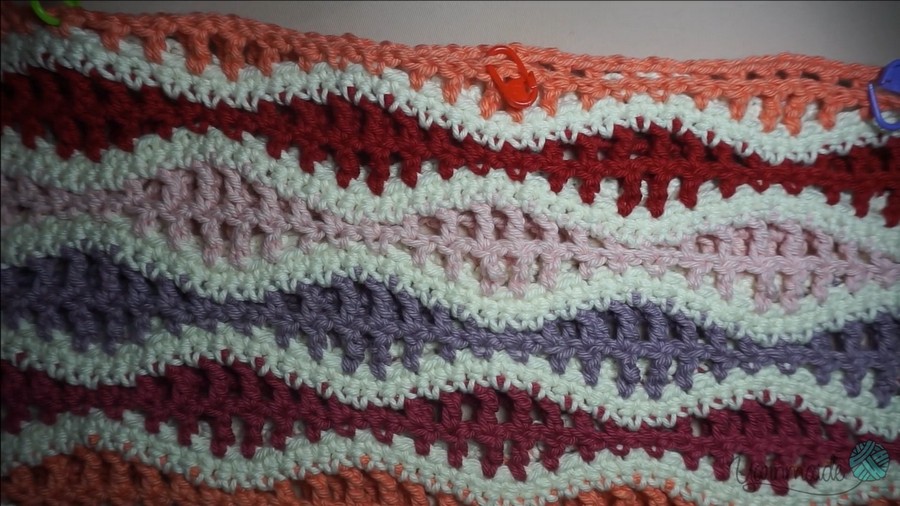
Row 5 - Mirror Wave:
- Work a mirror version of Row 4.
Rows 6 - 7:
- Work 2 rows of single crochet, repeating Rows 2 and 3.
Note: Alternate colors every 4-5 rows for a striped, wavy appearance.
Step 3: Sleeves Panels (Make 2)
- Follow the same steps as the body panels but create shorter foundation chains (adjust to approximately 86 chains + 2, following the multiple of 16).
- Wave Rows Layout: Match the body’s wave stripes for cohesive design. Ensure the sleeves' length fits comfortably around your arm or as desired.
Step 4: Assembly
Sew Shoulder Seams
- Align Panels: Place the two body panels together, wrong sides facing out.
- Join Panels at the Shoulders:
- Using a tapestry needle and yarn, work sc through corresponding stitches along the shoulder edges.
- Ensure even alignment to maintain symmetry.
Attach Sleeves
- Fold each sleeve panel in half to locate the midpoint. Use stitch markers to align sleeves evenly with the armhole on the body panels.
- Attach Sleeves:
- Use sc stitching along both sides of each sleeve to join them securely to the main panels.
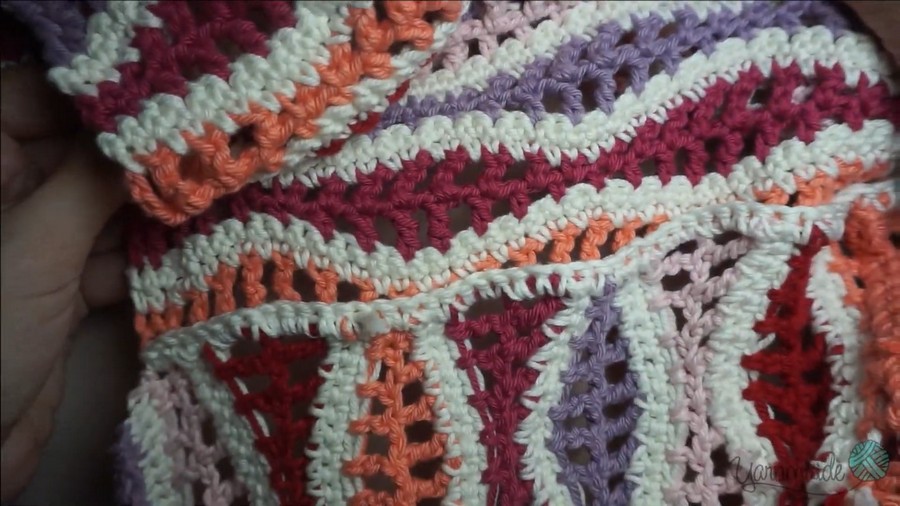
Close Side Seams
- Starting at the sleeve, join the main body panels with sc stitching, working down the sides of the sweater to the hem.
Step 5: Finishing Touches
- Weave in Ends: Use a tapestry needle to hide yarn tails evenly within the single crochet seams.
- Steam Block (Optional): Steam block to shape and smooth the sweater edges for a polished look.
Tips for Success
- Count Stitches Regularly: The wave pattern depends on precise counting; ensure skipped stitches align correctly after each chain.
- Even Stitch Placement: Align stitches carefully when seaming both sleeves and body panels.
- Customization: Adjust the body length, sleeve length, and wave repetitions for a cropped or oversized sweater.
Pattern Variations
- Colors: Create bold stripes or alternate colors across the wave pattern for a unique look.
- Sleeves: Use tighter seam placement or tapered sleeve ends for fitted cuffs.
- Materials: Swap cotton yarn for wool or acrylic for colder weather.
Conclusion
Congratulations on completing your Wavy Pullover Sweater! This versatile and stylish sweater can be customized to suit any season or wardrobe preference. Its unique wave design ensures the sweater is both eye-catching and comfortable.
Pattern Corrections
- Incorrect chain or skipped stitch? Revisit the wave pattern sequence and ensure proper counts align.



