
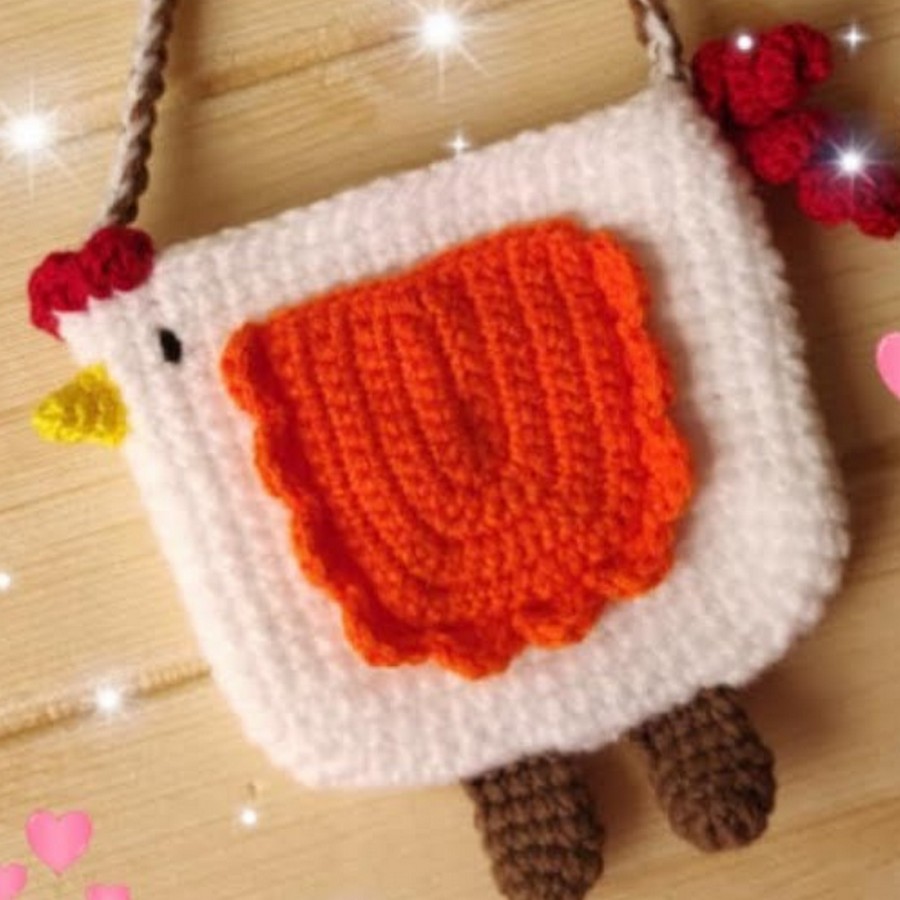
Show off a charming hen-shaped crochet bag that holds your essentials with ease while stealing the spotlight with its playful design and unique appeal.
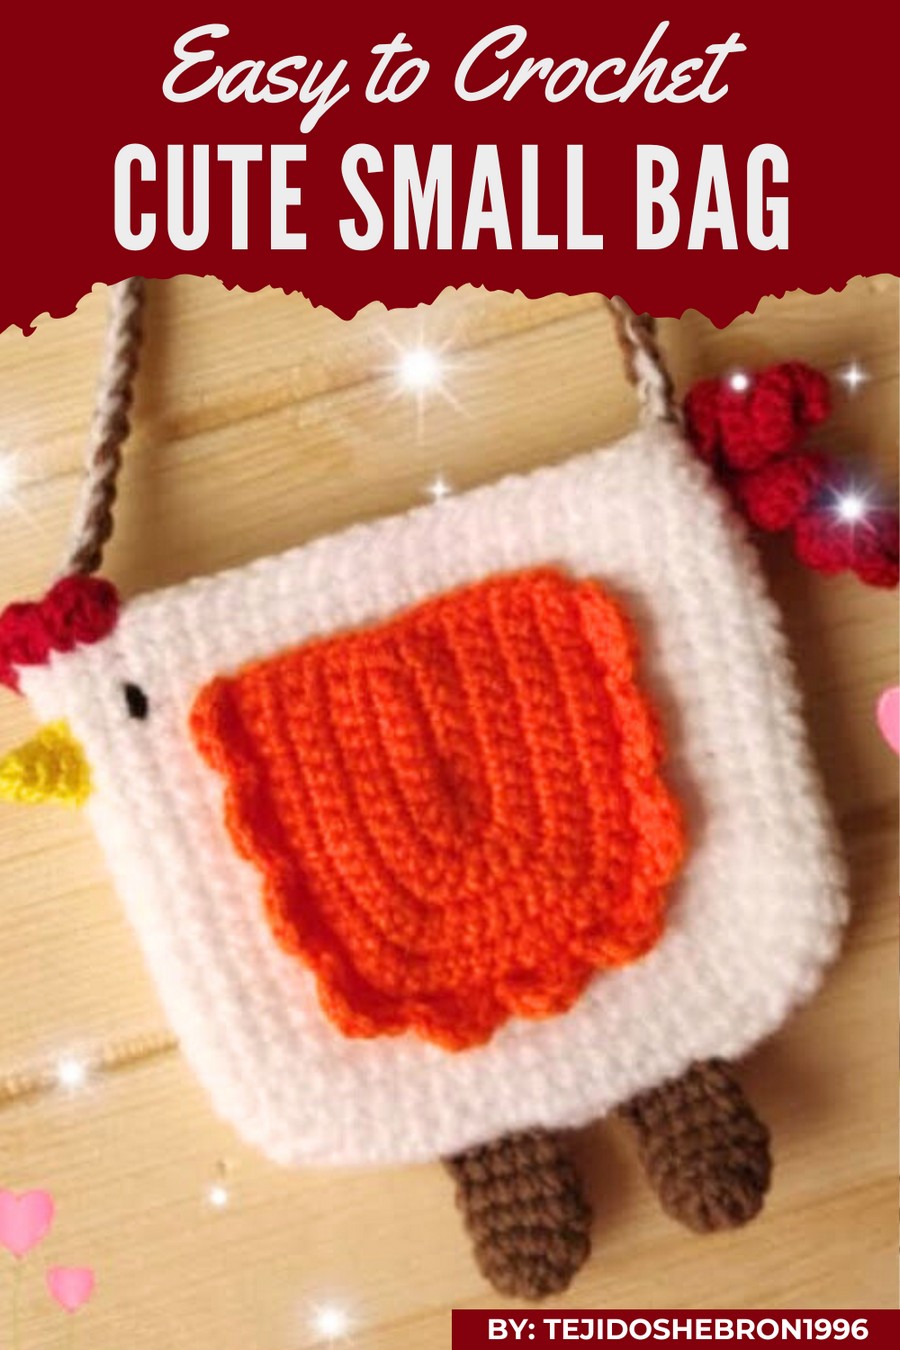
Fun and playful, this adorable handmade bag stands out with its delightful hen-shaped design. Using a crochet hen bag pattern, you can create a cute and functional accessory perfect for storing small items like keys, coins, or other everyday essentials.
Beautiful Crochet Hen Bag Pattern with Playful Charm
Its vibrant colors and intricate stitching make it a unique standout, blending practicality with charm. Lightweight and easy to use, this bag is not only a perfect gift for loved ones but also a creative way to add personality to your accessories. The cheerful hen shape and its eye-catching details make it a must-have for anyone who loves unique designs.
Supplies Necessary
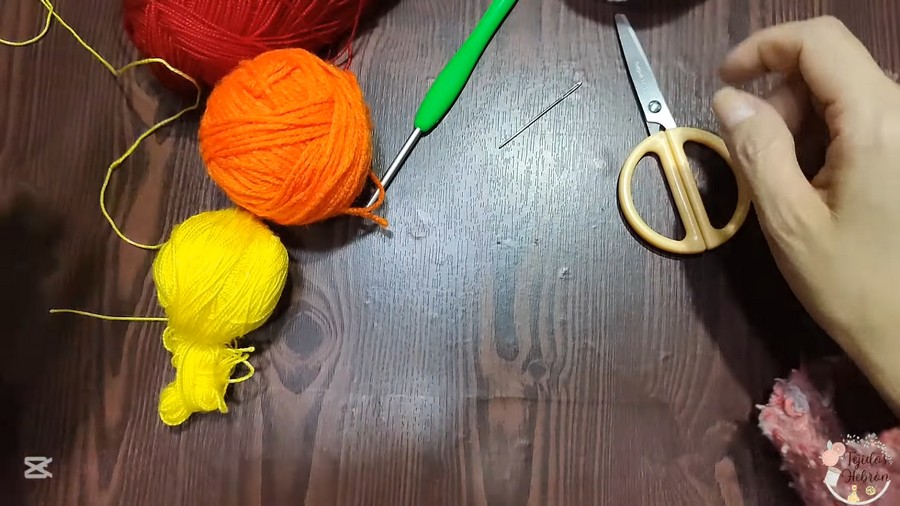
To ensure the bag is constructed properly, prepare the following materials:
-
Crochet Hooks:
- 4 mm hook: Used for the base (suitable for thick yarn).
- 3 mm hook: Used for the pocket/wing.
- 2.75 mm hook: Used for smaller details like the crest, beak, and other embellishments.
-
Thread/Yarn:
- White yarn: About 4 mm thick for the bag base.
- Red yarn: For the hen’s crest.
- Yellow yarn: For the beak.
- Brown yarn: For straps and feet.
- Sapote/tomato-colored yarn: For the pocket (optional secondary color).
-
Miscellaneous Supplies:
- Scissors
- Tapestry Needle: Small, blunt-pointed to assemble parts.
- Hot Silicone Glue: To secure details like the eye, threads, or other embellishments.
- Tape Measure: For accurate dimensions, especially for straps.
Step-by-Step Guidelines
Foundation and Body
Base of the Bag
- Use 4 mm hook and white yarn. Begin with a slip knot.
- Chain: Create 17 chains.
- First Row:
- Work 14 single crochet (SC) across starting from the second chain (leave the last stitch untouched).
- In the last stitch, work 3 SC into the same stitch to form a rounded corner.
- Continue working 14 SC along the opposite side of the chain, then finish the row with 1 increase. Total: 34 SC stitches (first round).
-
Subsequent Rounds:
- Round 2: Work 1 increase, then crochet 14 SC stitches. At the corner, work 3 increases (6 SC total), then continue with 14 SC and finish with 2 increases. (Total: 40 SC stitches).
- Round 3: Crochet 1 SC, 1 increase for the first stitch, followed by 14 SC stitches. In the corner, repeat 1 SC, 1 increase three times, then work 14 SC and finish with another 1 SC, 1 increase.
-
Height (Body of the Bag):
- From Round 4 to Round 20, crochet 1 SC in each stitch to give the bag its height (approximately 7 cm for ages 5+). Adjust height based on the recipient’s needs.
Strap Details
Adding the Strap
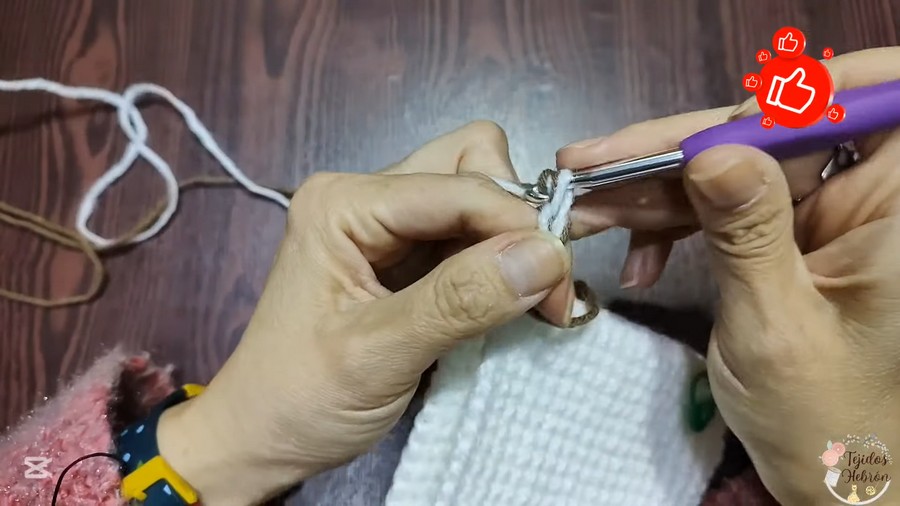
- At the end of the final base round, do NOT cut the yarn. Begin working a strap.
- Chain 50 cm based on the desired strap length. Suggested lengths:
- 50 cm strap: Perfect for 3–5 years old.
- 60 cm strap: Ideal for ages 6 and above.
- Cut the yarn, leaving a long strand sufficient for attaching to the bag.
- Attach: Secure the strap to the bag by sewing with a tapestry needle. Add small dots of silicone glue inside the stitches to ensure durability.
Wing/Pocket Design
Creating the Pocket/Wing
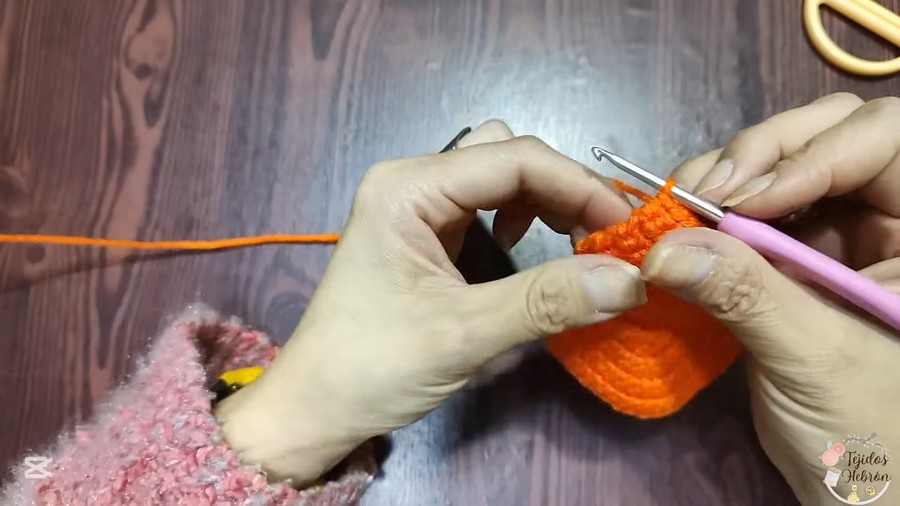
- Use 3 mm hook and sapote-colored yarn. Begin with a slip knot.
- Chain 13 stitches.
-
Row Configuration:
- Row 1: Work 6 SC stitches, followed by 5 SC stitches in one corner stitch (to create a rounded side). Crochet 6 SC stitches to complete the row.
- Row 2: Chain 1, turn, and work 7 SC stitches, followed by 3 increases, then another 7 SC stitches.
- Continue Rounds: Increase gradually in corners, following the sequence provided in transcription to expand the wing size. Example:
- Round 5: (9 SC), 6 increases, (9 SC).
- Round 6: (11 SC), 1 increase, (6 SC), 1 increase, finish with 11 SC.
- Round 7–9: Repeat increases as required for proportions.
-
Border Decoration:
- Start with 4 chains and work 4 double crochet (DC) stitches into the next stitch (using front loop only).
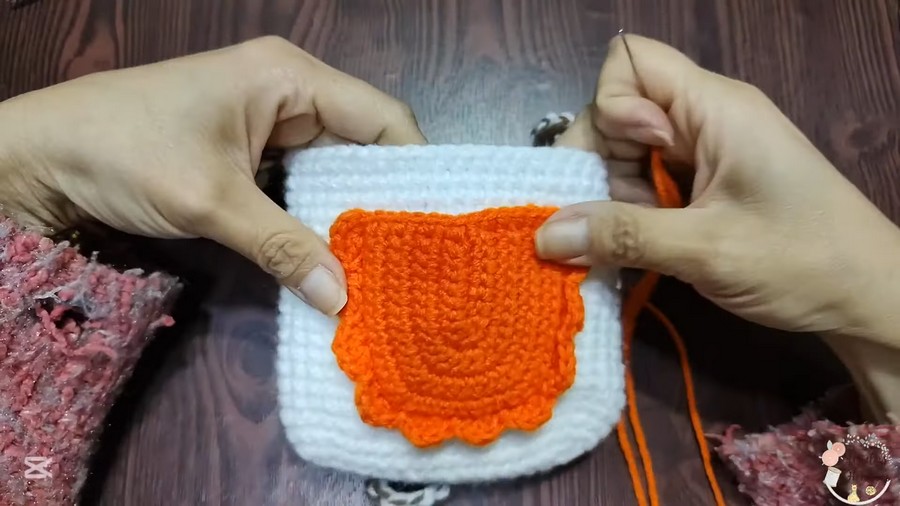
- Skip 1 stitch, work a slip stitch into the next stitch, and repeat 4 DC, slip stitch. This creates a fan-like border on the pocket edge.
-
Attachment:
- Use the tapestry needle to sew the pocket evenly onto the bag. Position it low and centrally for a practical, neat look.
Hen Features
Crest:
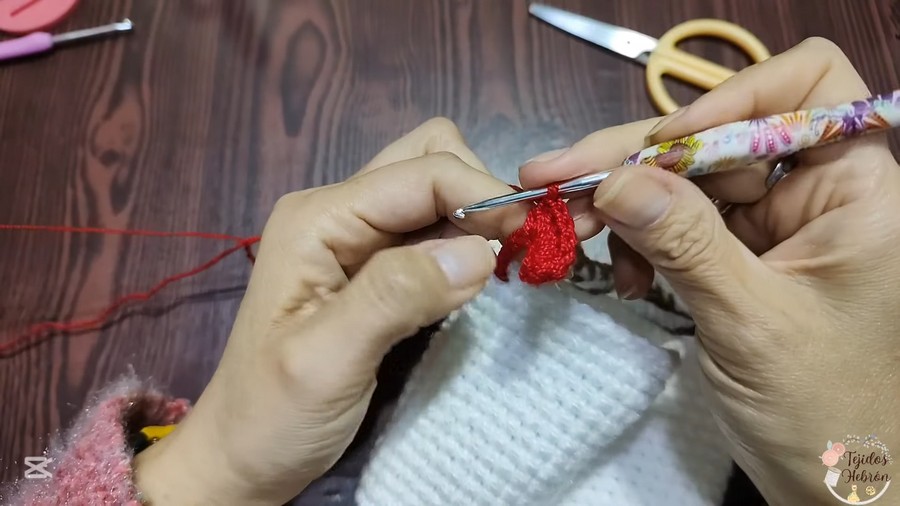
- Use the red yarn and create 4 fans.
- Fan Details:
- Each fan consists of 4 DC stitches followed by a slip stitch, skipping one stitch between fans.
- Attach to the top-center of the bag using the tapestry needle.
Beak:
- Using yellow yarn and a 2.75 mm hook, create a slip ring.
- Work 6 SC stitches into the ring and continue working rounds to shape the beak.
- Attach below the crest using simple stitches around its edge.
Feet:
- Use brown yarn to make two slip rings with 6 SC stitches.
- Crochet 3 straight rounds of 9 SC stitches. Then close the piece by crocheting front and back loops together.
- Secure the feet in place at the bottom of the bag.
Tail:
- Chain 10 stitches, working 4 DC stitches into each stitch for 3–4 rows until the tail curls up nicely.
- Glue or sew the tail onto the back of the bag above the feet.
Hints for Success
- Adjust Sizes: Customize height, strap, and decoration proportions based on intended recipient's age.
- Using Different Crochet Hooks: Using multiple hook sizes creates precise details and enhances the aesthetic.
- Attachment Stronghold: Silicone glue combined with threaded knots ensures durability and prevents unraveling.
- Decoration Placement: Position crest, beak, and feet symmetrically for a polished final product.
Customization Choices
- Color Combinations: Experiment with lively, pastel, or neutral colors according to the recipient’s preferences.
- Additional Embellishments: Add bows, safety eyes, buttons, or embroidery for increased personalization.
- Alternative Shapes: Replace the hen imagery with other animal designs like cats, rabbits, or ducks.
Conclusion
This hen-themed bag is a charming creation suitable for children’s use, gifts, or craft fairs. With its thoughtful details like the pocket, curling tail, and decorative crest, it is both functional and visually pleasing. This project is beginner-friendly yet allows advanced crocheters room for creativity and personalization.



