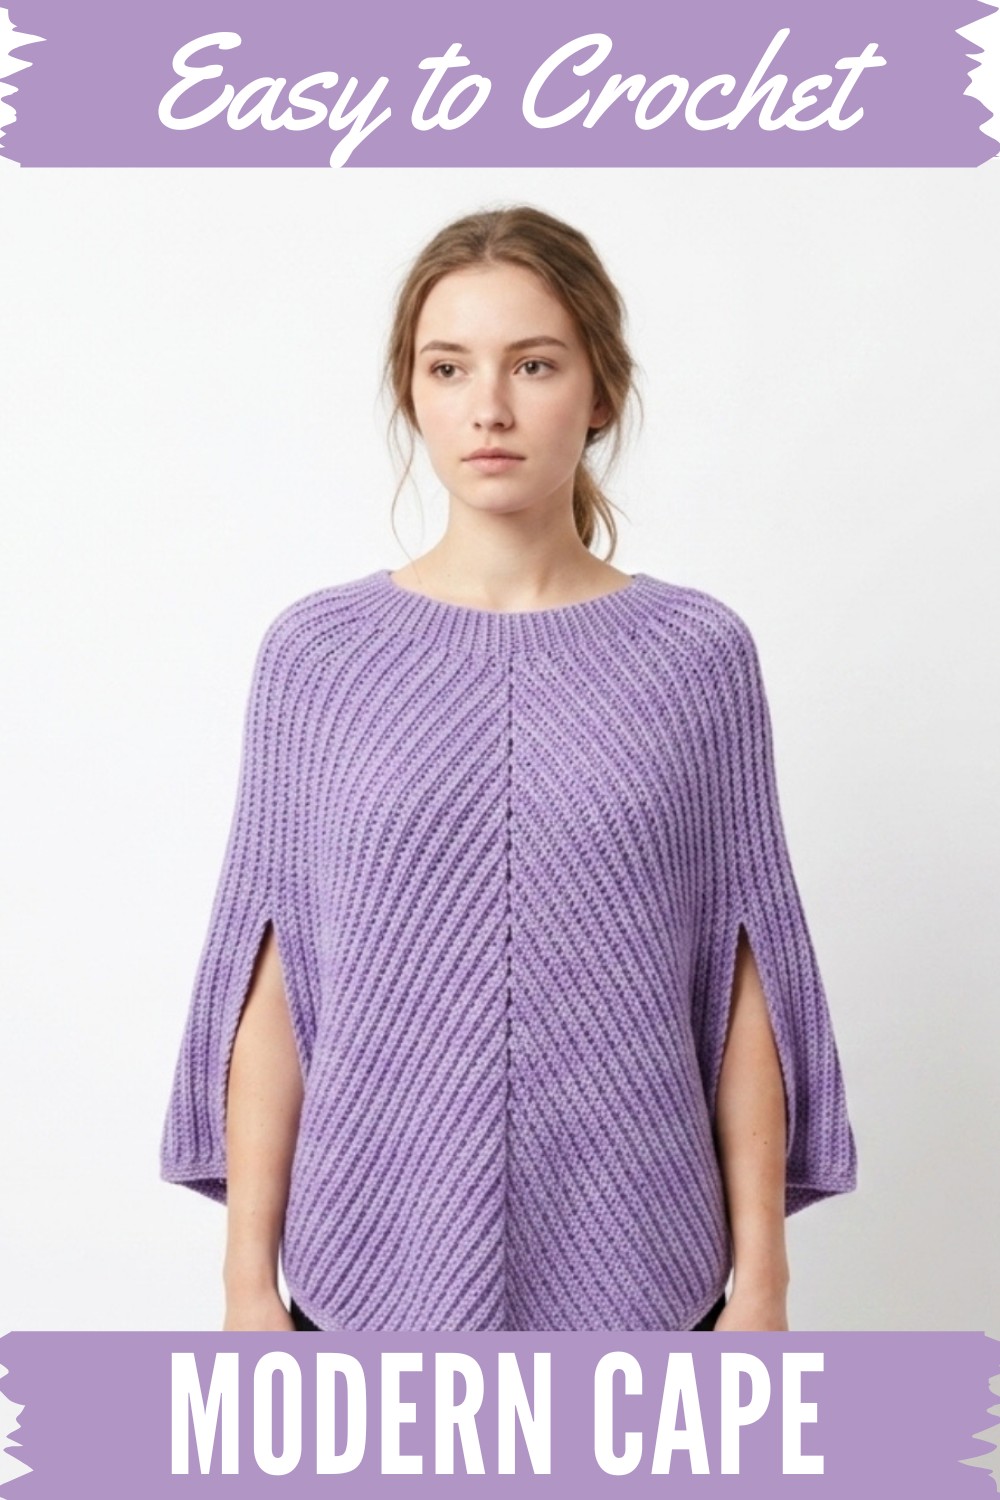
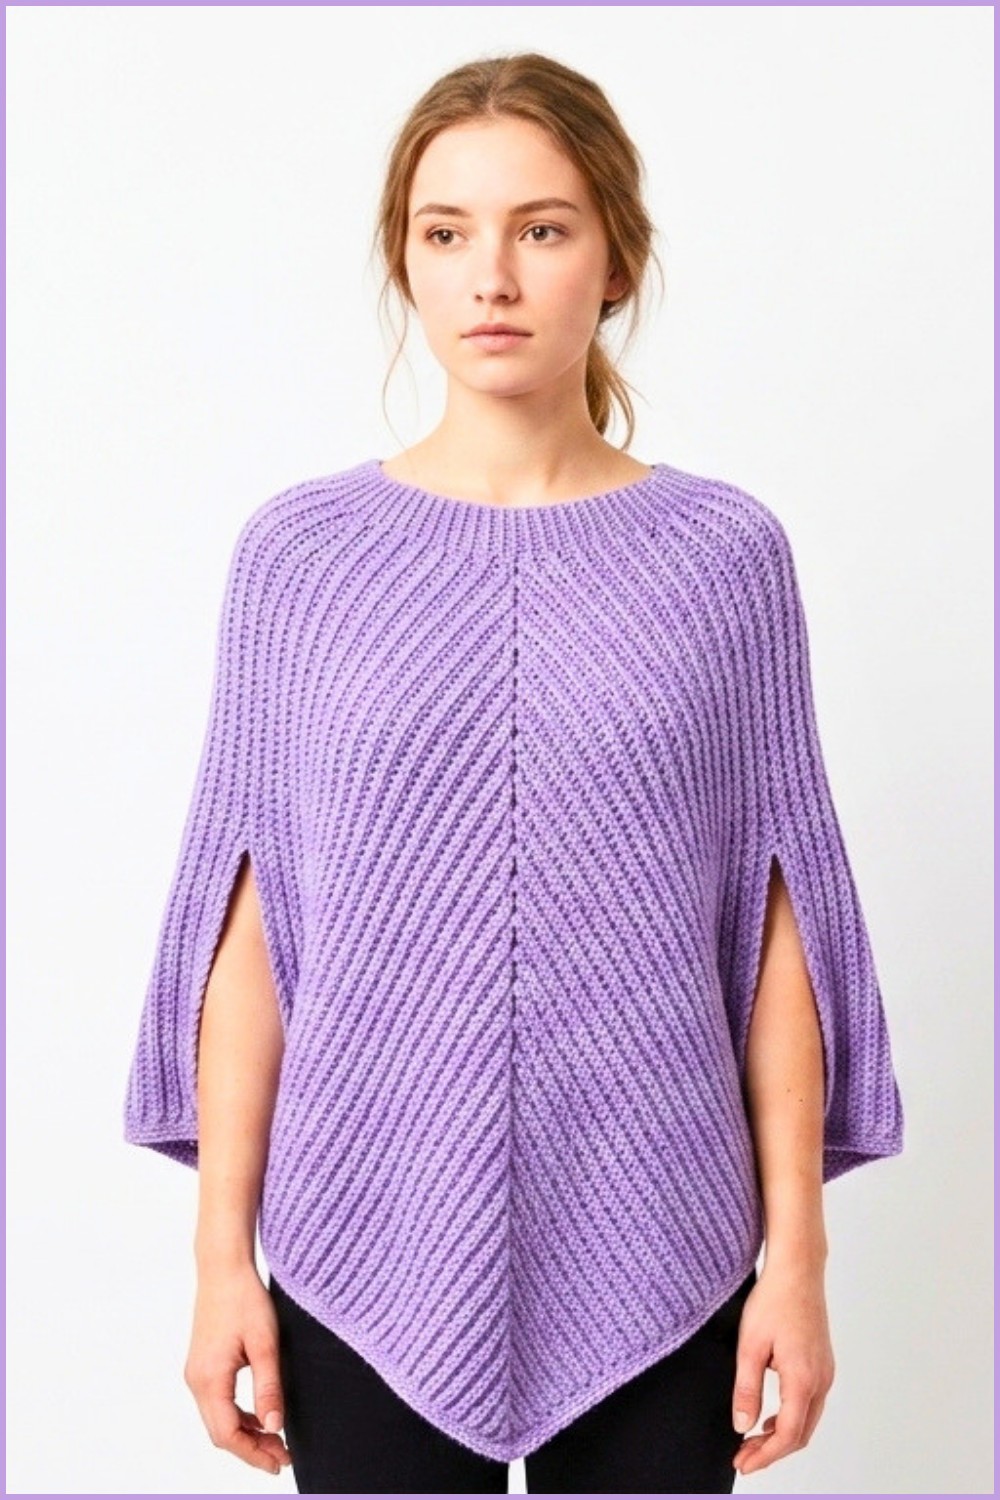
Master the art of making an adjustable, modern crochet cape effortlessly with 8-ply acrylic yarn, detailed sizing tips, and step-by-step stitching instructions.
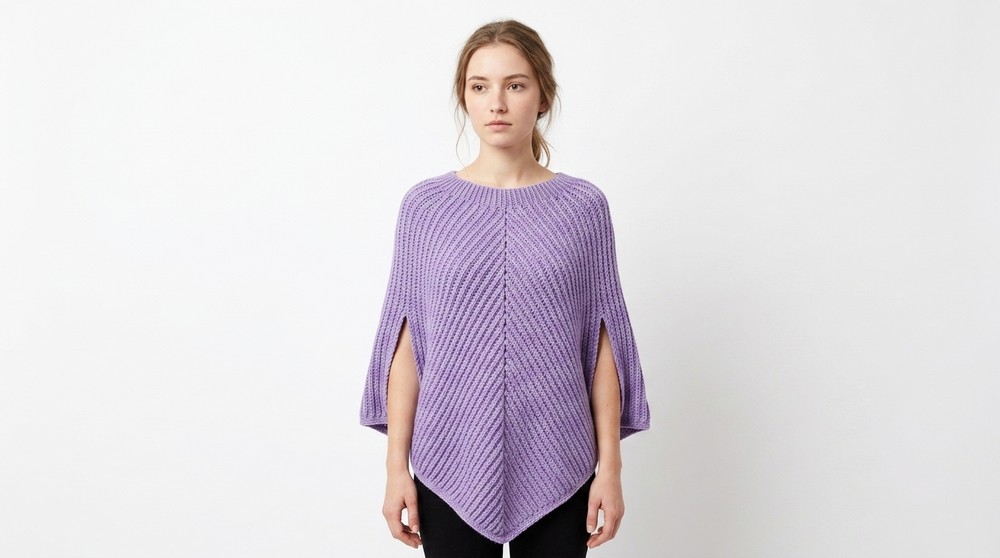
A stylish accessory that provides both warmth and elegance, this lightweight cape is perfect for layering over any outfit. Using a free crochet cape pattern, you can create a soft, flowing garment that flatters all body types and works for any occasion—whether it’s a cozy evening at home or a formal event.
Free Crochet Cape Pattern with Sizing for XS to 3X+
The cape’s delicate drape and timeless design make it a versatile choice in any wardrobe. You can adjust the length, color, and yarn type to suit your personal style, adding unique details like edging or ties for a more personal touch. The simplicity of this project makes it beginner-friendly while still producing a stunning result that looks intricate and professional.
Not only is this cape practical for chilly weather, but it also adds a touch of elegance to casual and formal outfits alike. Its charming appearance and soft texture make it both functional and fashionable, ensuring it becomes a favorite accessory. Easy to complete and endlessly adaptable, this crochet cape brings together beauty and practicality in a way that everyone can appreciate. It’s a wonderful project that you’ll enjoy working on and wearing for years to come.
Modern Crochet Cape Pattern
Skill Level
- Intermediate
Materials
- Yarn:
- Approximately 420g of 8-ply acrylic yarn (DK weight or light worsted yarn).
- Yarn used: Four Seasons Marvel 8-ply yarn.
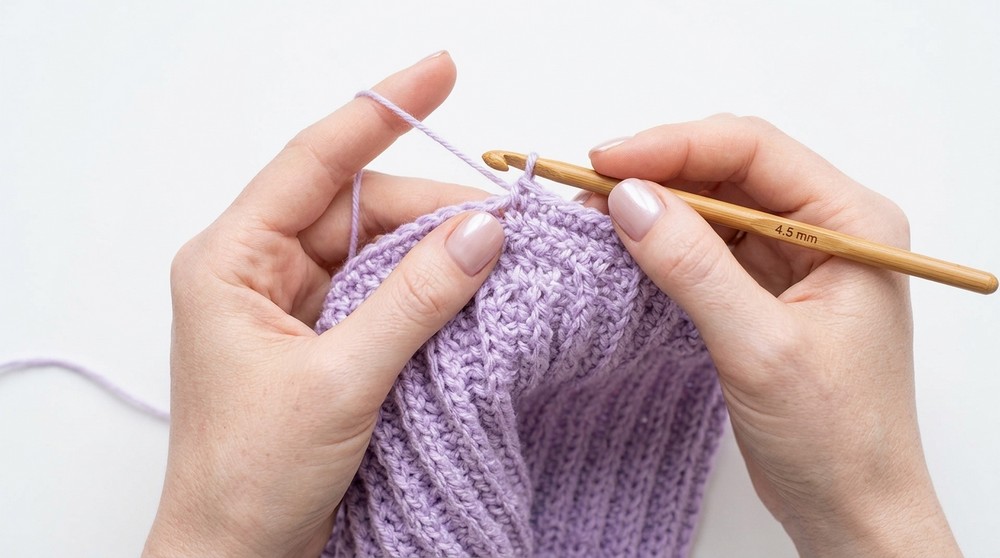
- Hook:
- 4.5 mm crochet hook.
- Other Supplies:
- Scissors.
- Darning needle.
- Stitch markers (optional but useful for marking edges during assembly).
- Gauge:
- 16 stitches x 10 rows using modified half-double crochet (mhdc) = 10 cm x 10 cm (4” x 4”).
Special Techniques
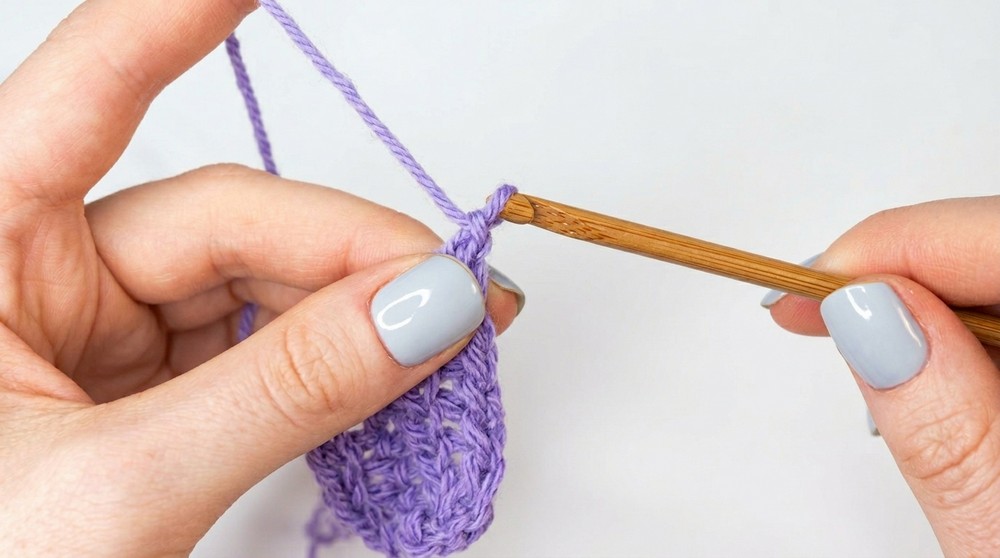
- Modified Half-Double Crochet (mhdc):
- Yarn over, insert hook into stitch, yarn over and pull through.
- Pull the first loop on the hook through the remaining two loops.
- Back Loop Only (BLO):
- Work the stitch through the back loop of the stitch only.
- Slip Stitch (sl st):
- Insert hook into stitch, yarn over, pull through stitch and loop on hook.
Finished Size
- Small/Medium: Approximately 24” (61 cm) long from neckline to bottom edge when laid flat.
- Optional size adjustments are provided for extra small to 3X.
Pattern Notes
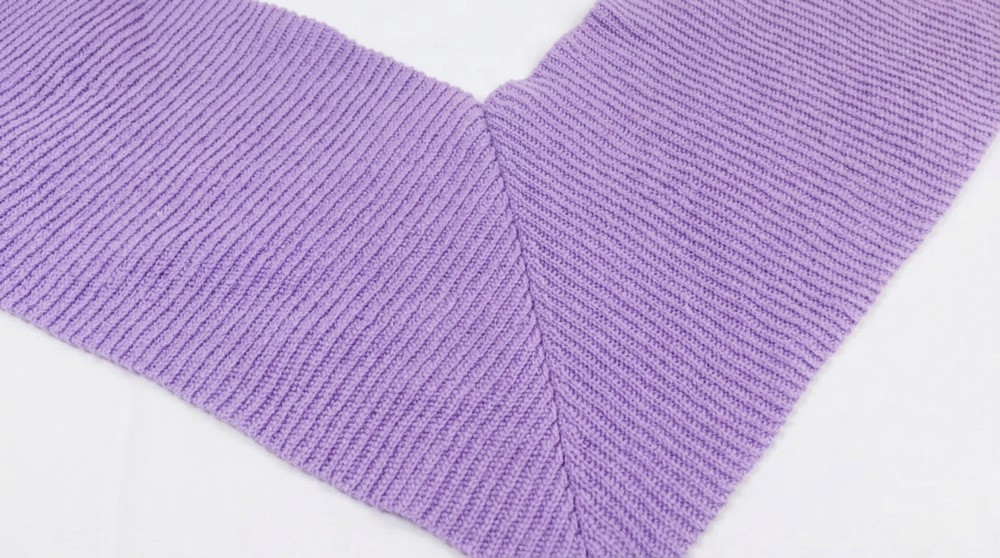
- The cape is made in two identical panels (trapezoids), which are worked from the pointed front to the wide back. The panels are later stitched together to form the full cape.
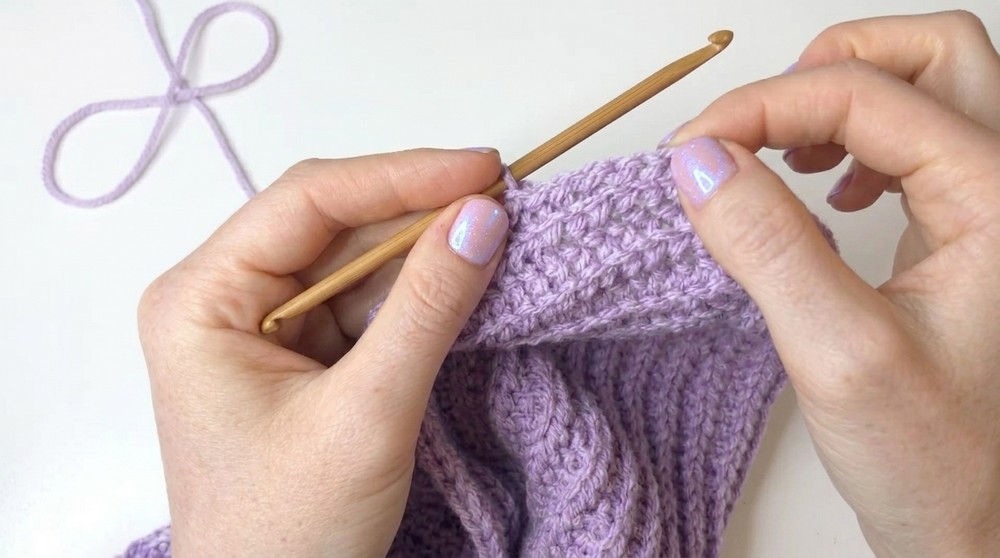
- The textured stitch (modified hdc) adds a unique look and allows for some stretch and drape.
- The neckline is created with slip stitch ribbing while the bottom edge is finished with a slip stitch border for stability and a polished look.
Pattern Instructions
Step 1: Front and Back Panels
- Foundation:
- Make a slipknot and chain 3.
- Begin the first row with modified half-double crochet (mhdc):
- In the 2nd chain from the hook, work 1 mhdc.
- In the next chain, work 1 mhdc (2 mhdc in total).
- Row 2:
- Chain 1, turn, and work 2 mhdc in the back loop only (BLO) (into the two stitches from the previous row).
- Row 3: Start Increasing:
- Chain 4, turn. Skip the first chain and work 1 mhdc in each of the next 3 chains.
- Continue working BLO mhdc across the remaining stitches in the row (2 sts from the previous row).
- You now have a total of 5 stitches.
- Continue Increasing Every Other Row:
- Work mhdc in each stitch in the return row.
- For the next row, chain 4 at the beginning, work 1 mhdc in the 2nd, 3rd, and 4th chains, and continue BLO mhdc across all stitches from the previous row.
- Add 3 stitches every 2 rows.
- Repeat Pattern Until Desired Length:
- For a Small/Medium size, continue increasing for 58 rows. You will have 28 chain-increase rows and 30 non-increase rows, resulting in approximately 58 stitches in the final row.
Step 2: Midsection (Straight Rows)
- Switch to Straight Rows:
- After 58 rows (or your desired number of rows for the triangle section), stop increasing.
- Work BLO mhdc evenly across each row without adding new stitches.
- Row Count for Midsection:
- For a Small/Medium size, work 58 rows (total of 116 rows so far). Adjust row count depending on your size:
- XS-S: 50 rows
- M-L: 66 rows
- XL-2X: 74 rows
- 2X-3X: 90 rows
- For a Small/Medium size, work 58 rows (total of 116 rows so far). Adjust row count depending on your size:
Step 3: Decreasing (Mirror the First Triangle)
- Start Decreasing Every Second Row:
- At the beginning of every decrease row, work 3 slip stitches (BLO) in the first 3 stitches.
- Continue working BLO mhdc across.
- Continue Until Only 2 Stitches Remain:
- On the final row of the decrease section, work the last 2 mhdc before chaining 1 and cutting the yarn.
- Repeat for Second Panel:
- Create a second identical panel following Steps 1–3.
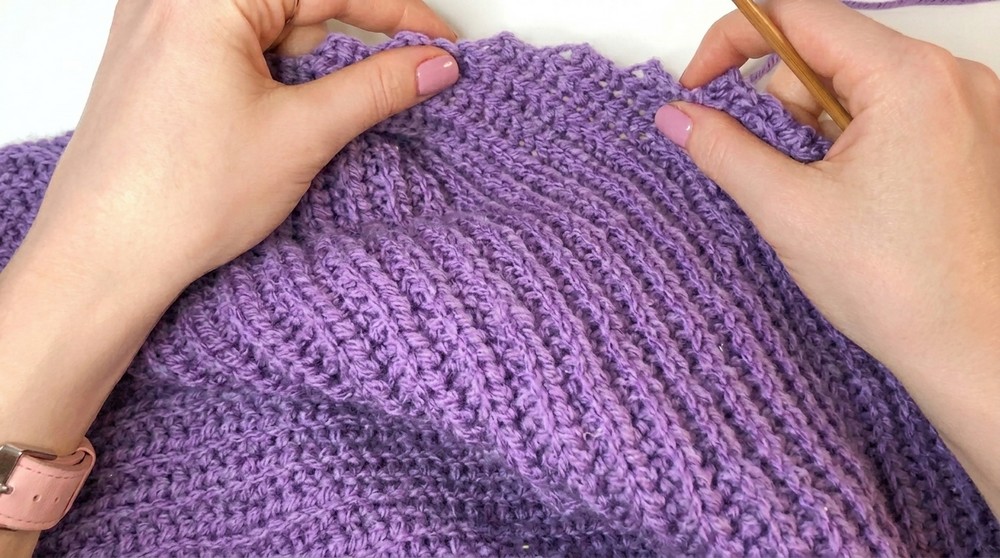
Step 4: Joining the Panels
- Align the Panels:
- Place the two panels together with their right sides (non-ridged sides) touching.
- Use stitch markers to align the edges, matching the diagonals and ensuring symmetry.
- Join the Panels:
- Use slip stitches or a darning needle to stitch along the long edges of the triangles to form the full cape.
- For slip stitches: Insert hook through both layers, yarn over, pull through both layers and the loop on the hook. Repeat along the edge.
Step 5: Neckline Ribbing
- Create Foundation Chain:
- Make a slipknot and chain 9.
- Work back into the chain with 8 slip stitches (after skipping the first chain).
- Work Back Loop Ribbing:
- Chain 1, turn, and work BLO slip stitches across.
- Work evenly around the neckline of the cape, adding increases or decreases at the V for shaping.
- Row Count for Sizing:
- XS-S: 44 rows
- S-M: 56 rows
- M-L: 68 rows
- L-XL: 80 rows
- XL-2X: 92 rows
- 2X-3X: 104 rows
- Assembly:
- Once the ribbing is complete, join the two ends and attach it to the neckline by sewing or slip-stitching it evenly to the cape.
Step 6: Bottom Edge Border
- Foundation Slip Stitch Row:
- Starting at one side of the cape, work a slip stitch in each row along the bottom edge.
- Back Loop Slip Stitch Rows:
- Work 4 rows of BLO slip stitches around the entire perimeter, slipping 2–3 times in the center of the V points for shaping.
Project Completion
- Once you’ve finished joining the neckline and bottom edging, weave in all loose ends using a darning needle.
- Gently block the cape to relax the stitches and enhance the texture.
Conclusion
Congratulations on completing your Modern Crochet Cape! This stylish, textured cape pairs well with a variety of outfits and can be customized with different yarn colors, ribbing widths, or decorative details.
Tips & Customization Ideas
- Yarn Alternatives: Substitute worsted-weight yarn for a thicker, warmer cape.
- Add Ties or Buttons: Consider adding ties, toggles, or buttons for a fitted neckline or closure.
- Length Adjustments: For a longer cape, continue straight rows in Step 2.
- Decorative Stitching: Add a contrasting color or edging stitch for detail.