
Make a cozy crochet Raglan T-Shirt with this free pattern, perfect for adding a handmade touch to your wardrobe with ease and style.
Effortlessly blending comfort with style, the classic handmade t-shirt has become a staple in the world of crochet fashion. The Crochet Raglan T-Shirt Pattern is a trendy choice for those looking to create a light, breathable top that works for all seasons. Perfect for layering or wearing on its own, this versatile design features the iconic raglan style, known for its seamless construction and flattering silhouette.
Crochet Raglan T-Shirt Pattern You’ll Actually Want to Wear
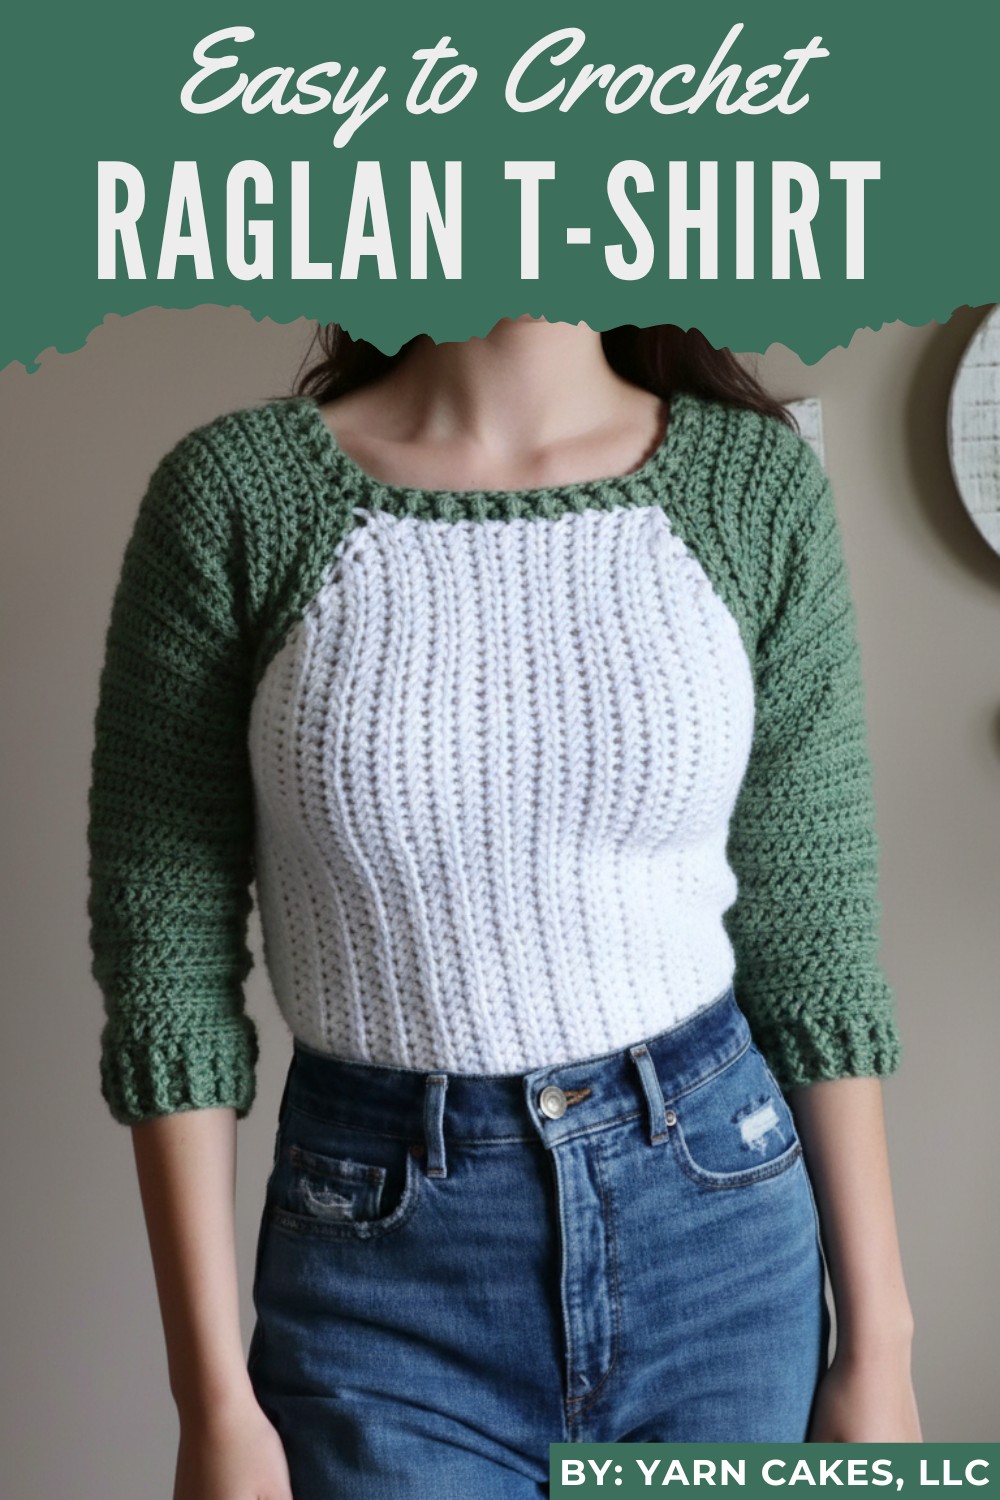
Step-by-Step Guide to Crocheting the Rae Glan Top
Step-by-Step Instructions
Materials
- Hook Size: 5.5mm hook (for the main body) and 4.5mm hook (for smaller details like the cuffs and collar).
- Yarn: Category 4, medium-weight yarn in the color of your choice.
- Other Supplies: Tapestry needle, scissors.
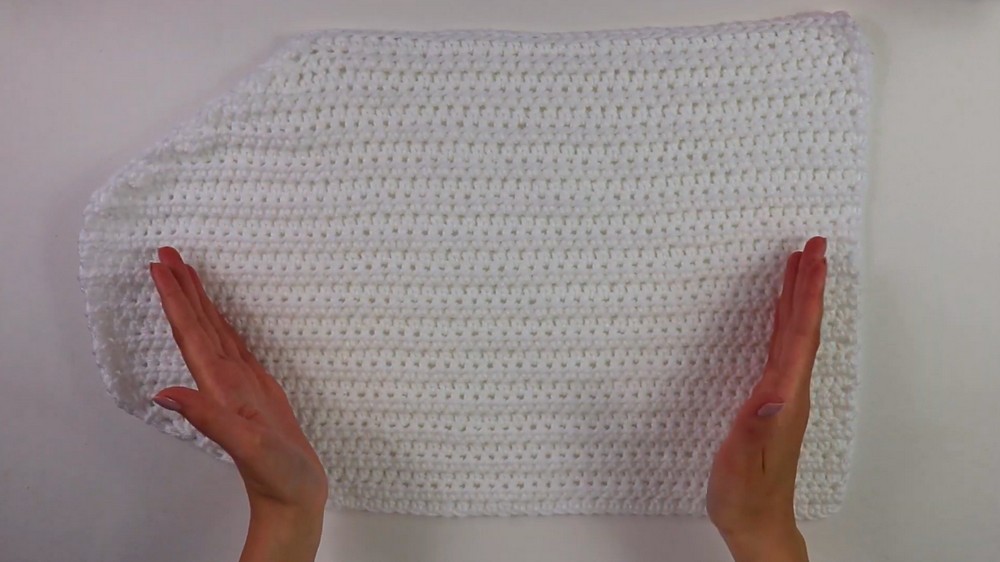
1. Creating the Panels
Front and Back Panels
- Foundation Chain:
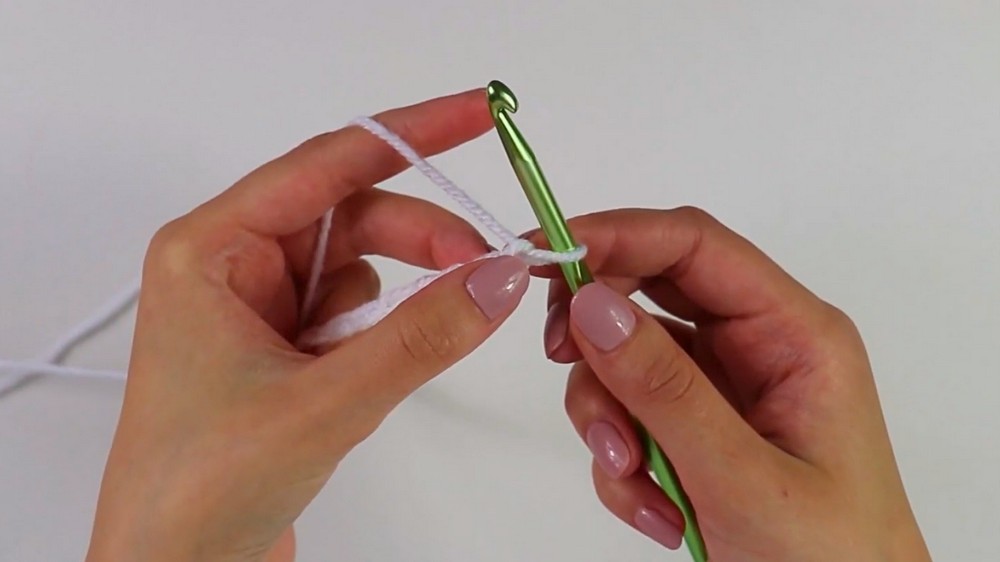
- Start with a slip knot and make a chain of 37 for the smaller size (adjust sizes as needed for larger versions).
- Row 1:
- Skip the first chain and work half double crochets into each chain across.
- At the last chain, increase with three half double crochets to form a rounded edge.
- Rows 2–9 (Underarm Section):
- Alternate increases.
- Row 2: Increase at the start of the row (work 3 half double crochets into the first stitch).
- Row 3: Increase at the end of the row (work 3 half double crochets in the last stitch).
- Repeat until you have 9 rows.
- Alternate increases.
- Main Body:
- Work regular rows without increases for 11 rows.
- Rows 21–29 (Decreases):
- Begin decreasing each row by working a half double crochet decrease at the start and end of designated rows until there are 9 rows of decreases.
- Repeat the Process:
- Make an identical second panel for the back.
2. Seaming the Panels
- Use a tapestry needle and whip stitch to seam the sides of the front and back panels together.
- Leave a gap for armholes by stopping near the underarm section.
- Turn the work inside out for a clean finish.
3. Crafting the Sleeves
- Attach Yarn to the Armhole:
- Use a slipknot and attach yarn directly to the seam of the armhole.
- Begin working half double crochets in alternating rows:
- Row 1: Work two half double crochets into one row, then one into the next row. Repeat until you reach the top corner.
- Chain for Full Sleeve Extension:
- At the top corner, chain 19 and secure with a slip stitch on the opposite panel.
- Rows 1–27:
- Begin rounds of half double crochets, alternating increases every third row.
- Final Rows on Sleeve Body:
- Perform regular half double crochet rows (Rows 28–38) for the smoother sleeve finish.
4. Adding the Cuffs
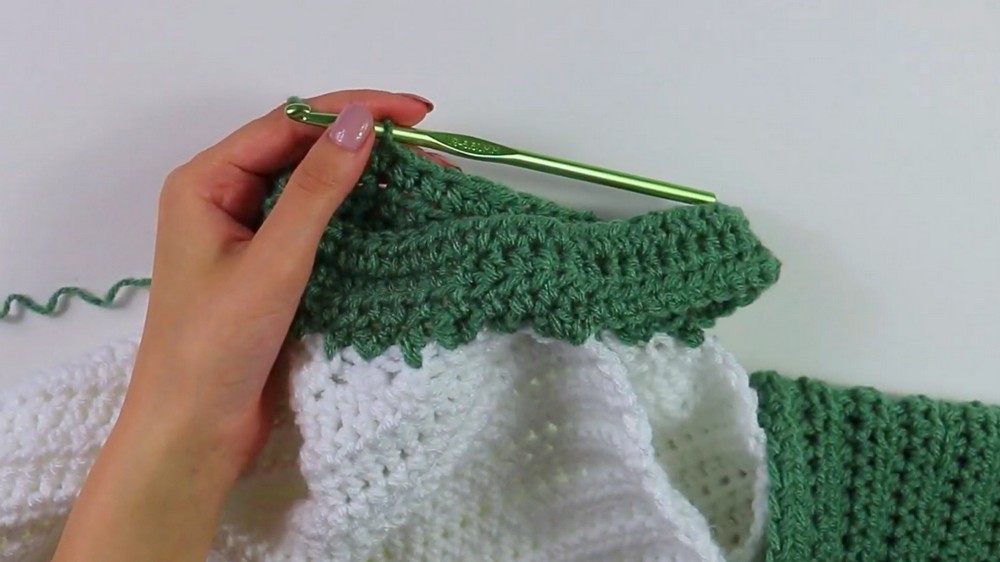
Switch to a smaller hook (4.5mm) for the cuffs:
- Foundation Row:
- Alternate front and back post double crochets around the bottom edge of the sleeve.
- Rows:
- Repeat the alternation for a total of 5 rows or customize the length of the cuff to suit your preference.
- Fasten Off:
- Cut and secure the yarn.
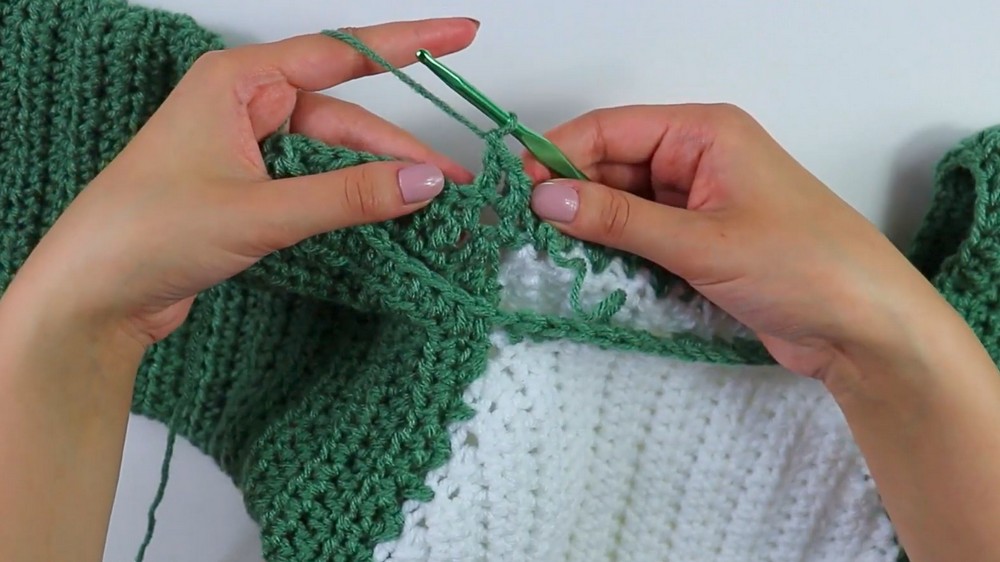
5. Creating the Collar
- Attach Yarn:
- Mount a slipknot and attach the yarn at the corner of the neckline.
- Foundation Row:
- Work two half double crochets into the first row, one into the next row, and continue alternating across the collar edge.
- Rows:
- Start alternating front and back post double crochets for texture.
- Finishing:
- Work 4 rows total for the collar, ensuring it matches the cuffs for a cohesive design.
Special Features
- Customizable Fit: This pattern accommodates XS to 3XL sizes, making it versatile for all body types.
- Elegant Texture: The front and back post double crochet detailing on the cuffs and collar adds sophistication to the design.
- Detailed Sleeves: The extended sleeves with subtle decreases and structured cuffs enhance the overall aesthetic.
Level of Difficulty
The Rae Glan Top is intermediate in difficulty. Familiarity with half double crochets, increases, decreases, and post stitches is essential for seamless completion.
Tutor’s Suggestions
- Adjust Sizes: Maintain consistent stitch counts and adjust starting chains for different sizes.
- Even Tension: Pay close attention to the tension when working cuffs and post stitches to achieve a uniform texture.
- Hiding Seams: Turn the work inside out to hide seams and create a professional finish.
Uses and Benefits
- Uses: Perfect for everyday wear, layering in colder months, or styling for casual outings.
- Benefits: This handmade crochet top offers comfort, durability, and an elegant flair, making it a thoughtful gift or a personal wardrobe addition.
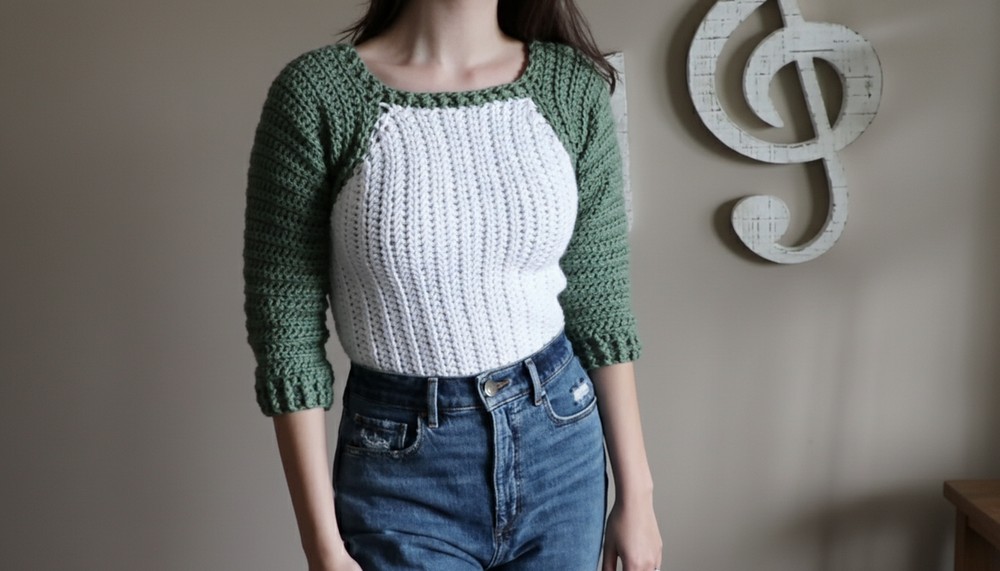
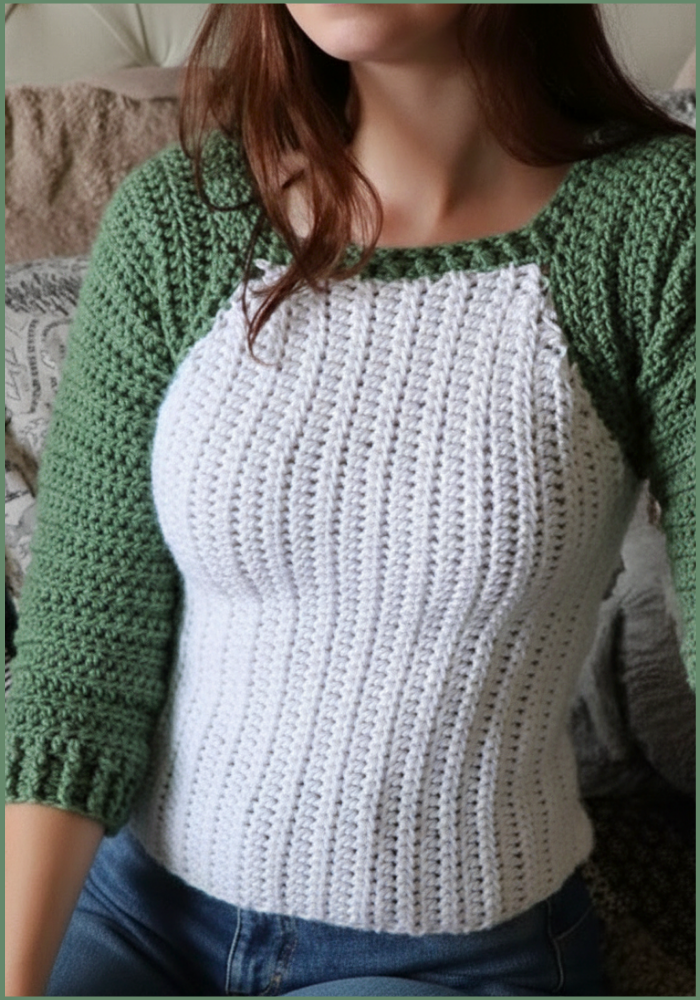
Ideal for casual outings, summer wear, or layering during cooler months, this crochet t-shirt offers both functionality and grace. With endless color and yarn combinations available, you can customize it to reflect your unique fashion sense. Handmade using soft and breathable yarn, this t-shirt also provides unmatched comfort, making it a go-to wardrobe essential. Whether for yourself or as a thoughtful gift, the Crochet Raglan T-Shirt Pattern offers both style and satisfaction.
Tip
When working the sleeves, placing stitch markers every few rows can help you track the increases and decreases with precision.
Conclusion
The Rae Glan Top is a testament to creativity and craftsmanship, offering style and utility all in one. By following this step-by-step guide, you can craft a stunning wardrobe piece with an elegant neckline, textured cuffs, and flattering sleeves. Share your creations with pride—you’ve made something truly unique!



