
Hook your way to a trendy and functional crochet shoulder bag with this pattern perfect for beginners and stylish enough for everyday use.
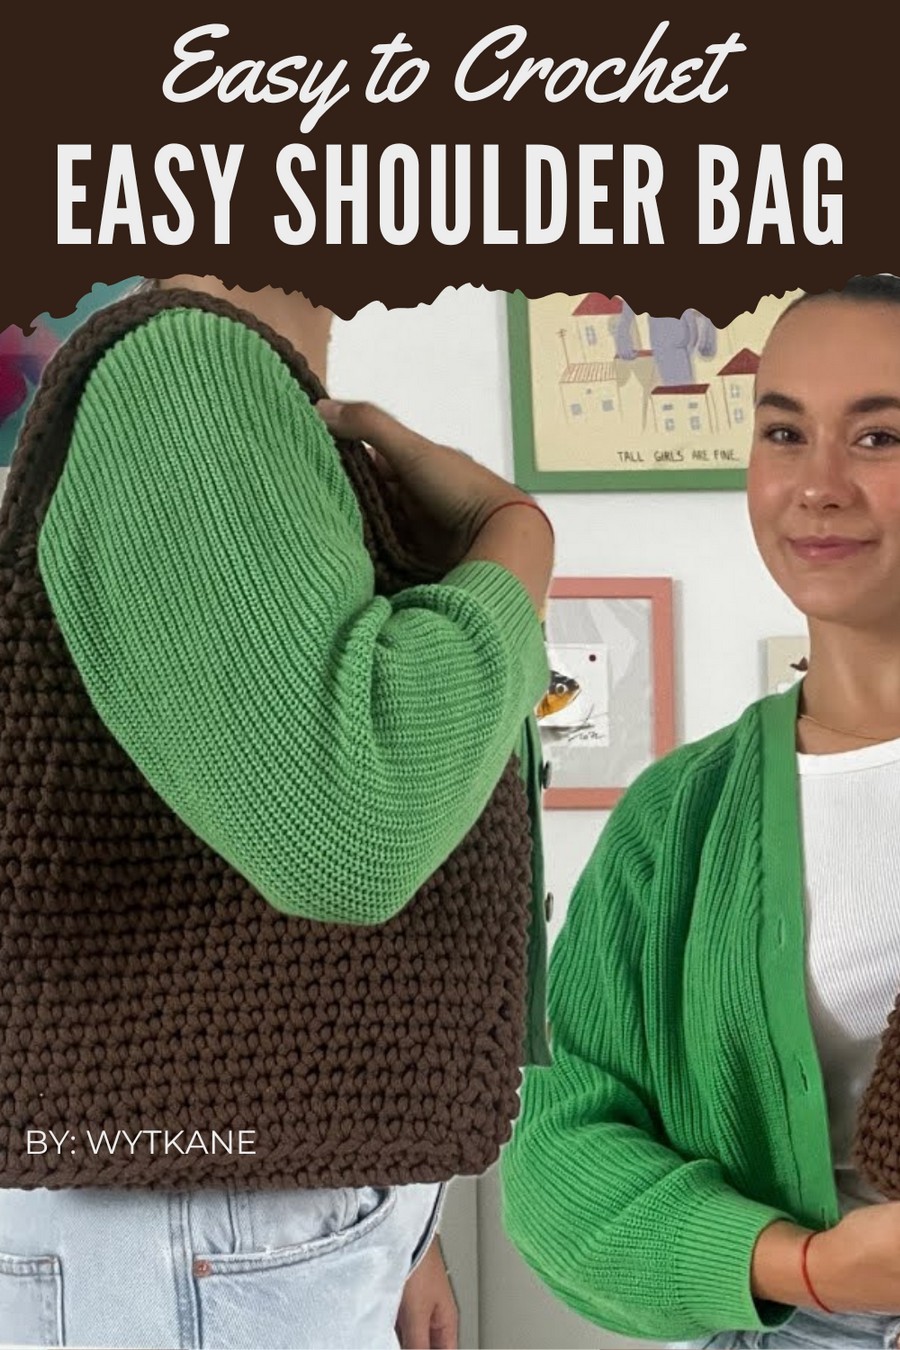
With this Free Crochet Shoulder Bag Pattern, you can create a stylish and practical accessory that fits seamlessly into your everyday life. Whether you’re a beginner or experienced in crochet, this simple project uses basic stitches and easy-to-find materials, making it perfect for anyone.
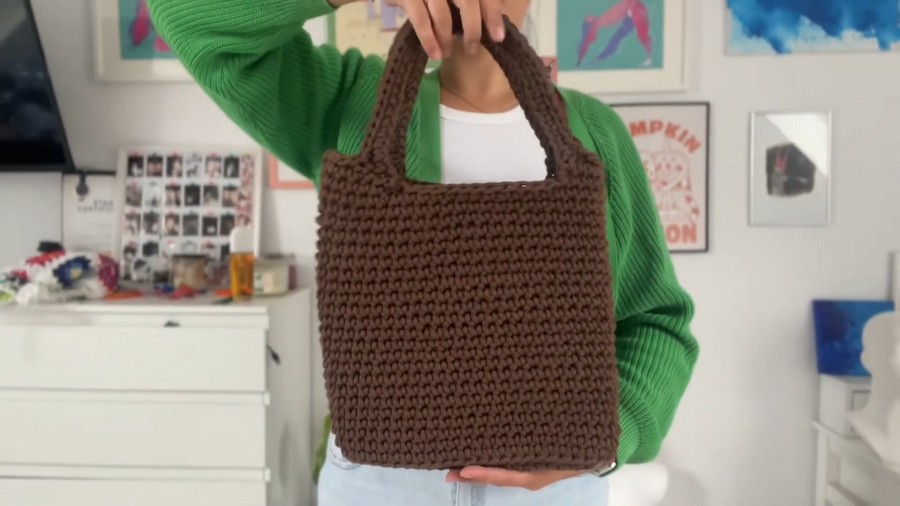
Trendy Crochet Shoulder Bag Pattern Perfect for Any Outfit
The shoulder bag is designed to be both functional and eye-catching, ideal for errands, casual outings, or gifting to someone special. Plus, its roomy design balances convenience and charm, ensuring you’ll reach for it time and time again.
Get ready to crochet a bag you’ll love carrying while showcasing your creativity and unique style!
Materials List
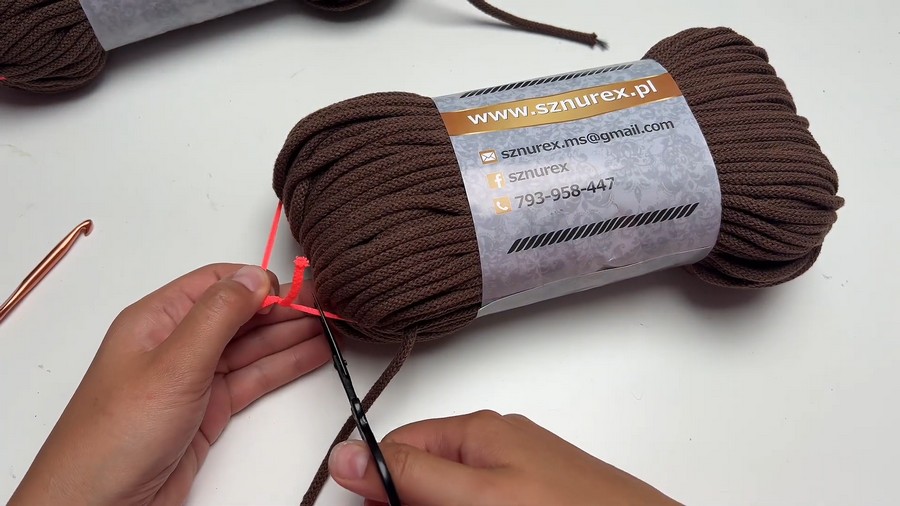
- Yarn Type: 5mm cotton cord yarn, approximately 200 meters required (e.g., 2 skeins, 100 meters each). Recommended: Sznurex Cotton Cord for its durability and vibrant colors.
- Hook Size: 6 mm (US J/10).
- Scissors
- Yarn Needle: For weaving ends.
- Measuring Tape: Optional, for ensuring dimensions.
- Stitch Markers: Optional but helpful for keeping track of rounds.
Skill Level
- Intermediate: Basic knowledge of crochet stitches (e.g., chains, single crochet) and working in continuous rounds is required.
Key Abbreviations (US Terms)
- ch: Chain
- sc: Single Crochet
- sl st: Slip Stitch
- st(s): Stitch(es)
- blo: Back Loop Only
Pattern Notes
- The bag is worked in continuous rounds from the bottom to the handles without turning unless otherwise specified.
- Cotton cord yarn may stretch slightly with use; handles and the bag's body will lengthen slightly over time.
- The bag base is an oval, achieved by crocheting into both sides of the foundation chain.
- For best results, avoid making stitches too tight when working with cord yarn.
Step-by-Step Instructions
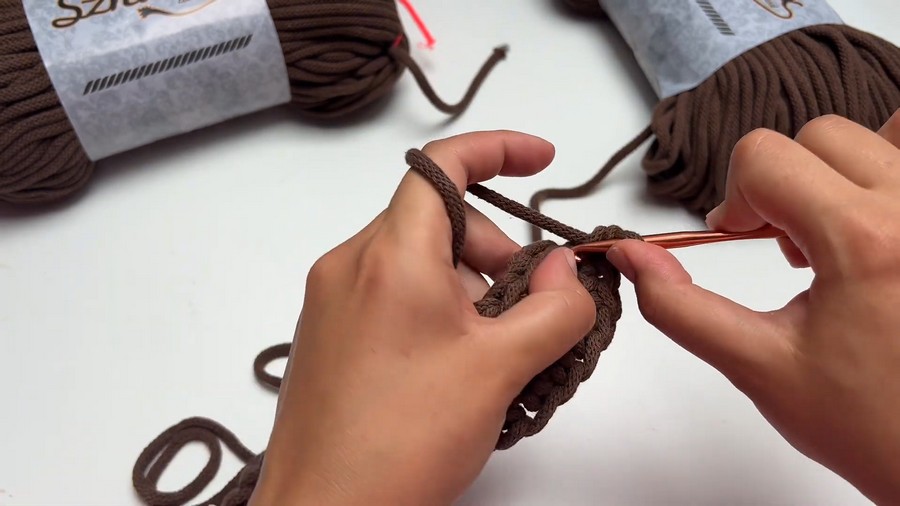
Step 1: Create the Foundation Base
- Start with a Slip Knot and insert your crochet hook.
- Foundation Chain:
- Chain 21 ch (this creates the length of the bag's base).
- Work Single Crochets Across:
- In the 2nd chain from the hook, work 1 sc.
- Continue working 1 sc into each chain across. (Total: 20 sc).
- Turn to Work on the Opposite Side of the Chain:
- At the end of the row, add 2 sc in the last ch. This naturally turns your work to the other side of the chain.
- Now, work 1 sc in each chain on the opposite side of the foundation.
- When you’ve reached the starting chain, make 2 sc in the last chain to complete the oval.
- Join with a Sl St: Join to the first sc with a sl st to complete the oval base.
Step 2: Expand the Oval Base
- Round 1 (Increase Round):
- Ch 1, work 2 sc in the first st, then 1 sc in each st along the straight edge until you reach the curved edge.
- Work 3 sc in the corner st (this helps form the round curve).
- 1 sc in each st along the opposite straight edge, and at the other curved edge, work 3 sc again in the corner st.
- Join with a sl st into the first sc.
- Round 2 (Continue Expanding):
- Ch 1, work 2 sc in the first st of the curved edge from the previous round. Then, 1 sc in each st along the straight section.
- On the curved corners of the oval, continue placing 2 sc in each corner st, increasing evenly.
- Join with a sl st to the beginning st.
Repeat this increasing process for one more round to achieve the desired base size (large enough for A4 format).
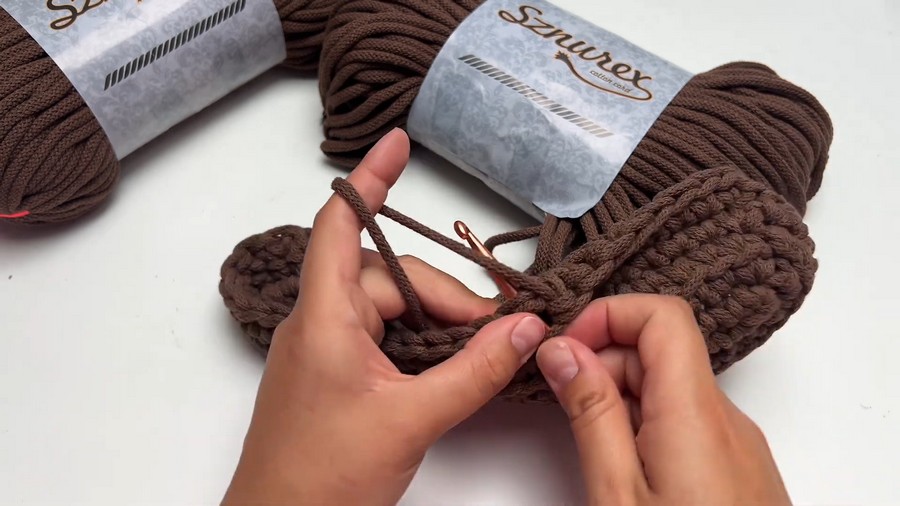
Step 3: Work the Bag Body
- Transition to the Sides:
- Round 1 (Change Stitches): Begin creating the sides by working into the back loop only (blo) of each stitch.
- Work 1 sc in blo of every stitch around the base. This creates a seamless edge that allows the sides to "stand up" from the base.
- Join with a sl st and ch 1 to start the next round.
- Body Rounds:
- Work 1 sc in both loops of each st for the remaining rounds.
- Repeat this process, continuing in a spiral until the bag reaches your desired height. For this pattern, complete 23 rounds in total. When finished with the final body round, join with a sl st into the first stitch.
Step 4: Adding Handles
- Start with a New Round:
- Ch 1 and work 9 sc.
- Create the Handle Loop:
- After 9 sc, ch 35 for the handle.
- Skip 11 stitches of the bag body and join the chain to the 12th stitch with a sl st.
- Then continue working sc stitches across the next stitches until you reach the opposite side.
- Mirror the Handle:
- On the opposite edge, repeat the same process: ch 35, skip 11 sts, and join the chain to the 12th stitch.
- Work sc stitches until you reach the end of the round.
- Secure and Shape the Handles:
- Work 1 sc in each ch of the handle loop (skipping the first and last chains of the handle for a better shape).
- Repeat this process for both handles to ensure they match.
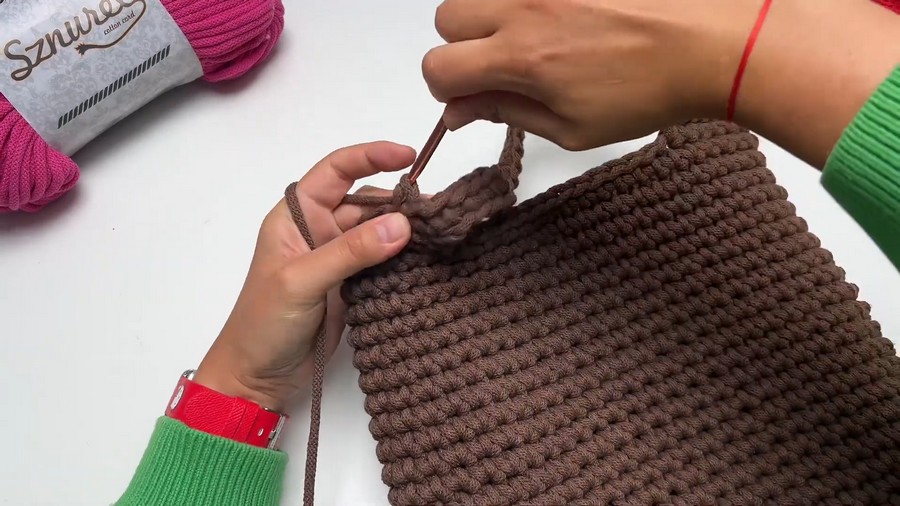
Step 5: Final Edge (Slip Stitch Trim)
- Work the Last Round:
- To finish the bag, work 1 slip stitch (sl st) in each st around the edge of the handles and the bag opening.
- This creates a neat and solid edge, adding durability and visual balance to the bag.
- Complete the Project:
- When you reach the beginning, insert your hook into the first sl st, pull a loop through, and cut the yarn.
- Pull the yarn tight to secure, then weave in the ends with a yarn needle.
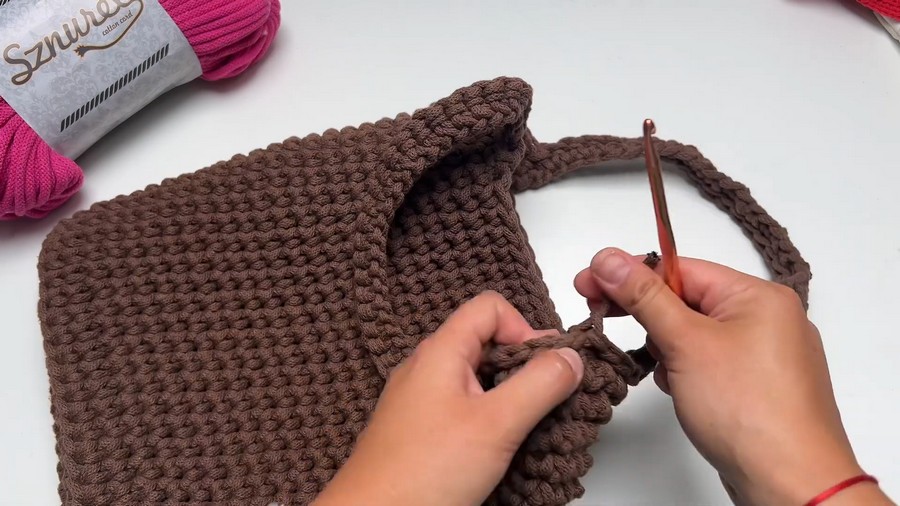
Customization Ideas
- Size Adjustments:
- To make a smaller or larger bag, adjust the number of chains in the foundation chain. Increase or decrease the length according to your preference.
- Handle Length:
- Make longer or shorter chains for different handle lengths.
- Add Colors or Patterns:
- Use multiple colors for stripes or patterns. Switch colors at the start of every round for aesthetic variety.
- Embellishments:
- Add tassels, beads, or crochet appliqués for extra flair.
Conclusion
Congratulations on completing your cotton cord shoulder bag! This bag is not only practical but also a fashionable addition to various outfits, especially for the summer. Its sturdy structure ensures it holds its shape, and the cotton cord guarantees durability, even with regular use.
If your handles or base seem stiff, place the bag over a chair to stretch and shape it evenly—this makes the bag more comfortable for wear.
Pattern Corrections and Tips
- Correction: If your base seems uneven, verify that stitch increases are evenly spaced on both curved edges of the oval.
- Bag Body: If the bag leans or curves awkwardly, block the finished bag by shaping it with steam or dampening and allowing it to air-dry.
- Tip: Always ensure that each handle is evenly balanced on both sides of the bag for a professional finish.



