
Whisker away into the fun of crocheting a delightful mouse perfect for gifts unique decorations or as a charming companion to bring smiles to all.
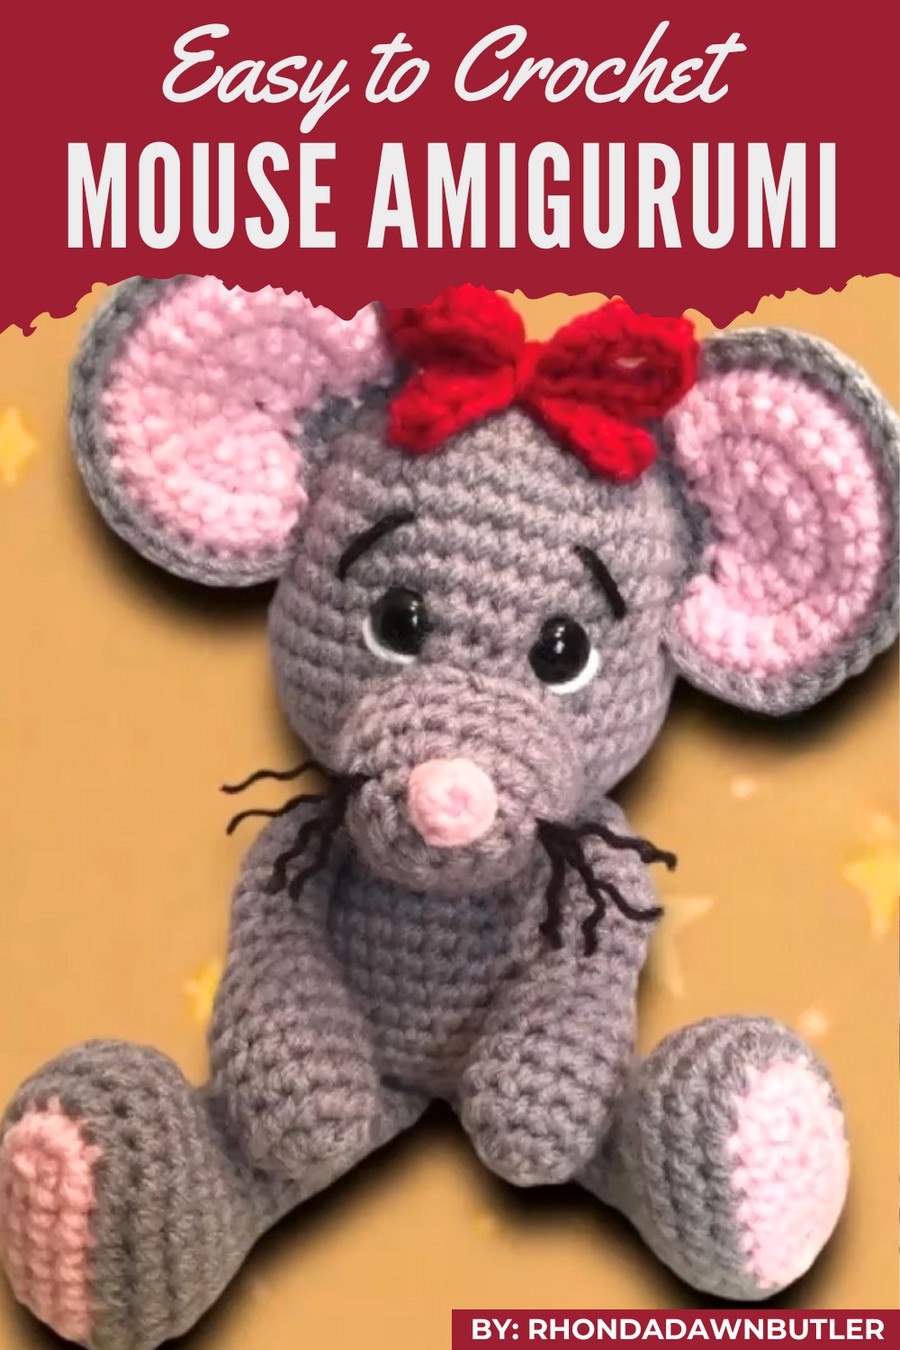
Tiny, adorable, and full of charm, this crochet mouse pattern brings a touch of joy to anyone who sees it. With its cute little ears, tiny paws, and sweet whiskered smile, this creation is perfect for gifts, decorations, or keeping as a delightful companion.
Whimsical Crochet Mouse to Delight
Its small size makes it easy to carry or display anywhere, whether on a shelf, desk, or even as part of a child's toy collection. What makes it unique is the endless customization options – choose fun colors, add tiny accessories, or make a family of mice. It’s simple, fun, and heartwarming for everyone!
Skill Level:
- Intermediate
Some experience with amigurumi techniques will be helpful.
Materials Needed
Yarn
- Number 4 (Medium Weight Yarn):
- Main Mouse Body: Gray, cream, or your chosen main color.
- Accent and Detail Yarn: Pink (for feet bottoms, inner ears, and nose).
- Whiskers or Eye Highlights: White or black.
- Optional Variations: Use different colors for customization.
Crochet Hook:
- 4.25 mm recommended for the #4 yarn.
Accessories
- Safety Eyes (14mm):
You can customize with embroidered or yarn eyes if you prefer. - Stuffing:
Poly-fil or silicone stuffing for filling the body parts.
Other Supplies:
- Scissors
- Darning/Tapestry Needle
- Stitch Markers
- Elastic Bands (Optional): To hold arms in place during assembly.
Abbreviations (US Terminology):
- MR: Magic Ring
- SC: Single Crochet
- INC: Increase (2 SC in one stitch)
- DEC: Decrease (SC 2 stitches together)
- HDC: Half Double Crochet
- SL ST: Slip Stitch
- CH: Chain
- ST(s): Stitch(es)
- BLO: Back Loop Only
Steps
1. Arms (Make 2)
The arms are slender and slightly shaped at the bottom (the hand). They are lightly stuffed, allowing for flexibility in positioning.
Instructions:
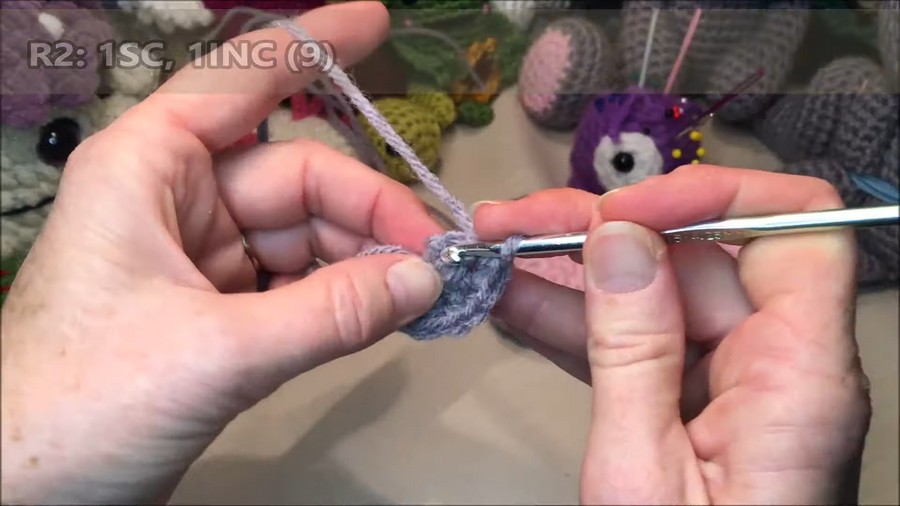
- Row 1: Work 6 SC into a Magic Ring (MR). (6 STs)
- Row 2: Increase in all stitches around (2 SC per ST). (12 STs)
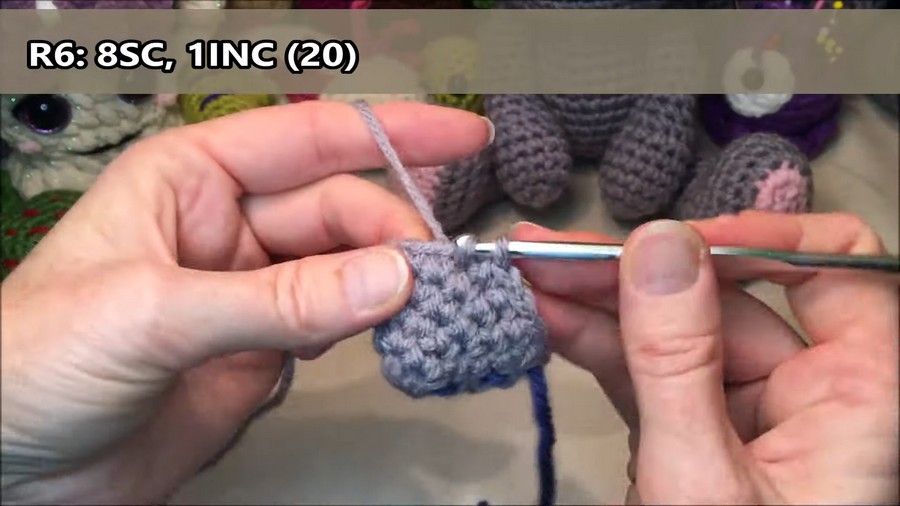
- Rows 3 to 6: SC in each stitch. (12 STs per round)
- Row 7: (1 SC, DEC) x 6. (8 STs)
- Rows 8 to 16: SC in each stitch. (9 rounds, 8 STs total).
- Lightly stuff the arm, ensuring the hand-end is firm but the arm remains squeezable.
- Row 17 (Closing the arm): Flatten the open edge of the arm and work 3 SC across (through both sides to close). (3 STs)
- FO (Fasten Off) and leave a long tail for sewing later.
2. Legs & Feet (Make 2)
Each leg has a flat oval bottom for the foot that transitions smoothly into the leg. Add the pink sole as an accent.
Sole (Pink Accent Section):
- CH 6.
- Work along the chain:
- SC in the 2nd chain from the hook.
- SC into the next 3 CH.
- Work 3 SC into the last CH.
- Continue on the opposite side of the starting chain, 3 SC, followed by 2 SC increases. (14 STs total)
Shaping the Foot & Leg:
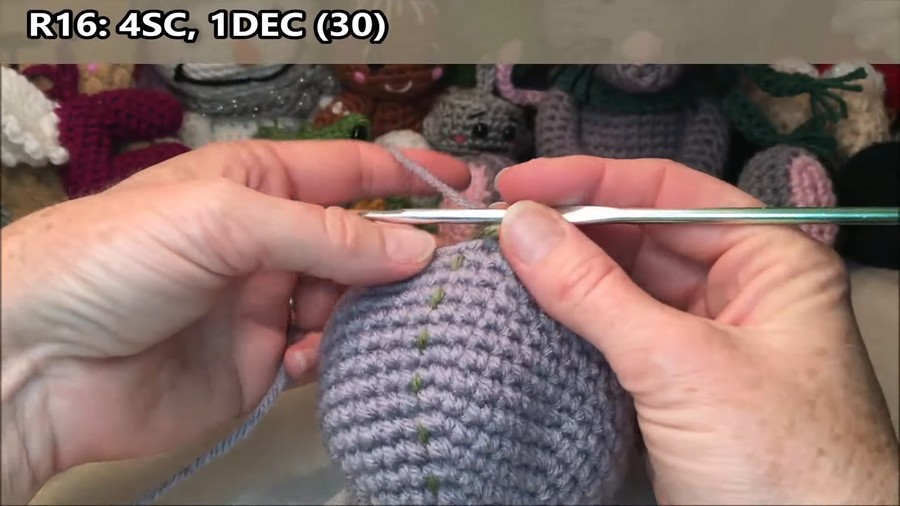
- Switch to the main yarn; work evenly in the round to shape the foot. Gradually increase and decrease per the tutorial to maintain uniform shaping.
- Work in continuous rounds for rows 8–16 (Total: 12 STs) to form the cylindrical leg shape.
- Stuff firmly for stability.
Assembly:
Attach the legs to the bottom of the body (evenly spaced). Ensure the toes point forward when sewn.
3. Head & Body (Top-Down in One Piece)
The head and body are crocheted as one piece, starting from the crown (top of the head) and working downward to the base of the body:
Head Section:
- Begin with:
- Row 1: 6 SC into a MR. (6 STs)
- Row 2: INC around. (12 STs)
- Row 3: (SC, INC) x 6. (18 STs)
- Row 4: (2 SC, INC) x 6. (24 STs).
- Continue increasing and evenly spacing stitches until 42 STs (row 7).
Form the Body:
- Stop increasing after reaching the desired size for the head crown; work evenly in SC for several rounds to create depth.
- Transition to shaping the body base through decreases (same as arms/legs). Gently stuff the mouse while shaping to maintain the form.
4. Details
Muzzle & Nose:
- The muzzle is a flat circular piece crocheted in pink or white and sewn slightly stuffed onto the face, centered beneath the eyes. Use techniques for invisible sewing.
- Create whiskers by attaching thin strands of yarn to the muzzle. Split the yarn for finer detail.
Safety Eyes and Eyebrows:
- Position eyes symmetrically, about 8–10 rows from the top of the head. For a more cartoonish look, place them close together.
- For expressiveness, embroider eyebrows with a contrasting color (e.g., black), angling them as desired.
5. Ears (Make 2 Pairs)
- The inner ear (pink) and outer ear (gray) are crocheted flat and sewn together.
- After securing them with a single crochet border along the edge, sew them to the top sides of the head.
6. Tail:
- Use pink yarn and crochet a simple chain (adjust the length as desired). Secure it to the body’s back.
7. Accessories (Scarf & Bow)
Scarf:
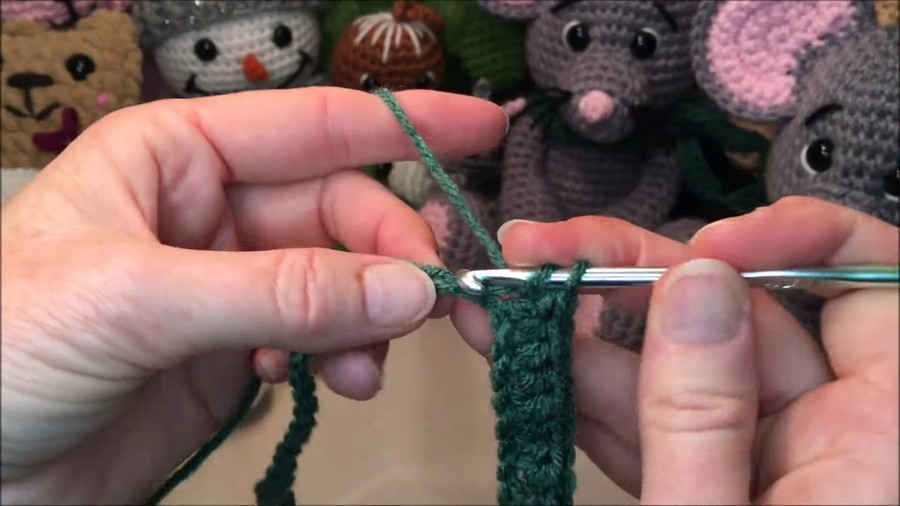
- Work a long chain (CH 51) in any desired color and add half-double crochet rows for texture.
- Attach fringe to the ends for a playful look.
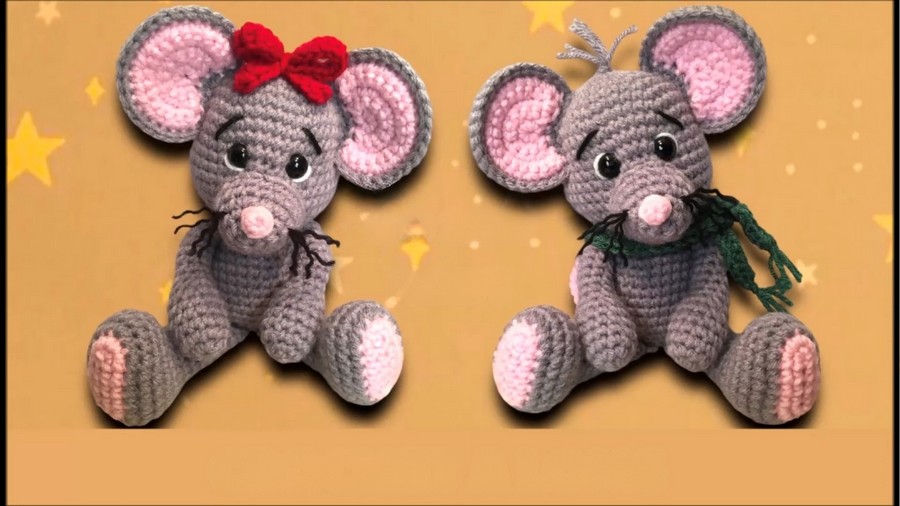
Bow:
- Use yarn in a contrasting color to create the bow. Chain and half-double crochet rows of your choice.
- Fold the piece and wrap yarn around it to form the bow shape. Secure it around the neck's side for a charming accessory.
Tips for Success
- Use Stitch Markers: They are extremely helpful for marking the beginning of your rounds.
- Customizing Yarn: Experiment with various yarn weights to make larger or smaller mice.
- Eyes & Details: Embellish the face with embroidered features for a more personalized mouse.
Customization Ideas
- Colors:
- Alternate the body colors for different mice.
- Use holiday-themed scarves or bows for festive charm (e.g., red and green for Christmas).
- Size Variations:
- Use thinner yarn (e.g., DK weight) and a smaller hook for smaller mice. Likewise, use thicker yarn and a larger hook for larger mice.
Final Remarks
This project is perfect for gift-giving or decorating small spaces with cute amigurumi creations. The final mouse can sit upright with its charming arms, legs, and rounded body.



