
Hook a bold mini accessory with Crochet LEO KEYCHAIN Pattern that turns keys and bags into fun personalized charms with simple steps for beginners.
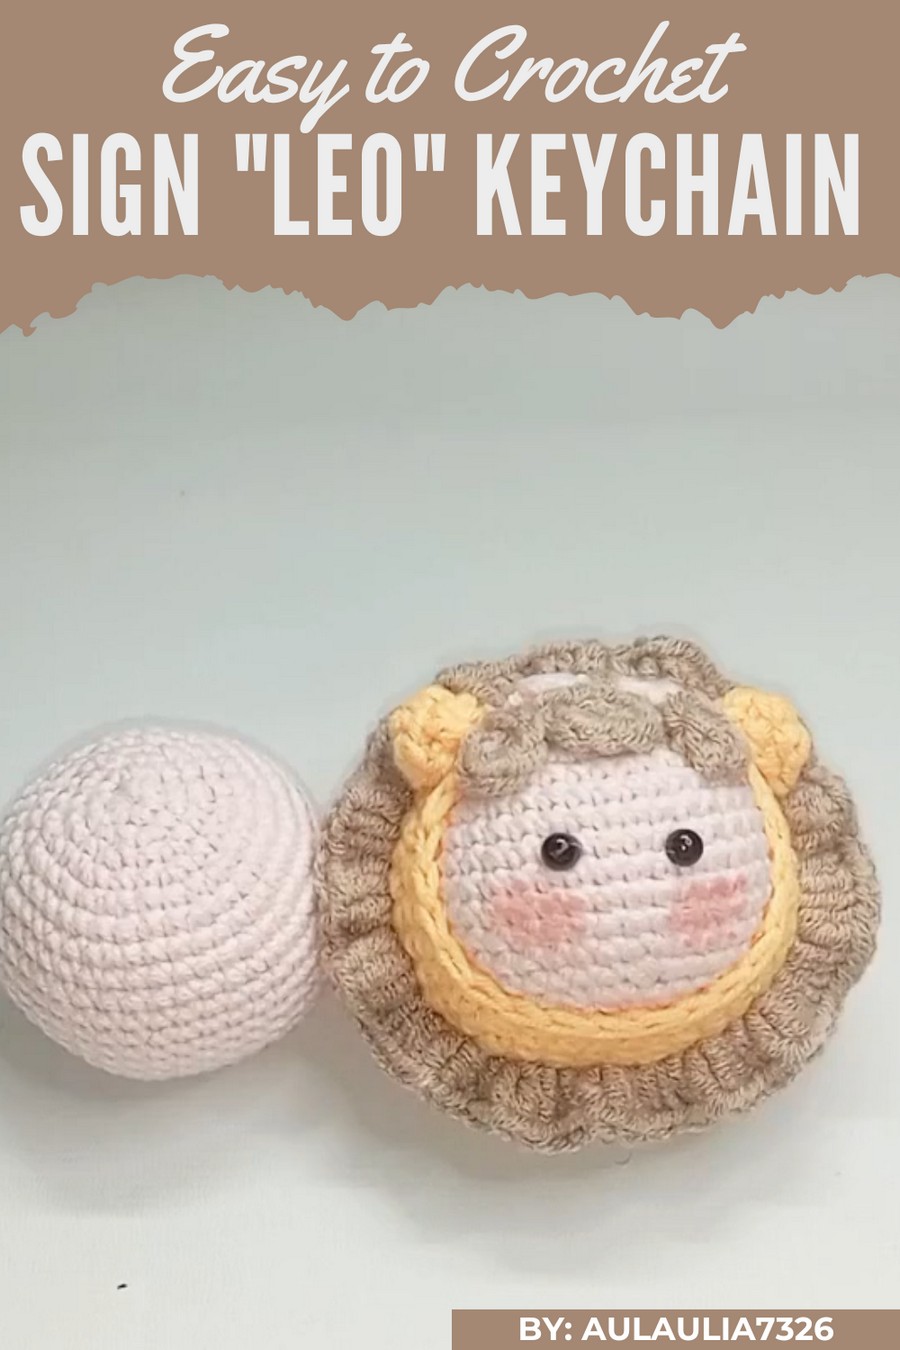
Small and charming, this keychain is perfect for adding personality to your keys, bags, or gifts. Designed with adorable details, it showcases a cute, compact shape that’s a joy to carry around. Its soft texture and playful look make it a delightful accessory for any occasion.
Creative Croche LEO KEYCHAIN Pattern for Your Collection
Lightweight and practical, it’s not only functional but also adds a pop of creativity to your everyday items. Whether used as a gift or a personal keepsake, this handmade piece brings a unique touch to your style. Fun and easy to make, it’s perfect for anyone who loves crafting unique accessories.
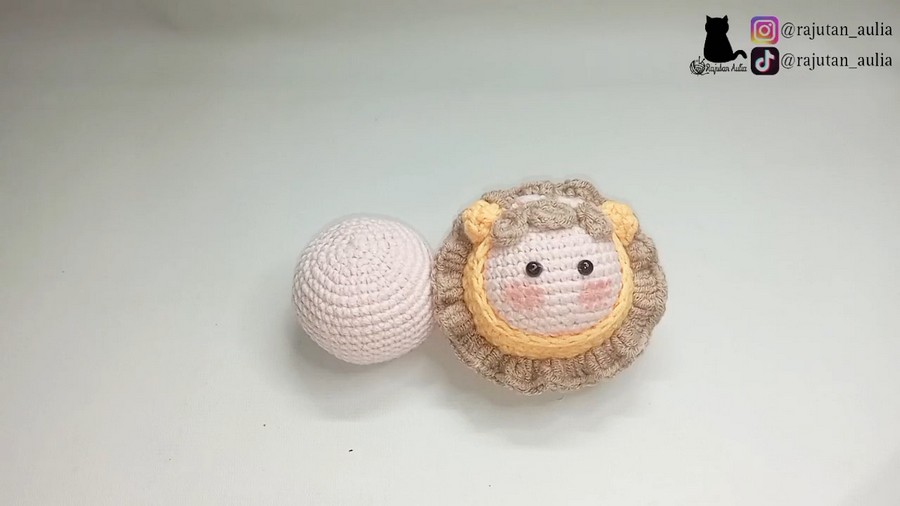
Let's start crocheting a funny LEO KEYCHAIN!
Materials and Supplies
- Yarn:
- Main Color (Face and Mane): Yellow and orange 4-ply or 5-ply milk cotton yarn.
- Accents (Details like nose): Brown thread for a subtle contrast.
- Inner Face Accent: A lighter or contrasting color of your choice.
- Crochet Hook: 3.0mm (US Size D/3) or hook size suitable for your yarn.
- Safety Eyes: 5mm size stick-on doll eyes.
- Glue: For attaching safety eyes securely.
- Hanger or Key Chain Iron Ring: Optional for hanging the finished project.
- Stuffing: Polyester fiberfill or equivalent.
- Tapestry Needle: For assembling parts and weaving in thread ends.
- Scissors: For cutting yarn and thread.
- Stitch Markers (Optional): Helpful for noting the beginning of rounds.
Key Abbreviations
- MR: Magic Ring.
- sc: Single Crochet.
- inc: Increase (2 single crochets in the same stitch).
- dec: Decrease (single crochet 2 stitches together).
- sl st: Slip Stitch.
- ch: Chain.
- hdc: Half Double Crochet.
- dc: Double Crochet.
- st(s): Stitch(es).
Skill Level
Intermediate to Advanced
This project requires knowledge of US crochet terminology, the ability to work in rounds, and basic assembly skills with sewing.
Special Notes
- Continuous Rounds: Unless stated otherwise, all rounds are worked continuously without joining. Use a stitch marker to track the first stitch.
- Tension: Keep your tension tight to achieve a more compact and polished look.
- Customization: Feel free to vary the colors for a personalized look or modify the size by using thicker yarn and a larger hook.
Step-by-Step Instructions
1. Face (Main Base)
Round 1:
- Make a MR and work 6 sc into the ring. Pull tight to close the circle.
- [6 sts]
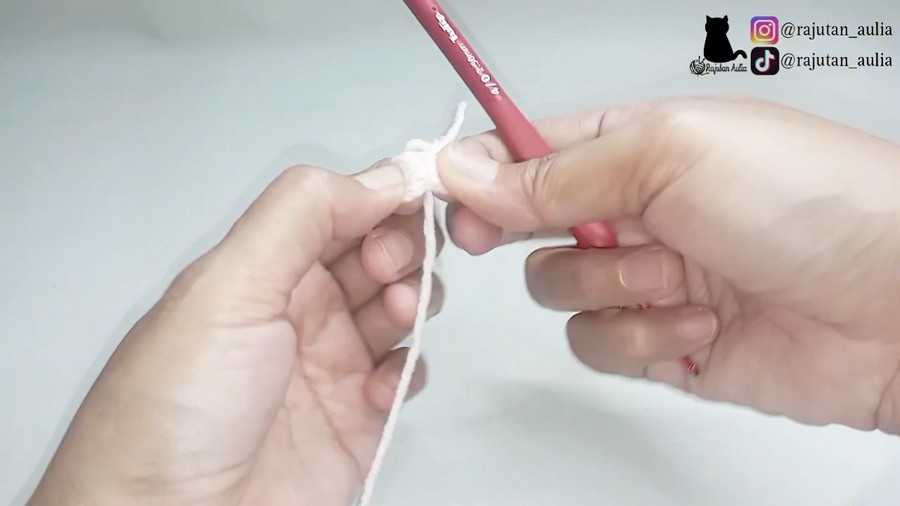
Round 2:
- Work 6 inc (2 sc in each st around).
- [12 sts]
Round 3:
- (1 sc, 1 inc) repeat around.
- [18 sts]
Round 4:
- (1 sc, 1 inc, 1 sc) repeat around.
- [24 sts]
Round 5:
- (3 sc, 1 inc) repeat around.
- [30 sts]
Round 6:
- (2 sc, 1 inc, 2 sc) repeat around.
- [36 sts]
2. Adding Depth and Shaping
- Rounds 7–11: Work 1 sc in each st around.
- [36 sts per round]
- Round 12: Work into back loops only (BLO). (1 sc in BLO in each st) around.
- [36 sts]
- Rounds 13–14: Return to working in both loops and sc in each stitch around.
- [36 sts per round]
3. Closing the Shape
Round 15:
- (3 sc, 1 dec) repeat around.
- [30 sts]
Round 16:
- (2 sc, 1 dec) repeat around.
- [24 sts]
4. Mane
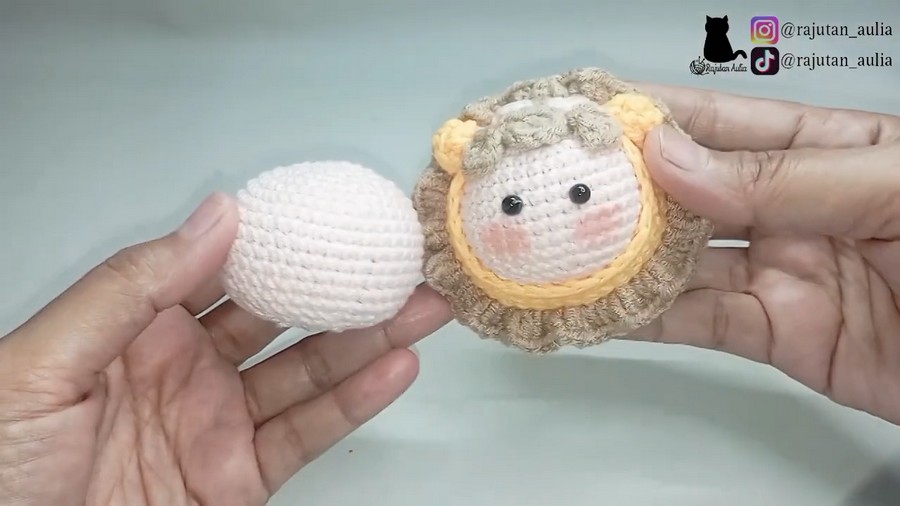
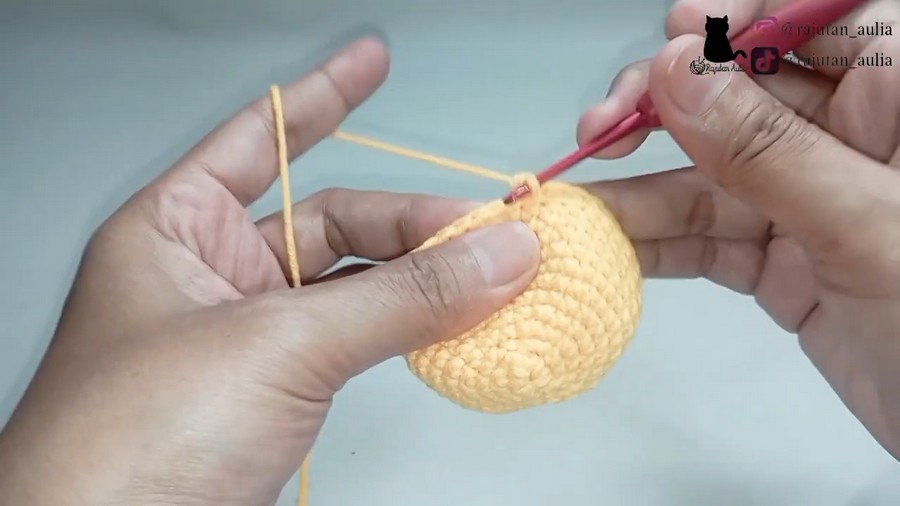
- Attach orange yarn to the BLO stitches of Round 12.
- For each stitch, work:
- ch 3, then 3 dc in the same BLO st, and slip stitch in the next BLO stitch.
- Repeat this process around the circle to form the textured mane.
- You should now have a series of loops forming a fluffy, lion-like mane.
5. Adding the Face
Step 1: Details
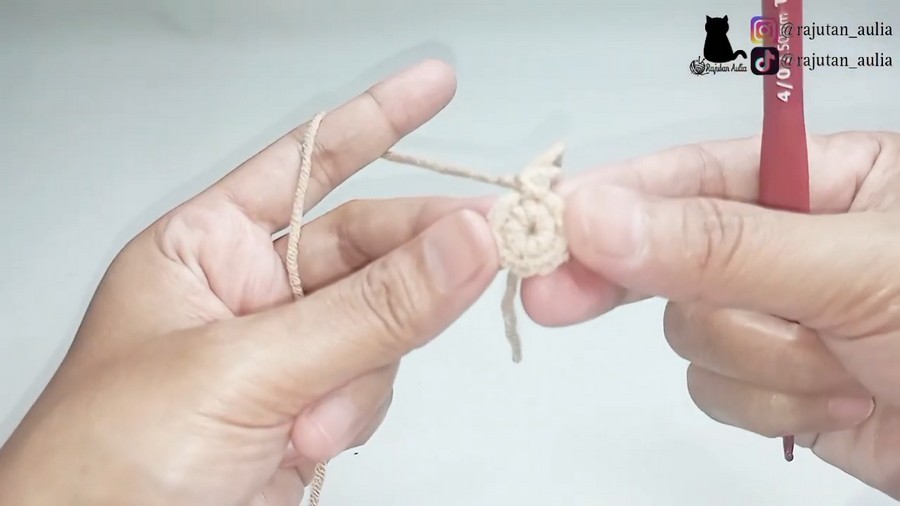
- Change to your chosen face accent color (e.g., light beige for the snout).
- Create a MR, work 5 hdc into the ring, pull through the final loop, and tie off securely.
- Pinch the hdc to create a loop structure for the front face, representing the snout.
- Sew this piece onto the front center of the face in a circular shape.
Step 2: Adding Eyes
- Attach 5mm safety eyes to the face, positioning them symmetrically above the snout. Glue them securely.
6. Assembly
- Stuff the Face:
- Before decreasing fully, stuff the head firmly with fiberfill to maintain shape.
- Final Round (Closure):
- (1 sc, 1 dec) repeat around.
- Continue decreasing until 6 stitches remain. Pull tight and secure.
- Use the remaining thread to sew closed and attach a key hanger or iron ring.
7. Final Details
- Ears & Decorations:
- Work a MR filled with 6 sc for each ear, and sew them on, evenly spaced on either side above the eyes.
- Mouth Embroidery:
- Use brown thread to create a simple "Y" or "V" shape as the mouth in the center of the snout.
- Tie and Secure:
- Add glue to reinforce stitches and hanger attachment.
Conclusion
Congratulations! You’ve completed the Crochet LEO KEYCHAIN—a charming personalized accessory perfect for gifts or personal use. This bold design, with its fluffy mane and adorable face, celebrates the Leo zodiac sign in Crochet LEO KEYCHAIN style.
Tips for Success
- Stuff With Care: Overstuffing can distort the round shape and stretch the stitches, so stop when it feels firm but not strained.
- Use Pins: Pin parts (ears, hanger) in place before sewing to ensure symmetry.
- Experiment With Yarn: Combine textured or variegated yarn for the mane for additional style.
Customization Ideas
- Colors:
- For a striking mane, consider using variegated or glitter yarn in shades of orange, red, or even gold.
- Alter the base face color to match your favorite palette.
- Size:
- To create a larger or smaller keychain, use thicker or finer yarn accordingly. Adjust the hook size to suit the yarn used.
- Zodiac Variations:
- Replace the mane detailing with other zodiac-specific aesthetics for different zodiac signs, making a complete set.



