
Wear a cozy handmade style with Crochet Cardigan Pattern that lets you create a comfortable fashionable layer perfect for home comfort gifts and everyday outfits.
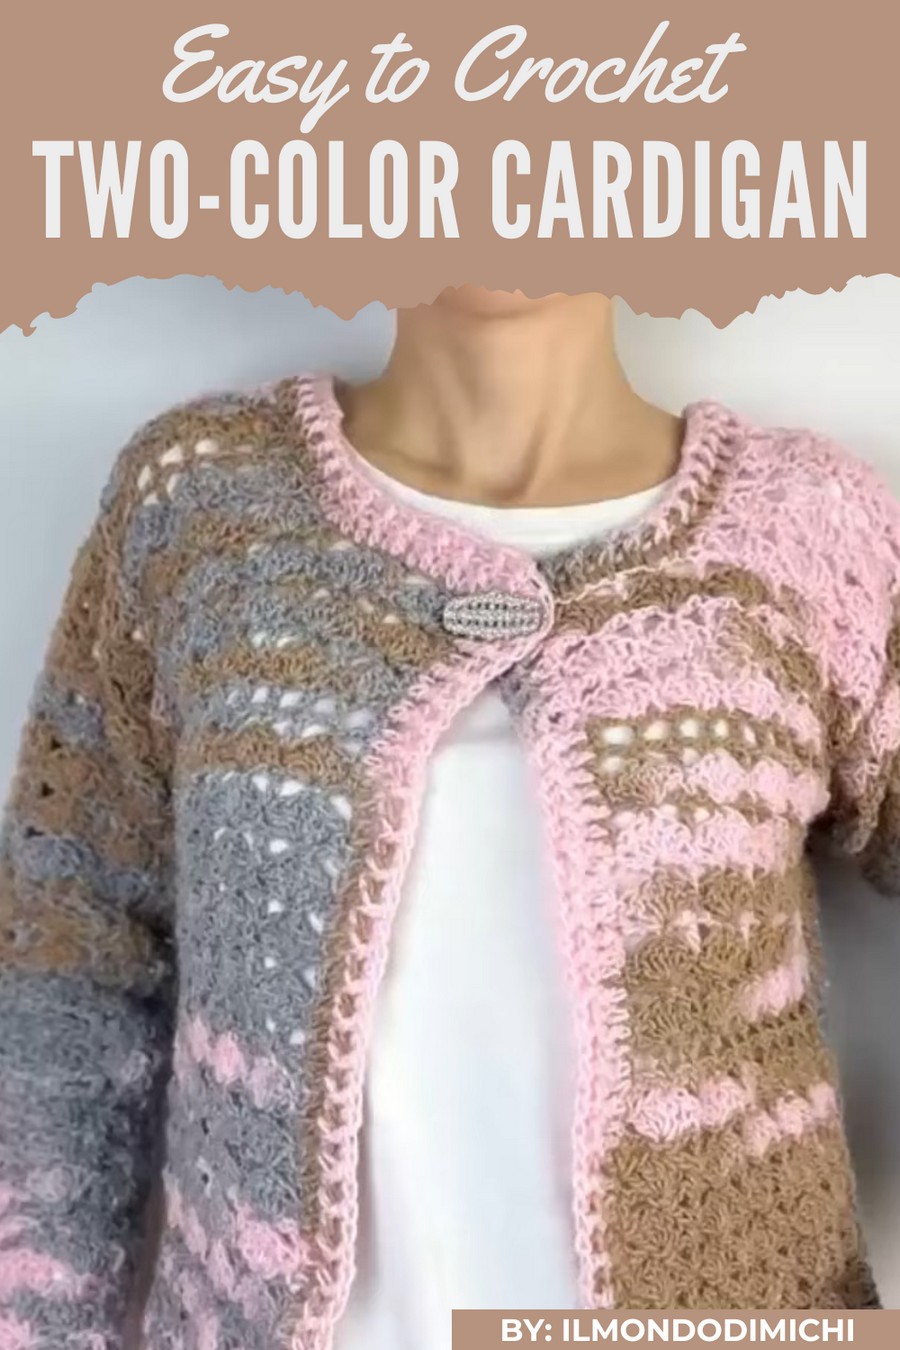
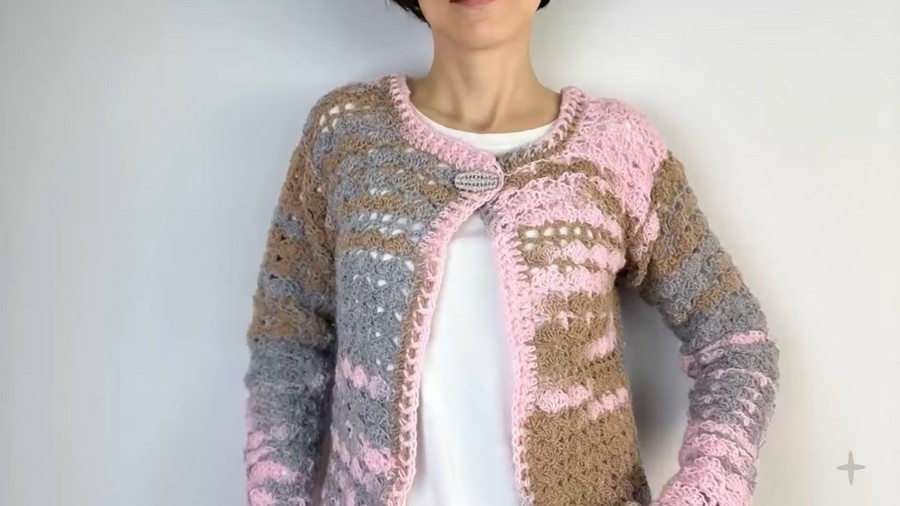
Cold days can make ordinary clothes feel dull, but this soft handmade cardigan adds warmth, style, and comfort all at once. The Crochet Cardigan pattern shows a cozy, open-front sweater made with soft yarn and neat stitches, featuring a simple yet elegant design that looks beautiful on everyone.
Croche Cardigan Pattern That Brings Instant Style
It can be worn at home, outdoors, or layered over outfits for extra warmth, and it also makes a thoughtful handmade gift. Its most special features are the soft texture, flexible fit, and timeless design, which make it unique, comfortable, durable, and perfect for adding a touch of handmade charm and cozy style to any wardrobe.
Materials List
Required Materials
- Yarn:
- A soft wool yarn, approximately 320g (~350m per 100g).
- Recommended: Thin yarn for lightweight yet cozy texture.
- Crochet Hooks:
- Size 4mm for tighter stitches.
- Size 5mm hook for broader/looser stitches.
- Optional Materials:
- Button: Jewel-style or wooden for closure.
- Tape Measure: For accurate size customization.
- Stitch Markers: For marking decreases/increases.
- Yarn Needle: For seaming panels and weaving in ends.
Skill Level
Intermediate to Advanced
This pattern involves shaping techniques such as increases, decreases, and creating panels and sleeves. The pattern also requires consistent tension to maintain structure.
Key Abbreviations (US Crochet Terminology)
| Abbreviation | Meaning |
|---|---|
| ch | Chain |
| sc | Single Crochet |
| hdc | Half Double Crochet |
| dc | Double Crochet |
| sl st | Slip Stitch |
| inc | Increase (2 stitches in one stitch) |
| dec | Decrease (stitches joined together) |
Special Notes
- Adjusting Size: To adapt the cardigan dimensions, adjust the foundation chain and number of rows per panel to match your measurements for width, shoulder height, and neckline depth.
- Tension: Maintain an even tension when creating arch motifs for uniformity.
- Customization: You can modify sleeve width or the neck depth based on personal taste.
Step-by-Step Pattern
Part 1: Back Panel
- Measurement Setup:
- For size S, set the width to 42cm across.
- To customize: Measure across your back just above your hip bones for width.
- Foundation Chain:
- Create a multiple of six plus 1 chain.
- Chain loosely to maintain flexibility (~appropriate for total measurement).
- Row 1 - Single Crochet Foundation:
- Chain 1 to lift.
- Work 1 sc in each stitch across to form a solid base edge.
- Row 2 - Arch Motif Row:
- Turn the work, chain 1. Sc in first stitch.
- Skip next two stitches, work 5 dc into 3rd stitch.
- Skip next two stitches, sc into next stitch.
- Repeat (skip two, 5 dc in same stitch, skip two, sc) across the row.
- Row 3 - Half Double Crochet Row:
- Turn, chain 1. Sc into first stitch.
- Slip stitch into the center of the arch, work 2 chains.
- Work hdc into next sc, chain 2, slip stitch into center of arch below.
- Repeat across the row.
- Repeat Rows 2 & 3:
- Alternate arch motif rows and hdc rows for five repeats of motifs (10 total rows).
- Row 11 - Break Row:
- Turn, chain 1. Work two chains, hdc in each arch motif center across.
- Repeat Motif Rows:
- Work five more sets of Rows 2 & 3, then repeat another break row.
- Complete Height (40cm):
- Continue the alternating sequence until the height reaches 40cm (or your desired height).
- Decreasing for Shoulders & Neckline:
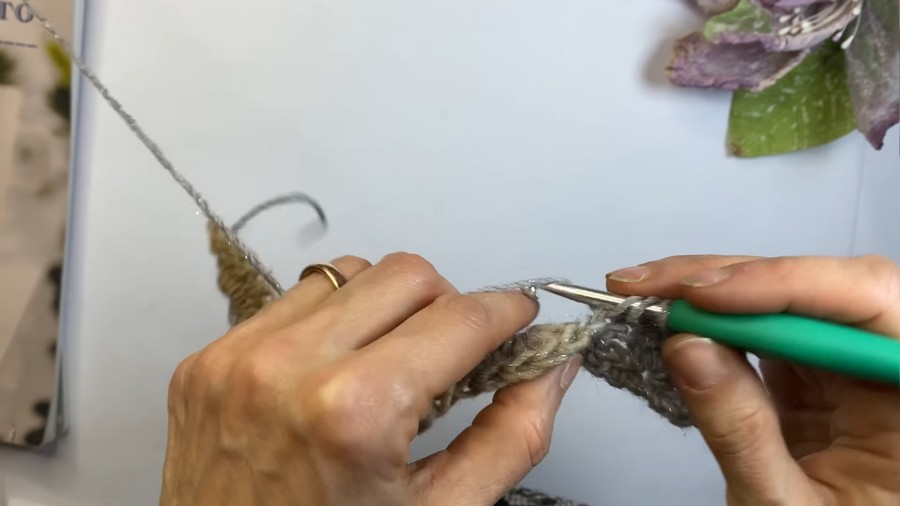
- Mark left and right shoulder with three motifs each (11.5cm).
- Continue working straight up on these sections (without full width) for 3 rows.
Part 2: Front Panels
- Width Customization:
- Divide back panel width in two (21cm each, subtracting 1cm for border overlap).
- Follow Pattern for Back Panel:
- Work arch motif rows and repeat the sequence identical to back panel.
- Stop reducing height at neckline to match your preferred depth (lower or higher neckline).
- Mirroring Panels:
- Work second front panel identical to the first. Ensure symmetry when decreasing shoulders for proper fit.
Part 3: Sleeves
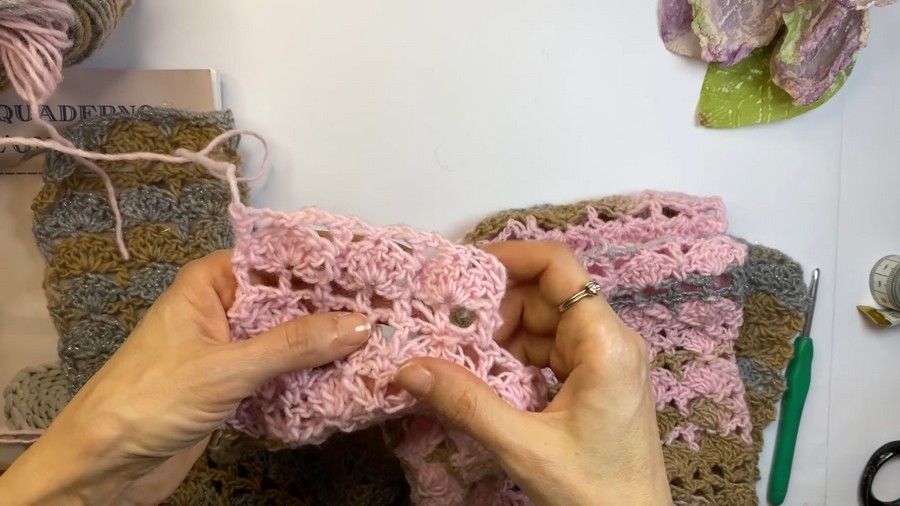
- Start from Cuff:
- Chain multiple of 6 for wrist circumference, ensuring it fits comfortably over the hand.
- Setup Rows:
- Work 1 row of sc for wrist edge.
- Begin arch motifs Rows 2 & 3, following the same alternating pattern as panels.
- Increase Gradually:
- Every 3–4 rows, work 1 increase by adding a motif at the start or end of the row.
- Place a stitch marker to track increases evenly across the sleeve length.
- Complete Height:
- Work until the sleeve measures desired length (based on reference sleeve or arm measurement).
- Repeat:
- Create a second sleeve identical to the first.
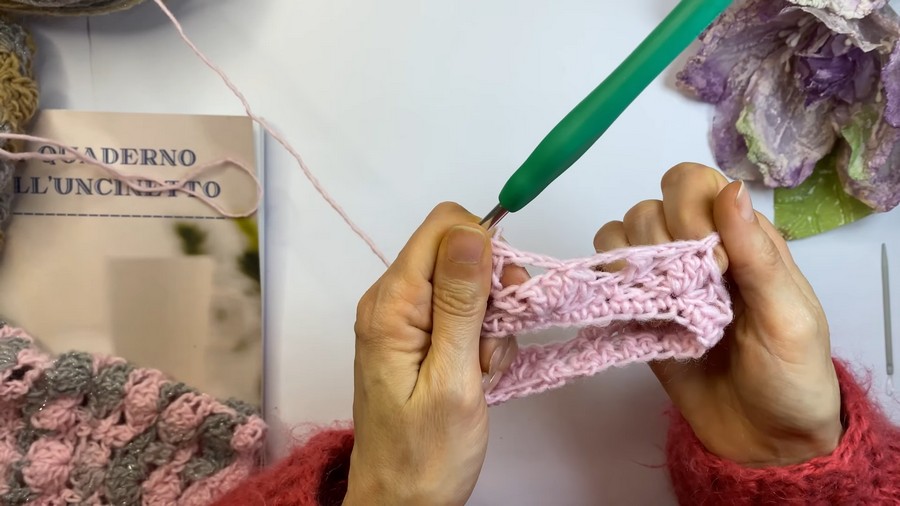
Part 4: Assembly
- Seaming Shoulder Panels:
- Align shoulder edges of back and front panels.
- Use a yarn needle and whip stitch or mattress stitch to sew them together securely.
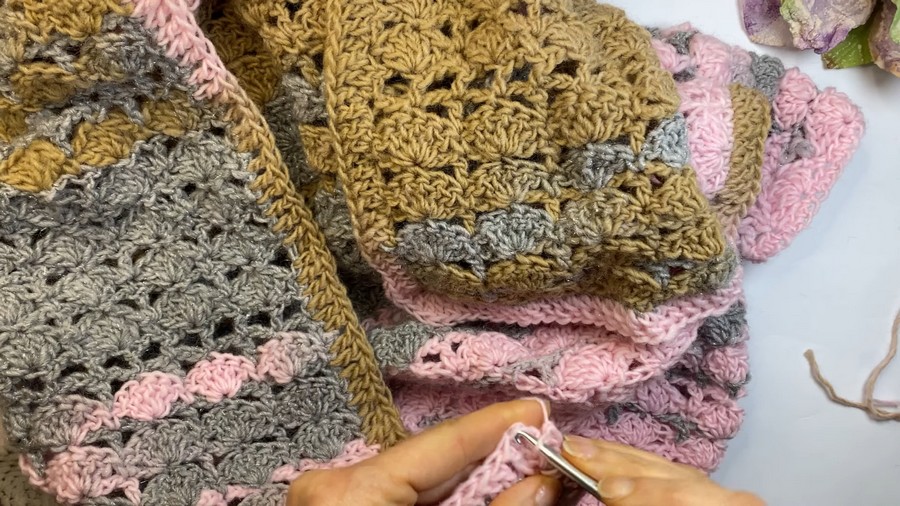
- Side Seams:
- Place panels side-by-side, leaving 17-18cm for armholes.
- Sew the remaining edges using the same stitching technique.
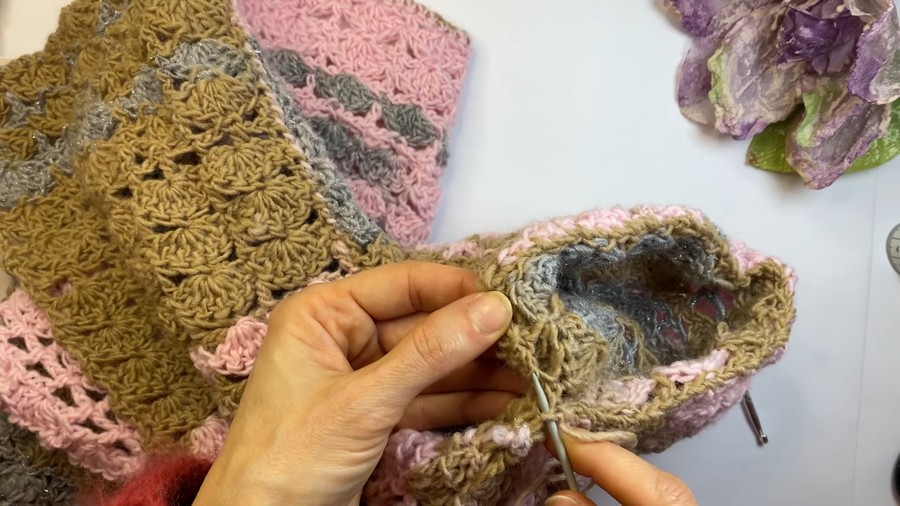
- Sleeve Attachment:
- Sew each sleeve edge to its corresponding armhole, pulling securely for even placement.
- Turn the panels inside-out for a clean seam.
Part 5: Border and Finishing
- Optional Edging:
- Finish the front edges and bottom hem of the cardigan with:
- Row 1: Double crochet across the edge.
- Row 2: Post stitches for relief texture (alternate front/rear post stitches).
- Finish the front edges and bottom hem of the cardigan with:
- Button or Closure:
- Add a small jewel button or wooden button for closure at the neckline or midpoint of the cardigan.
- Weave in Ends:
- Use a yarn needle to hide loose ends in the panel seams and decorative edges.
Conclusion
Congratulations! Your Crochet Cardigan is now complete—a lightweight yet stylish addition to your wardrobe, featuring beautiful arch motifs and seamless design. With the button closure and optional sleeves, this cardigan can suit both casual and formal settings.
Tips
- Gauge Check: Work a small swatch of arch motifs to determine accurate width to match your measurements.
- Handle Thin Yarn Carefully: Thin wool yarn can be stretchy; maintain steady tension for consistent stitches.
- Alternate Panels: Customization is key—adjust heights, motif rows, and neckline depth based on your body shape and preference.



