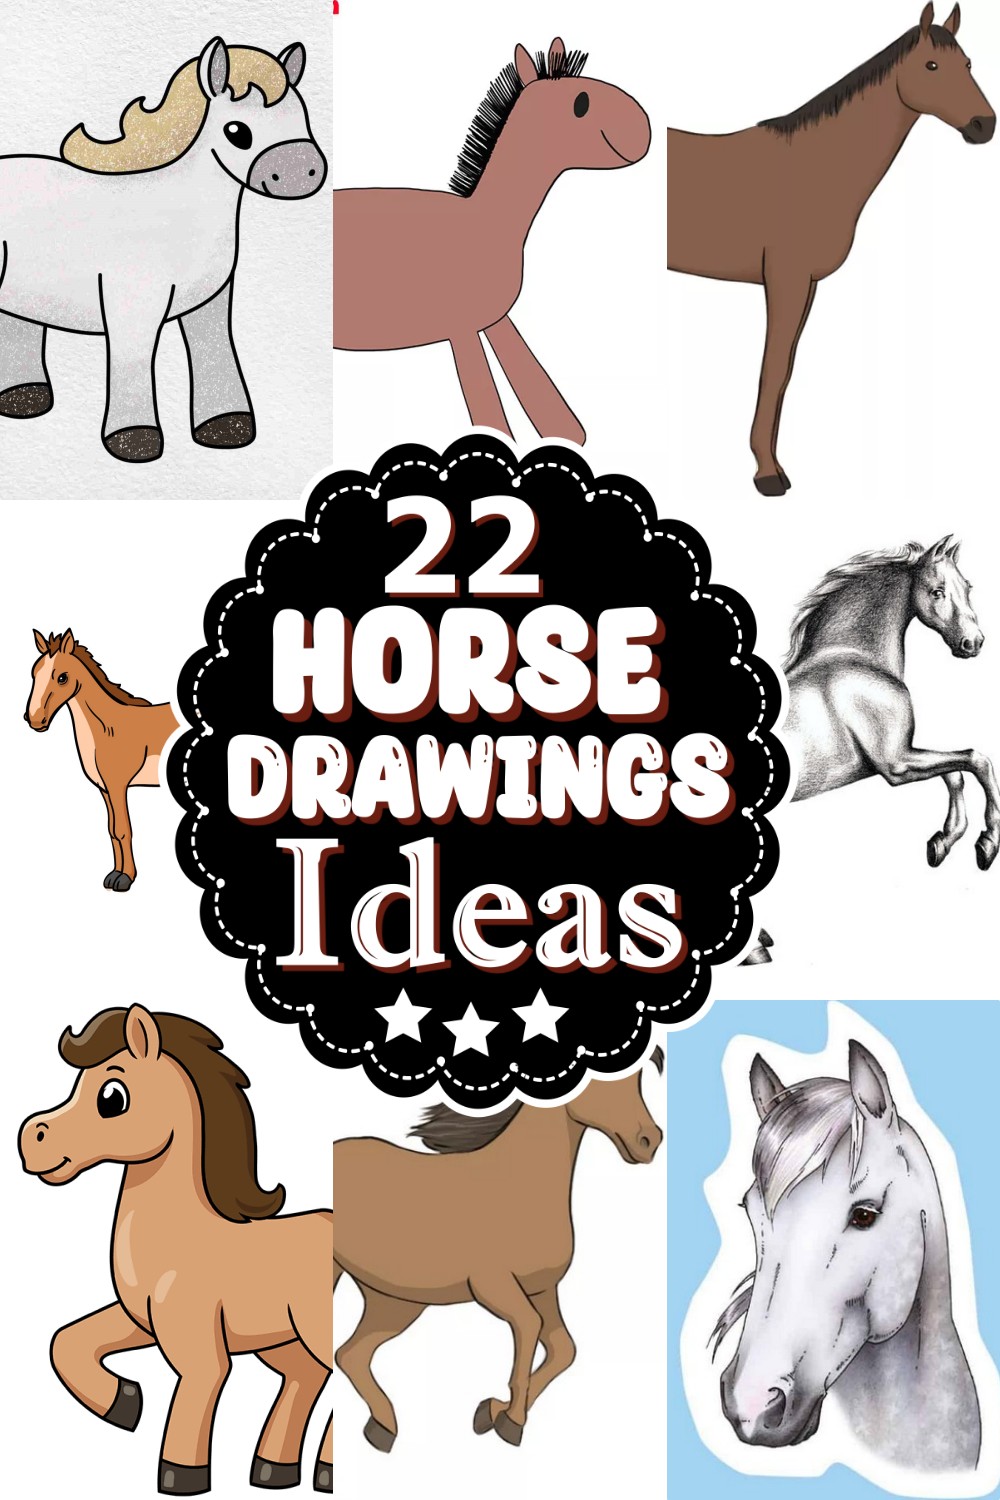
It's fun to draw a horse, isn't it? But many cannot because they lack good thoughts or guides. So, try these easy horse drawing ideas and tutorials if you are stuck due to any of those reasons. You will find horse illustrations in 2D to 3D, baby to adult, stationery to moving poses, cartoon styles to realistic sketches, and much more. By the end, you can learn and practice many new drawing techniques. So, let's get started!
Best Horse Drawing Ideas & Guides
Horse sketches can be very complicated for beginners. So, these drawing ideas will also include basic horses, and then you can try the complex ones. Actually, there is a complete range to make you the master of horse drawings. Whether it be various poses, expressions, hair details, moving parts, fur textures, or any other detail. You can send them as gifts or exhibit the anatomy of horses. So, learn how to draw a horse today!
Supplies For Crochet Horse Drawings
Below are the tools and supplies that you will need:
- Proper Sketch Book (Maybe you need to try several times, so dedicate a book)
- Pencil / Marker depending upon the outline type.
- Colors - Usually the brown shades. In sketches, you can add textures with pencil instead of colors.
How To Draw A Horse For Kindergarten
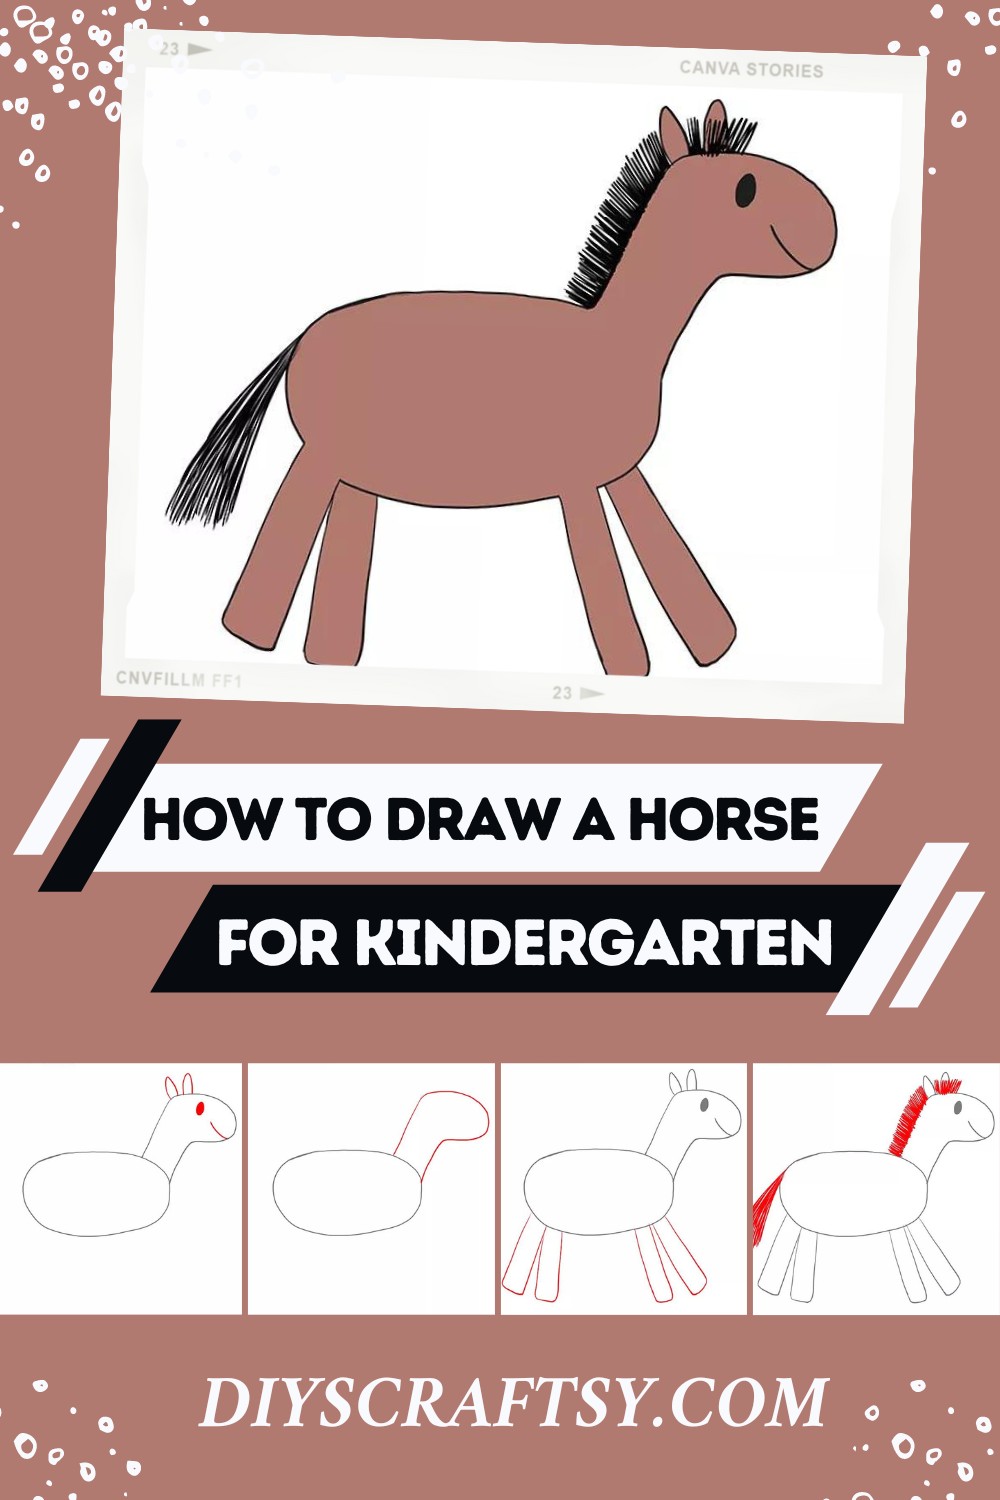
Uses:
This tutorial is a splendid step-by-step guide that makes drawing a horse a pretty easy and enjoyable task for young minds. Not just a fun activity, it is ideal for developing cognitive abilities, boosting creativity, and improving motor skills for kids. It's also a great way to create personal artwork that can be displayed around the home or in school or given as a gift to loved ones.
Drawing:
Drawing a horse is broken down into simple steps, starting from creating the torso with a large oval shape. Following on, the horse's head and neck are formed by another condition adjoining the body. The kids then get to add the horse's face, ears, eyes, and mouth. The legs of the horse are made by drawing four rounded, elongated shapes, and the finishing touch comes from adding the tail and mane. The whole creation is then brought to life by coloring in the horse using their favorite colors.
Materials:
- Pencil
- Paper
- Eraser
- Coloring supplies
How To Draw A Horse Step By Step
Uses:
These are exciting times for horse lovers and artistic souls! Learning to draw a horse step by step is not only enjoyable, but it also fires up the imagination and sharpens drawing skills. Plus, it provides a fun way to get familiar with horse features without leaving your comfy chair.
Drawing:
Take it step by step. Begin by sketching the basic shape of the horse. Use simple lines and curves to capture the body, legs, and head. Add more detail gradually, ensuring every stroke captures the essence of a majestic horse. Finally, boost the depth and realism of the drawing by shading with a soft charcoal pencil. Remember to keep it relaxed and enjoy each step.
Materials:
- Sketchbook or Paper
- Soft Charcoal Pencil
- Regular Pencil
- Eraser
How To Draw A Horse Step By Step For Beginners
Uses:
Exploring this horse drawing tutorial provides a unique opportunity to enhance your imaginative abilities. Imagine this: You're sitting by the window on a cozy afternoon, sketchbook in hand, eyes twinkling with eagerness as you discover the secrets to drawing a horse. It's not just a way to pass the time; it's a journey into a world where creativity reigns supreme. Your artistic journey begins with curiosity and leads to a path of constant learning.
Drawing:
The joy you'll experience as you dance your pencil across the page, bringing to life a beautiful horse, can't be overstated. With carefully detailed steps that transform complex shapes into simple figures, even a complete beginner would find this task manageable. Start with basic shapes, then slowly add details. By the end, you'll surprise yourself with the masterpiece you've created.
Materials:
- High-quality drawing pencils of varying hardness to create different shading effects
- A sturdy sketch pad to comfortably support your creation
- A kneaded eraser for easy correction and precise shading
- A pencil sharpener to keep your pencils in prime condition
Horse Drawing From 243 Number
Uses:
Turning the number "243" into a lovely horse drawing can be a thrilling and entertaining pursuit. Would there be a better way to use numbers than to transform them into a stunning piece of art? It's a remarkable technique to unlock one's artistic potential and to engage in a fun activity yet enhances sketching talent.
Drawing:
The beauty of the "Horse Drawing From 243 Number" is in how simple numbers turn into magnificent horses. It starts with sketching "243" and then transforming each number into different parts of a horse. The "2" becomes the wavy, flowing mane, the "4" morphs into the horse's body, and the '3' becomes the elegant head. A few more details and shadings later, you have a beautiful horse that once was merely the number "243". Besides, adding final touches with the charcoal pencil and the fixative spray brings a magical depth to the drawing.
Materials:
- Pencil
- Paper Stump for shading
- Ivory 210GSM drawing paper
- Charcoal pencil
- Eraser
- Fixative spray to protect sketch
- Mechanical pencil set
- Charcoal stick
- Kneaded Eraser
- Electric battery Eraser
- Drawing Table
- Markers
How To Draw Horse Step By Step
Uses:
Propelling your artistic skills to another level, this guide enables you to render lifelike sketches of your favorite horse. It provides invaluable practice for beginners while giving seasoned sketch artists the opportunity to hone their efficiency and accuracy. Uncover the satisfaction of creating your horse drawings to spruce up your sketchbook or to gift as unique and heartfelt presents to your loved ones.
Drawing:
The process of drawing a horse is broken down into manageable steps in this guide. Start with basic shapes before overlapping them and then refine these to form the horse's structure and physique. A detailed sketch includes everything - from the muscular body, the flowing mane, and the poised tail to the perfectly aligned hooves. Don't forget to express the horse's character and emotion through the eyes and facial expressions!
Materials:
- High-quality sketching pencils of varying thickness
- Thin tipped black pens for outlining
- Eraser for minor adjustments or corrections
- Sketch paper
- Optional: Colored pencils or paint for adding vibrancy
How To Draw A Horse Easy Step By Step Drawing
Uses:
Finding the task of "How to Draw a Horse Easy Step by Step Drawing" can turn into a fascinating and satisfying experience. Can you envision creating a magnificent horse sketch with your hands, exhibiting it with pride, or gifting it to a loved one? This activity offers a fun-filled way for everyone to polish their sketching talents while offering amusement at the same time.
Drawing:
Creating a simple yet lifelike horse starts with basic shapes. Lines merge to form a beautiful horse in a landscape. It's wondrous how mere circles for the body and head, squares for the legs, and careful detailing of the eyes and mane bring the horse to life. Adding more realism to your sketch, make use of the Apsara 6B and 10 pencils for the final sketching and shading. With every line and curve added, the horse steps into the realm of a real, breathing life, standing majestically against the scenic landscape.
Materials:
- Good quality sketch paper
- Pencil for initial sketching
- Apsara 6B pencil for further sketching
- Apsara 10 pencil for ideal shading
- Eraser for removing unnecessary lines
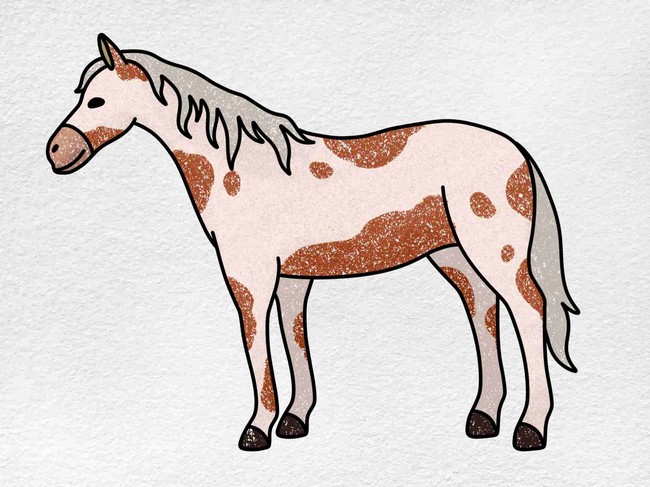
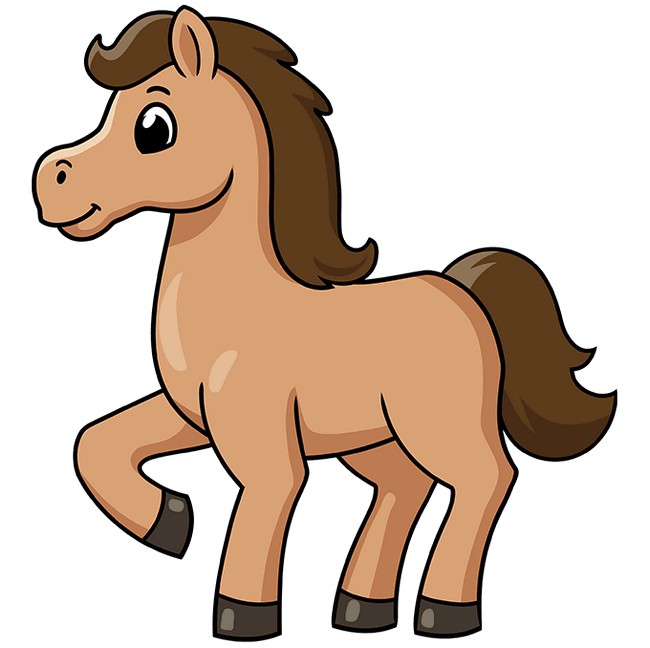
Easy Cute Horse Drawing
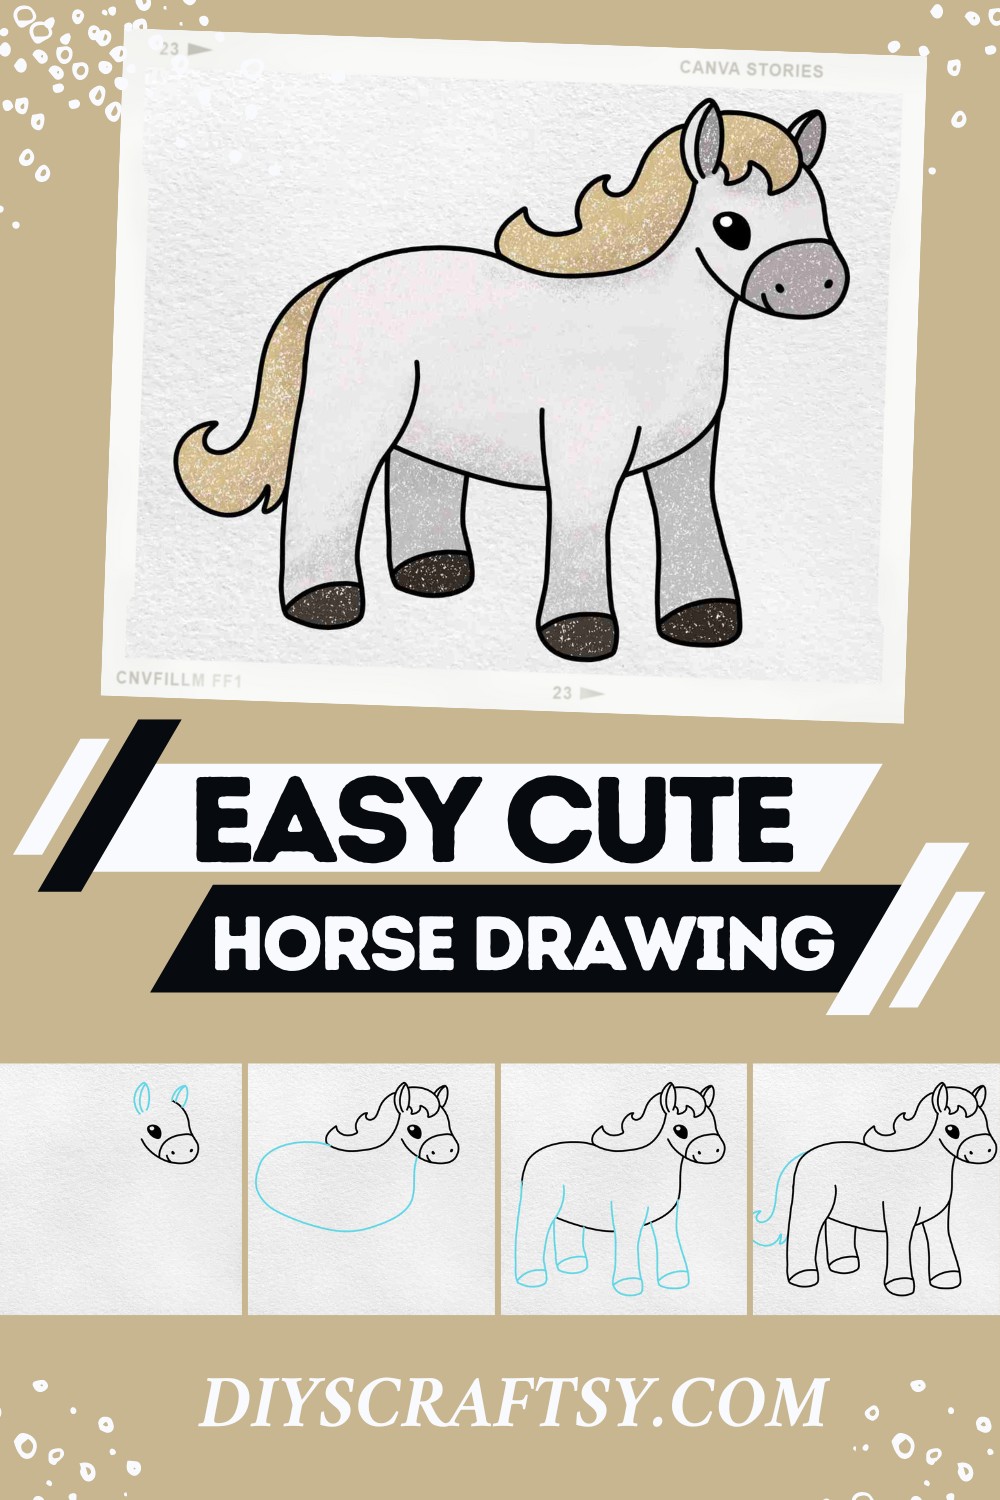
Uses:
Fill your free moments by curating a delightful sketch of an endearing horse. This easy, cute horse drawing is an absolute joy, making it perfect for both children and beginner artists. The completed piece serves as a splendid decor element, amplifying the charm of your room. It could also be a unique hand-drawn gift for a loved one.
Drawing:
To bring this horse to life, start by outlining the head with a curvy line. Its snout takes shape with a downward curve, plus two dots for nostrils and a gentle turn for the smile. Add depth in the form of an expressive eye - an oval shaded to capture the horse's lively spirit, followed by the horse's pointed ears. Its mane, a series of long waves, accentuates its quirky charm. For the horse's body, draw an oval-like shape, followed by four long shapes to form legs, complete with curved lines for hooves at the bottom. Finally, a long, wavy line at the back includes the tail. Coloring is the final flourish that genuinely brings this adorable horse drawing to life.
Materials:
- Pencil
- Drawing Paper
- Crayons or Colored Pencils
- Black Marker (optional)
How To Draw A Horse

Uses:
Horses, these majestic creatures, captivate hearts with their elegant stance and swift movements. Drawing a simple rendition of such a marvelous beast offers a delightful activity for both hobbyists and beginners. The ability to create your version of a horse lets you appreciate its physique and beauty even more. From children doodling in their notebooks to adults unwinding after a busy day, horse drawing finds uses in different walks of life.
Drawing:
To draw a horse, you start with basic shapes. First, sketch the head, ribcage, and pelvis as easy ovals. Then, draw the neck, spine, tail, and limbs using light lines. Give an elongated shape to the horse's face. Then, move a little up and outline the ears, careful to keep them in proportion. The attention then shifts to adding character to the eyes, careful to show their liveliness. After this, sketch the front legs flowing with smooth lines, followed by simple short lines to create the front hooves. Then, capture the hind legs and hooves with similar light touches. A single stroke brings a lush mane to life, running down the horse's neck and back. Once the outline is ready, it's time to remove any extra lines and add the color of your choice.
Materials:
- A sheet of good quality drawing paper
- Pencil with a good eraser
- A set of coloring materials like crayons, colored pencils, or watercolor.
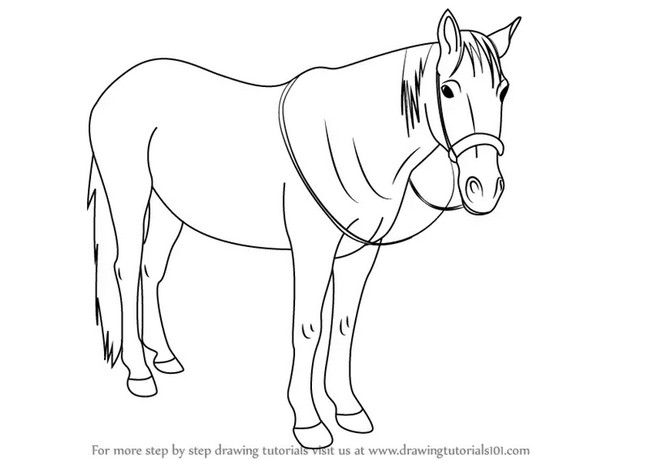
How To Draw A Horse A Step By Step Guide
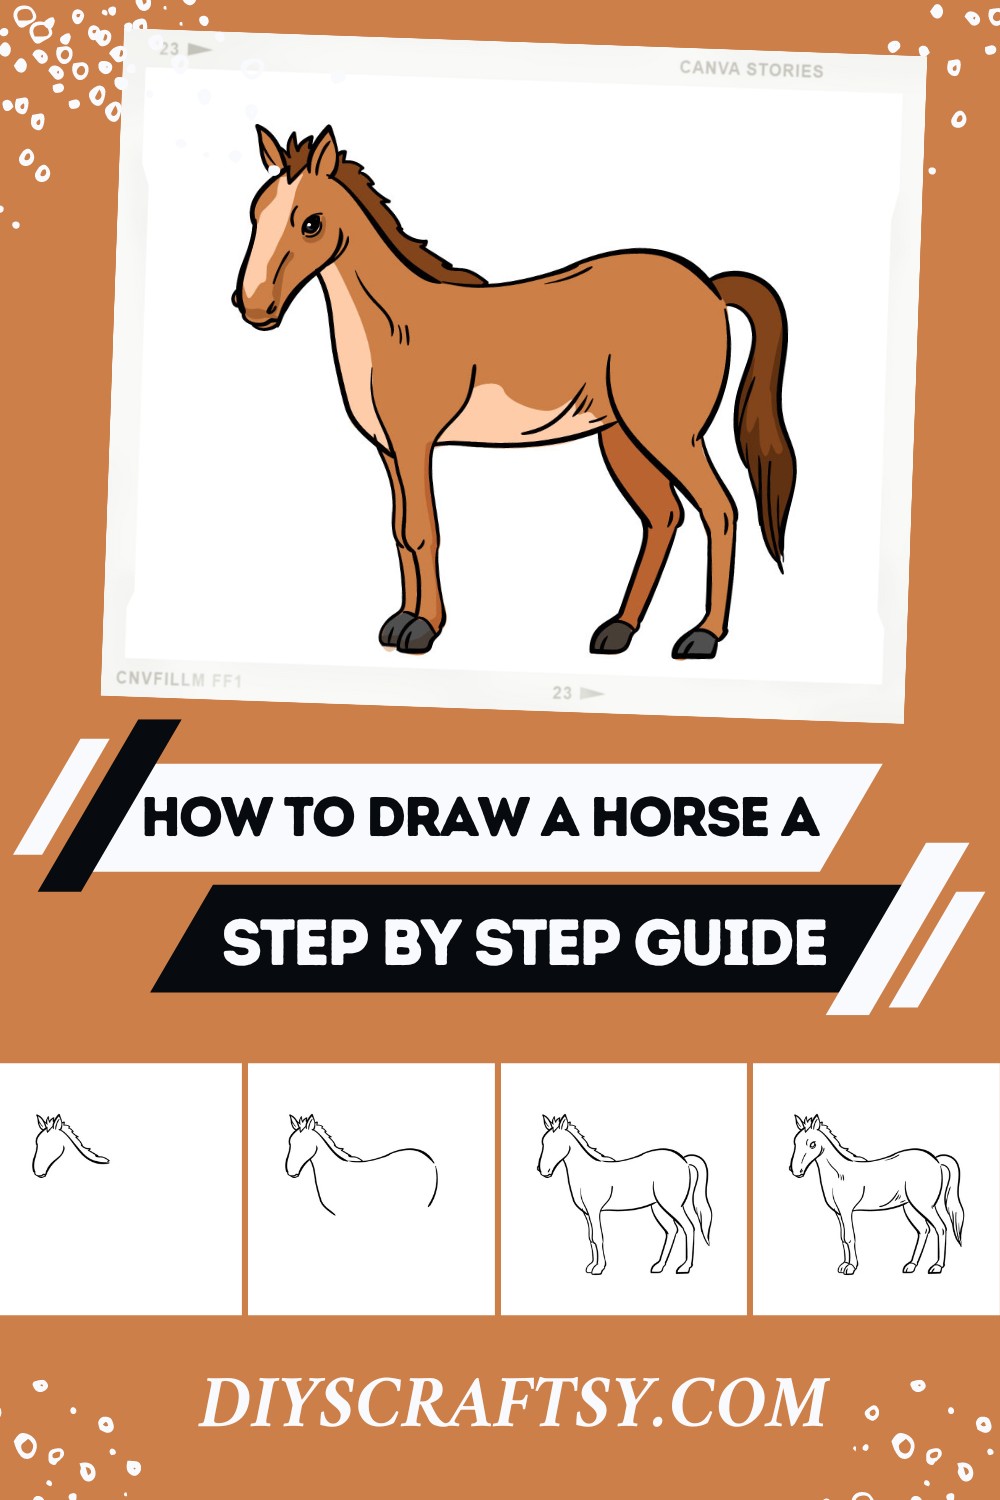
Uses:
Learning how to draw a horse can be an incredible skill. Drawing a horse is not just about creating an image; it's about bringing to life a creature that symbolizes power and grace. You can gain relaxation from the process, decorate your space with your own artwork, or give someone a heartfelt, homemade present.
Drawing:
Drawing a horse involves a series of careful steps. You begin with capturing the unique shape of the horse's head, paying attention to its distinct profile and the way the neck curves gracefully down. From there, you artistically craft the mane, bringing flair and character to your horse. As your journey continues, you smoothly attend to the neck, back, and chest, working on the legs, which add structure and strength to the sketch. Then, you add details to the eyes and face, designing your horse's expression. As you finish, you sketch additional elements that add to the muscle definition of your horse, making your horse feel lifelike.
Materials:
- Drawing paper
- Pencils in different shades
- An eraser
- A good sharpener
- Optional: Colors to bring your horse to life
How To Draw A Horse

Uses:
Learning "How To Draw A Horse" isn't only a fun activity but also brings out the hidden talent in oneself. Think about creating a beautiful horse using just a pencil and paper. It's a lovely activity for both kids and adults. It is an exciting pastime and a brilliant method to enhance your artistic skills.
Drawing:
Beginning with a slanted ellipse that shapes the horse's head and irregular shapes that mold the body, you have the simple foundation of your drawing. You then create the ears with curved lines and march forward to its legs. To bring life into the drawn horse, you add essential details like the mane, eyes, and tail. Remember, the eyes get soul into characters, and the mane and tail give it its iconic, majestic feel. Once everything is in place, color the horse to add further depth and dimension to the drawing, bringing it to life. Wouldn't that be amazing?
Materials:
- Regular printer paper or sketchbook
- A simple pencil or Sharpie
- Electric pencil sharpener
- Markers or Crayons for coloring
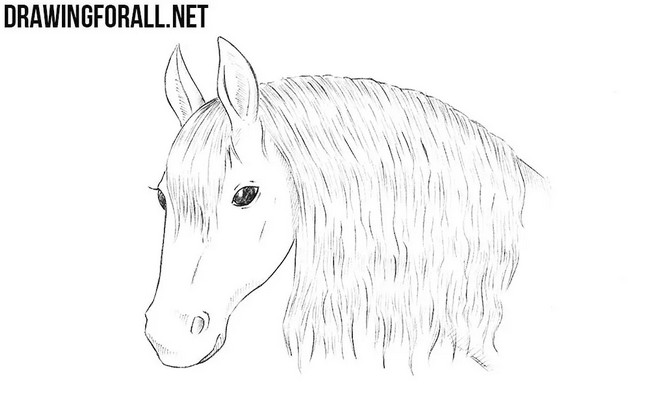
How To Draw A Horse's Head

Uses:
Imagine mastering the art of drawing a horse's head! Just by following a few simple steps, you can create stunning horse illustrations that capture the essence of these magnificent creatures. Use your newfound drawing skills to create beautiful wall art, decorate homemade cards, or even spice up journal entries. Impress friends and family with your talent, and bring the beauty of horses to life on paper.
Drawing:
The process of drawing a horse's head involves starting with basic lines and shapes to create a solid foundation. By carefully structuring the base, you'll meticulously follow the steps provided to capture intricate details, such as the ears, eyes, and nostrils. As you progress, fill in the features, like the cheek and nose, while paying extra attention to making the curves smooth. Before you know it, you'll have drawn a fantastic horse's head and completed the look with a flowing mane and forelock!
Materials:
- High-quality paper (suitable for sketches and illustrations)
- Pencil (preferably HB or 2B)
- Eraser
- Pen (optional, for additional detailing)
- Colored pencils or markers (optional, for adding color)
Horse Drawing For Kids
Uses:
Throw open the gates of imagination for your little ones as they embark on an artistic adventure with "Horse Drawing for Kids." This simple, step-by-step guide delights children by helping them create their very own expressive horse drawings. What's more, the finished artwork presents a special keepsake or an engaging hands-on activity for a fun-filled day.
Drawing:
Start with a gentle curve to depict the horse's head, followed by an eye - a shaded oval to breathe life into your sketch. Next, create the snout with a downward curve and dots for the nostril, then an upward curve for a gentle smile. The ear, a sharply pointed shape, comes next. Moving to the body, draw an easy curvy outline, then sketch out the long flowing mane. Four simple lines form the legs, each culminating in a curve to create the hooves.
Last but not least, a wavy tail adds an endearing final touch. The last step? Bring your drawing to life with a vibrant spread of color!
Materials:
- Pencil
- Drawing Paper
- Crayons or Colored Pencils
- Black Marker (optional)
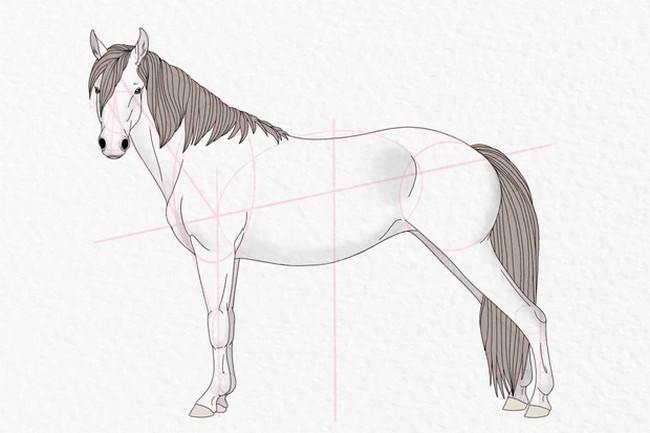
How To Draw Standing Horse
Uses
A standing horse sketch isn't just a charming piece of artwork; it's also a fantastic way to engage your artistic side. It could be a gift for someone dear or a valuable addition to your portfolio. Moreover, understanding the horse's anatomy can be a significant leap in learning about equine species and enhance your overall drawing skills.
Drawing
Drawing a standing horse can be a surprisingly simple task if you break it down into easy steps. Begin by sketching three ovals and two lines to represent the basic structure of the horse and draw an outline for the ears. Next, draw the contours for the neck, legs, and feet. Then, bring the horse to life by drawing out its head, ears, eyes, and nose. Once the significant features are placed, it's time to focus on the body, tail, and hairs on the head. The final stage involves refining details such as the horse's lovely tail and hair, the rope shape that adorns the horse's face, and the realistic touch to the feet and ears.
Materials:
- Pencil
- Eraser
- Sketchbook
- Shading Pencils
How To Draw A Horse Step By Step With Printable Guide

Uses:
Learning to create a beautiful horse sketch is a great skill that can be used for your pleasurable pursuits, personal doodling creativity, art projects, or to keep kids engaged in a fun and enriching activity. Not only does this knowledge enhance personal drawing skills, but it also opens up opportunities to explore the vast world of art. Drawing can be a fun way to spend leisure time and can also add an extra flair to greeting cards, posters, or any DIY projects at hand.
Drawing:
Let's get started on making a splendid horse drawing brought to life from mere lines and circles drawn in just thirty simple steps. From drawing the first circle that represents the horse's shoulder to making the last finishing touches, each step has been designed to make it fun and easy for drawing enthusiasts. By following these steps, any beginner artist can create a proud, standing horse with its neck high and tail flowing, bringing a sense of accomplishment and stirring up creativity.
Materials:
- Sketching Pencils
- Sketch Pad
- Erasable Colored Pencils
- Fine Markers
- Kneaded Rubber Eraser
Easy Horse Drawing
Uses:
Drawing an easy horse can serve numerous purposes and bring a lot of joy. This process can give pleasure to those who like to draw, or it can turn into a fun family activity. The finished product could be a lovely addition to a homemade greeting card or poster, or it could be an excellent personal decoration for a child's room.
Drawing:
The process of sketching an easy horse is engaging and straightforward. Beginning with simple shapes like circles and ovals, you gradually build the structure of the horse, including the body and head. The shape of the horse's head is given focus, with specific attention given to the unique features like the muzzle. Once the body and head are connected, finer details like the mane, ears, and tail add character to the sketch. The finale comes with defining the legs, which is the hallmark of a horse drawing. By following these steps, you create your sketch, add depth and details, and watch your horse drawing come to life.
Materials:
- Paper
- Pencil
- Eraser
- Sharpener
How To Draw A Horse Head
Uses:
Drawing a horse head can be an engaging and enjoyable activity for everyone. Who wouldn't be thrilled to make a lovely image of a horse's head to display on the wall? Or to show friends and family the fun new skill acquired? It's an excellent means of enhancing fine motor skills while harnessing the joy of creating something beautiful.
Drawing:
Creating a detailed horse head drawing starts with the sketching of simple foundational shapes. You begin with a circle for the base of the head and then add a long neckline. Subsequently, an elongated muzzle takes form, followed by carefully designed ears and a thick, robust neck. The exciting part arrives next: adding character with wavy lines for the mane and also drawing the large, almond-shaped eye along with puffy nostrils. Finally, to remove the preliminary lines, you finish up with bold, precise strokes, adding final touches to the unique horse head drawing. Remember to add coloring and shadows to bring depth and breathe life into it.
Materials:
- Quality drawing or sketch paper
- Regular pencil or drawing pen
- Eraser
- Optional colored pencils or markers for coloring
A Guide To Drawing Horses
Uses:
Drawing a horse head can be an engaging and enjoyable activity for everyone. Who wouldn't be thrilled to make a lovely image of a horse's head to display on the wall? Or to show friends and family the fun new skill acquired? It's an excellent means of enhancing fine motor skills while harnessing the joy of creating something beautiful.
Drawing:
Creating a detailed horse head drawing starts with the sketching of simple foundational shapes. You begin with a circle for the base of the head and then add a long neckline. Subsequently, an elongated muzzle takes form, followed by carefully designed ears and a thick, robust neck. The exciting part arrives next: adding character with wavy lines for the mane and also drawing the large, almond-shaped eye along with puffy nostrils. Finally, to remove the preliminary lines, you finish up with bold, precise strokes, adding final touches to the unique horse head drawing. Remember to add coloring and shadows to bring depth and breathe life into it.
Materials:
- Quality drawing or sketch paper
- Regular pencil or drawing pen
- Eraser
- Optional colored pencils or markers for coloring
Creating a beautiful horse head on paper can provide endless pleasure. It's not just about the final product but also about the experience along the way. Enjoy every line and brush stroke that gradually contributes to your beautiful piece of art.
How To Draw A Horse Easy
Uses:
Drawing a horse can be entertaining and rewarding for people of all ages. It's a chance to express artistic talents, learn about horse anatomy, and create captivating illustrations.
Drawing:
Drawing a horse quickly involves starting with basic shapes like circles, ovals, and curves, moving on to refining the head, neck, and body, creating the legs, and finishing with detailing. The key is to practice and master various techniques to sketch a perfect horse.
Materials:
- Technical pencil
- Sketchbook or paper
- Eraser
- iPad (optional)
- Apple Pencil (optional)
How To Draw A Horse With Pencil
Uses:
"Drawing a Horse with Pencil" can be an exciting and enjoyable adventure. Imagine being the creator of an elegant horse drawing that can be an excellent piece of decor or a beautiful present for a loved one. It's also a fun way to engage everyone, kids, and adults, in a simple activity that sharpens drawing skills while enjoying every moment.
Drawing:
The magic unfolds when you bring together fundamental shapes to start creating the horse of your dreams. It begins with a few circles for the body and head, rectangles for the legs, and then the detailing begins. For the fluffy mane and the expressive eyes, careful strokes of the pencil do the trick, while the final touch of adding shadows imparts depth and realism. But remember, the natural beauty lies in the uniqueness and creativity you bring to your drawing.
Materials:
- A Sketching pencil
- Good quality drawing paper
- An eraser
- An optional set of colored pencils for coloring
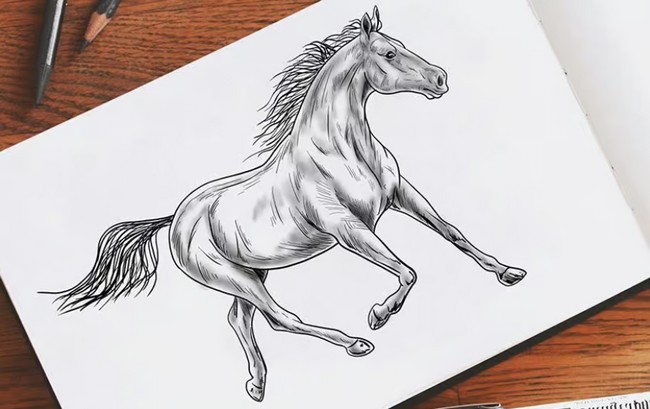
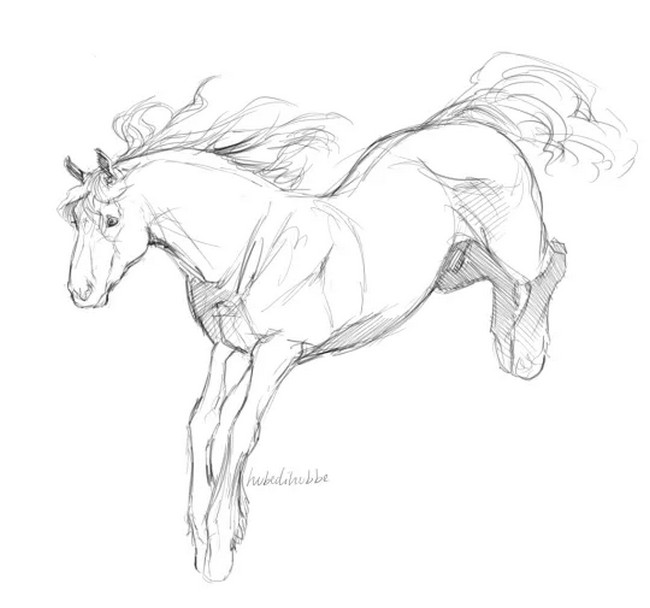
How To Draw A Running Horse
Uses:
Recreating the spectacle of a horse in full stride isn't just fun; it's also a fantastic way to showcase your artistic skills! Whether for school projects, for honing those fine motor skills, or just for the sheer beauty of it, drawing a running horse can be a rewarding experience. It's also a great way to appreciate and understand the elegance and strength of these magnificent animals.
Drawing:
First, get your sketch pad ready, and let's embark on an exciting adventure to bring a running horse to life. Start with 3 round shapes for the head and body, keeping proportions in mind. Use straight lines to hint at the location of limbs and give the head its desired shape. Draw the ears, add elements for the muzzle, and let's remember the mane flowing in the wind with freehand lines. Now, please pay attention to the legs; we need to get them in the right shape to capture the motion of the run. Add the hooves at the end of each leg and sketch out a large, bushy tail fluttering in the wind. Use an eraser to correct any inaccuracies, and voila! Your running horse is ready for coloring!
Materials:
Here are the things you need to draw a running horse:
- Sketchpad
- Pencil
- Eraser
- Colored pencils (optional)
How To Draw An Easy Horse
Uses:
Drawing an easy horse can bring much joy and excitement to both children and adults. It can be a fun way to improve drawing skills or to occupy a lazy afternoon. Additionally, the final piece can serve as a beautiful homemade decoration, a touching gift, or even become a hobby.
Drawing:
The task of drawing an easy horse is made less daunting with simple, guided steps. The process starts with sketching the face's shape, moving on to highlight its eye and nostril. Then comes the body's construction. Curved lines create the charming mane and the body outline. Legs are drawn with attention to natural bends and gentle points, while a line for the tail adds the final flourish, giving life to your horse. A darker shade may be added to the mane to enhance the overall look.
Materials:
To begin drawing your easy horse, you'll need:
- Drawing paper
- Pencils
- Eraser
- Sharpener
How To Draw A Horse From The Side View Tutorial
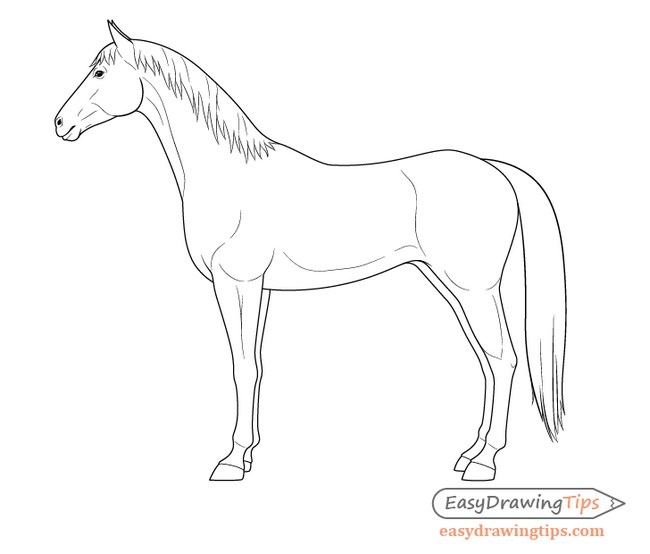
Uses:
Imagine capturing the majestic stride of a horse - straight from the side view! Learning to draw a horse from the side can open up opportunities to express your creativity. You could create your own custom wall art or make personal cards that would charm any animal lover. It could be a fun and educational activity for kids, teaching them about shapes, proportions, and animals.
Drawing:
Drawing a horse from the side involves several simple stages. By starting with an essential line sketch, you establish instant body proportions. Then, you outline the body, gradually adding shape to the horse's features – like the ears, neck, and legs. Step by step, the horse's facial features come to life, from the broad forehead to the pointed muzzle. Lastly, the intricate details of the mane and the tail are filled in. Throughout the process, your horse evolves from a few simple lines and circles into a lifelike sketch worthy of admiration.
Materials:
- A clean sheet of paper
- Pencil (for light sketching)
- Eraser (to correct as you learn the ropes)
- Darker pencil or pen (for final linework)
- Cotton swabs (optional, for shading)


