
Stitch a stylish and sturdy crochet t-shirt yarn bag perfect for everyday use and learn how to turn recycled yarn into something both practical and fashionable.
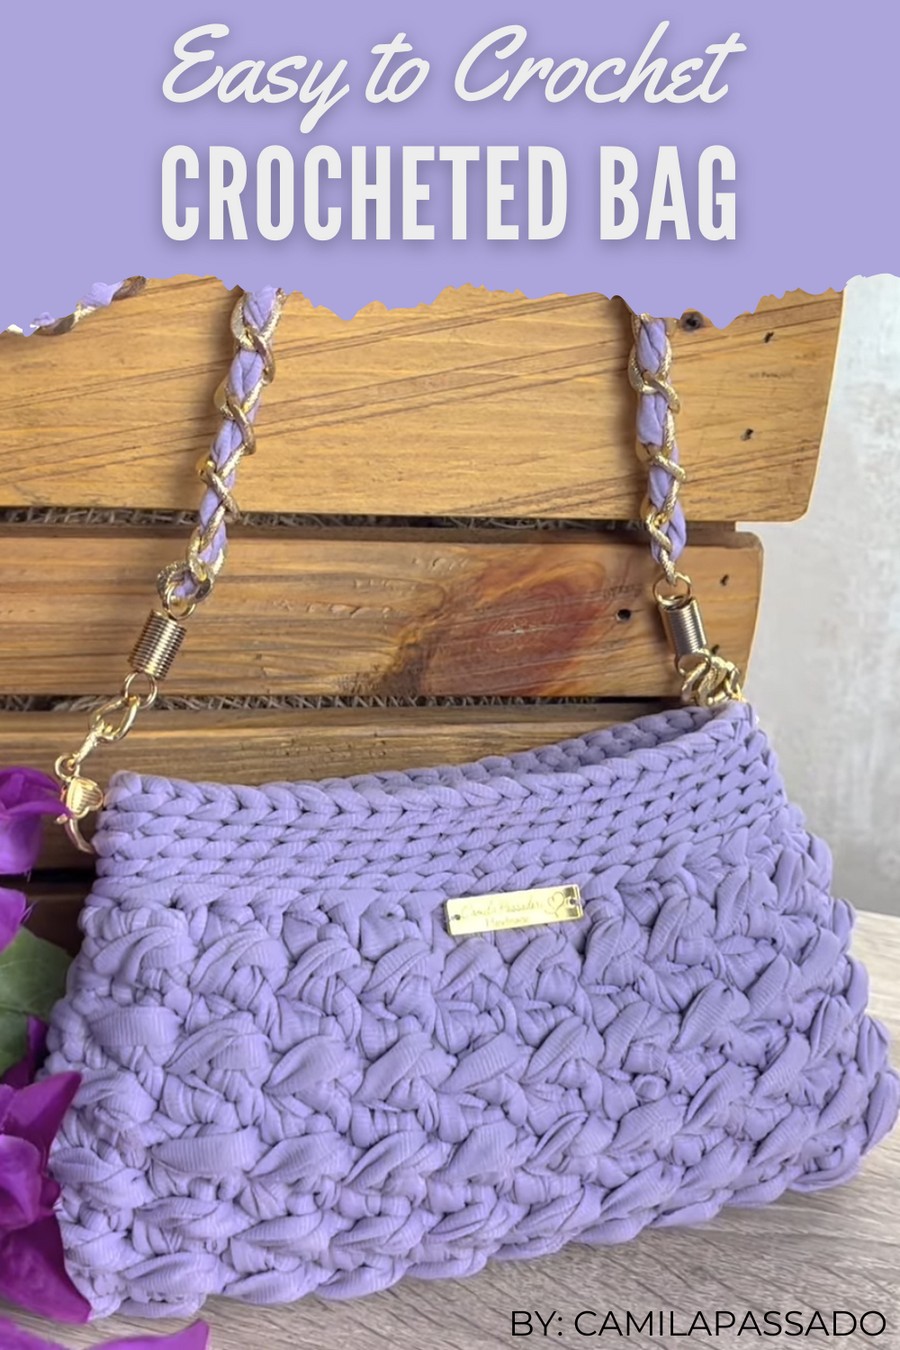
This Free Crochet T-Shirt Yarn Bag Pattern is the perfect combination of creativity and practicality, offering a sustainable way to turn recycled t-shirt yarn into a durable and stylish bag. With beginner-friendly instructions and minimal materials, it’s simple to make yet versatile enough for everyday use—whether as a market tote, a beach bag, or a casual carry-all.
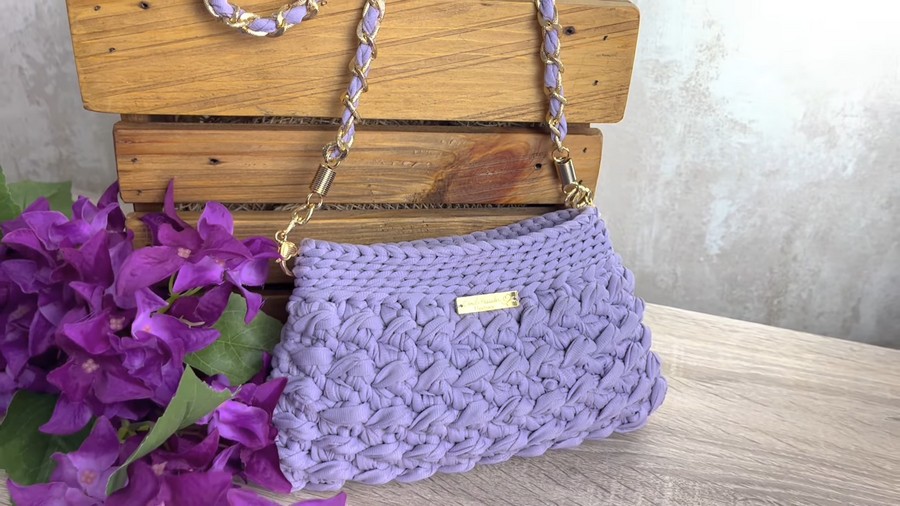
Perfect Crochet T-Shirt Yarn Bag for Shopping
The sturdy texture of t-shirt yarn ensures your bag stays strong while adding a trendy handmade charm. This project is not just eco-friendly but also an enjoyable way to create something functional and personal.
Let’s dive in and start stitching a bag you’ll love!
Materials List
Yarn and Hook:
- Yarn:
- Recommended: Círculo Premium Yarn (94% polyester, 6% cotton, 25 mm thickness).
- Approximately 200 grams (120 meters).
- Optional: Any medium-thick jersey or polyester yarn with elasticity. Residual threads may also work well.
- Hook Size: 4 mm (US G/6).
Accessories and Additional Supplies:
- Gold Chain: Approximately 1 meter long, for the strap.
- Magnetic Clasp: For a secure closure at the top of the bag.
- Tapestry Needle: For finishing and attaching the strap.
- Scissors
- Measuring Tape: To ensure accurate dimensions.
- Glue (optional): For reinforcing knots and finishes.
- Labels or Tags (optional): To embellish the front of your bag.
Skill Level
Intermediate: Knowledge of crocheting slip stitches, half double crochet (hdc), and working in rounds is required.
Key Abbreviations (US Terms)
- ch: Chain
- sl st: Slip Stitch
- hdc: Half Double Crochet
- st(s): Stitch(es)
Special Notes
- Gauge: The stitch pattern and hook size should result in a firm and structured fabric. For a looser finish, consider using a bigger hook size.
- Adjustable Size: The bag’s size can be altered by adding or subtracting chains in the foundation.
- Construction: The bag is worked in rows to create a textured body. Edges are joined and finished with circular rows for added durability.
- Even Tension: Maintain even stitch tension to avoid an uneven or puckered bag.
Final Measurements
- Width (Bottom): 27 cm (~10.6 inches)
- Width (Top): 18 cm (~7 inches)
- Height: 16 cm (~6.3 inches)
- Depth: 7 cm (~2.7 inches)
- Weight: ~200 grams (without the strap).
Pattern Instructions
Step 1: Start the Foundation
- Initial Chain:
- Begin with a slip knot on your hook. Chain 24 stitches loosely.
- Turn and Begin Slip Stitches:
- Work in the back loops of the chain for a clean edge.
- Skip the first chain and begin with a sl st in the second chain from the hook.
- Alternate Half Double Crochet and Slip Stitch:
- In the next chain, make a hdc.
- Alternate between sl st and hdc across the row.
- End with a sl st in the last chain.
- Row 1 Complete: Check that your row includes 23 stitches total. Adjust if necessary.
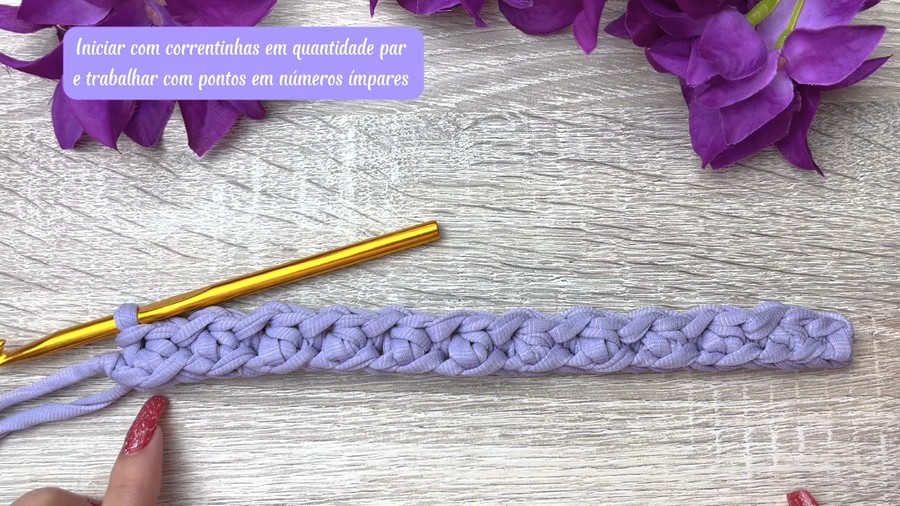
Step 2: Build the Bag Body (Rows of Texture)
- Turn Your Work:
- At the end of each row, turn your work without chaining. This allows the texture to form evenly.
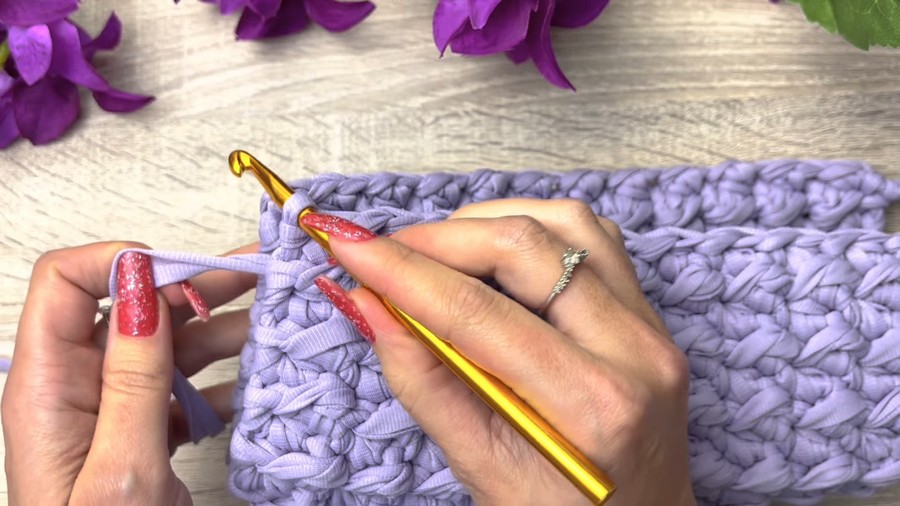
- Create the Texture Pattern:
- Start with a sl st in the first stitch of the row.
- Alternate between hdc and sl st, ensuring that you begin and end each row with a sl st.
- Maintain Uniform Tension: Keep the slip stitches loose enough to avoid tight fabric, but not so loose that the bag lacks structure.
- Continue Rows: Repeat this pattern for a total of 22 rows, or until the body measures 24 cm (~9.5 inches) in height.
- Check Dimensions: The completed rectangular piece should measure approximately 27 cm wide and 16 cm tall.
Step 3: Shape the Bag
- Prepare to Fold and Seam:
- Fold the rectangular piece lengthwise to bring the shorter edges together.
- Ensure the texture is lined up evenly on both sides.
- Seam the Edges:
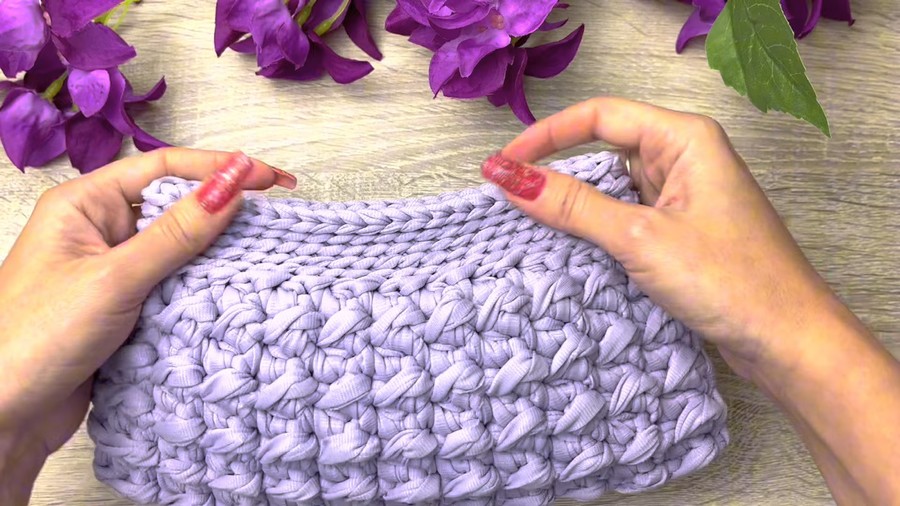
- Using a tapestry needle and matching yarn, seam the sides of the bag with a sl st or whip stitch.
- Work in the inner loops only for a clean, nearly invisible seam.
- Finishing the Top Edge:
- Once the edges are joined, start working in rows around the top opening.
- Complete 5 rows of sl st around the top edge for a sturdy, decorative border.
Step 4: Attach the Gold Chain Strap
- Cut Yarn for Weaving:
- Measure and cut 4 strands of yarn, each 4 times the length of the chain (4 meters for a 1-meter chain).
- Attach Yarn to Chain:
- Start by threading the tapestry needle with one strand of yarn.
- Securely tie the thread to the first link of the chain.
- Weave the Yarn Through the Chain:
- Work the strand over and under alternating chain links.
- When you reach the end, secure the yarn knot by tying it tightly and tucking it inside the last link.
- Optional Back Weave:
- To create a thicker braided design, repeat the process and weave the yarn in the opposite direction for a crisscross effect.
- Attach Chain to Bag:
- Using leftover yarn or the tapestry needle, securely attach each end of the chain to the side seams of the bag.
Step 5: Magnetic Closure
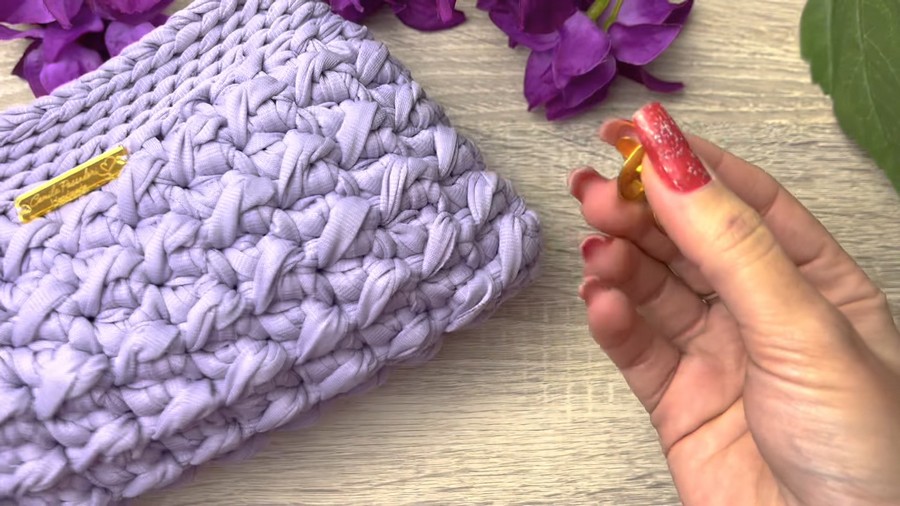
- Attach the Magnetic Clasp:
- Mark the center point of the bag’s opening.
- Secure the magnet prongs through the fabric, but reinforce it with extra yarn threads or padding for durability.
- Reinforce Knots:
- Use small squares of yarn on the inside of the bag to cover and reinforce the magnet’s prongs.
Pattern Variations
- Color Variations:
- Use gradient or ombre yarns for an eye-catching look. Switch colors after every few rows for bold stripes.
- Size Adjustments:
- Increase the foundation chain and add more rows to create a larger bag. For smaller bags, reduce the chain count and rows.
- Different Straps:
- Replace the gold chain with leather straps, crochet handles, or macramé straps for a unique finish.
Tips for Success
- Tension Consistency: Maintaining even tension while alternating stitches is key to achieving the uniform texture.
- Reinforce Edges: Strengthen the side seams and chain attachments to ensure durability.
- Blocking: For yarns with elasticity, lightly block the bag to perfect its shape.
Conclusion
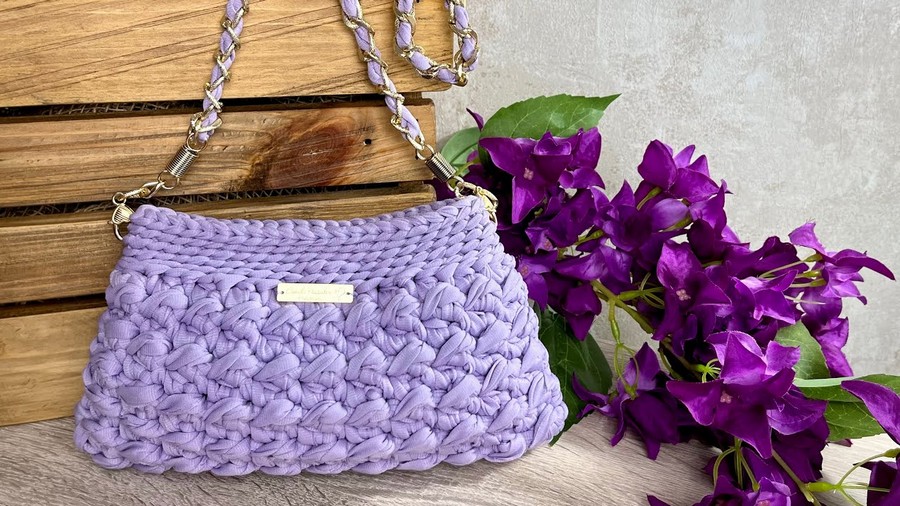
Congratulations on completing your Structured Handbag with Gold Chain Strap! The bag combines elegant texture, a sturdy shape, and a practical magnetic closure, making it both stylish and functional for daily use. Whether you use this as a fashion accessory or a gift, it’s sure to draw admiration.
Corrections and Notes
- If stitches are too tight, adjust your tension or use a slightly larger hook size.
- If uneven edges occur, assess whether extra chains or missing stitches have been added.



