
Wear a Crochet Summer Blouse Pattern that keeps you stylish and cool on sunny days while offering endless charm and versatility for every occasion.
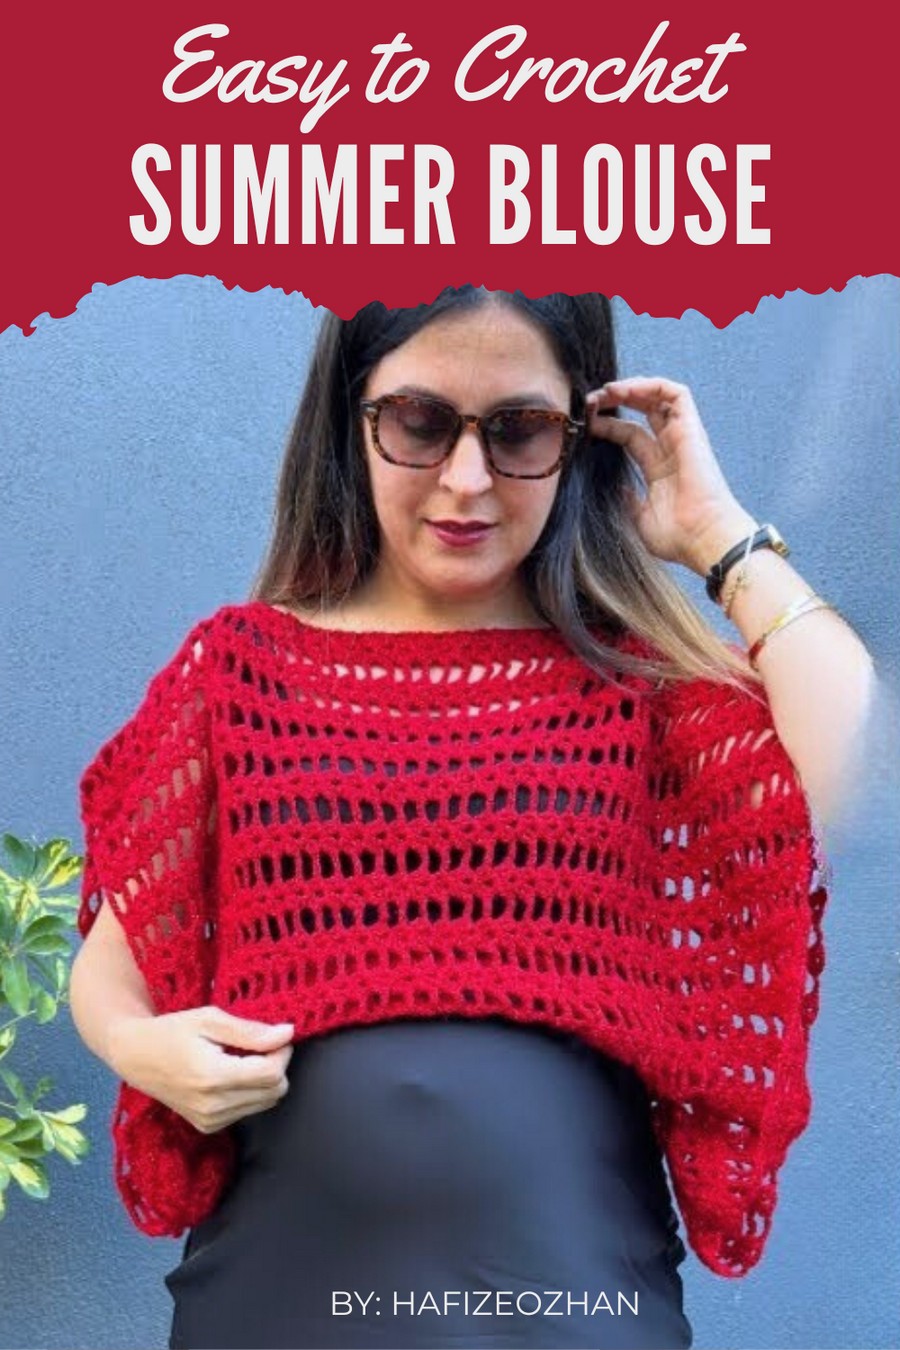
Upgrade your summer wardrobe with a free crochet summer blouse pattern that’s perfect for sunny days and casual outings! Designed to be lightweight, breathable, and stylish, these blouses pair beautifully with anything from flowy skirts to your favorite denim. The airy design keeps you comfortable in warm weather, while the customizable fit allows you to express your creativity through colors and textures.
Warm Weather Crochet Summer Blouse That Are Totally Gorgeous
Whether you’re planning a beach trip or a picnic, this versatile blouse adds a handcrafted, elegant touch to your look. Great for beginners and advanced crocheters alike, this pattern is a delightful way to embrace summer vibes effortlessly!
Materials List
Yarn Options:
- Cotton Yarn, Mercery Yarn, or any lightweight seasonal yarn with good drape.
- Approximately 200-250 grams of yarn, depending on size.
- Alternatively, you can use fluffy or glittery yarns for a more festive and textured look.
Hook Size:
- 4 mm crochet hook (US G/6) – adjust based on your yarn weight (check yarn label for compatibility).
Additional Supplies:
- Yarn Needle: For weaving in ends and seaming.
- Scissors
- Measuring Tape: To determine custom widths and lengths.
Skill Level
Beginner to Intermediate: This project is straightforward, but you should be comfortable with basic crochet stitches (chains, double crochet, and slip stitch) and joining/seaming panels.
Key Abbreviations (US Terms)
- ch: Chain
- dc: Double Crochet
- sl st: Slip Stitch
- sp(s): Space(s)
- st(s): Stitch(es)
- Row(s): Refers to completed rows of stitches.
- tch: Turning Chain
Final Measurements
- Width: ~53 cm (~21 inches)
- Length: ~76 cm (~30 inches), after blocking.
For a larger or smaller blouse, you will need to adjust the starting chain count, row count, or overall gauge.
Special Notes
- Construction: The blouse is crocheted in two long rectangular panels that are sewn together at the shoulders and sides.
- Structure: The stitch is worked horizontally, so adjustments to the chain length determine the length of the blouse, while the row count determines the width (bust size).
- Blocking: Lightly steam or wet block your finished pieces to ensure measurements are accurate and stitches are uniform.
- Seasonal Yarn: Use cotton or linen for summer tops; polyester or fluffy yarn for cooler weather.
Step-by-Step Instructions
Step 1: Base Foundation (Working Horizontally)
- Foundation Chain:
- Begin with a slip knot and chain 100 ch (or your desired length).
- Ensure the chain length matches your desired shoulder-to-hem length. Adjust based on your measurements by holding the chain up to your body.
- Row 1 (Establish Stitch Pattern):
- Work 3 ch (tch) to start the row. This counts as your first dc.
- Count 8 chains from the hook, and into the 8th chain, work the following:
- 2 dc, 2 ch, 2 dc (this creates the stitch cluster).
- Chain 4 ch, skip the next 7 ch in your foundation row, and into the 8th chain, work another stitch cluster (2 dc, 2 ch, 2 dc).
- Repeat this pattern (4 ch, skip 7 ch, stitch cluster) until the end of the row.
- At the end, finish with 1 dc into the last chain.
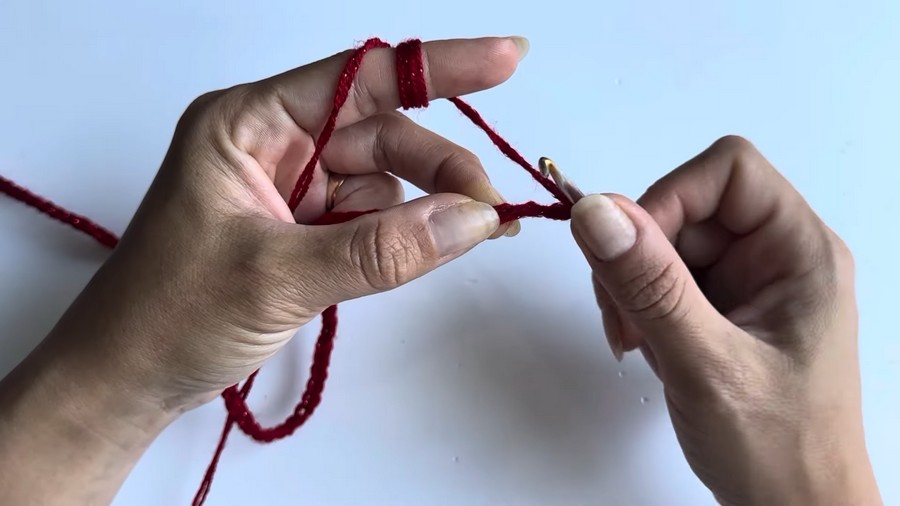
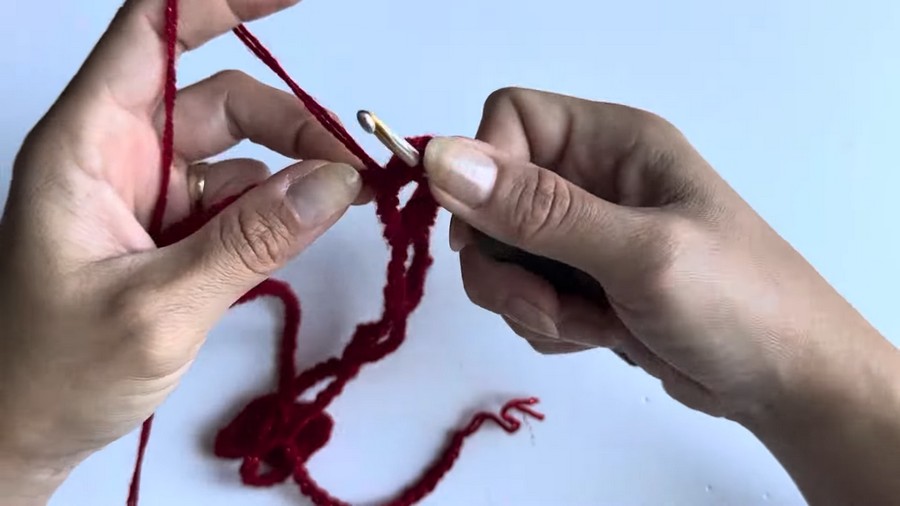
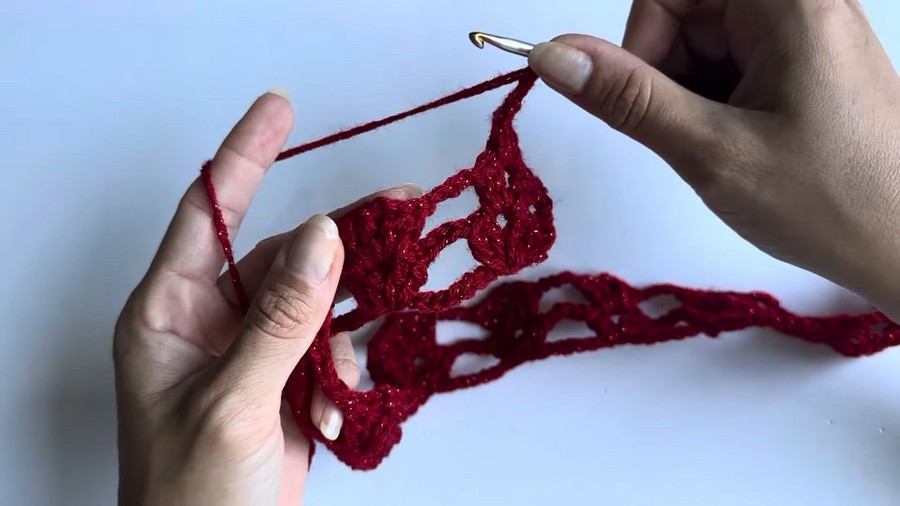
Step 2: Work the Body of the Panel
- Row 2:
- Turn your work. Ch 3 (tch), skip the 4-ch space from the previous row, and into the 2-ch space of the first cluster, work:
- 2 dc, 2 ch, 2 dc (stitch cluster).
- Continue the same pattern into each 2-ch space across the row.
- End with 1 dc on top of the turning chain from the previous row.
- Turn your work. Ch 3 (tch), skip the 4-ch space from the previous row, and into the 2-ch space of the first cluster, work:
- Repeat Rows Until Width is Achieved:
- Continue repeating Row 2 until the fabric reaches your desired width (this will be half the circumference of the blouse + ease).
- Tip: Use a measuring tape to measure across your body for accurate fit. For this pattern, 49 rows were worked to achieve 53 cm (~21 inches) width.
Step 3: Create the Second Panel
- Follow Steps 1 and 2 to create a second identical rectangular panel. Ensure both panels measure the same in length and width.
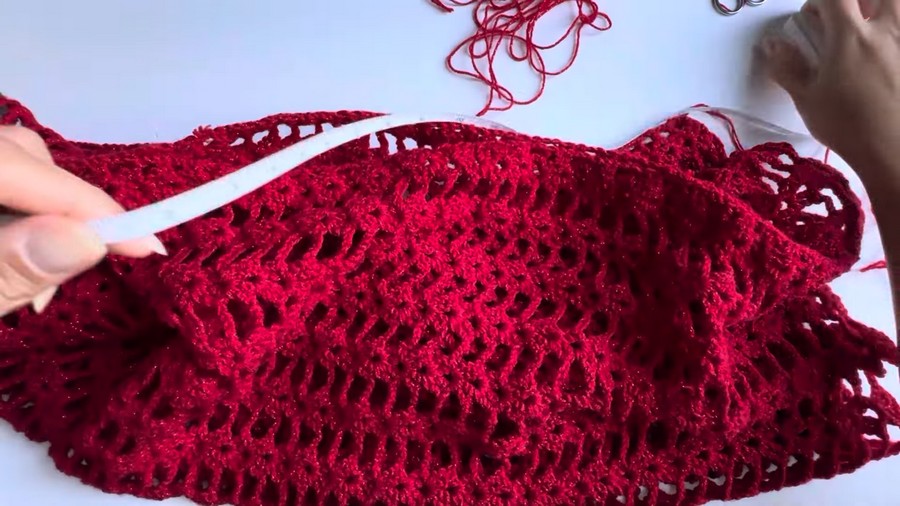
Step 4: Assembling the Blouse
Once both panels are completed, you will sew them together at the shoulders and down the sides.
Shoulder Assembly:
- Place the two panels together, wrong side facing out.
- Use a yarn needle and matching yarn to sew across the first 14 clusters at the top of the panels. Leave the rest of the opening for the neck hole.
- Adjustment Tip: To adjust the neckline, sew a smaller or larger width at the shoulders. Leave an opening of 32–33 cm (~12.5 inches) for a wide boat neck.
Side Seaming:
- Fold the panels in half at the shoulders and align the sides.
- Leave a gap along the sides for the armholes (approximately 20 cm or based on your preference).
- Tip: Adjust the armhole opening to suit your fit, especially if you prefer fitted or looser sleeves.
- Sew down from where the armholes start to the bottom hem on both sides.
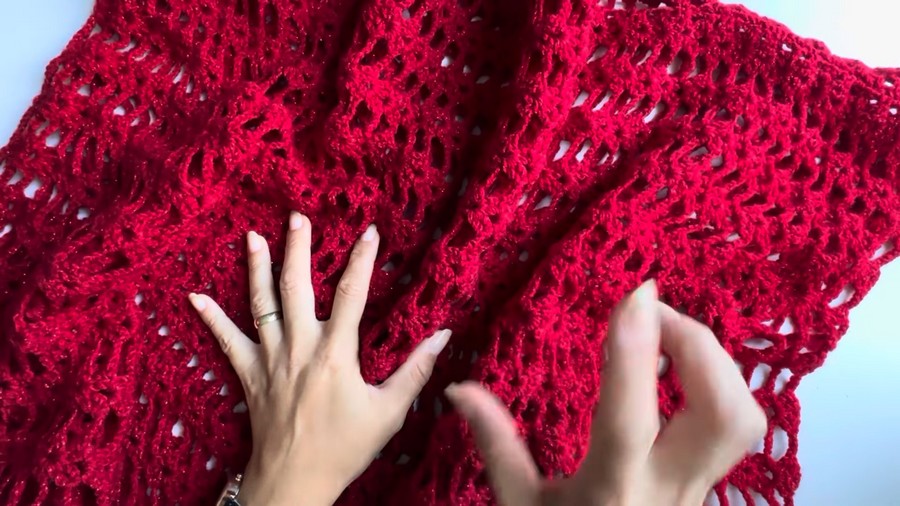
Finishing Touches
- Weave in Ends: Use a tapestry needle to hide any loose ends inside the seam for a clean finish.
- Blocking: Lightly steam-block the blouse to smooth out any uneven stitches and set the shape.
Tips for Success
- Maintain even tension throughout to ensure uniform stitches.
- Test the fit of the blouse as you assemble the panels to make adjustments to necklines or armholes as needed.
- Use cotton or linen yarn for a breathable, lightweight summer blouse, or try glittery or fluffy yarns for a more festive and textured look.
Customization Ideas
- Add Length or Width:
- To create a longer blouse, simply start with a longer chain for the foundation row.
- To make a looser fit, increase the number of rows before seaming.
- Play with Colors:
- Use a gradient or ombre yarn for a colorful effect.
- Add stripes by alternating yarn colors after a few rows.
- Neckline Styles:
- Make the neckline wider by leaving fewer stitches sewn at the shoulder.
- Adjust it to a V-neck style by shaping one side during assembly.
- Sleeve Options:
- Leave the top part open for cap sleeves.
- Add long sleeves by crocheting tubes directly onto the armholes.
Conclusion
Congratulations on completing your Crochet Summer Blouse! This piece is ideal for warm weather and can be dressed up or down depending on the yarn type and color. The blouse’s minimalist design makes it versatile and easy to style with skirts, shorts, or jeans.
Pattern Corrections
- Remember to adjust chain counts and row numbers based on personal measurements. Use accurate stitch counts to ensure symmetry in both panels.
Final Remarks
Show off your creation and experiment with different yarns and colors to make it unique. Don’t forget to share your work with the community and tag the creator for inspiration.



