
Wear this stylish crochet puff sleeve top pattern for a charming and comfortable look that beautifully suits casual outings or special gatherings.
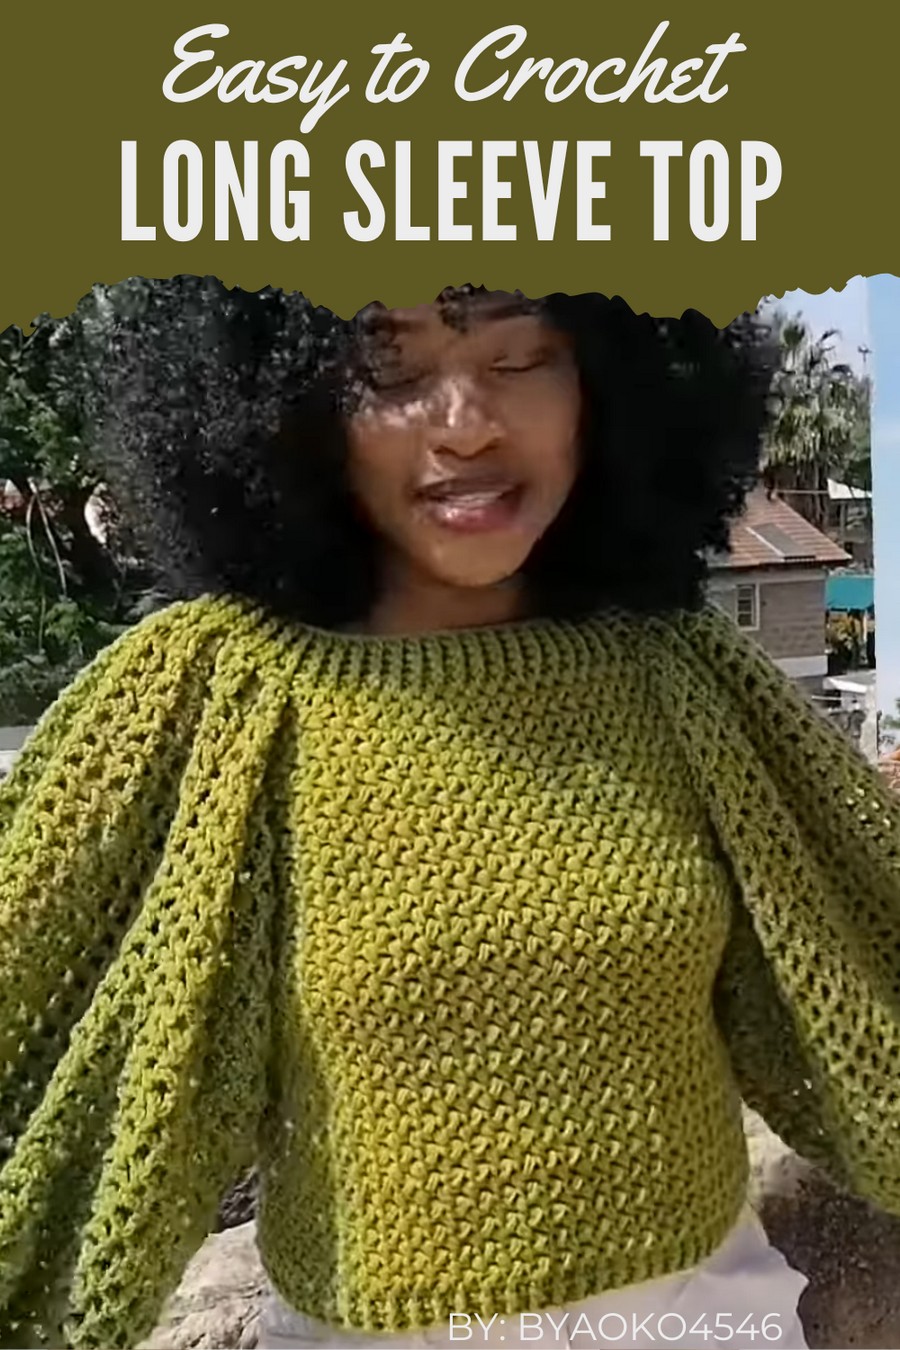
This elegant and stylish top is perfect for adding a touch of charm to your wardrobe. Featuring unique puff sleeves for a trendy and feminine look, it’s a versatile piece that suits any occasion. Whether worn casually with jeans or dressed up with a skirt, its airy and lightweight design makes it ideal for warm days or layering during cooler seasons.
Perfect Crochet Puff Sleeve Top Pattern for Summer
The delicate crochet details and soft texture bring a cozy, handmade feel, while the flattering fit complements any body shape. With its timeless appeal and graceful appearance, this top is a must-have for everyday wear or special moments.
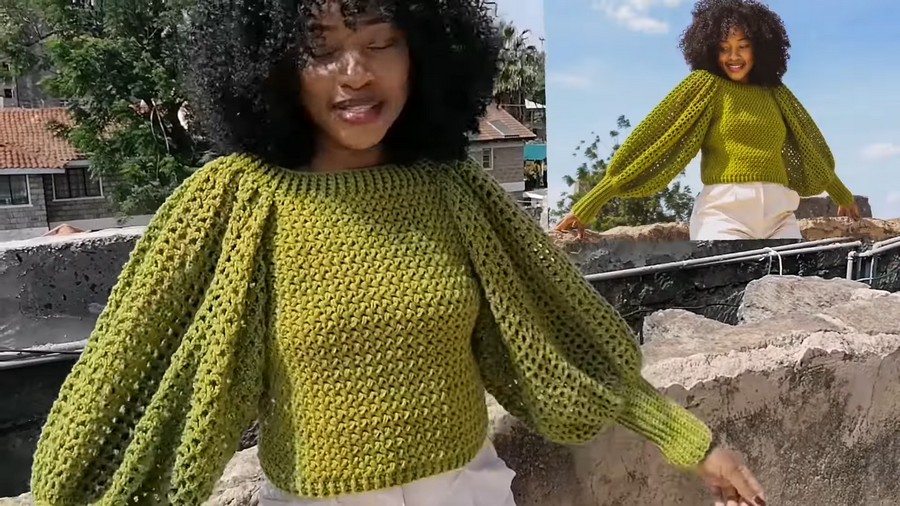
Materials Needed
Yarn
- Type: Acrylic yarn or any medium-weight yarn you prefer.
- If using a thin yarn, double the strands to achieve a medium-weight yarn texture.
- Approximately 8 balls of yarn.
Hook
- 5 mm Crochet Hook: Ensure you use a comfortable hook of appropriate size for the yarn.
(Note: If using a thinner or thicker yarn, adjust your hook size accordingly.)
Additional Supplies
- Scissors
- Measuring Tape
- Yarn Needle (for weaving in ends and attaching sleeves)
- Stitch Markers (to ensure even attachment of sleeves and other seams).
Key Details
- Skill Level: Beginner to Intermediate.
- Construction: Worked in panels, joined with simple seaming, and finished with puffy sleeves.
- Special Techniques:
- Bean Stitch
- Front Post and Back Post Stitches
Key Abbreviations (US Crochet Terminology)
- ch: Chain
- sc: Single Crochet
- sl st: Slip Stitch
- dc: Double Crochet
- bean st: Bean Stitch (described in detail below)
- fpdc: Front Post Double Crochet
- bpdc: Back Post Double Crochet
Special Notes
- Customization: Use different yarn colors or sleeve lengths to customize the look of your top.
- Always measure the neckline and other areas to ensure proper fit.
- This pattern alternates rows with and without increases, allowing the piece to flare naturally.
Pattern Structure
Step 1: Front and Back Panels
-
Neckline Measurement:
- Determine the neckline width:
- Small-Medium Size: 8 inches.
- Medium-Large Size: 9 inches.
- Large-Extra Large Size: 10 inches.
- Determine the neckline width:
-
Foundation Chain:
- Make a slip knot.
- Chain the number of stitches corresponding to your neckline width (even number of chains).
- Add a few extra chains and undo them later if unsure of the exact stitch count.
-
Row 1 (Bean Stitch Start):
- Work into the 3rd ch from the hook.
- Complete a bean stitch (bean st):
- Insert hook, pull up a loop, yarn over, insert into the same stitch, and pull up another loop.
- You should now have four loops on your hook. Yarn over and pull through all four loops. Chain 1 to close the bean stitch.
- Skip 1 ch, and repeat the bean st in the following chain.
- Continue this pattern until the end of the row.
-
Next Rows (Straight Rows):
- Row 2: Turn, chain 1, and work a bean st into the chain-one space of each bean stitch from the previous row.
- Continue working straightforward bean stitch rows, ensuring to start and end with a complete bean stitch for uniformity.
-
Increases (Alternating Rows):
- For row 3, begin working increases:
- Start the row by placing 2 bean stitches in the first chain-1 space of the row.
- Work normal bean stitches throughout the middle of the row.
- End the row with another increase by placing 2 bean stitches in the last chain-1 space.
- For row 4, work straight rows with no increases.
- Alternate increase rows and straight rows until the panel widens to your desired width. (For example, the panel should fit from mid-chest to the outside of your shoulder.)
- For row 3, begin working increases:
-
Working in Straight Lines:
- Once the desired width is achieved, crochet straight rows with no increases until you reach the desired length for the front panel (measure from neckline to bottom of the top).
-
Back Panel:
- Repeat Steps 2–6 to create the back panel.
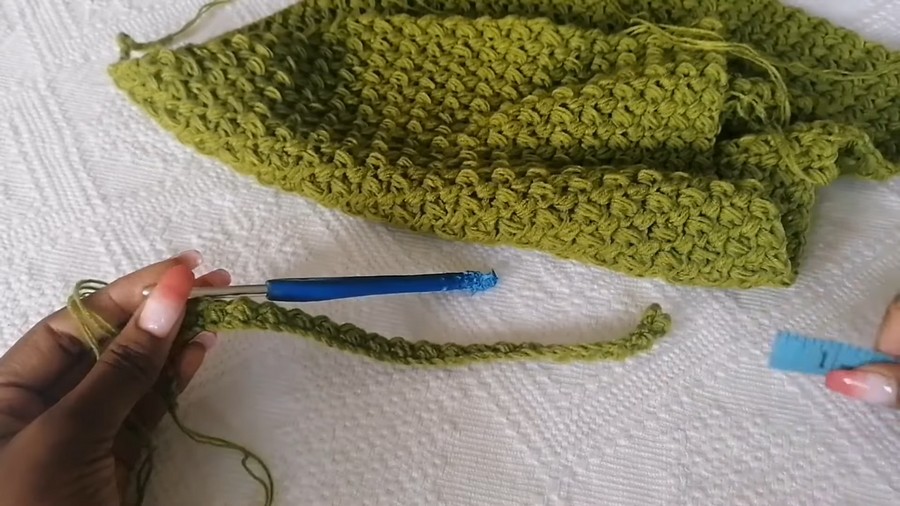
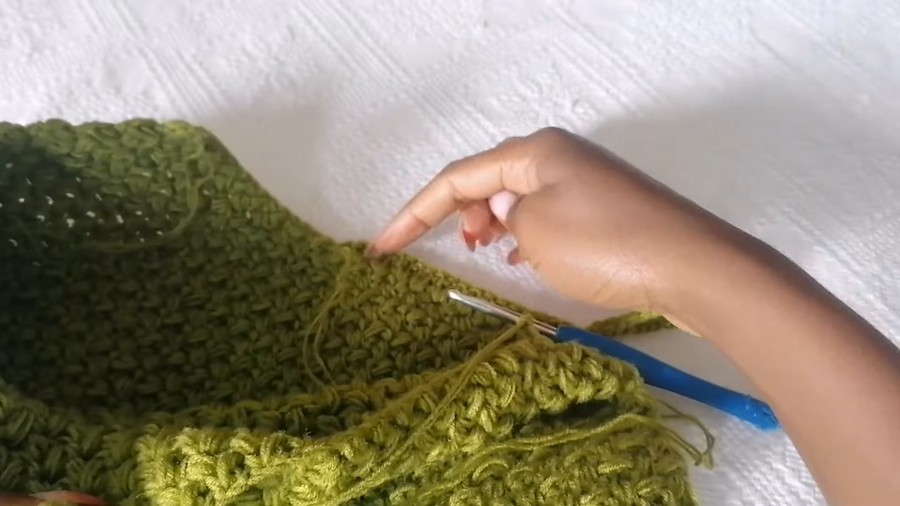
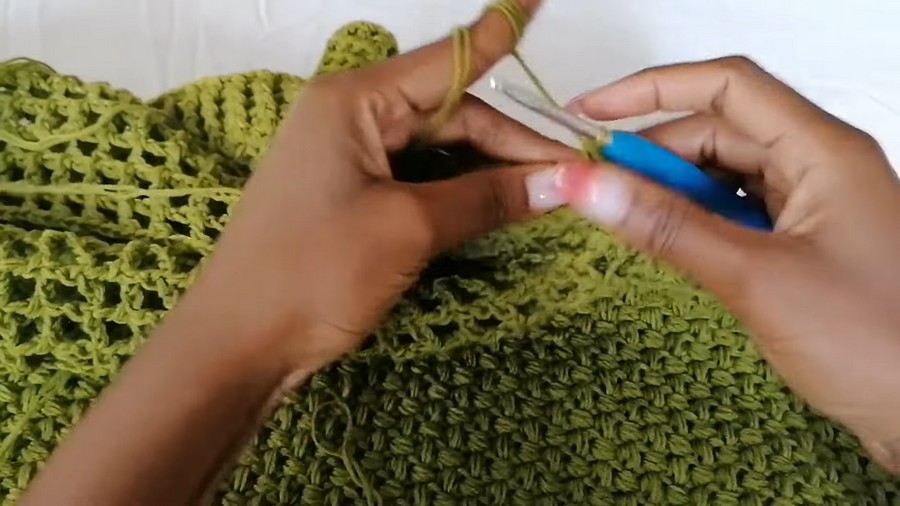
Step 2: Joining Front and Back Panels
- Align the Panels:
- Place the front and back panels together with their right sides facing one another.
- Seaming the Sides:
- Using a slip stitch or a yarn needle, join the sides of the panels by stitching row by row. Leave openings at the top for the armholes (approximately 6-8 inches, depending on your size).
- Straps and Neckline:
- Reattach the yarn at the back neckline.
- Chain 28 (or more, depending on your desired strap length) and attach to the front panel to form basic straps.
- Continue crocheting around the neckline using 2 dc in each stitch or space.
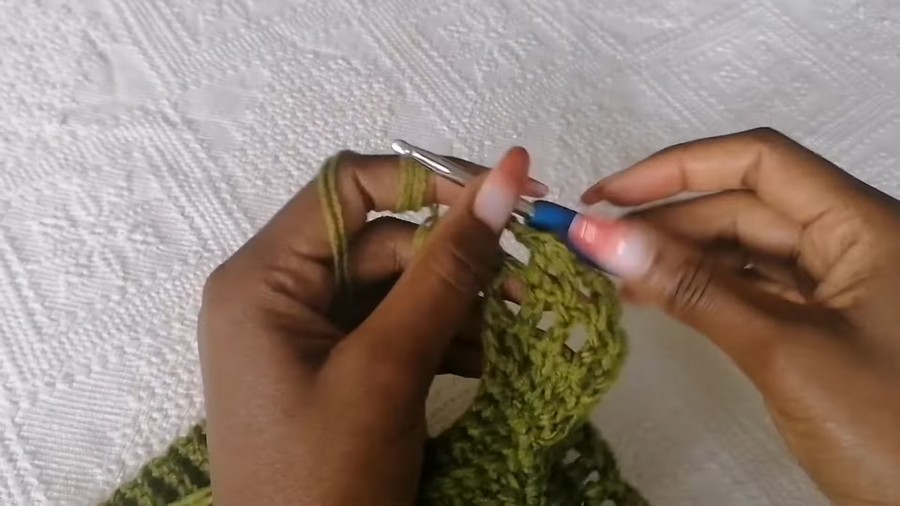
Step 3: Adding Ribbing on the Neckline
- Work Front Post and Back Post Stitches:
- For Row 1, alternate fpdc and bpdc stitches to create a ribbing effect.
- Create 2–3 rows of ribbing to complete the neckline.
Step 4: Sleeves
- Wrist Cuff:
- Chain 26 for the wrist cuff.
- Work in sc through the back loop only (bl) until the band fits snugly around your wrist.
- Join the short ends of the cuff to form a loop.
- Puffy Sleeve Bottom:
- For the first row of the sleeve, place 2 sc stitches per ribbing row along the wrist cuff.
- Increase the sleeve’s circumference by adding 2 sc stitches to every row to create a puffiness effect.
- Upper Sleeve Mesh:
- Chain 4, and work a dc, ch 1 into every stitch. For every few rows, add more chain spaces (e.g., chain 2 instead of chain 1) to slightly increase the sleeve width.
- Joining Sleeves to the Body:
- Use a slip stitch or sc method to attach the sleeve to the body. Ensure even distribution by marking matching points with stitch markers.
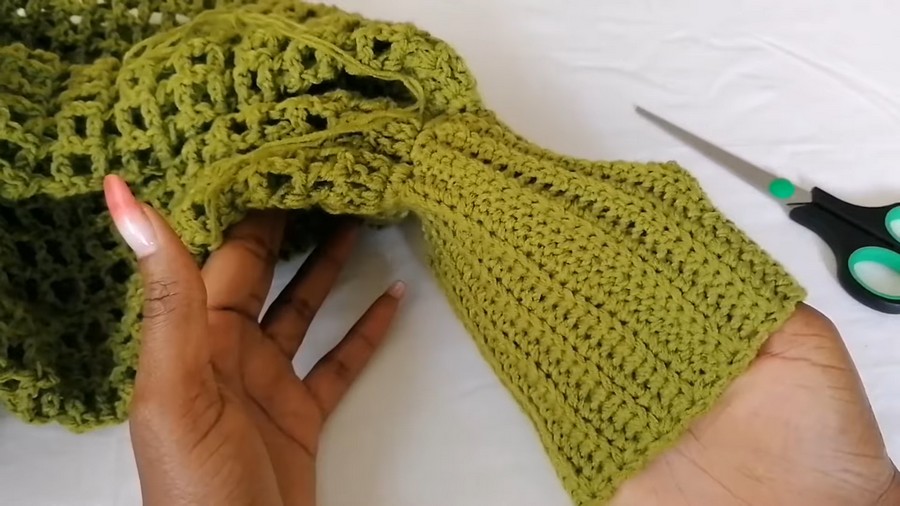
Step 5: Ribbing on the Waist
- Attach yarn at the base of the sweater.
- Work 2 dc stitches per chain or space, alternating fpdc and bpdc for a ribbed effect.
- Continue for 2–3 rounds.
Customization Ideas
- Colors:
- Use two or more contrasting colors for stripes.
- Experiment with gradient or variegated yarn for a naturally blended look.
- Sleeve Length:
- Shorten the sleeves for a summer-ready top.
- Lengthen the sleeves and create a tapered end for a fitted winter look.
- Fit Adjustments:
- Adjust the neckline width or body length based on your measurements.
Tips for Success
- Maintain an Even Tension: This is especially important while working puff stitches or increasing the sleeve width to avoid uneven shaping.
- Mark Increase Points: Use stitch markers to remember where you need to add increases in the panels or sleeves.
- Measure Frequently: Check the neckline, panel length, and sleeve dimensions as you progress to ensure the perfect fit.
Conclusion
This crochet puff sleeve top combines functionality and style, making it a garment you’ll love to wear or gift. From the elegant bean stitches to the dramatic puffy sleeves and structured ribbing, the pattern is a rewarding project for beginners and intermediates alike. Customize it with colors, sleeve variations, and different fits to make it uniquely yours.



