
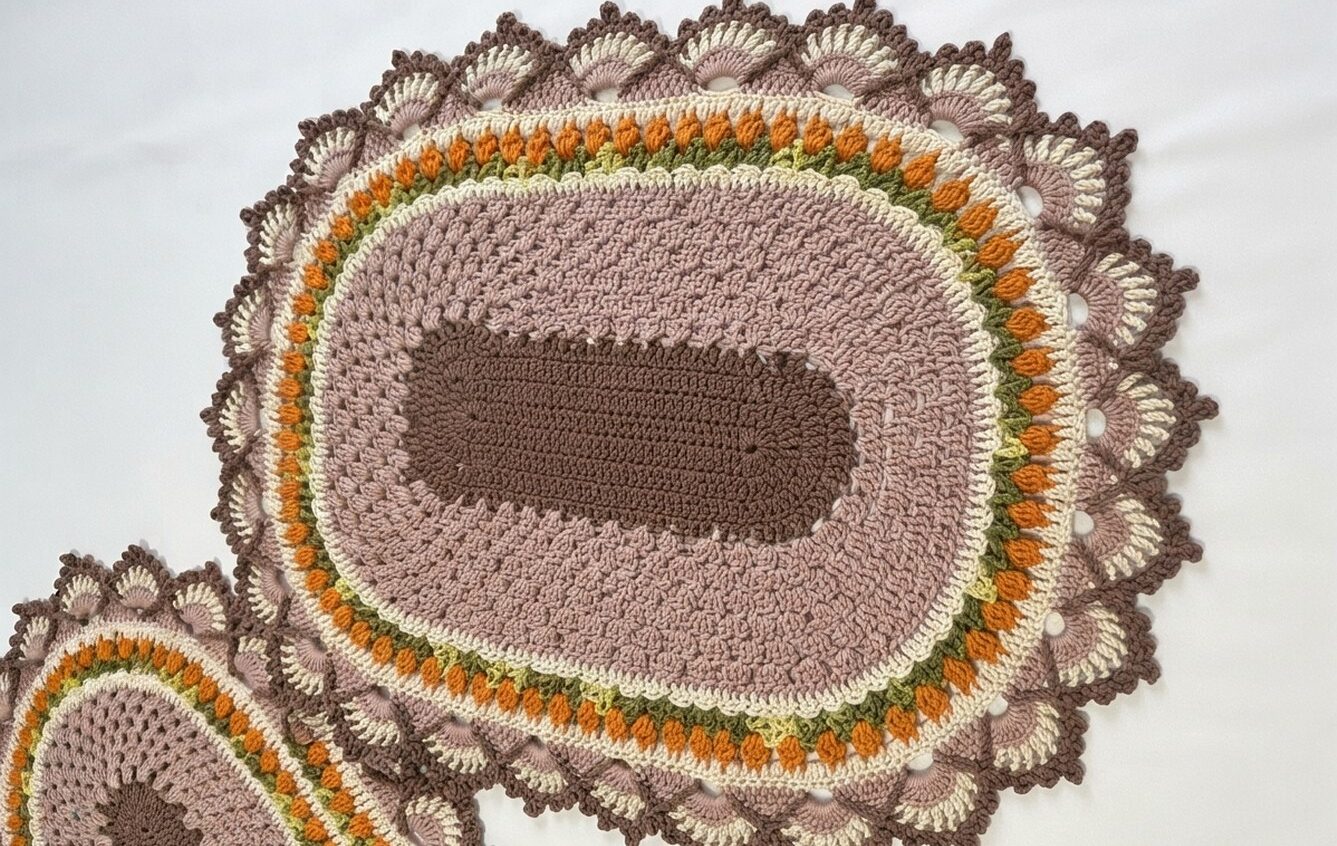
In a quiet corner of a cozy room, a soft rug rests gently on the floor, capturing the beauty of blooming tulips. This lovely oval-shaped rug shows bright pink petals surrounded by fresh green leaves, all made with soft yarn that feels warm and comfortable. Created by the talented Márcia Souza Crochê, this design brings a touch of nature indoors, inviting happiness and color to your home. If you’re excited to crochet a similar piece, the Free Crochet Oval Tulip Rug Pattern is just for you. Márcia also helps beginners and friendly crocheters through her YouTube channel, where she shares easy-to-follow tutorials.
Crochet a Colorful Oval Tulip Rug for Home Decor
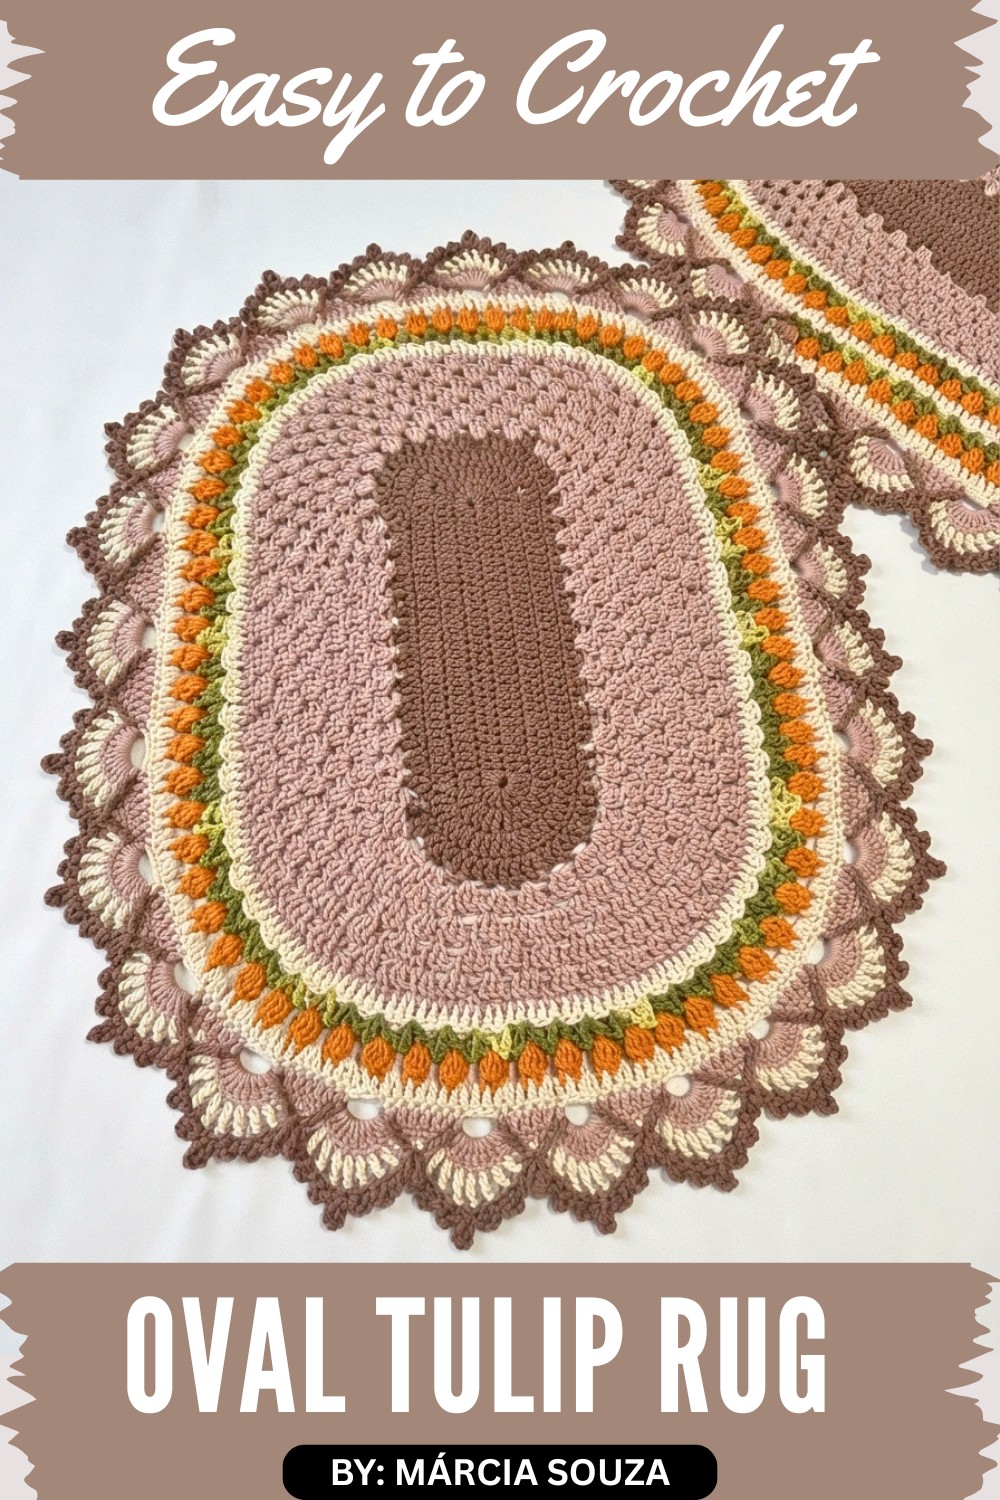
The oval form of this tulip rug fits perfectly in many spots—by your bedside to add comfort as you get up, near a reading chair to create a calm space, or even at the front door to welcome family and friends with cheerful charm. The soft pinks and greens are gentle on the eyes and blend well with different home styles, from modern to classic.
People will love this rug not just because of its beauty, but also because it’s soft underfoot and makes any room feel warmer and more inviting. Its simple floral shape shows creativity and care, making it a wonderful handmade addition to your living space.
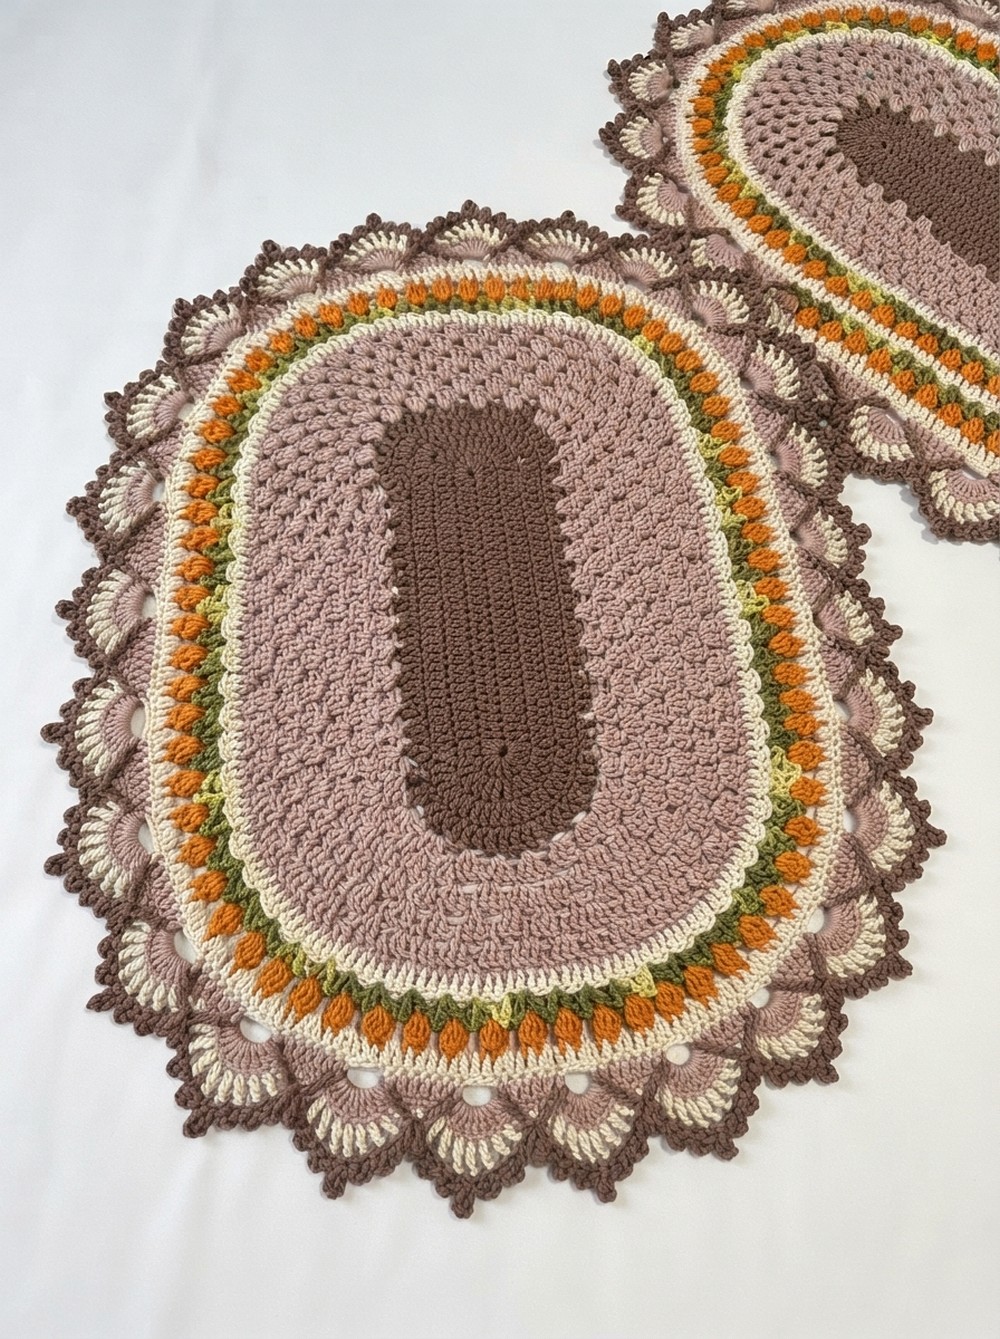
If you dream of adding a splash of color and a flower-inspired design to your home, don’t miss out on this chance. Check out the free crochet Oval Tulip Rug Pattern and enjoy making your own tulip rug that brings comfort and joy for years to come!
Oval Tulip Rug Crochet Pattern
This guide details the making of the Oval Tulip Rug using Barroco #6 yarn and a 3.5 mm crochet hook. It breaks down each phase of the project in simple terms, highlighting important stitches and techniques so beginners can easily follow along and create this beautiful rug with floral accents and an elegant edging.
Pattern Highlights
- Oval shaped rug with smooth curved ends
- Textured block stitch pattern for surface interest
- Color changes to create tulip stems and flowers
- Fan stitches (leque) on curves for flatness
- Decorative picot edging with raised front-post stitches
- Finished size approx. 76 cm x 46 cm
Notes for Beginners
- DC (Double crochet) is the main stitch used.
- Work in straight rows with turning chains.
- Increases at curved ends use multiple DC stitches in one loop to keep an oval shape.
- Color changes are done between rows; tie yarns carefully.
- You may mark corners with stitch markers to keep track.
- Don’t worry about perfection—weave ends and blocking help finish.
Skill Level
Intermediate Beginner — Should know or learn double crochet (DC), clusters, picot, and how to change colors.
Materials
- Barroco #6 yarn in these colors:
- Main base color
- Rapadura (for blocks)
- Folha (green, for stems)
- Natural (for tulip filling)
- 3.5 mm crochet hook
- Yarn needle
- Scissors
- Optional: Stitch markers
Measurements / Size
- Finished Rug approx. 76 cm long × 46 cm wide
- Approximate weight: 365 grams
Gauge
- About 17 stitches × 8 rows = 10 cm in DC stitch
- Gauge affects size, so adjust hook if needed.
Stitch Abbreviations
- ch = chain
- dc = double crochet
- dc cluster = cluster of 4 DC joined at top, closed as one stitch
- sl st = slip stitch
- picot = chain 3 or 5, slip stitch in first chain
- FPdc double = front post double crochet double (wrap yarn twice before inserting post stitch)
Special Stitches Explained
DC Cluster (4 DC Cluster)
- Yarn over, insert hook, yarn over, pull through, yarn over, pull through 2 loops — repeat 4 times in same stitch/space without finishing each stitch individually.
- Yarn over, pull through all loops on hook to close cluster as 1 stitch.
Fan Stitch (Leque)
- Work 2 DC, then chain 1, then 2 DC all in the same stitch or space.
Picot Edge
- Chain 3 or 5, slip stitch into first chain to form tiny decorative loop.
Front Post Double Crochet Double (FPdc double)
- Yarn over twice, insert hook around post of stitch from front to back, yarn over, pull through; yarn over, pull through 2 loops twice for raised stitch.
Step-by-Step Pattern
Phase 1: Foundation and Initial Body
Step 1 — Foundation Chain
- Chain 50.
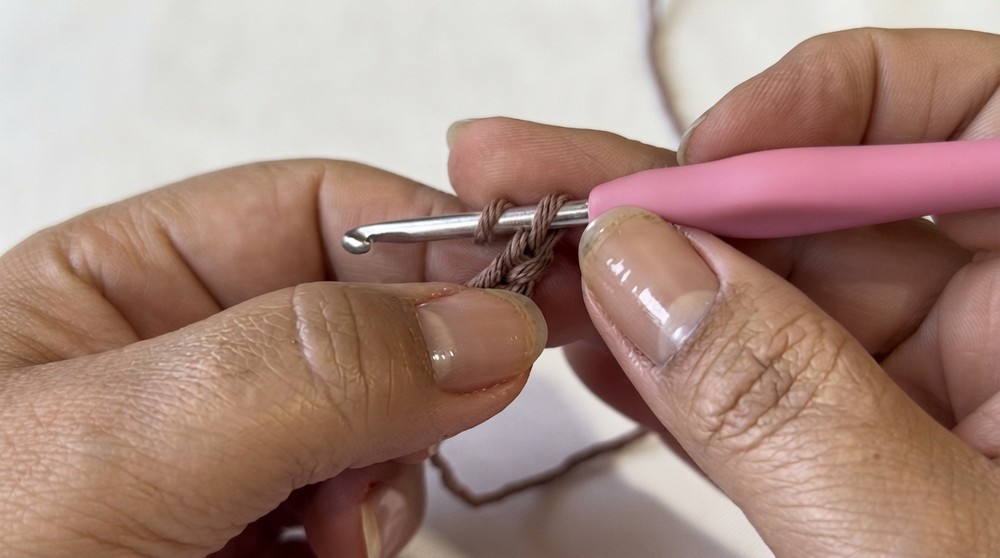
Step 2 — Base Row (Row 1)
- Skip first 3 chains (count as 1 DC).
- Work 1 DC in each of next 47 chains across.
- Total stitches: 47 DC + turning chain 3.
- Chain 3 and turn.
Step 3 — Lateral Growth (Row 2)
- Work 1 DC in each stitch across row.
- On each curved end: work 8 DC stitches into corner loop to increase and begin shaping the oval.
- Chain 3 and turn.
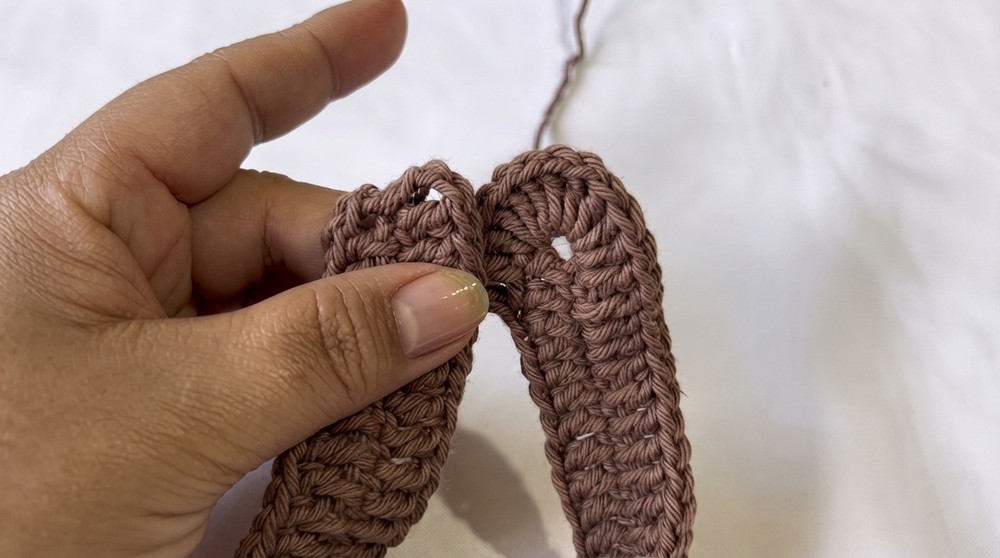
Step 4 — Expansion (Row 3)
- On curved ends: work 2 DC in each of the 8 DC stitches from the previous increase (total 16 DC in corner).
- Work 1 DC in each stitch along straight parts.
- Chain 3 and turn.
Phase 2: Block Stitch Pattern
Step 5 — Blocks (Rows 4-6 approx.)
- On straight sides:
- Create blocks of 3 DC stitches, separated by 1 chain (skip 1 base stitch between blocks).
- On curved ends:
- Use smaller blocks of 2 DC, separated by 1 chain.
- Increase at curves to maintain oval.
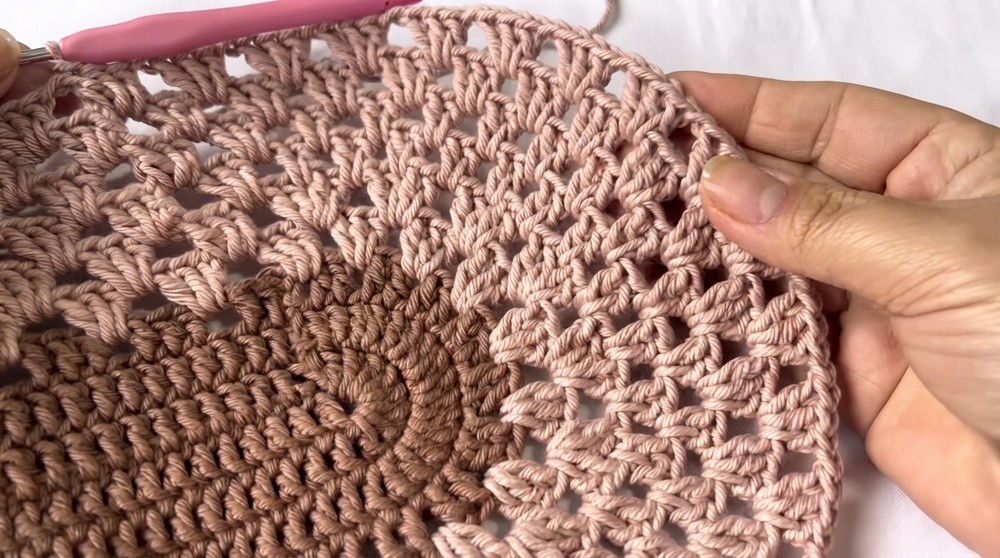
Step 6 — Color Changes with Rapadura
- Change yarn to Rapadura.
- Continue 3-DC blocks along straight edges.
- On curves, increase with 2-DC blocks to keep shape.
Step 7 — Fan Stitch Expansion on Curves
- Replace 2-DC blocks on curves with fan stitches:
- (2 DC, 1 ch, 2 DC) in same space.
- This helps rug lay flat and adds decorative texture.
Phase 3: Tulip Details
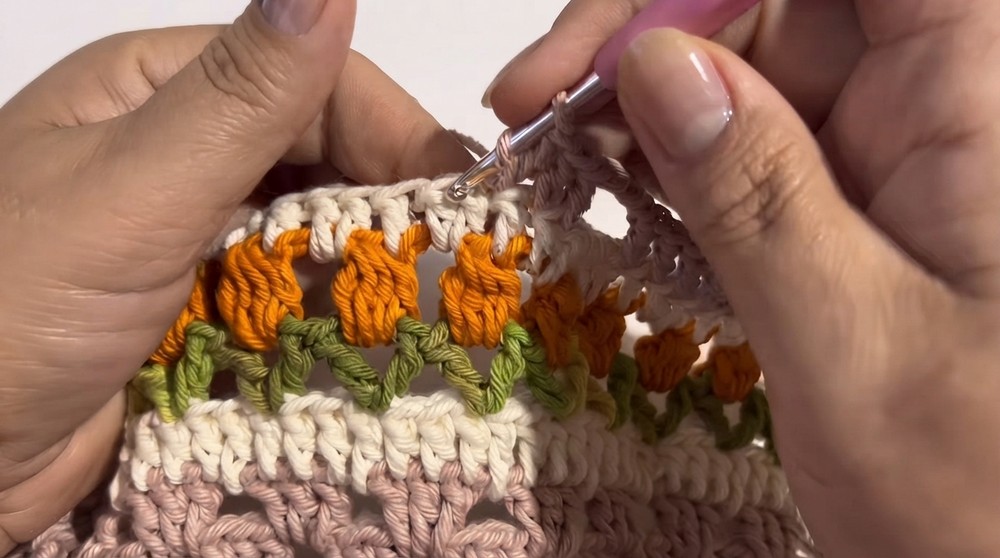
Step 8 — Stems with Folha (green yarn)
- Switch to Folha.
- Work DC clusters vertically to represent tulip stems.
Step 9 — Tulip Flowers
- Make tulip flowers using 4 DC cluster:
- Work 4 DC together in the same stitch/space, closed as one cluster.
- Separate clusters with 3 chains for spacing.
Step 10 — Filling Rows with Natural Yarn
- Change to Natural yarn.
- Fill gaps between tulips by working:
- 2 DC in chain spaces on sides,
- 3 DC in corner chain spaces to maintain shape.
Phase 4: Finishing
Step 11 — Border Construction
- Work row of 7 DC clusters evenly spaced around rug.
- Skip stitches between clusters as needed for spacing.
Step 12 — Picot Edge
- Work 9 DC stitches into arches formed between clusters.
- Create picot edges:
- Chain 3 or 5, slip stitch into first chain.
- Add FPdc doubles to add raised texture along border.
Assembly & Finishing
- Weave in all yarn ends carefully with a needle.
- Optionally block lightly to give shape.
- The fan stitches and border ensure the rug stays flat and finished beautifully.
Final Notes
Creating the Oval Tulip Rug combines simple stitches with thoughtful increases and color changes to form a professional-looking piece. The use of fans and clusters balances texture and shape for a flat, sturdy rug with lovely tulip motifs.
Take your time with color changes and corner increases to keep the oval form consistent. Don’t hesitate to place stitch markers at corner loops to help guide you.



