
Uncover stylish crochet handbag ideas that are perfect for every occasion and suitable for all skill levels with engaging and easy-to-understand guides.
A stylish and handmade bag can add charm to your daily life. With a crochet handbag pattern, you can create something that’s both beautiful and practical. These bags are known for their unique textures, eye-catching designs, and durability.
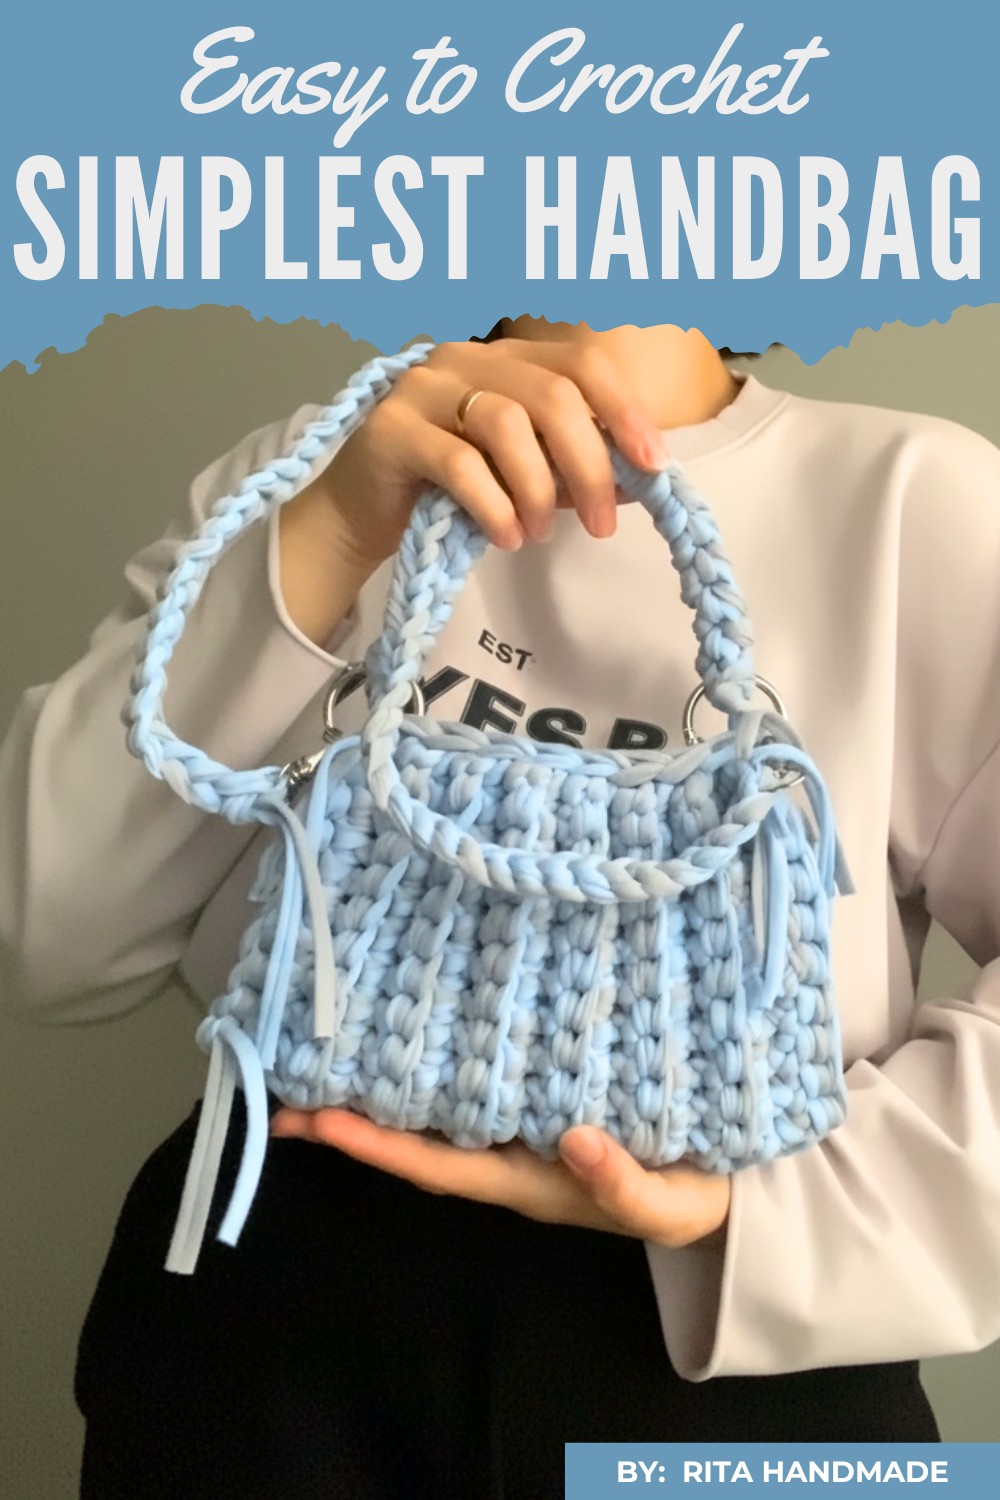
Perfect Crochet Handbag Pattern for Any Style or Purpose
They can be used for shopping, casual outings, or even as a chic accessory to match your outfit. Whether small and elegant or large enough to carry essentials, these handbags offer endless possibilities in terms of size, color, and style. Simple yet stunning, a crochet handbag is perfect for anyone who wants a versatile accessory with a personal, creative touch.
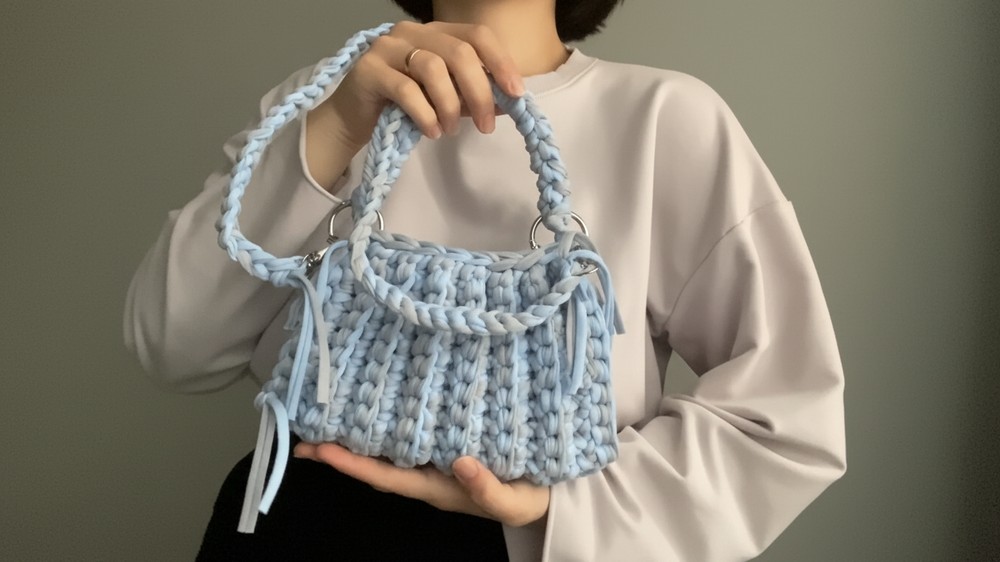
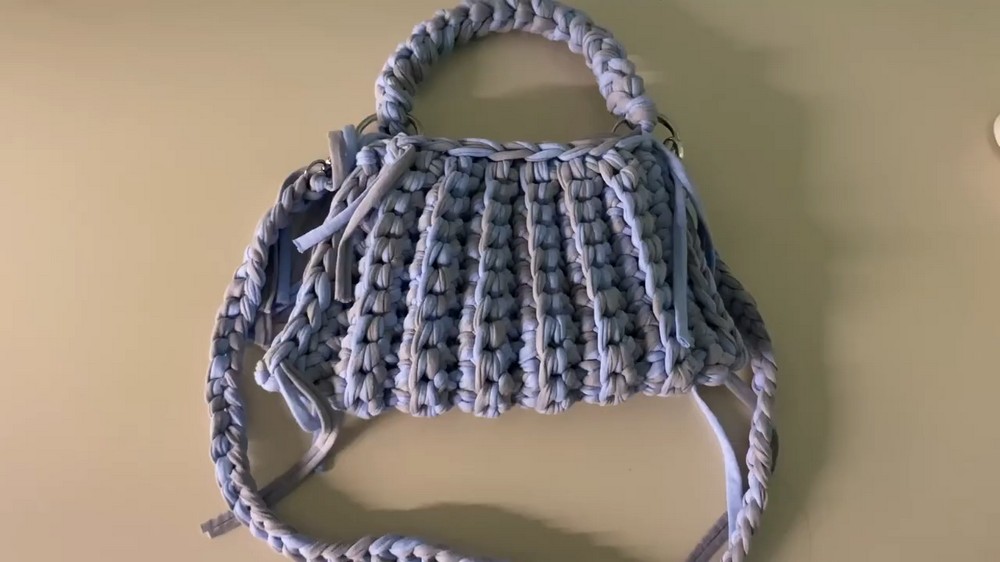
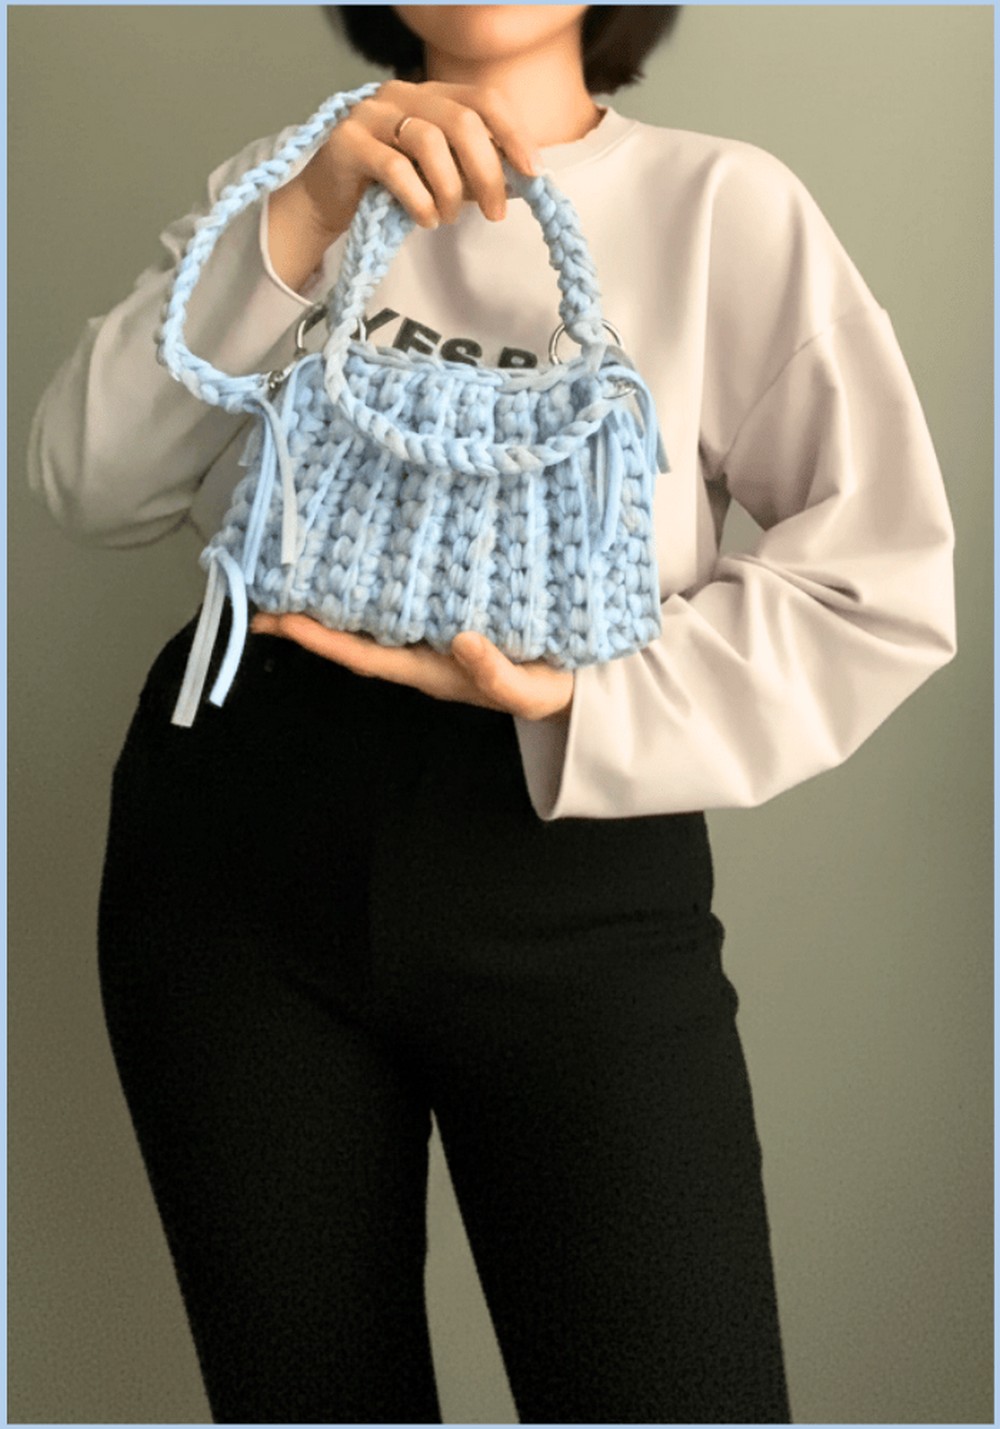
This chic handmade handbag is both functional and attractive, with a sophisticated design that incorporates a short handle and a detachable long strap for versatility. Measuring 25 cm wide, 18 cm at the top with a 15 cm height, it is compact yet spacious enough for daily essentials. Adjustments in size and style make it a customizable accessory for any occasion.
Materials and Supplies
- Yarn:
- Approx. 300 grams of thick yarn (e.g., Biscuit yarn).
- Choose a single color or two contrasting colors for a stylish effect.
- If thinner yarn is used, combine two strands of yarn while working.
- Crochet Hook: 12mm hook (adjust according to the yarn used).
- Hardware:
- 2 rings measuring 32 x 4 mm for securing the straps.
- 2 carabiners measuring 44 x 25 mm for the detachable long strap.
- Scissors.
- Yarn needle for weaving in the ends.
- Measuring Tape (optional, for precision when customizing size).
Key Features
- Bag Dimensions (Example Size):
- Bottom Width: 25 cm.
- Top Width: 18 cm.
- Height: 15 cm.
- Short Handle Length: 26 cm.
- Long Strap Length: 70 cm.
- Design Details:
- Body worked in rows with single crochet stitches.
- Sides are closed using slip stitches for durability.
- Handles and a detachable strap are added at the end.
- Customizable Size: Modify the stitch count and row repetitions to adjust size.
Pattern Instructions
1. Foundation Chain:
- Start with a slip knot on your hook.
- Chain 20 stitches to create the height of the bag (adjust this based on the desired height). Ensure the stitch count is a multiple of 2.
- Add 1 chain stitch for turning.
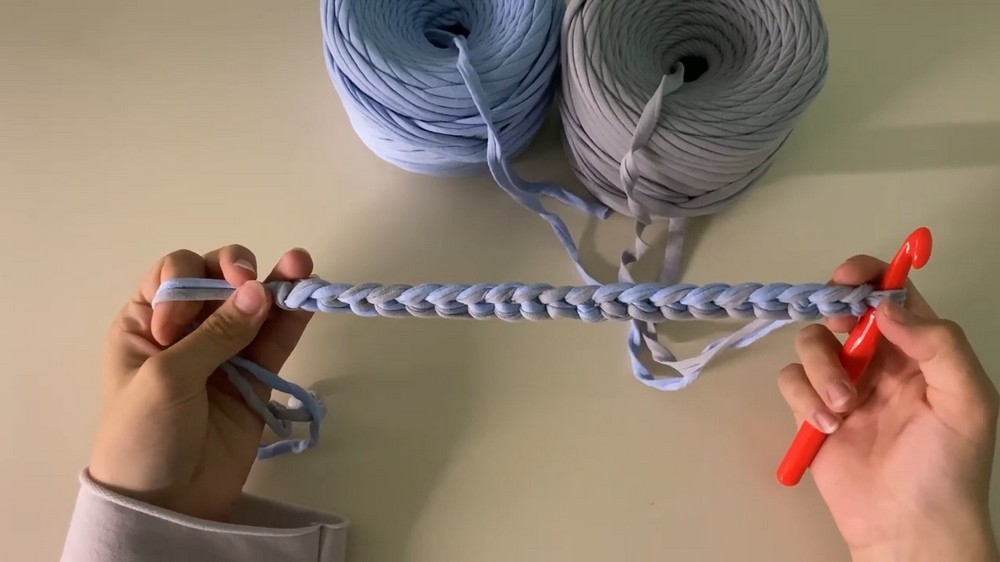
2. First Row:
- Work a single crochet (SC) in the back loop of the second chain from the hook.
- Continue crocheting 1 single crochet stitch in the back loop of each chain until the end of the row (20 single crochets total).
- At the end of the row, chain 1 turning chain, turn your work, and proceed to the next row.
3. Repeating Rows for Body of the Bag:
- For the next row:
- Skip the first stitch, and work into the back loop of the next stitch.
- Crochet single crochets (SC) across the row.
- At the end of the row:
- Chain 1 turning chain and turn your work.
- Repeat for a total of 14 rows (or modify based on the desired width).
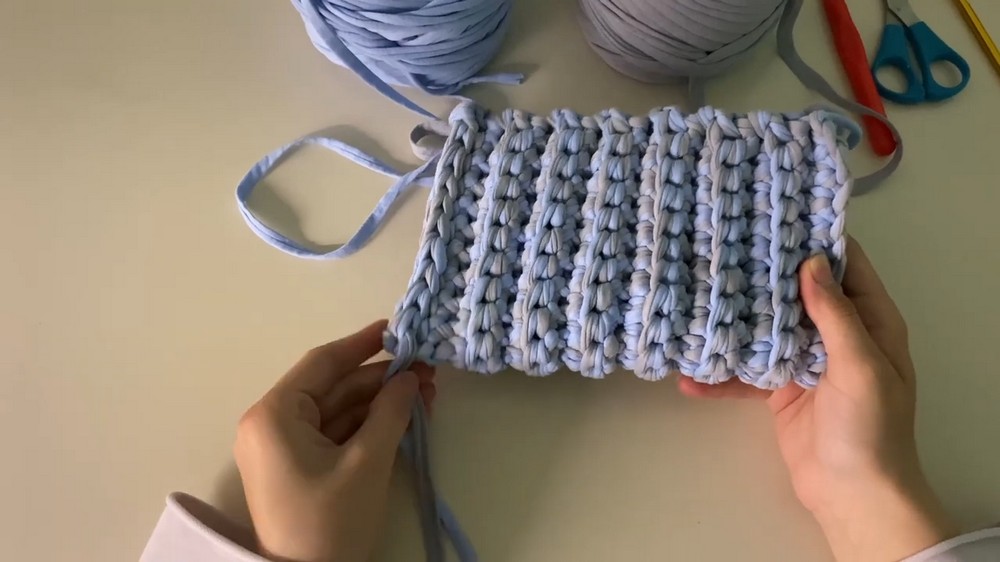
4. Securing the Canvas into a Bag:
- Once the rows are complete, fold the rectangular canvas in half.
- Align the edges, with the folded part forming the base of the bag.
- Using slip stitches, crochet along the side edges to close and secure the bag:
- Insert the hook under both loops of the first stitch on each side and make a slip stitch.
- Repeat for each stitch along the edge.
- When finished, cut the thread, leaving a tail long enough to weave in.
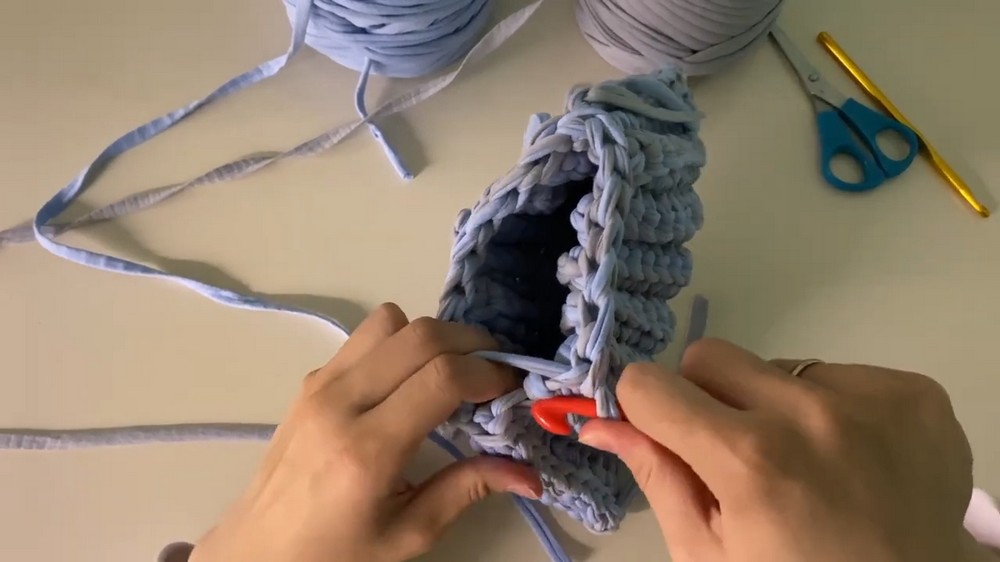
Repeat this process on the other side of the canvas to create a closed bag.
5. Attaching the Short Handle:
- Create the handle:
- Start with a slip knot and make 2 chain stitches.
- Insert the hook into the second chain and create a single crochet for the back loop.
- Turn the piece clockwise and insert the hook into the diagonal loops of the stitch, crocheting through two loops at a time.
- Continue until the handle reaches 26 cm, or your desired length.
- Cut the thread, leaving a long tail, and secure it to one side of the bag using one of the rings.
- Attach the other end of the handle to the ring on the other side.
6. Creating the Long Strap:
- Begin with a slip knot and attach it to one of the carabiners.
- Chain stitches until the length of the strap reaches 70 cm, or your desired length for the strap.
- Attach the open loop at the end of the chain to the second carabiner, and close the strap using slip stitches for additional durability.
- Use the carabiners to connect the strap to the rings on the bag.
7. Adding a Decorative Edging (Optional):
- For a polished finish, crochet a single crochet (SC) edge around the opening of the bag:
- Start anywhere around the edge of the opening by inserting the hook and pulling up a loop.
- Work even single crochet stitches, ensuring consistency to create a clean look.
- Optionally, you can add extra lines of edging for a more textured look.
Customizations
- Dimensions:
- Larger Bag: Start with more base chains and add more rows to expand the size.
- Smaller Bag / Purse: Reduce the number of chains and rows; add fewer turning chains.
- Example small clutch modification: use 10 base chains and repeat 8-10 rows instead of 14.
- Colors:
- Go for a single-color bag for a classic look.
- Use contrasting colors for the edges, handles, or straps for customization.
- Create stripes by alternating the yarn color every few rows.
- Decorations:
- Add a tassel or pom-pom to the handle for a playful look.
- Sew on appliqués, beads, or embroidery for a truly personalized design.
- Use a macramé yarn strap or leather strap for a luxurious look.
- Lining:
- Add a fabric lining to give your bag additional support and a polished finish.
Tips for Success
- Secure Your Knots: Make sure to tighten and weave in the yarn ends neatly to keep the bag durable and secure.
- Consistent Tensions: Use uniform tension when making slip stitches and single crochets to maintain a smooth texture.
- Hardware Positioning: Ensure the rings and carabiners are attached securely to the strap and bag for durability, especially for heavy use.
- Measure Twice: For custom sizing, use a measuring tape to ensure the finished dimensions meet your vision.
- Practice Handles: If you’re new to crocheting handles, practice on a scrap piece of yarn before attaching them to the bag.
Pattern Variations
- Handbag with Flap Closure:
- Extend the width of the bag’s body slightly.
- Leave a part of the canvas unstitched to fold over as a closure flap.
- Add a snap button or decorative buckle to keep it closed.
- Bucket Bag Variation:
- Work the body in a seamless spiral, starting with a round base.
- Omit the folded canvas technique and create a cylindrical, spacious bag.
- Larger Project Bag:
- Increase the width and straps for a larger, tote-style bag that accommodates heavier loads.
- Use sturdier yarn or rope for durability.
Conclusion
Your finished handmade bag will be compact, stylish, and unique. Its sturdy construction and professional-looking straps make it a standout accessory for both casual and formal occasions. Durable hardware and the option for customization allow for endless possibilities to cater the design to your personal taste.
Whether you’re making this as a gift or for yourself, the short and long handle options make this bag incredibly versatile. Enjoy the satisfaction of making your own fashionable and functional handbag!



