
Celebrate bold Rasta-inspired colors with this easy-to-follow crochet rasta dress pattern for casual outings festivals beachwear and turning heads with style.
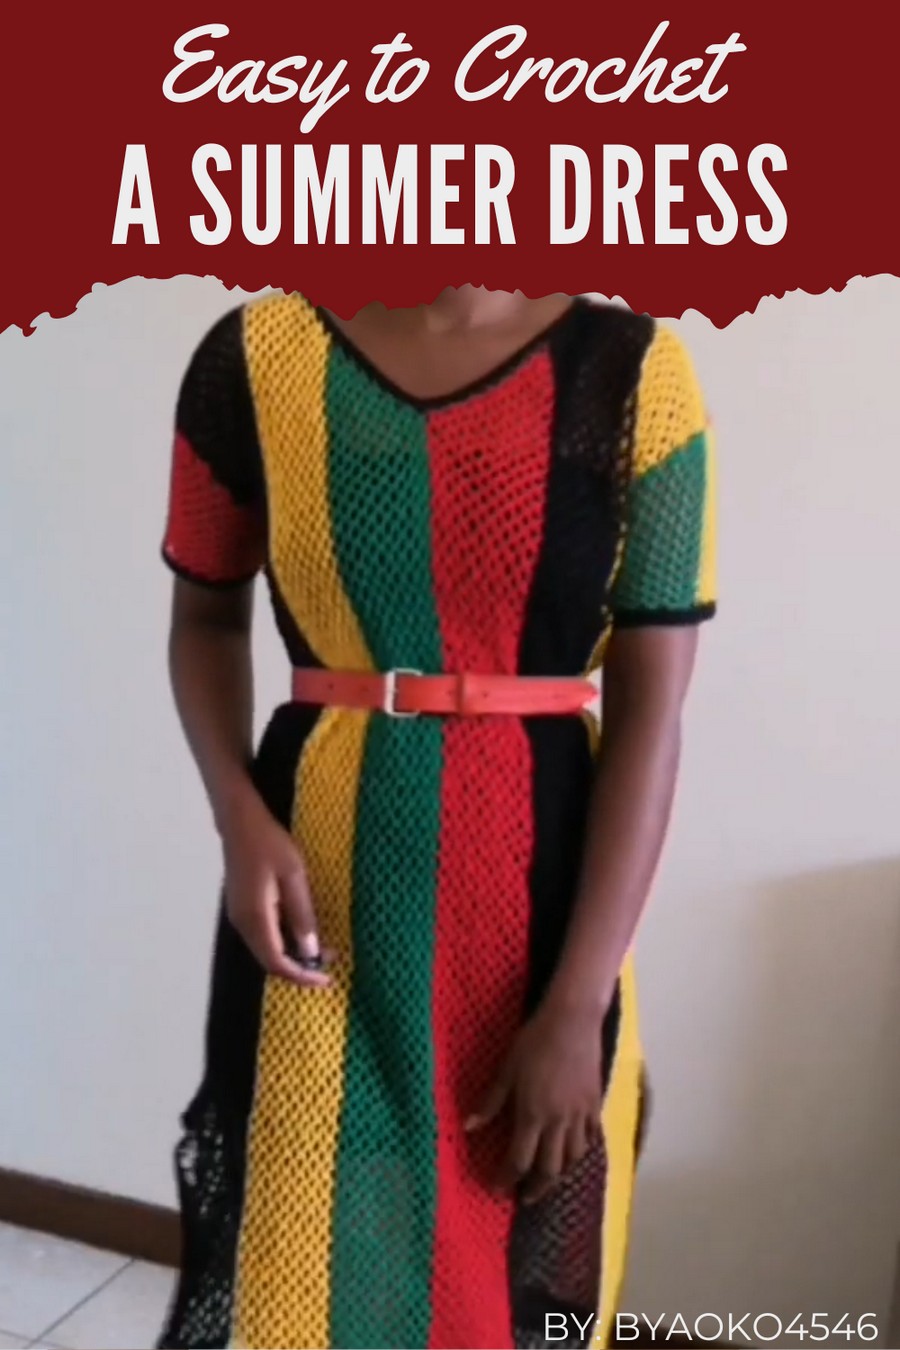
You don’t need to settle for generic crochet dress patterns that lack personality. This Free Crochet Rasta Dress Pattern offers a vibrant and distinctive design inspired by bold Rasta colors, perfect for creating a standout look for casual outings, festivals, or even beachwear. The pattern is approachable for beginners yet detailed enough to keep experienced crocheters engaged.
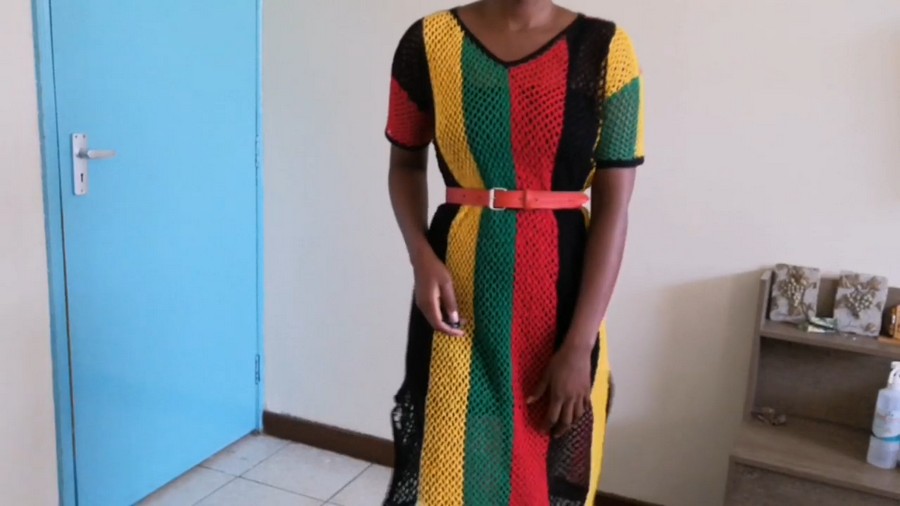
Best Crochet Rasta Dress Pattern for Every Style
Crocheted with lightweight materials, it balances comfort and style, making it practical and fun to wear. Clear instructions and customization options ensure you can make it your own. Fint out a creative project that blends ease with individuality as you explore this dress pattern.
Materials:
- Yarn: 6 colors of medium-weight (4) yarn (~200 yards of each color)
- Hook Size: 3.5 mm (E)
- Scissors
- Measuring Tape
- Yarn Needle
Skill Level:
- Intermediate to Advanced
Key Abbreviations:
- ch: chain
- sc: single crochet
- hdc: half double crochet
- sl st: slip stitch
Special Notes:
- Each color section of the dress will be worked in rows.
- The dress is worked in two panels (front and back) and then joined.
- Measurements should be taken without stretching the work.
Pattern Instructions:
Step 1: Measurements and Initial Set-Up
- Measure the Fullest Part: Measure the fullest part of your body (hip or bust) and divide by two. For example, if your waist measures 42 inches, each panel will be 21 inches wide.
- Adjust the Length: Decide on the dress length from neck to knee, adjusting the number of foundation chains based on the desired length.
Step 2: Creating the First Color Section (Middle Color)
- Foundation Chain: Create a slip knot, then chain a length slightly longer than your desired dress length for the individual panel.
- Chain Adjustment: Hold the last chain and add 9 extra chains.
- Row 1:
- Single Crochet and Chains: Sc into the held chain, then chain 5, skip 4 chains, and sc into the 5th chain.
- Repeat: Continue this pattern (ch 5, skip 4, sc) until the end of the row.
- Row 2: Chain 7, turn, sc into the 3rd chain of the previous chain 5 loop, continue creating loops by chaining 5 and sc in the 3rd chain of each loop from the previous row.
- Increase Repeat Pattern: Continue this pattern across the rows, creating a loop structure until the panel reaches your desired width (approximately 6 color sections).
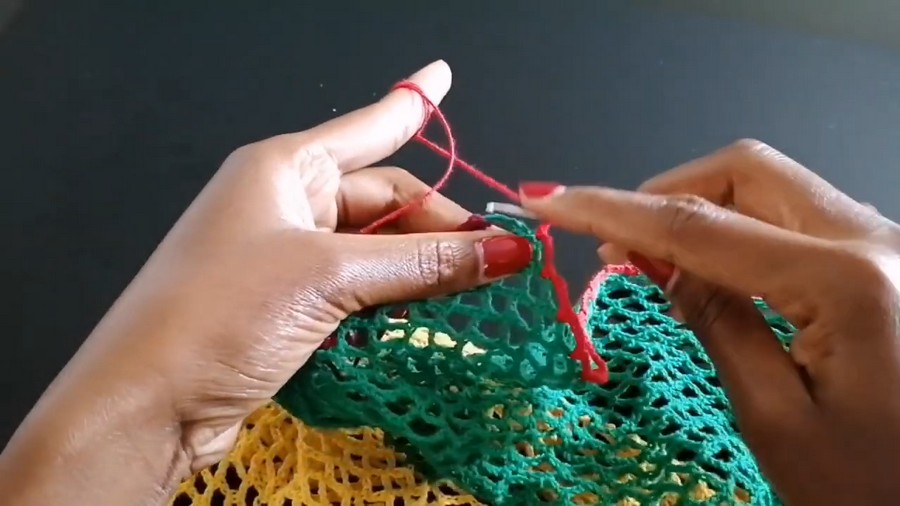
- Color Changes: Introduce new colors by changing yarn at the end of a row (at slip stitches). Secure color changes by tying and weaving ends.
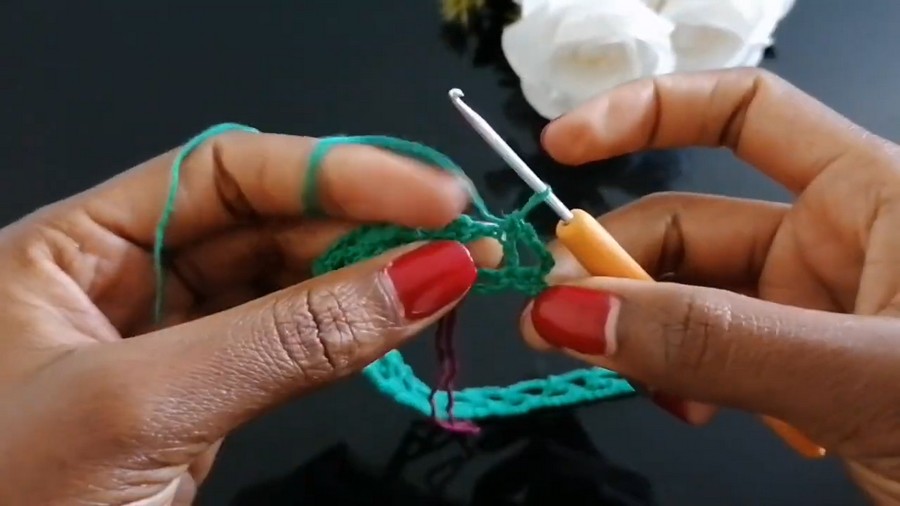
Tip: When starting a new color, add extra slack by chaining an additional 2 to 3 times to prevent tight edges.
Step 3: Creating and Securing the Next Color Sections
- No Increase Sections:
- Continue looping with pattern consistency without additional increases once you've reached the desired width for the first color.
- Next Color: At the end of the initial color:
- Change color: While making the final sc, pull through new color to complete the sc.
- Continue pattern: Repeat the loop pattern for additional color sections, ensuring consistency.
- Stopping Increase: Continue creating straight lines, both top and bottom, once the desired number of increases is met, i.e., maintain the side seam on any subsequent rows.
- Completion: Complete the front panel by ensuring the straightness of the top and bottom segments.
Step 4: Creating the Back Panel
- Foundation Chain: Repeat steps 1 through 3 for the back panel foundation chain and loop formation.
- Back Panel Pattern Consistency: Maintain precise stitching to match front panel projections (row by row).
Step 5: Joining Front and Back Panels
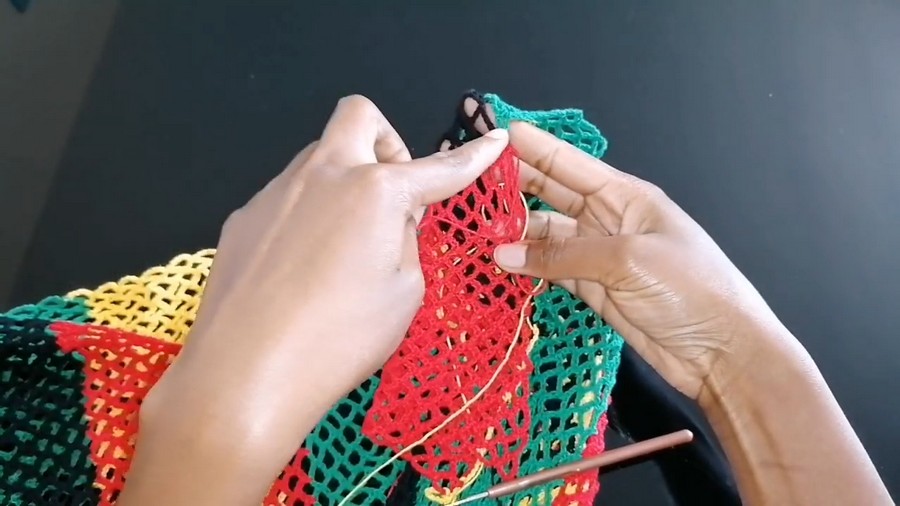
- Join Using Sc:
- Lay the panels inside out (front-facing in). Start with slip knots at the side edges.
- Stitch Count: Sc into matching ch 5 spaces on each panel, chaining three between each sc.
- Repeat until entirely secure.
Step 6: Creating Armholes and Sleeves
- Measure Armhole: Leave approximately 19 inches around the armhole circumference.
- Attach Yarn for Sleeves:
- Attach yarn at the underarm seam, chaining a starting round multiple of five plus extra based on the length required.
- Repeat Loop Pattern: Work the pattern as per body—the loop formation and consistency into the 5-chain space.
- Incorporating Sleeves:
- Decrease progressively towards the armpit, ensuring regular sc and chaining pattern throughout.
- Seam Joining: Using a slip knot technique similar to body panels, seam both parts seamlessly for a consistent look.
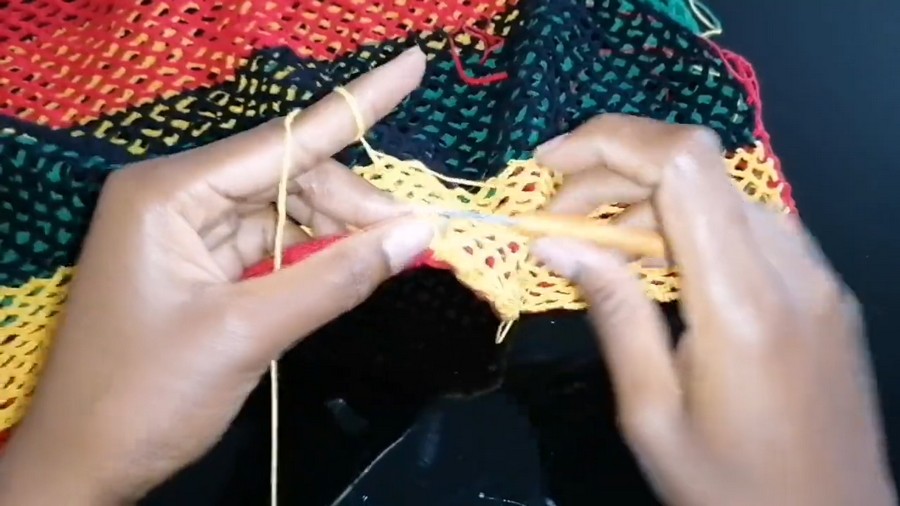
Pattern Correction Tip: If encountering sizing issues, adjust by increasing or decreasing initial chain counts for body holdings.
Step 7: Binding and Finishing
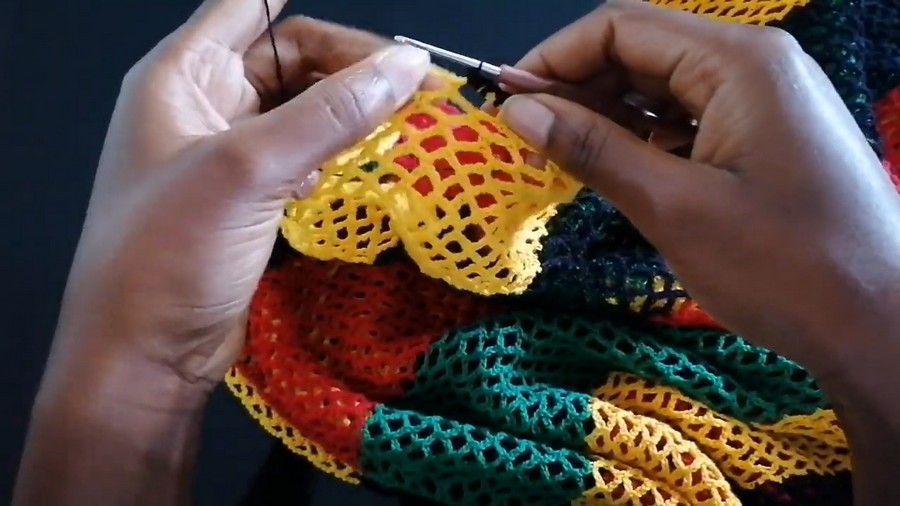
- Binding Edges (Neck, Hem, Arm):
- Use hdc: Attach yarn and create hdc 3 stitches into the 5-ch space across hem, armholes, and neckline each.
- Repeat hdc rounds: Ideally twice, to ensure secure binding.
Conclusion:
This dress pattern ensures not only a visually compelling multicolored garment but also allows for personalization and adjustment to suit unique body structures. The vertical striped dress offers an attractive form with comfort and stretch, perfectly suitable for intermediate and advanced crocheters.
Pattern Corrections and Tips:
Would you want adjustments? Feel free to:
- Increase foundation chain length to amplify the size.
- Seam joining: Always ensure perfectly aligned panels for seamless finishing.
Tips: - Continuously maintain a measurement check.
- Secure color transition knotting to prevent tagging.
Final Look:
The dress should present a smooth vertical striping, providing a stretchable, well-fitted outfit tailorable across all sections.
Enjoy your uniquely styled multi-colored vertical dress.



