
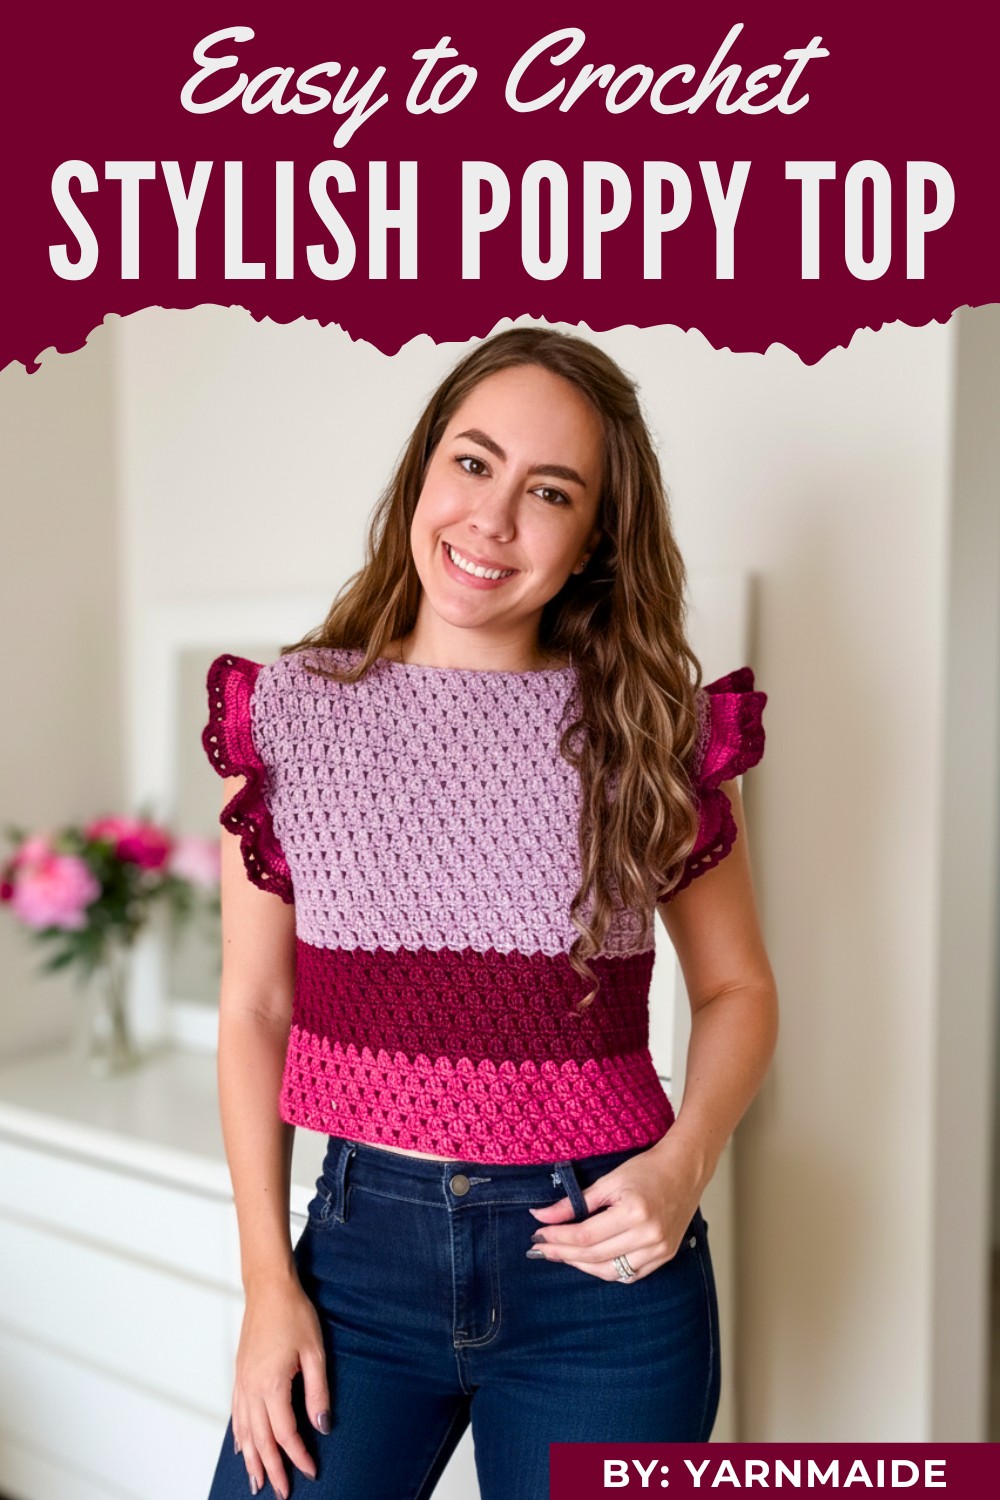
Stylish crochet Poppy Top made easy with this free pattern, perfect for adding a handmade charm to your wardrobe with simple steps.
A stylish and lightweight design, this crochet top is perfect for adding charm to any wardrobe. The Crochet Poppy Top Pattern features a delicate, textured stitch with options for customization in color, sleeve length, and fit. Its versatility allows it to be worn as a casual piece or dressed up for special occasions.
Crochet Poppy Top Pattern That Fits Like a Dream
Step-by-Step Guide to Crocheting the Poppy Top
Materials Required
- Yarn: Cotton yarn (two colors recommended, but optional to use one)
- Hook: 4.5 mm crochet hook
- Additional Tools: Scissors, tapestry needle, stitch markers (optional)
- Measurement: Shoulder width (measure from one shoulder to the other, ensuring it’s multiples of 3 + 2 for the foundation chain)
Step-by-Step Instructions
1. Create the Foundation
- Measure Your Shoulders:
- Measure the distance from one shoulder to the other.
- Create a chain in multiples of 3 + 2 (e.g., 75 + 2 for the tutorial's medium-large size). Adjust this measurement based on your preference for a smaller or larger fit.
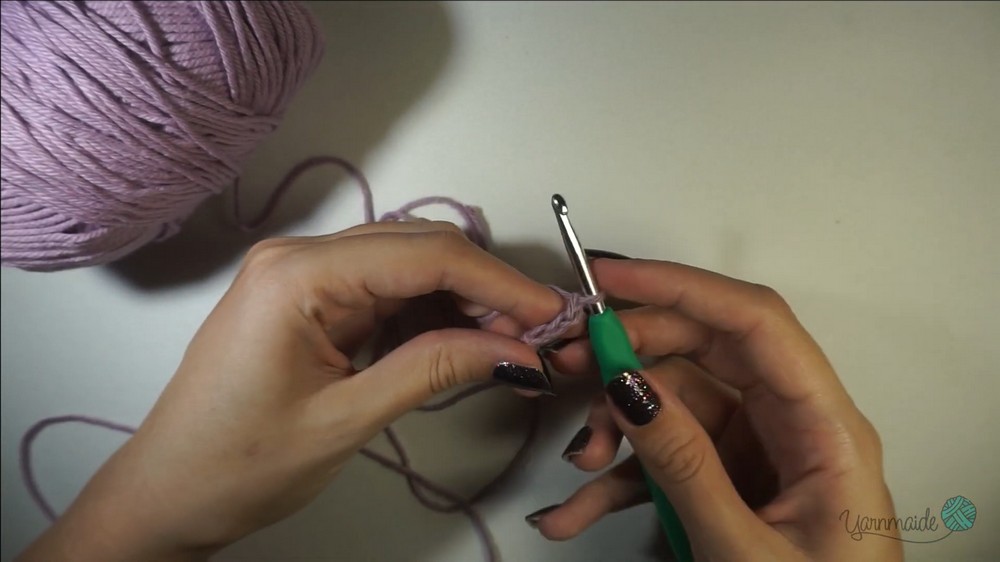
- Start Single Crochet (Row 1):
- Begin with a slip knot and chain your required length.
- Work a single crochet in the second chain from your hook.
- Skip two chains, chain two, single crochet into the third chain, and repeat the sequence (skip two, chain two, single crochet) until the end of the row.
- End Row:
- Finish Row 1 with a single crochet. This creates the base texture.
2. Build the Pattern
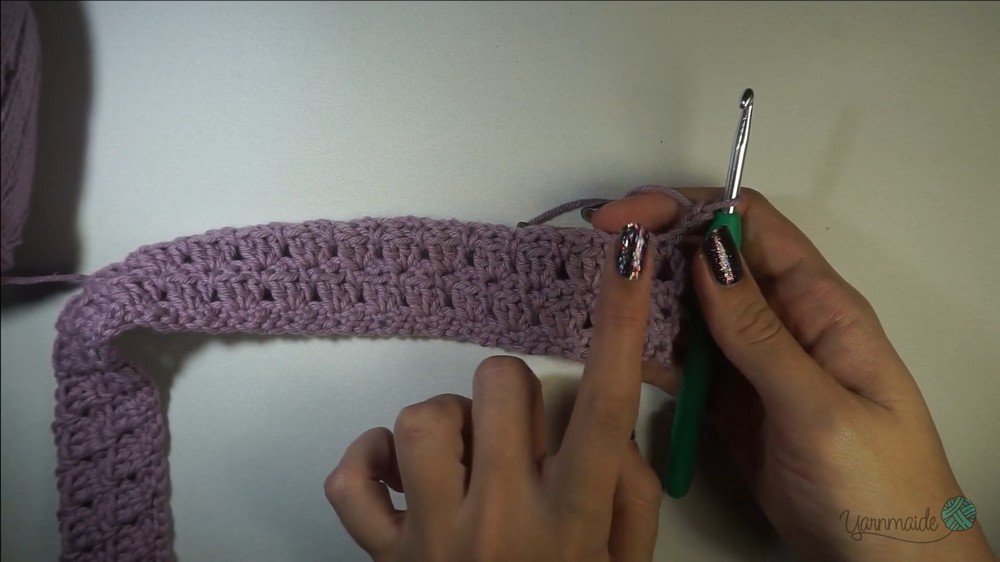
Continue alternating between rows of chains, single crochets, and double crochets as described below:
Row 2: The Double Crochet
- Chain three (counts as the first double crochet) and turn your work.
- Place one double crochet in the space next to the chain.
- Skip the chain spaces and work three double crochets into the next single crochet from the previous row.
- Repeat this pattern (three double crochets into every single crochet) until the end of the row.
- Finish the row with two double crochets in the last single crochet stitch.Row 3: Alternating Single Crochets and Chain 2
- Chain one and turn.
- Work a single crochet in the first stitch and chain one.
- Skip one double crochet and single crochet in the space between groups of double crochets.
- Chain two, skip the next group, and repeat this sequence until the row is finished.
3. Repeat Rows for Desired Length
- Alternate Rows 2-5 repeatedly to build the body of the top.
- You can customize the length of the panels according to your preference (e.g., stopping 3-4 inches above the belly button for a cropped style).
Changing Colors (Optional):
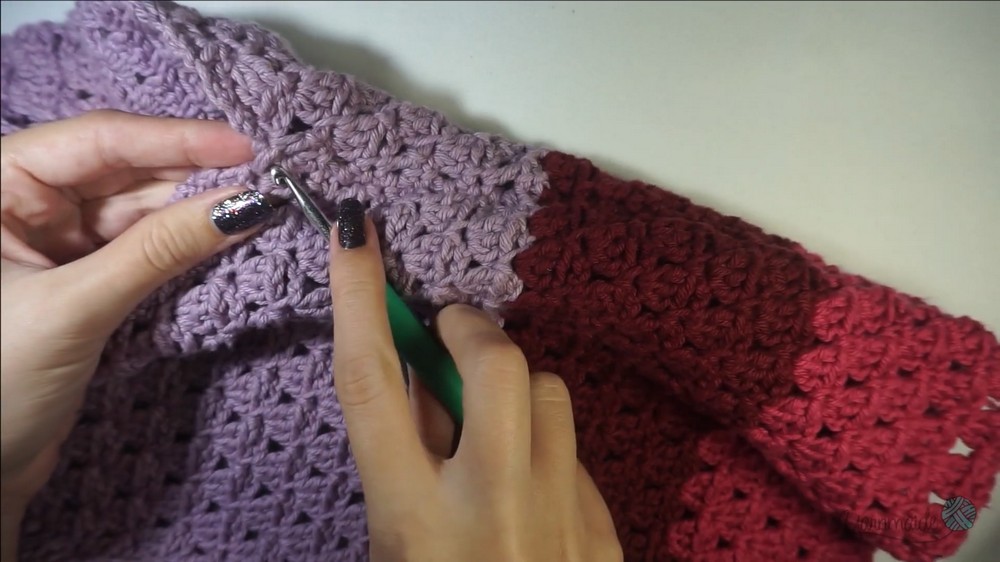
- To switch colors, complete a single crochet with two loops left on the hook, cut your current yarn, and introduce a new color. Secure the ends with a small knot and continue crocheting.
4. Assemble the Panels
Shoulder Seams:
- Place the two panels together, with the right sides facing each other.
- Secure the panels at the shoulders using single crochets. Leave an opening for the neckline.
Side Seams:
- Fold one panel and mark where the armholes should begin (12 inches from the base in the tutorial, but adjust based on your fit).
- Seam the panels together from the bottom up to your marked point using single crochets, leaving the armholes open.
5. Add Sleeve Details
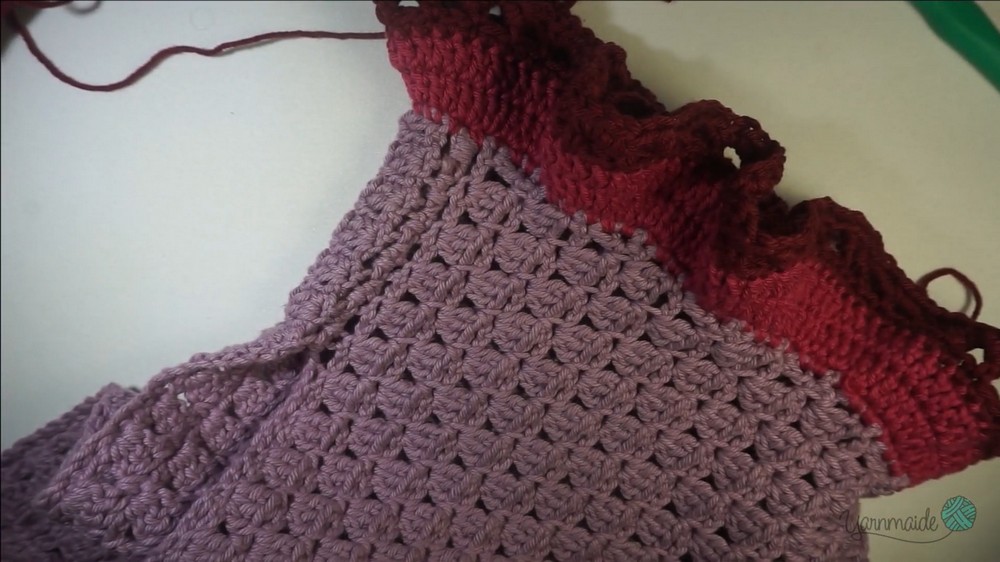
- Turn the top inside out and attach your yarn to the armhole using a slip stitch.
- Work single crochets evenly around the armhole.
- If the gaps are large, place two single crochets into one space.
- Ensure you have multiples of two + one stitches.
- On the next round, add volume by working two double crochets into each single crochet (to create a ruffled effect).
- Complete the final round using single crochets or chains for an elegant border.
Special Features
- Customizable Fit: Easily adjust the width and length to match your body measurements and desired style.
- Color Options: The two-tone or multi-tone option adds playfulness to the design.
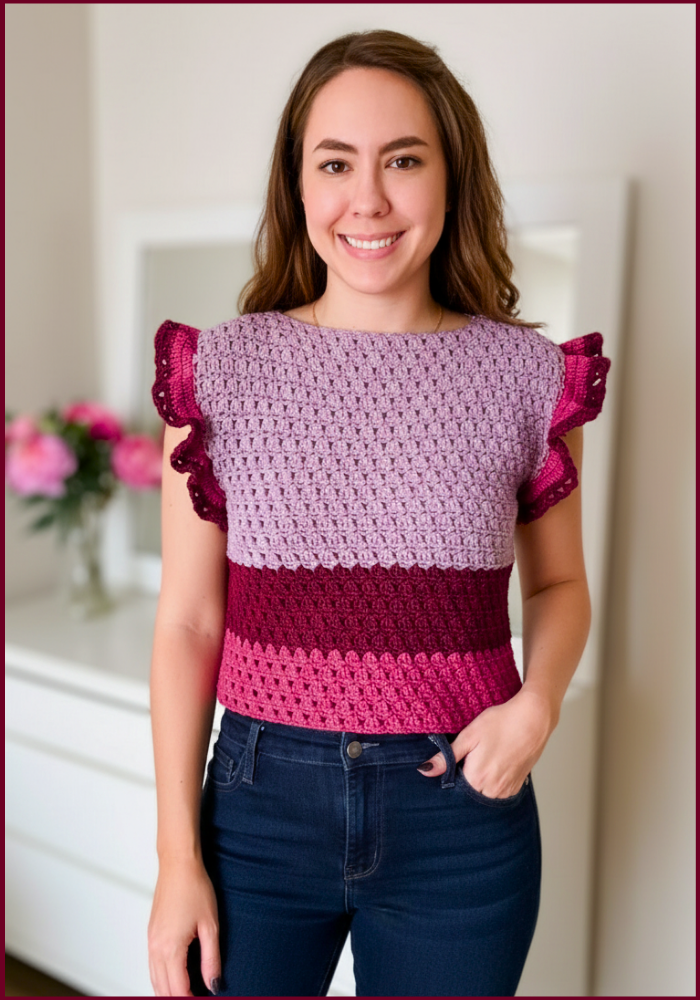
- Elegant Sleeves: The ruffled detail enhances the overall look, adding femininity and charm.
Level of Difficulty
This top is beginner to intermediate. The pattern primarily consists of single and double crochets, chain stitches, and simple seaming, making it approachable for newer crocheters seeking a project with decorative details.
Tutor’s Suggestions
- Customize as Needed:
- Adjust the width of the panels, sleeves, and neckline for a comfortable fit.
- Try-On as You Go:
- Frequently try the top on to ensure the neckline and armholes fit perfectly.
- Choose Yarn Wisely:
- Favor lightweight cotton yarn for a breathable and summer-ready piece.
- Secure Ends: When changing yarn colors, knot the ends securely to prevent unraveling.
Uses and Benefits
- Uses: Perfect for casual outings, beach trips, or date nights. Pair it with jeans or skirts for a trendy look.
- Benefits: Lightweight, breathable, and flattering, this top combines comfort and style for year-round wear.
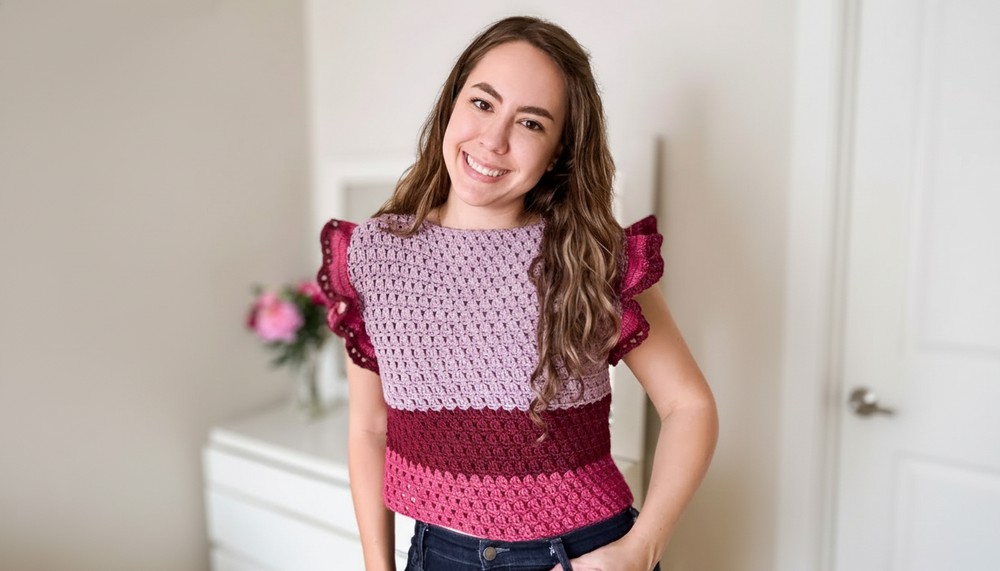
Designed with breathable yarn, it is ideal for warm weather, providing both comfort and style. The pattern is beginner-friendly yet results in an elegant, feminine look. With its flattering drape and playful ruffled sleeves, the Poppy Top is a timeless handmade piece that exudes creativity and fashion-forward appeal.
Tip
Hide yarn tails as you crochet to save time when finishing the project. Simply work over the loose ends to secure them in place.
Conclusion
The Poppy Top is a beautiful crochet project that adds elegance and playfulness to any wardrobe. With its customizable fit, delicate texture, and vibrant color options, this top is both practical and fashionable. Whether you're creating it for yourself or gifting it to someone, the Poppy Top is sure to impress with its flirty charm and handmade appeal.



