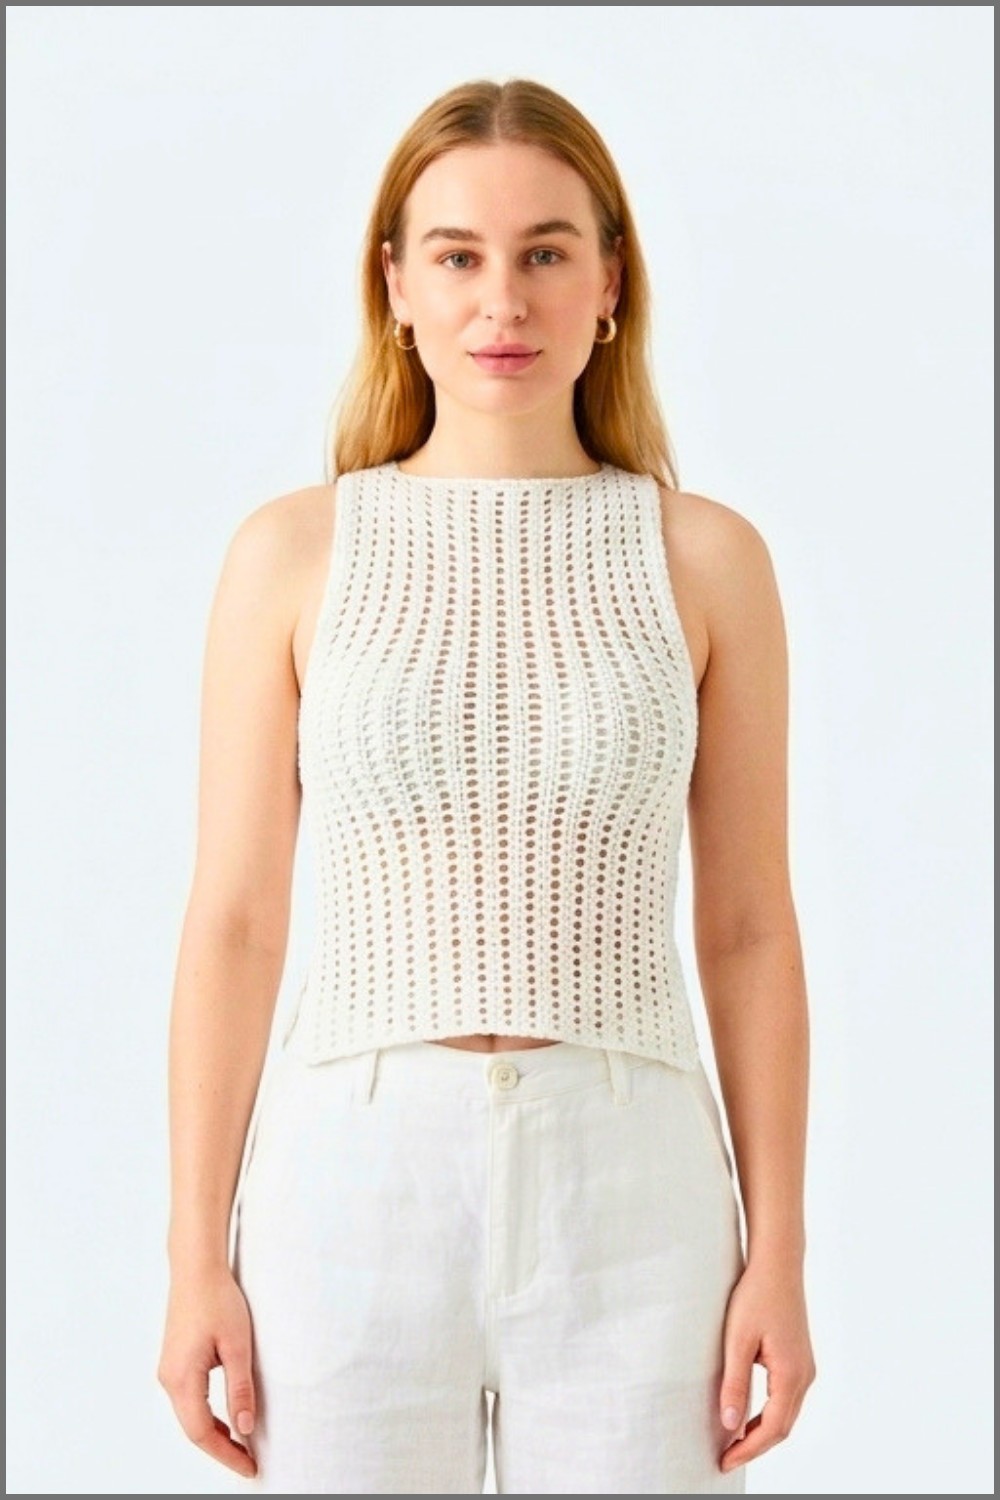
Crochet your way to a chic and comfy tank top with this free, beginner-friendly pattern featuring customizable panels, soft cotton yarn, and a breezy, polished finish.
Creating your own stylish piece of clothing has never been easier! This crochet tank top is a perfect combination of simplicity and beauty, making it a fun and rewarding project for everyone. With a design built using just two identical panels stitched together, it’s ideal for those looking to dive into the world of handmade apparel without requiring advanced skills. The free crochet tank top pattern allows room for customization—you can play with solid rows for a sleek finish or gappy crochet rows for a textured look that stands out.
Simple Crochet Tank Top with Double Crochet Stitches
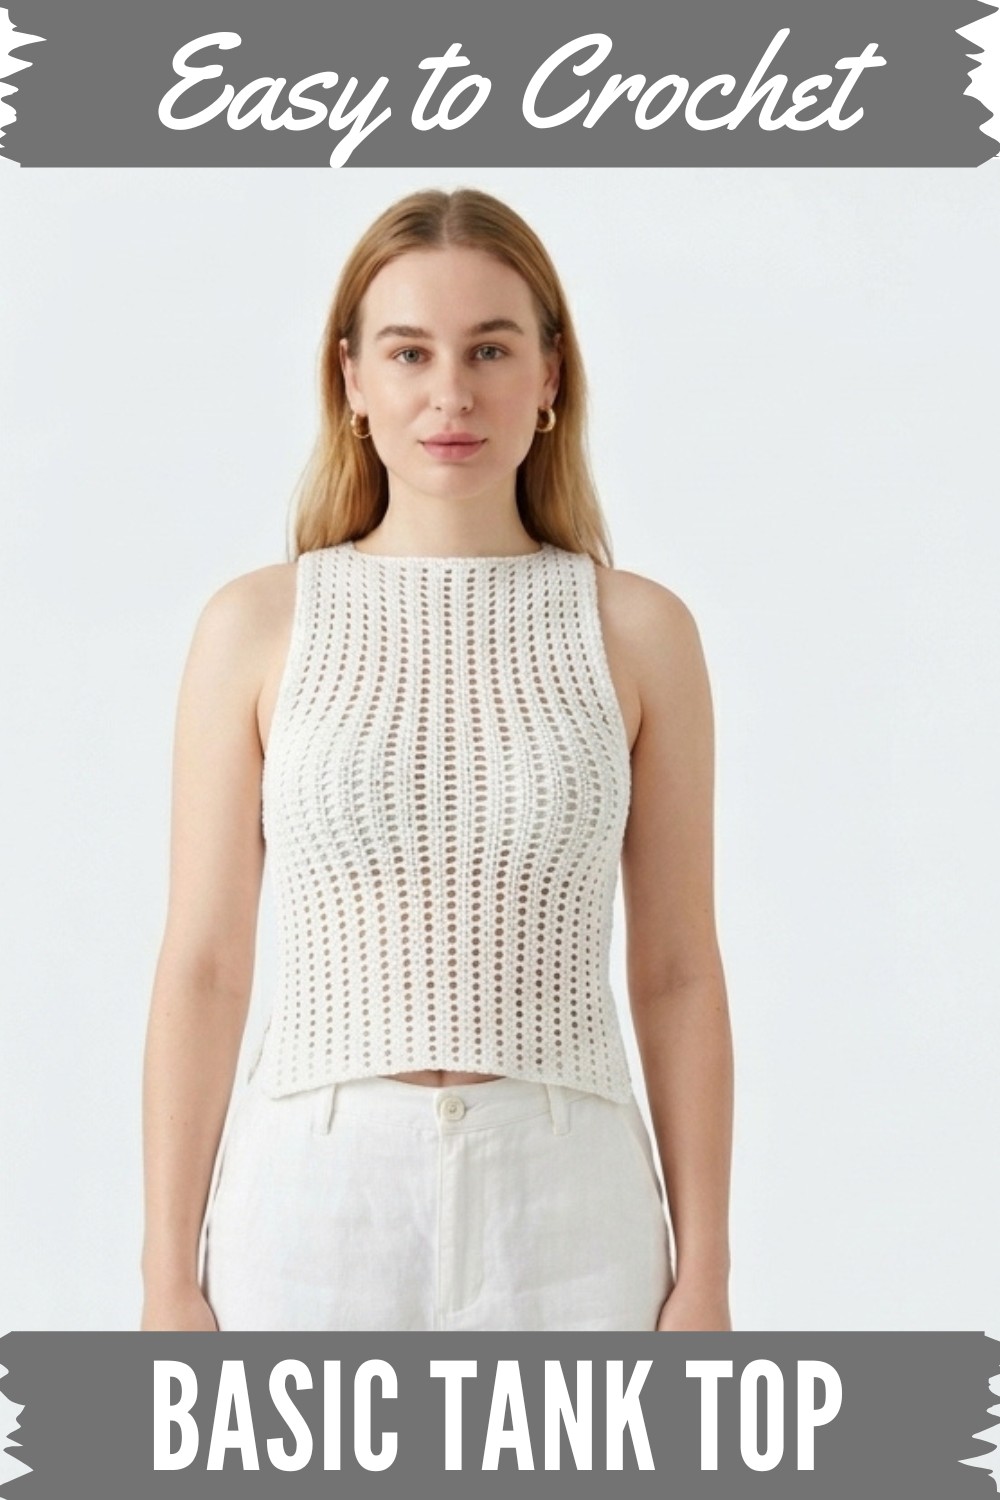
Soft cotton yarn shapes the tank top into a breathable and comfortable garment, perfect for layering or casual wear during warm days. Its clean lines, optional side slits, and neatly finished edges around the neckline and armholes ensure a polished appearance that blends with any outfit. Whether you choose earthy tones or vibrant colors, this tank effortlessly enhances your wardrobe while showcasing your creativity.
Suitable for various body types, the pattern's adjustable elements make it a universal project that’s both practical in use and delightful in appearance. A great choice for gifting, personal use, or as an entry point to beginner-friendly crocheting, this tank top is as versatile as it is beautiful.

Easy Crochet Tank Top Pattern
Skill Level
- Beginner to Intermediate
Materials
- Yarn:
- 4-ply cotton yarn (lightweight yarn).
- Approx. 4 balls (~200-250g total).
- Any lightweight yarn that provides good drape and breathability will work well.
- Hook:
- 4 mm crochet hook.
- Other Supplies:
- Scissors.
- Tapestry needle (for weaving in loose ends).
- Optional Supplies:
- Stitch markers (useful for marking side slits or shoulder seams).
Special Notes
- Adaptability: The tank top is made using rows of double crochet (solid) and gappy double crochet (alternating dc and ch), which you can customize to suit your style and fit.
- Custom Fit: Adjust starting chain length and row width for any size. The height of the initial chain determines the side panel length (from waist to armpit).
- Side Slits: The sides are partially stitched, leaving optional slits at the base for a relaxed fit.
- Edging: Single crochet is added around the neckline and armholes for a polished finish.
Pattern Instructions
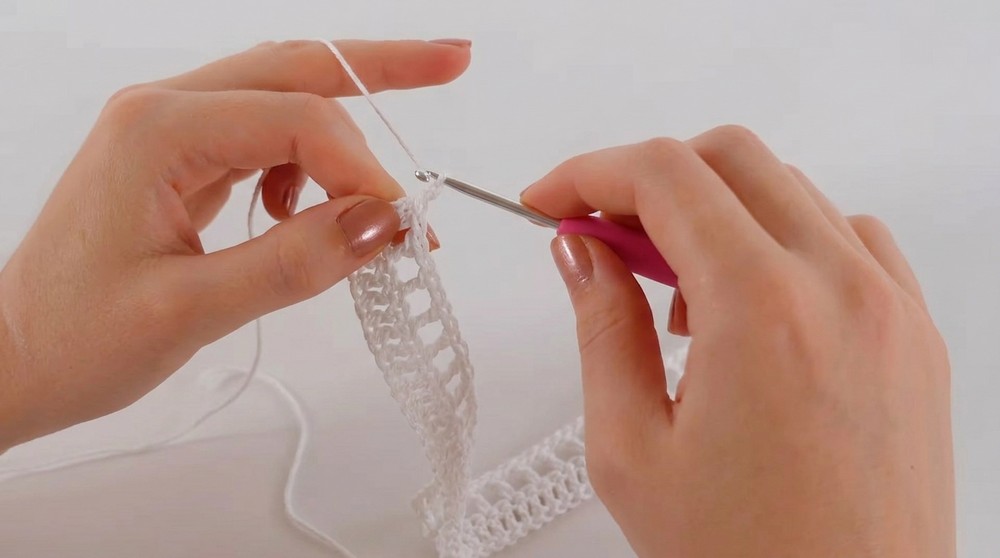
Step 1: Side Panel Beginnings
- Foundation Chain:
- Chain 60. This determines the length of the top from the waist to the underarm area.
- Customization: Adjust the chain length based on your preference, but ensure the number is a multiple of 2 to maintain the gappy double crochet pattern.
- Row 1 (Solid Double Crochet):
- Chain 2 (or 1 if you prefer a tighter turning chain).
- Skip the first chain and work 1 dc in the next chain.
- Work 1 dc in each chain across to the end.
- Row 2 (Gappy Double Crochet):
- Chain 3 (this includes space for the first dc + the chain gap).
- Skip the next stitch, then work 1 dc in the following stitch.
- Chain 1, skip 1 st, dc in the next st. Repeat this pattern across the row.
- Row 3 (Solid Double Crochet):
- Chain 2, turn.
- Work 1 dc in each stitch and chain space across.
- Repeat Rows 2 and 3:
- Alternate solid rows and gappy rows until your side panel measures as wide as you'd like half the side of your tank top to be.
- Example: For the sample, 4 rows were used for this section. You can adjust the number of rows to make this as wide or narrow as you'd like.
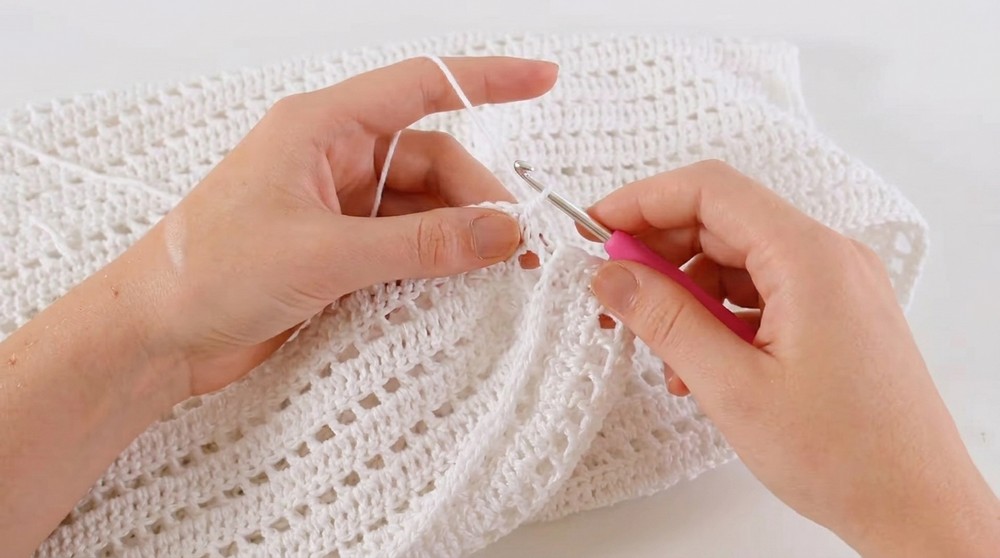
Step 2: Body Panel Construction
- Add Same Side Panel Height to Start Body Width:
- When your side panel is complete, add an additional 40 chains to extend the width of the panel. The added chains will form the section that covers your torso.
- Row 1 at New Width:
- Work back down the chains following the alternating stitch pattern.
- If the next row in your pattern is solid dc, work solid dc down the new chain and into the stitches of the side panel.
- If the next row in your pattern is gappy dc, begin the row with the corresponding gappy dc pattern.
- Work back down the chains following the alternating stitch pattern.
- Continue Rows Alternating:
- Repeat the alternating rows (Rows 2 and 3) at this new expanded width until the panel becomes as wide as you want the front or back of your tank top to be.
- Example: For the sample, 31 rows were worked at this new, wider length.
Step 3: Repeat Side Panel
- Work Second Side Panel:
- On your final row, finish at the bottom of the tank top so that you can begin creating the second side panel.
- Chain the same number as your first side panel (60 chains in the example).
- Work rows of alternating stitches (solid dc and gappy dc) to make the second side panel.
- Row Count:
- For symmetry, match the side panel rows to your first side panel.
- Example: If your first side panel was 4 rows tall, work the second side panel for 4 rows as well.
- Fasten Off:
- Chain 1, cut the yarn, and pull through to secure.
Step 4: Make Second Panel
- Repeat Steps 1–3:
- Follow the exact same process to make a second identical panel.
- Customization:
- If desired, you can alternate starting with solid or gappy dc rows so that when stitched together, the rows alternate seamlessly.
- Adjust one panel to be slightly wider than the other if customization for a larger chest is needed.
Step 5: Assembly
- Attach Shoulders:
- Turn the panels inside out so the right sides face each other.
- Use a slip stitch or a yarn needle to stitch the first 5 rows at the top of each edge to create the shoulders.
- Adjustable: Stitch fewer rows for a wider neck or more rows for a tighter neckline.
- Join Sides:
- Attach the yarn at the armpit and slip stitch the sides together, leaving the bottom portion open for a side slit if desired.
- Example Measurements: Leave 10 gaps (20 dc) for the slit.
- Attach the yarn at the armpit and slip stitch the sides together, leaving the bottom portion open for a side slit if desired.
- Secure Yarn:
- After stitching, secure the yarn, chain 1, cut the yarn, and weave in all loose ends.
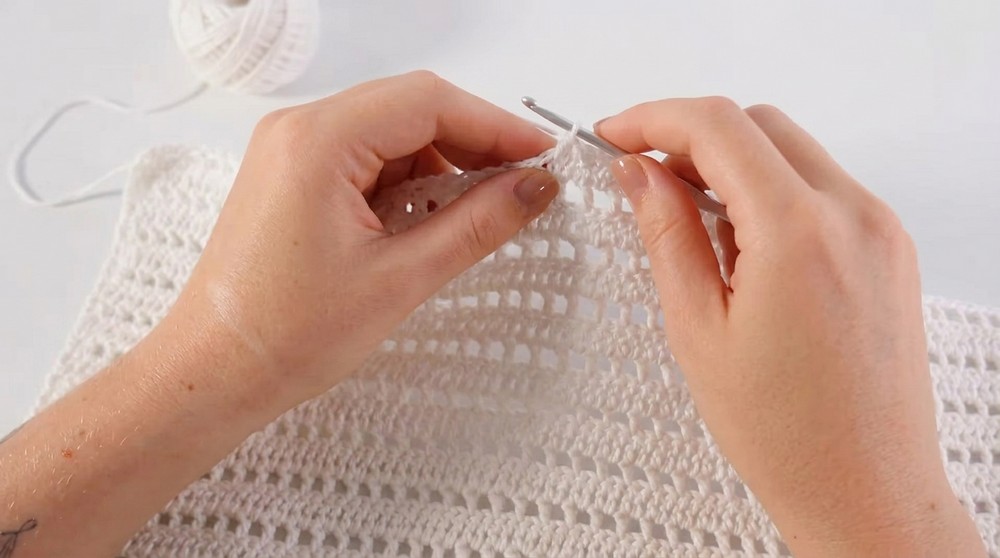
Step 6: Neckline and Armhole Edging
- Neckline Edging:
- Attach your yarn to any part of the neck hole with a slip stitch.
- Work 2 sc in each dc stitch around, especially at turns to avoid it curling.
- Slip stitch into the first sc, chain 1, cut yarn, and weave in ends.
- Armhole Edging:
- Join the yarn under the armpit with a slip stitch.
- Work 1 sc per stitch when working into the tops of stitches, and 2 sc into the sides of each row on the side panels.
- Slip stitch to the first sc, chain 1, cut yarn, and weave in ends.
Conclusion
Congratulations! You’ve just created a modern yet timeless crochet tank top. This simple, beginner-friendly pattern can be adjusted for any size or style. The alternating rows of double and gappy dc add an eye-catching texture.
Pattern Correction
- Ensure that the initial chains for both the side panel and bodice sections are multiples of 2 to maintain the pattern symmetry.
- While assembling, double-check the number of stitches at each shoulder and side to avoid uneven panels.
Tips
- Yarn Selection: For a summer tank top, cotton yarn is ideal for its breathability. For autumn or winter, consider wool or acrylic for warmth.
- Custom Side Slits: Experiment with different slit lengths or even leave them completely closed for more coverage.
- Finishing Options: Add buttons, beads, or embroidery for decorative flair.