
Customize your library easily with a free crochet tulip bookmark pattern that delivers lasting floral beauty and effortless organization.
Bringing a touch of handmade charm to your reading time makes every book feel extra special. This lovely tulip bookmark pattern is crocheted using single crochet, slip stitches, and magic ring techniques, making it a fun and easy project that adds both beauty and practicality to your reading routine. The delicate petals formed by simple increases give the bookmark a 3D effect, making it not just useful but also a delightful decoration on your pages. The tulip shape is elegant and recognizable, perfect for gifting or keeping as a personal treasure.
Learn to Crochet Tulip Bookmarks for Free and Brighten Your Pages
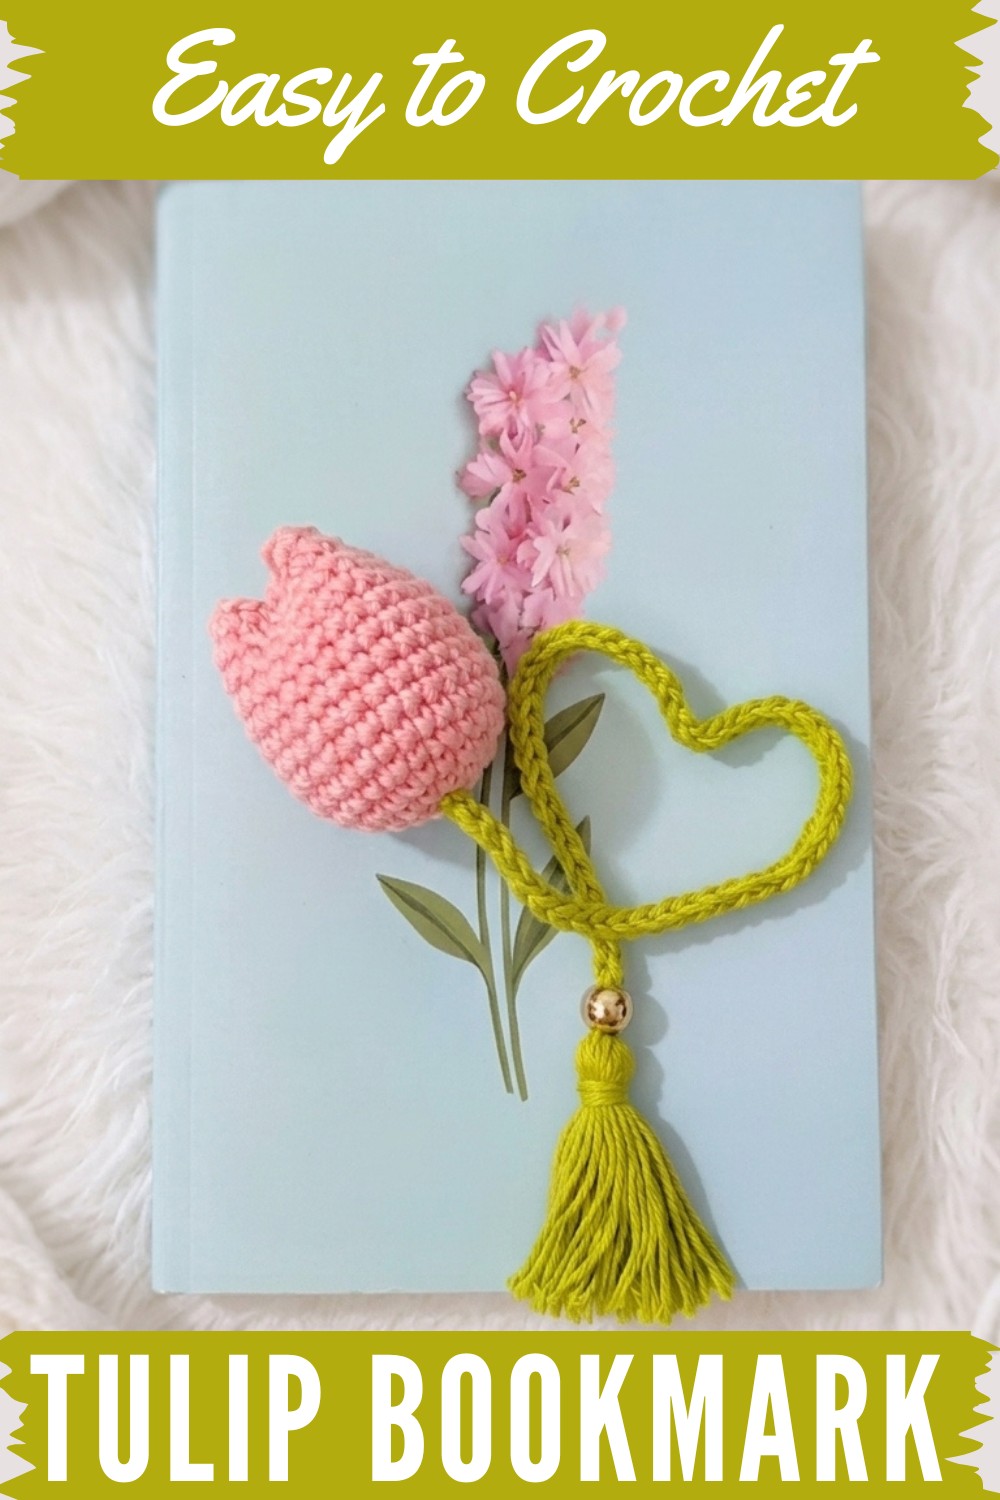
The pattern begins with creating a magic ring, allowing you to work in the round and form a neat base. Single crochet stitches shape the petals and body, while slip stitches help create smooth edges and attach parts securely. Throughout the steps, you’ll learn to increase stitches evenly to shape the bloom naturally. The use of stitch markers simplifies keeping track of rounds, helping even beginners feel confident. Finishing touches like adding a braided cord and optional tassel make this bookmark pattern sturdy and easy to find between pages.
Beyond bookmarks, the techniques in this pattern open up many creative possibilities. Using the same basic stitches and round shaping methods, you can crochet small floral appliques, amigurumi parts, or decorative accents for bags and clothing. The magic ring and increase methods are essential skills that build a foundation for making many kinds of crocheted flowers and shapes. This project offers a charming way to practice these stitches while making something both beautiful and useful.

Crochet Pattern: Tulip Bookmark
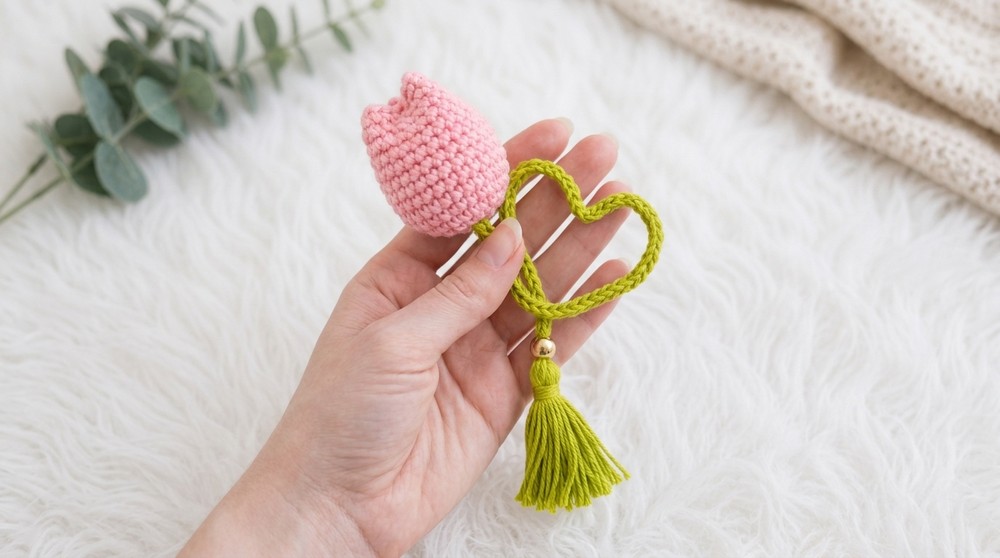
Welcome to this step-by-step pattern for creating a beautiful Tulip Crochet Bookmark! This charming project is perfect for any crochet enthusiast seeking to crochet something small and functional. The pattern features a delicate tulip on a Romanian cord stem with a tassel at the base, making it not only a practical bookmark but also an elegant decorative accessory. Its simplicity and elegance make it suitable for gifting or adding a personal touch to your reading experience.
What You’ll Learn from This Pattern
- Creating 3D structures in crochet using single crochets and increases.
- Romanian cord technique for strength and flexibility.
- Making tassels for decorative embellishments.
- Combining crochet with assembly techniques for a functional design.
Skill Level & Terminology
- Skill Level: Beginner to Intermediate
- Terminology: US Crochet Terms
This pattern utilizes common crochet stitches such as single crochet (sc) and slip stitch (sl st), as well as techniques like working in rounds, increases, and special techniques for cords and tassels.
Materials & Tools
- Yarn:
- Tulip (Petals): Eulali mercerized cotton (~1 mm thick).
- Stem (Cord): Symphony mercerized cotton (~2 mm thick).
- Optional Tassel: Use the same yarn as the stem.
- Hooks:
- 2 mm hook (for precise stitches in petals).
- 3 mm hook (for the Romanian cord and assembly, optional).
- Other Tools:
- Stitch marker (optional, for marking rounds).
- Scissors.
- Yarn needle.
- Cold or hot silicone (for securing tassel and threads).
- Measuring tape.
- Stuffing: Fiberfill or a small cotton ball (optional, to stuff the tulip).
Gauge
Gauge is not critical for this project, but for reference:
Using a 2 mm hook and mercerized cotton: 6 single crochet stitches = approximately 1 inch.
Abbreviations List
| Abbreviation | Meaning |
|---|---|
| ch | Chain |
| sc | Single Crochet |
| sl st | Slip Stitch |
| inc | Increase (2 stitches in the same space) |
Special Stitch Instructions
Magic Ring Technique:
Wrap the yarn around two fingers to form a loop. Insert the hook into the loop, yarn over, and pull through. Chain one to secure, then work the required stitches into the loop. Pull the tail to close the ring.
Romanian Cord:
- Use one strand as the foundation and one as the working strand.
- Pass the working strand over the hook.
Continue passing the loop over the working strand and pulling it through the previous two loops. This creates a twisted cord-like texture.
Finished Size
When completed, the Tulip Bookmark measures approximately:
- Tulip: 2.5" (6.5 cm) diameter when stuffed.
- Cord Stem: 25 cm (~10 inches).
- Tassel: ~5 cm (2 inches).
The Pattern Itself
Step 1: Tulip Base
Start with white or any desired yarn color for the tulip base.
Round 1:
- Create a magic ring.
- Work 6 sc into the ring. Place a stitch marker on the first stitch to mark the beginning of the round. (6 sts)
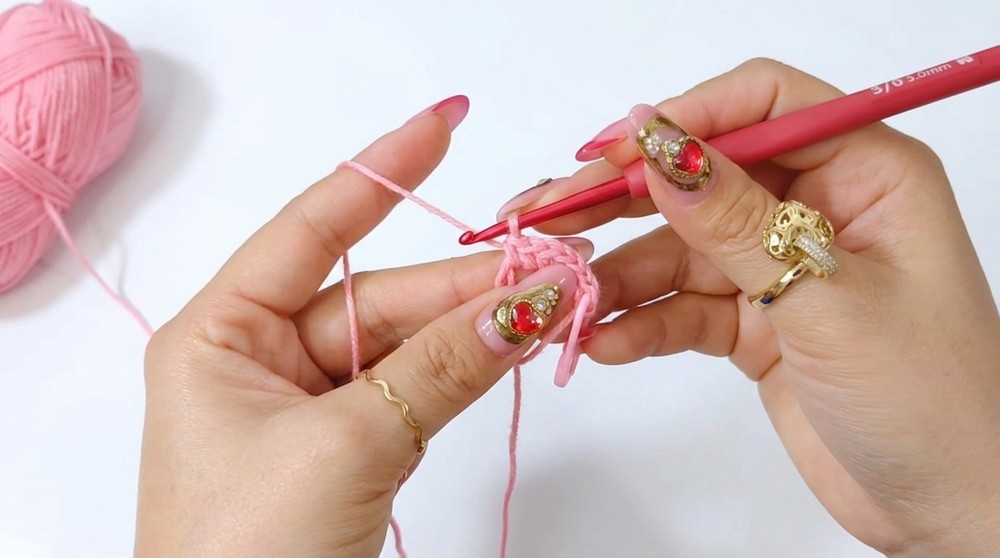
Tip for beginners: If the magic ring is tricky, chain 3 and work 6 sc into the first chain.
This is the base of your tulip! By now, you will have a small circle.
Round 2:
- Remove the stitch marker and work 2 sc into each stitch around. Replace the stitch marker on the first stitch. (12 sts)
You will notice that your circle begins to expand as you complete this round.
Round 3:
- Insert the hook into the first stitch, sc 1, mark this stitch (simple sc).
- In the next stitch, work an increase (2 sc in the same stitch).
- Repeat [sc 1, inc] around the circle. (18 sts)
Tip: Count your stitches after completing this row to ensure accuracy.
Round 4:
- Sc 1 in the first stitch. Work an increase in the next stitch.
Repeat [sc 1, inc] around. By the end of this round, you should have 27 sc.
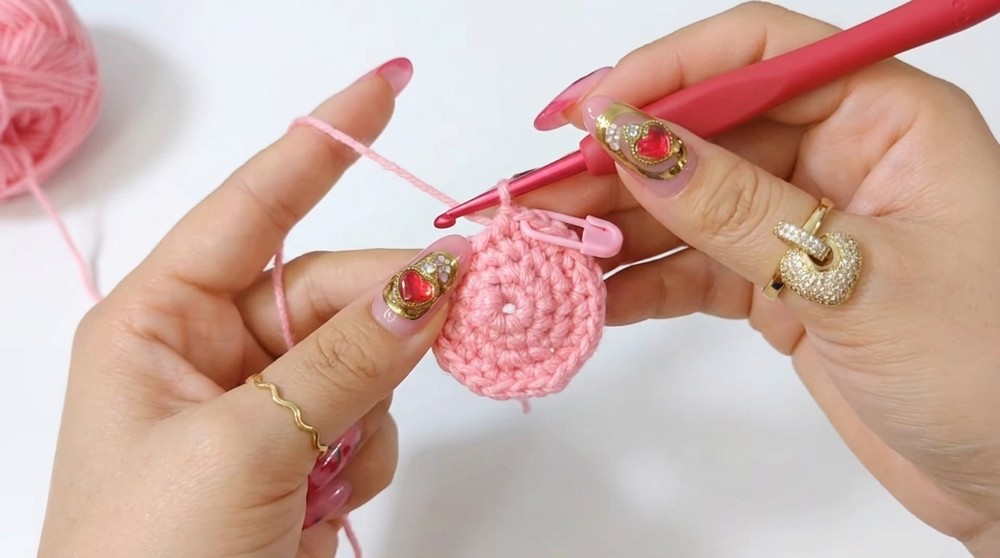
Your tulip is taking shape, creating a wide and rounded base.
Step 2: Tulip Body
Rounds 5–14:
- Work 1 sc in each stitch around. Do not increase. (27 sts per round)
By repeating single crochets, the tulip will grow taller, forming a cylindrical shape that becomes the body of the flower.
Fasten Off:
- After completing Round 14, cut the yarn, leaving a long tail. This yarn tail will be used for sewing the top closed.
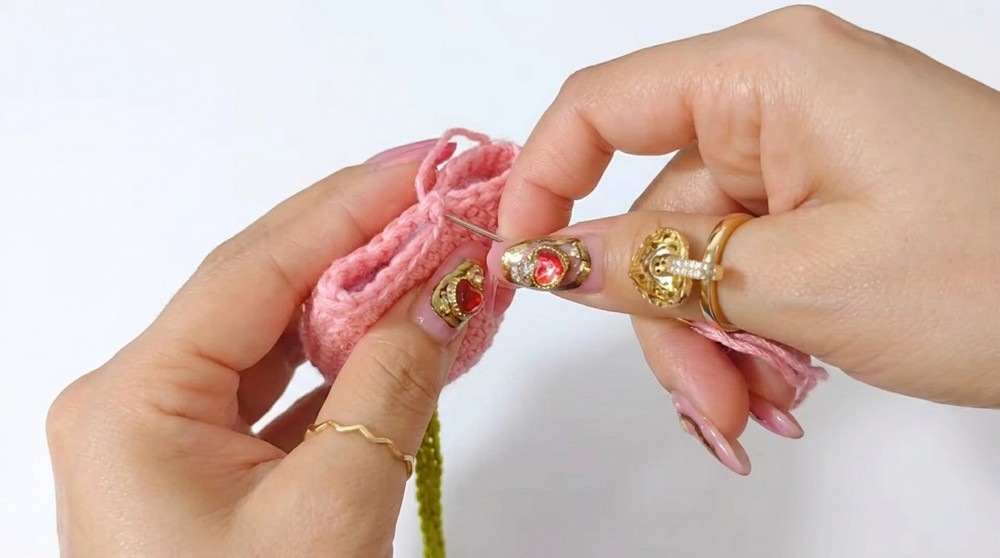
Optional: You can lightly stuff the tulip with fiberfill or a small cotton ball at this stage.
Step 3: Romanian Cord (Stem)
Start with green yarn (or desired color for the stem).
- Leave a long tail (~1.5 meters) before beginning.
- Create a foundation chain of 80 cm (or desired length for the bookmark stem). Save extra yarn for securing at each end.
- Start forming a Romanian Cord (see special stitches). Pull and elongate loops evenly for a cohesive finish.
- Finish by knotting the ends and trimming any excess yarn.
The Romanian cord creates a sturdy yet decorative stem that complements the tulip.
Step 4: Tassel
- Wrap the green yarn around 3-4 fingers 40 times to create layers for the tassel.
- Slide a 15 cm piece of yarn through the middle of the bundle and tie tightly at the top.
- Secure the bundle tightly by wrapping the top several times with additional yarn. Tie and secure with a needle.
- Trim and even out the ends of the tassel for a polished finish.
Step 5: Assembly
- Attach the Tulip to the Cord: Using the long tail from the tulip, sew the tulip securely to one end of the Romanian cord.
- Attach the Tassel to the Cord: Use yarn or cold/hot silicone to secure the tassel to the opposite end of the cord.
- Adjust the tulip’s petals and tassel for the best presentation.
Difficulties & Solutions
- Magic Ring Challenges: Beginners may struggle with creating the loop evenly.
Solution: Substitute with a chain-3 loop as a simpler alternative. - Uneven Cord Tension: The Romanian cord may look uneven if tension varies.
Solution: Make sure to pull loops consistently for a uniform finish. - Tassel Securing: The tassel may slide during use.
Solution: Reinforce with silicone or double knots to keep it sturdy.
Why I Love This Pattern
This Tulip Bookmark is not only a functional and creative project but also a heartfelt gift for book lovers. Whether used in a journal, book, or planner, this handmade accessory adds a touch of charm and care. I love how the vibrant colours and textures make this project a joy to complete, and the incorporated techniques, cords and tassels—add a thoughtful challenge to the design.



