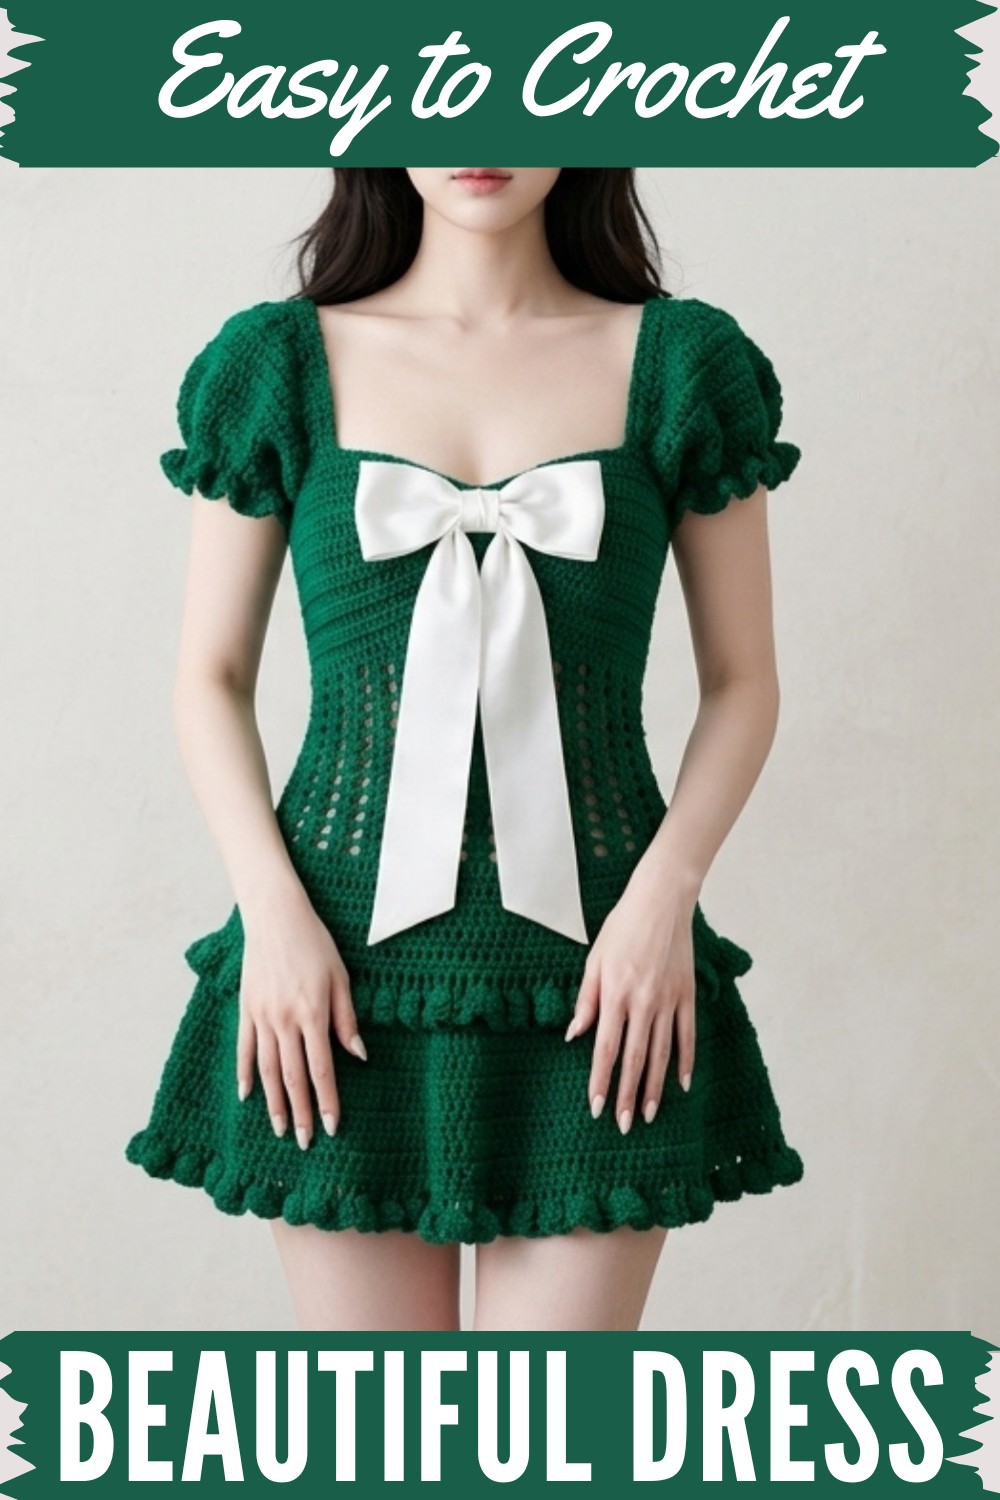
Learn to make a simple and stylish crochet dress that is comfortable, unique, and perfect for any occasion with this easy-to-follow free guide.
Creating something with your own hands that is both simple and elegant, something soft, beautiful, and practical to wear. A crochet dress is more than just a piece of clothing; it’s a timeless outfit that stands out for its charm and uniqueness. With its delicate patterns and soft feel, it can be worn for casual outings, special events, or even as comfortable everyday wear.
Free Crochet Dress Pattern You’ll Fall in Love With
The texture and design make it special because it combines style with the care that comes from handmade clothing. Its flexibility means you can adapt it to different colors, lengths, and styles, making it personal and truly one of a kind. This type of dress is lightweight, making it perfect for warmer days, and its open design allows the fabric to feel breathable and comfortable. Whether you’re dressing up for an occasion or just want something relaxed and stylish, creating this dress is both interesting and enjoyable for anyone.
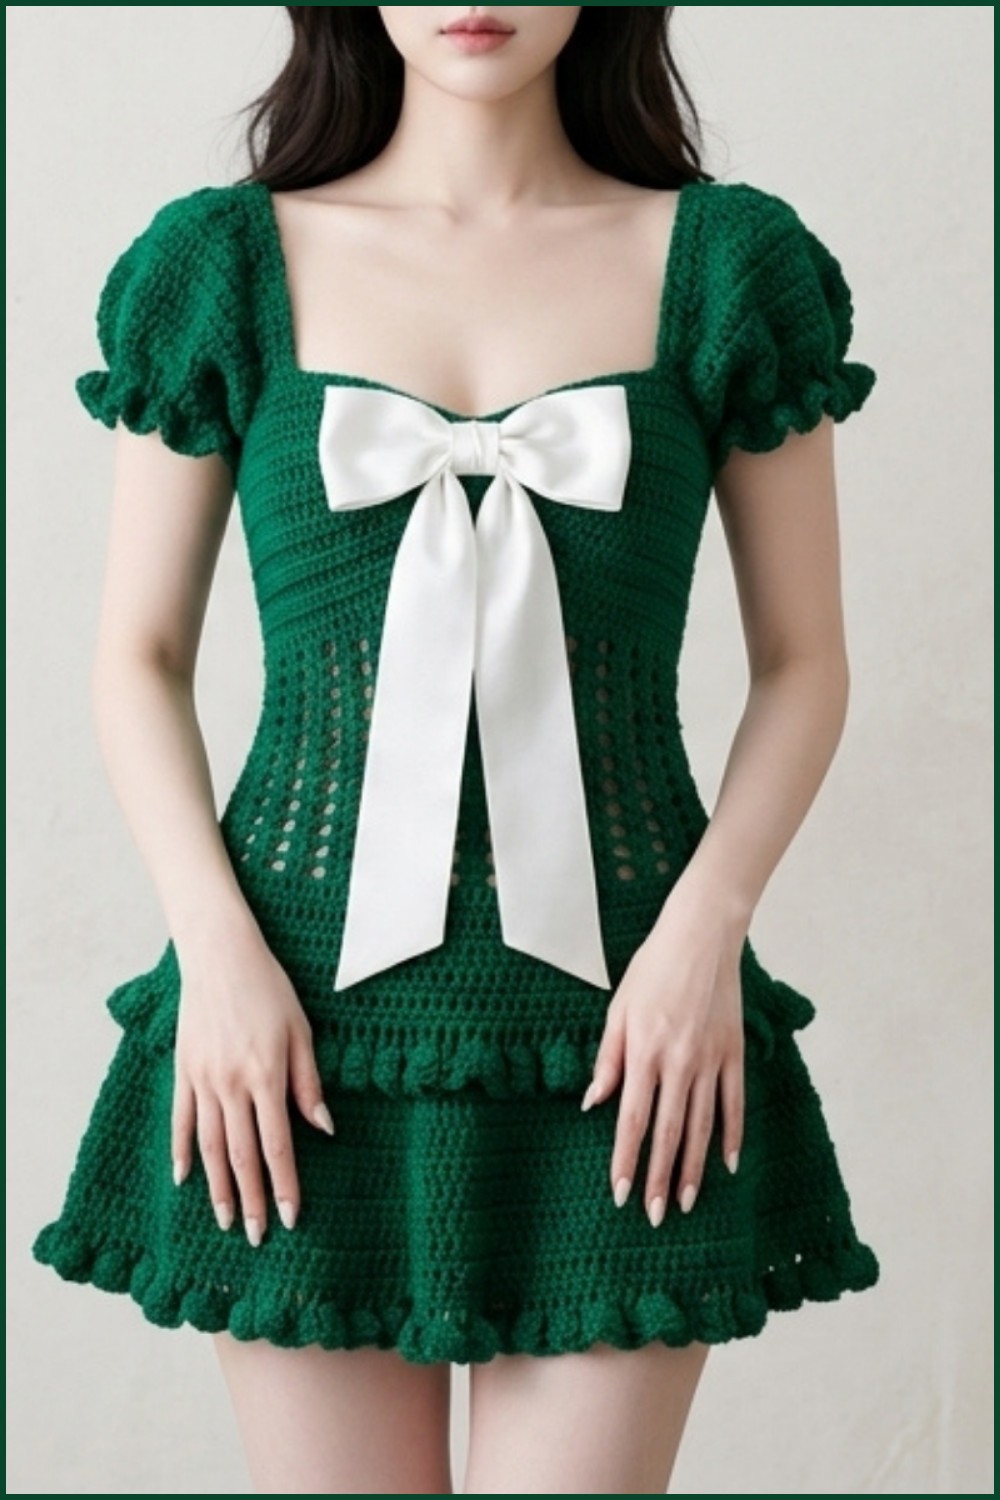
Ruffled Puff-Sleeve Crochet Dress Pattern
Finished Size
This pattern is size-inclusive and fully customizable. Sample instructions fit a bust from 30”–38” but are easily adjustable. Make sure to refer to the Measurement & Tips section for details on adapting to your own size.
- Sample size: S–M (Bust: 32–34”, waist: 26–28”, dress length: 36” including ruffles, sleeve length: 12”)
- Cup width and height, back panel width, mesh/skirt length, and sleeve length are all adaptable to your measurements.
Materials
- Yarn: Lightweight cotton yarn (Category 3/DK, 8ply), such as Drops Belle, mercerized cotton, or similar summer-friendly yarn.
- For a summer dress, use cotton or mercerized cotton for best drape and comfort.
- For winter, you may substitute acrylic or wool blend yarn.
- For size S–M short dress, you will need approximately 500–600g (5–6 balls, depending on yarn and finished size).
- Crochet hook: 4.0mm (US G/6)—adjust if necessary to match gauge.
- Stitch markers
- Tapestry/darning needle for weaving in ends and seaming as needed
- Scissors
- Optional: Measuring tape
Gauge
- Half Double Crochet (HDC) swatch: 10 rows × 10 stitches = 4" × 4" (10cm × 10cm)
- Double Crochet Mesh Pattern: 1 mesh repeat (2 dc, ch 1) ≈ 1" (2.5 cm) wide
Note: If your gauge is different, adjust your hook size or add/remove stitches/rows as needed.
Special Techniques & Abbreviations
| Abbreviation | Stitch Name | Description |
|---|---|---|
| ch | Chain | |
| sl st | Slip stitch | |
| sc | Single crochet | |
| hdc | Half double crochet | |
| dc | Double crochet | |
| tr | Treble/triple crochet | Yarn over twice, insert, pull up, [yarn over, pull through 2] three times |
| inc | Increase | Two or more stitches in the same place |
| BLO | Back loop only | Work into the back loop of the stitch |
| FL | Front loop only | Work into the front loop of the stitch |
Tips Before Beginning
- Try on as you go: Frequently measure the cups, bodice, skirt, and sleeves against your body.
- Stitch markers: Use plenty to keep track of important spots (center, increase points, seam areas).
- Size adjustment: The entire pattern can be lengthened or shortened at every stage. Adjust base chains, panel widths, number of mesh or skirt rows, or ruffle layers as desired!
- Write down counts: Especially for cups and sleeves. "Chain in multiples" are often based on your bust and arm measurements.
Pattern Instructions
1. Make the Cups (Front Panel)
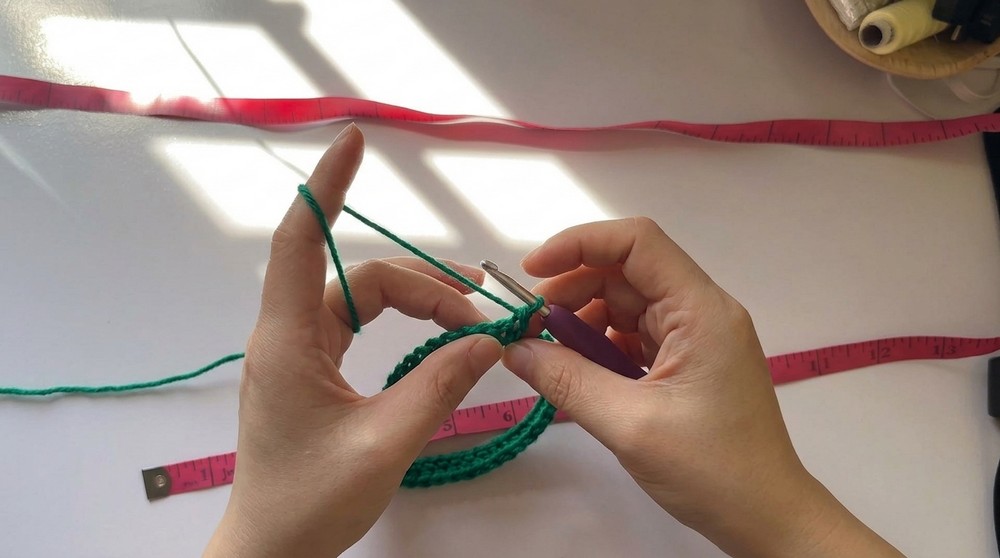
Base Chain
- With two strands of yarn, make a slip knot.
- Chain a foundation row that measures approximately 5 inches across (for most 30–38” busts, about 22 chains):
- For sizes outside this range, measure horizontally under your bust—cups should cover at least from underarm to center bust.
- (E.g., 22 chains ≈ 5", adjust in multiples of your stitch for desired width.)
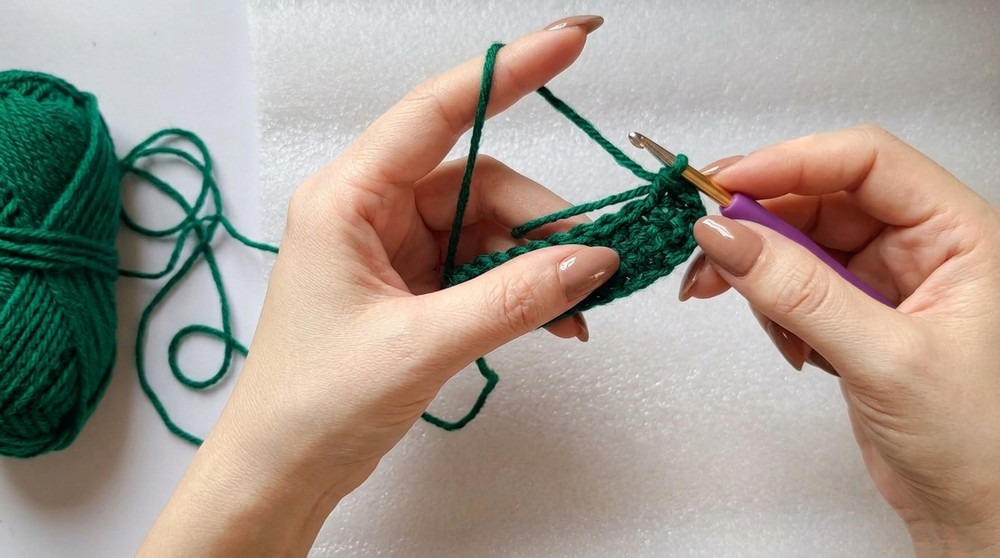
Row 1
- Skip the first chain, hdc into each chain to the end.
- On the last chain, work five hdc in the same stitch (this will create the cup “point”).
- Mark the 3rd of those 5 hdc with a stitch marker; this marks the center.
- Continue hdc along the other side of the chain (the bottom “ridge” loops) to the beginning.
Row 2 and onward (Cup Increases)
- Ch 1, turn.
- Work hdc in BLO (back loop only) across until you reach the stitch marker (center).
- In the marked center stitch, work 3 hdc (take both loops here).
- Move stitch marker to the 2nd hdc of this group for each row.
- Continue working hdc BLO along the other edge.
- Repeat Rows 2–4, increasing 3 hdc at the center marker on every row, until cup covers your bust, from underarm to mid-bust. Try it on for sizing.
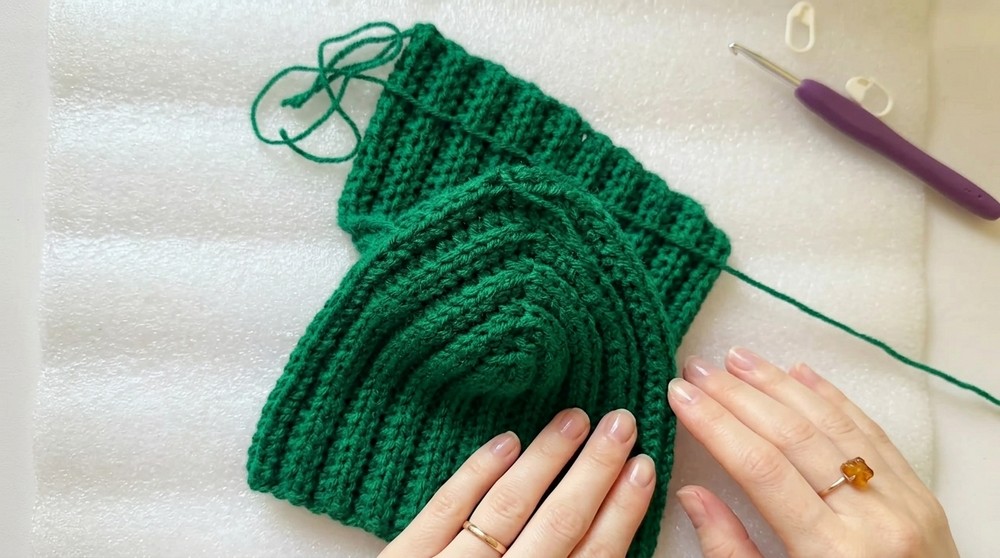
Finish Cups
- Make two cups. Do not remove the stitch marker from the center of each.
2. Join Cups (Front Panel Assembly)
- Lay both cups side by side.
- With right sides facing up, count 3 stitches outwards from the center marker on each cup.
- Line up the cups, overlapping from the 3rd stitch from center on each side; the stitch markers should be adjacent.
- With a single strand of yarn, slip stitch or sc the cups together along these stitches to join (join 7 stitches in total: 3 from each side plus the stitch marker).
- You may also hand sew with needle if preferred.
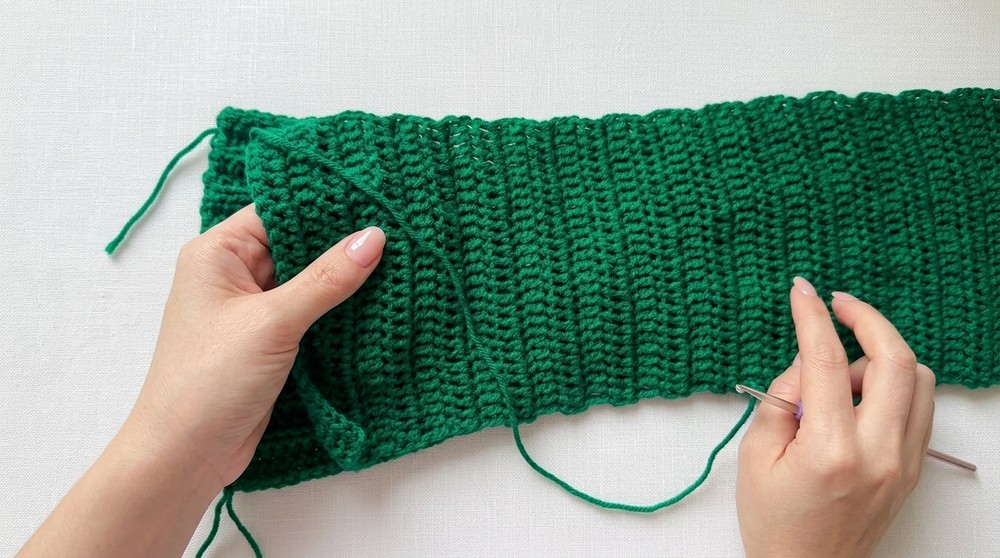
3. Add the Back Panel
- With joined cups facing you, at the bottom edge of one cup, attach yarn and ch 1.
- Work sc evenly across back edge (to the edge of the opposite cup). For an average adult, this is about 27 sc.
- Ensure the number of sc matches the other side for symmetry. Adjust as needed for your size.
Build the Back Panel
- Ch 2, turn.
- From here, work dc in each sc to end.
- Continue working dc back and forth in rows until your panel matches or slightly exceeds the width needed to reach side-seam (underarm to underarm on your back). Suggest leave ~1.5" negative ease if using stretchy yarn.
- Fasten off, leaving a long tail for joining.
4. Join Panels (Side Seams/Cups + Back Panel)
- With RS facing, position front (cups) and back panels.
- Line up side edges.
- Sc through both layers to seam sides together.
- Make sure to align stitches; freehand spacing as needed along cup curve.
- Place a stitch marker at the end of side seam (armpit location).
5. Create Base for Skirt (Single Crochet Border)
- At the bottom edge (now a circle), attach yarn at the side seam.
- Work sc around the entire bottom edge:
- On each dc, place 2 sc.
- On each chain/basis of the cups, place 1 sc.
- Continue all the way around. Join with a sl st.
6. Shape Cup Transition (Cups to Waist)
For a smooth fit, the first round after the base sc border transitions the cup curves (higher sides, deeper center).
- Place stitch markers:
- Count 7 stitches from center front and mark (both sides of center for deep curve—where cups meet).
- Next, mark 8 stitches beyond each 7 on both sides.
- On the curved cup center portion, work triple crochet (tr) to build height.
- On the area directly next to the cups, work dc.
- In the back and higher cup sides, work hdc.
- This transition is only for the first round after the base sc border.
Next round: work 1 round of hdc all the way around, using previous round as your base.
7. Mesh Waist Section
- Attach yarn at the side seam.
- Row 1 (setup for mesh):
- Ch 2, dc in next stitch, dc in next stitch, ch 1, skip next stitch, repeat from * around.
- Rows 2–8:
- Continue: dc in next dc, dc in next dc, ch 1, skip ch space, repeat from * around.
- Continue until you reach desired waist-to-hip length (~4").
- Note: The mesh will stretch slightly when worn.
8. Start the Skirt (Increase and Flare)
Row 1 (Increase Row):
- Attach yarn, ch 2.
- Dc in each dc, in each ch space work 3 dc, repeat around.
- If you desire a fuller skirt, increase the number of dc in ch spaces (try 4 or 5 for dramatic flare).
- Join with sl st.
Rows 2–4:
- Ch 2, dc in each stitch around. Join with sl st.
- Do not increase in these rows.
9. Trebles Row
- Ch 3. Tr (triple crochet) in each stitch around.
- Join. Fasten off.
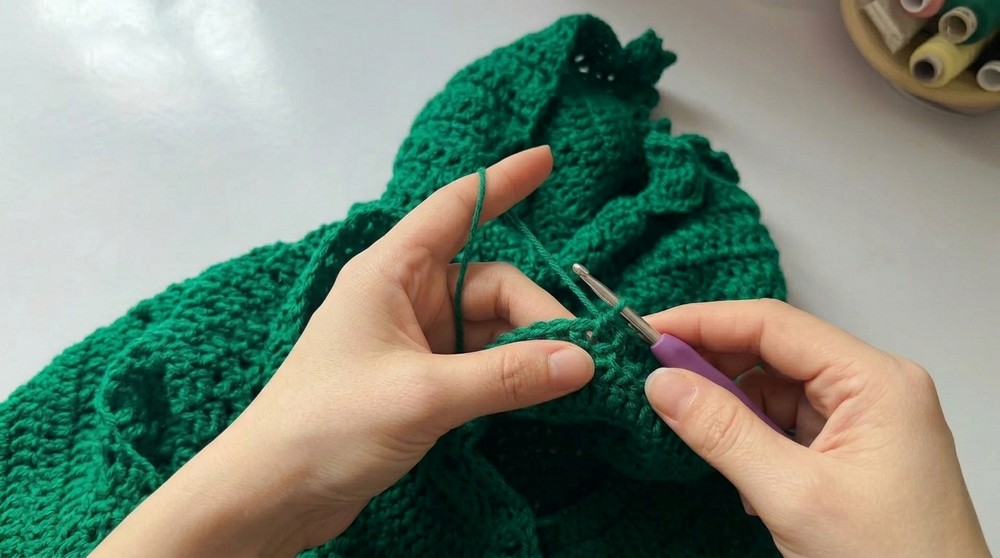
10. Ruffle Layer (Frill Hem)
- With RS facing, join yarn to the front loop only of any stitch in the previous row.
- In front loop only: [dc, ch 2, dc, ch 2, dc] all in same front loop—this creates the ruffle cluster.
- Repeat above in every front loop around (do not skip any stitches).
- Join with sl st. Fasten off.
11. Additional Ruffle Layers (Optional, for Maxi Dress)
You may add more ruffle layers as follows:
- Locate the back loop of the trebles row (left when making ruffles in the front loop).
- Join yarn to the back loop, ch 3.
- Work tr in back loop of each stitch around. Join.
- Repeat Step 10 for the ruffle.
- For a longer dress or more tiers, repeat as desired.
12. Sleeves: Puff, Long, or Short
Measuring
- Measure around your arm at the thickest part; subtract 1" for negative ease (stretch).
Base
- With two strands, chain to match your measurement (e.g., arm is 15", chain until 14").
- Join to form a round (optional, can be seamed later).
- Row 1: Hdc in each chain.
Row 2 (Increase for Puff):
- Ch 2, turn.
- In every stitch, work 2 dc (increase row).
Rows 3 and onward
- Ch 2, turn, dc in each stitch (no further increases).
- Repeat until sleeve is at the desired length.
- Try on as you go.
Decreases (Fitted Cuff):
- When sleeve is desired length, work sc2tog (sc decrease) in each pair of stitches around to narrow the sleeve to fit your wrist/upper arm.
- Repeat another round if needed for a snug fit.
Add Ruffle to Sleeve End
- Follow same ruffle pattern as skirt, along the cuff edge: [dc, ch 2, dc, ch 2, dc] in each stitch around (front loop if desired).
13. Join Sleeves to Dress
- Mark center 8 stitches at the underarm on the dress bodice (front and back).
- Using the sleeve, count 5 rows at the top edge and mark.
- Align sleeve with dress at armhole, match markers, and slip stitch or whip stitch the sleeve to the dress edge using a darning needle or your hook.
- Ensure the puff is centered and the seams are neat.
14. Finishing
- Weave in all yarn tails with a darning needle.
- Block garment if necessary to even out stitches and help garment hang nicely.
- Try on and admire your work!
Customization Ideas
- Dress Length: Add more tiers of ruffles for a maxi dress; stop after first ruffle for a mini dress or top.
- Sleeve Style: Skip increase row for fitted sleeves; add multiple increase rows for dramatic puff sleeves.
- Color: Use a solid shade for minimal look, or work stripes for a boho vibe.
- Skirt Flare: Increase more in the skirt for a dramatic A-line or peplum.
- Edge Options: Replace ruffles with simple picot edge or scallop.
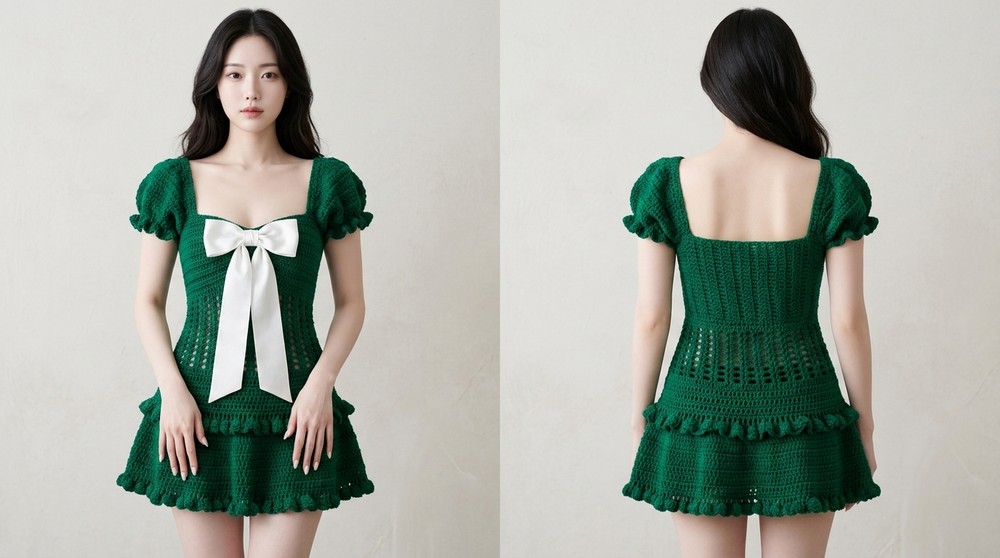
Final Look & Important Remarks
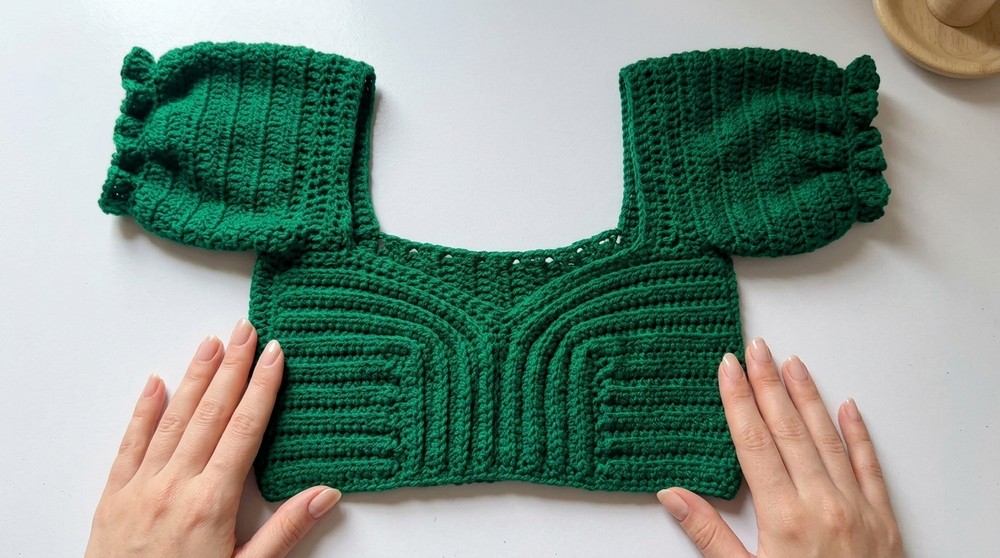
Upon completion, your dress will have:
- Two sculpted cups for the bust, joined seamlessly.
- A sturdy back panel for good fit and coverage.
- A connected bodice leading into a playful mesh waist for breezy comfort.
- A flowy skirt with one or more layers of signature ruffles.
- Statement puff sleeves ending in frilly ruffles.
- The option to customize length, flare, and style.
Tips for Success
- Always try your dress on during construction! Custom fit is key.
- Lightweight cotton yields best drape and comfort for warm weather.
- Use stitch markers generously at increases, joins, and seam points.
- Adjust your hook size or yarn thickness if your gauge is too tight or loose.
Conclusion
Congratulations! You have now completed a stunning ruffled crochet dress with statement puff sleeves—perfect to wear on its own or over a swim suit for summer, or layered for cooler weather. Remember, this pattern is highly customizable: play with color, texture, and length to make it truly your own.